manuals.online logo
Brands
  1. Home
  2. •
  3. Brands
  4. •
  5. Canon
  6. •
  7. Printer
  8. •
  9. Canon imageCLASS MF5770 Manual

Canon imageCLASS MF5770 Manual

Other manuals for imageCLASS MF5770

5

Other Canon Printer manuals

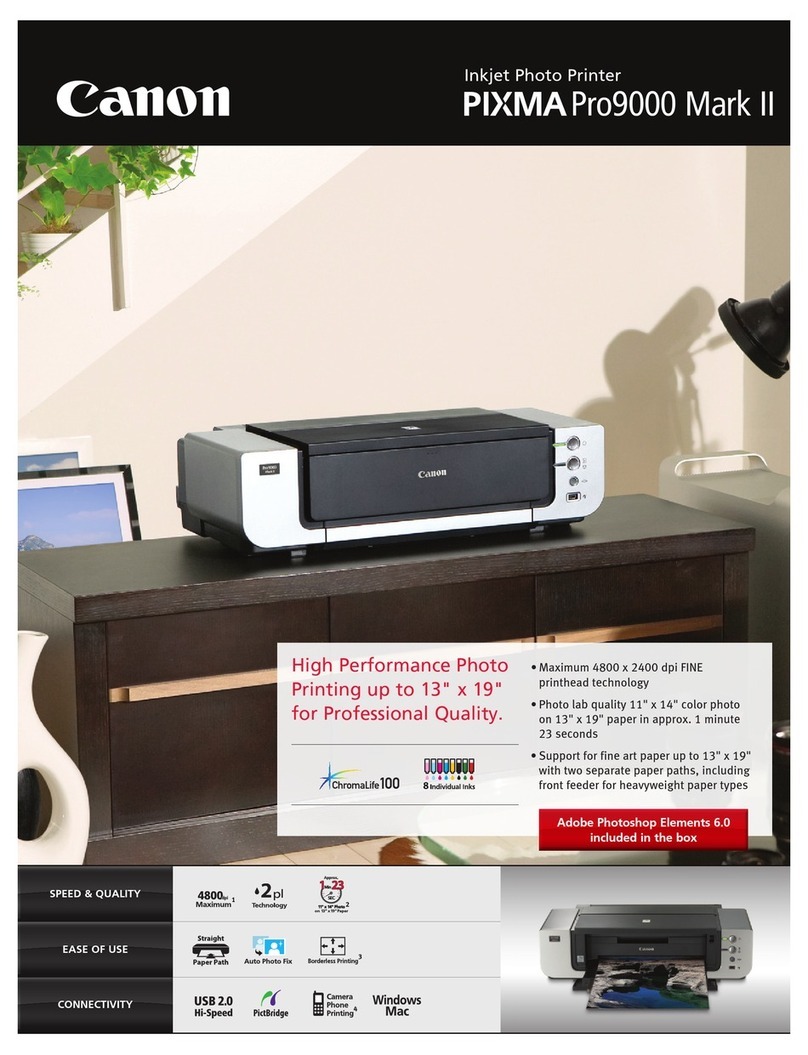
Canon Pixma Pro9500 Series Manual

Canon

Canon Pixma Pro9500 Series Manual

Canon Pixma LBP 2900 Installation guide

Canon

Canon Pixma LBP 2900 Installation guide

Canon imageRUNNER ADVANCE DX C568iF User manual

Canon

Canon imageRUNNER ADVANCE DX C568iF User manual

Canon PIXMA TS5340a User manual

Canon

Canon PIXMA TS5340a User manual

Canon iP6600D - PIXMA Color Inkjet Printer User manual

Canon

Canon iP6600D - PIXMA Color Inkjet Printer User manual

Canon i900D Series User manual

Canon

Canon i900D Series User manual

Canon PIXMA iP7260 Series User manual

Canon

Canon PIXMA iP7260 Series User manual

Canon imagePROGRAF IPF9100 User manual

Canon

Canon imagePROGRAF IPF9100 User manual

Canon PIXMA MP240 User manual

Canon

Canon PIXMA MP240 User manual

Canon Printing Using a Direct Camera/Printer Connection Guide Direct... Instruction Manual

Canon

Canon Printing Using a Direct Camera/Printer Connection Guide Direct... Instruction Manual

Canon 8580A001 User manual

Canon

Canon 8580A001 User manual

Canon iP3300 - PIXMA Color Inkjet Printer User manual

Canon

Canon iP3300 - PIXMA Color Inkjet Printer User manual

Canon imagePRGRAF PRO1000 User manual

Canon

Canon imagePRGRAF PRO1000 User manual

Canon S630 User manual

Canon

Canon S630 User manual

Canon PIXMA MG5600 Series User manual

Canon

Canon PIXMA MG5600 Series User manual

Canon LBP-1760 User manual

Canon

Canon LBP-1760 User manual

Canon PIXMA TS6220 Setup guide

Canon

Canon PIXMA TS6220 Setup guide

Canon PIXMA TS9570 User manual

Canon

Canon PIXMA TS9570 User manual

Canon imageRUNNER ADVANCE 715 series User manual

Canon

Canon imageRUNNER ADVANCE 715 series User manual

Canon iP4200 - PIXMA Photo Printer User manual

Canon

Canon iP4200 - PIXMA Photo Printer User manual

Canon PIXMA iP6320D Series User manual

Canon

Canon PIXMA iP6320D Series User manual

Canon imageRUNNER 717iFZ User manual

Canon

Canon imageRUNNER 717iFZ User manual

Canon PIXMA Pro9000 Mark II Series Instruction Manual

Canon

Canon PIXMA Pro9000 Mark II Series Instruction Manual

Canon imageclass MF244DW User manual

Canon

Canon imageclass MF244DW User manual

Popular Printer manuals by other brands

Evolis Elypso user guide

Evolis

Evolis Elypso user guide

Lexmark 522n - C Color Laser Printer Service manual

Lexmark

Lexmark 522n - C Color Laser Printer Service manual

Panduit COUGAR LS9Q Operator's manual

Panduit

Panduit COUGAR LS9Q Operator's manual

Olivetti PG L2140 Operation guide

Olivetti

Olivetti PG L2140 Operation guide

Samsung SL-M2820DW user manual

Samsung

Samsung SL-M2820DW user manual

Kyocera FS-9530DN specification

Kyocera

Kyocera FS-9530DN specification

Lexmark Infoprint 1332 user manual

Lexmark

Lexmark Infoprint 1332 user manual

Epson M1120 user guide

Epson

Epson M1120 user guide

TransAct POSJET 1500 Spare parts

TransAct

TransAct POSJET 1500 Spare parts

Telpar MTP-1500 user manual

Telpar

Telpar MTP-1500 user manual

Star DP8340 SERIES user manual

Star

Star DP8340 SERIES user manual

MGI JETVARNISH 3DS user manual

MGI

MGI JETVARNISH 3DS user manual

Kyocera TASKalfa PA4500ci Operation guide

Kyocera

Kyocera TASKalfa PA4500ci Operation guide

Emaar EP-360 user manual

Emaar

Emaar EP-360 user manual

Fujitsu DL7400 user manual

Fujitsu

Fujitsu DL7400 user manual

Centronics 101A Technical manual

Centronics

Centronics 101A Technical manual

Logic Controls LR1100 user manual

Logic Controls

Logic Controls LR1100 user manual

Epson ActionLaser Plus user manual

Epson

Epson ActionLaser Plus user manual

manuals.online logo
manuals.online logoBrands
  • About & Mission
  • Contact us
  • Privacy Policy
  • Terms and Conditions

Copyright 2025 Manuals.Online. All Rights Reserved.

Set-Up Sheet
Thank you for purchasing the Canon imageCLASS MF5770.
Follow the instructions in this document first to set up the machine.
1 Unpack machine
NOTE
•Items can vary depending on the country of purchase.
1. Carefully remove the machine from the box and
place it on a flat surface.
2. Remove all shipping tape from the machine.
Referring to the following figure, remove the tape and spacers
on both sides of the cassette housed in the machine.
3. Hold the document feeder (A) with one hand, and open the
document feeder tray (B) with the other.
4. Check that you have these items:
•Cartridge (C)
•Cassette extension (D)
•Extension cover (E)
•Power cord
•USB cable
•Telephone cable
•Destination labels
•Quick Reference Guide
•Facsimile Guide
•User Software CD-ROM
B
A
C
D
E
2 Install paper cassette
1. Pull out the paper cassette.
2. Attach the cassette extension to the cassette.
3. Insert the cassette back into the machine.
IMPORTANT
•Do not push in the cassette at an angle. Doing so may
damage the paper sensing lever inside the machine.
4. Attach the extension cover on the back of the machine.
3 Connect telephone cable
1. Connect the telephone line to (LINE). Connect the other
end to the wall jack (A).
2. Optional: Connect a telephone (B) or an answering
machine to (EXT.).
A
B
4 Install cartridge
1. Remove the cartridge from the bag. Keep the bag for
future use.
2. Rock the cartridge several times to distribute toner
evenly.
3. Hold the cartridge. Break the tab (A) and pull out the
seal (B) completely.
4. Open the front cover.
5. Hold the cartridge with instructions (C) face up and
arrow (D) pointing to the machine. Insert the cartridge
as far as it will go.
6. Close the front cover completely.
B
A
C
D
5 Load paper
NOTE
•If the cassette is not fully inserted into the machine, paper jams may occur.
•Make sure the correct paper size is specified in the <1.PAPER SETTINGS> menu. See “3.1 Set
Paper Size” in the Quick Reference Guide.
1. Pull out the paper cassette from the machine.
2. Adjust the rear paper end guide to match the paper
size.
3. Load paper into the cassette. Make sure the paper
stack sits below the hooks (A).
4. Adjust the side paper end guides to match the paper
size.
NOTE
•If the rear and side paper end guides are not properly
adjusted to the paper size, the machine may not deliver
printouts.
5. Even out the edges of the paper stack. Make sure the
height of the paper stack does not exceed the limit
marks (B).
6. Insert the paper cassette into the machine as far as it
will go.
A
B
6 Connect power cord
IMPORTANT
•Do not load paper from the back of the machine.
Doing so may damage the paper feeding assembly inside
the machine.
1. Connect the power cord into the rear socket and the wall outlet.
2. If the message <DISPLAY LANGUAGE> appears, press
or ato select the desired language for the LCD.
Press [OK] b.
IMPORTANT
•For important safety instructions on installation and handling of the machine, see “Safety Instructions”
in the Quick Reference Guide.
OK
7 Install software
To Use the Machine as a Local Printer(USB Connection)
NOTE
•To use the machine as a network printer, see the reverse side.
IMPORTANT
•Do not connect the USB cable before installing the software. If you connect the USB cable before
installing the software and the Found New Hardware Wizard screen appears, click [Cancel] and
disconnect the USB cable.
NOTE
•For Windows 2000/XP, log on as Administrator to install the software.
STEP 1 Install MF Drivers:
1. Turn on your computer.
2. Quit any open applications, including virus checking
software.
3. Insert the User Software CD into the CD-ROM
drive.
4. When the MF Setup screen appears, click [Install
Drivers] (A).
•If the MF Setup screen is not displayed, on the
Windows desktop, click My Computer. Open the
CD-ROM icon, then double-click setup (setup.exe).
5. Click [Install MF Drivers] (B) on the Install Drivers
screen.
1. When the MF Drivers-Setup Wizard screen
appears, follow the instructions on the screen.
2. When the installation is complete, click [Exit] (D) to
close the MF Drivers-Setup Wizard screen.
A
E
F
B
D
STEP 2 Install MF Toolbox:
NOTE
•To install accompanying applications, click [Install Applications] (E) on the MF5700 Series Setup
screen.
•To read manuals in the User Software CD, click [Read Manuals] (F) on the
MF5700 Series Setup
screen.
8 Connect USB cable
You have now completed machine setup.
Turn over to continue
1. On the Install Drivers screen, click [Install MF
Toolbox] (C).
2. When the MF Toolbox Setup screen appears, follow
the instructions on the screen.
3. When the installation is complete, click [Exit] (G) to
close the MF Toolbox Setup screen.
NOTE
•Use of a cable 3 m long or less is recommended.
1. Make sure the machine’s power is turned on, and
connect the cable to the USB port on the back of the
machine. Then connect the other end of the cable to
the USB port on your computer.
2. Click [Exit] to close the MF Setup screen. Remove
the User Software CD from the CD-ROM drive and
store it in a safe place.
C
G
7 Install software
To Use the Machine as a Network Printer (Network Connection)
IMPORTANT
•The machine needs to be restarted for the specified settings to become effective. To restart the
machine, disconnect the power cord, wait for at least 10 seconds, and connect the power cord again.
NOTE
•For details on specifying network settings, see Chapter 2, “Specifying the Network Settings,” in the
Network Guide.
•For additional network protocol settings, see the Network Guide.
•For the values of the network settings, consult your network administrator or internet service provider
(ISP).
•The machine does not support Network Scanning or PC Faxing. The printer must be connected via
USB for scanning and PC faxing.
Specifying Network Settings
1. Press [Menu] ➞or to select
<6.NETWORK SETTINGS> on the LCD ➞press [OK].
2. Press or to select <1.LAN SETTINGS> ➞
press [OK].
3. Press or to select <1.IP ADDRESS AUTO.> ➞
press [OK].
•To obtain an IP address automatically (dynamic allocation):
4. Press or to select <ON> ➞ press [OK].
5. Press or to select <1.DHCP>, <2.BOOTP>, or
<3.RARP> ➞press [OK].
6. Press or to select <ON> ➞press [OK].
7. Press [Stop/Reset] to return to the standby display.
8. Restart the machine by disconnecting the power cord,
and then reconnecting it.
•To specify an IP address manually (static allocation):
4. Press or to select <OFF> ➞press [OK].
5. Press
or to select <
2.IP ADDRESS
>
➞
press [OK].
6. Enter an IP address of the machine using the numeric keys
➞
press [OK].
Write down the IP address you entered: _______ . _______ . _______ . _______
7. Press
or
to select <
3.SUBNET MASK
>
➞
press [OK].
8. Enter the subnet mask using the numeric keys
➞
press [OK].
Write down the subnet mask you entered: _______ . _______ . _______ . _______
9. Press
or
to select <
4.DEFAULT GATEWAY
>
➞
press [OK].
10. Enter the default gateway address using the numeric keys
➞
press [OK].
Write down the gateway address you entered: _______ . _______ . _______. _______
11. Press [Stop/Reset] to return to the standby display.
12. Restart the machine by disconnecting the power cord, and then reconnecting it.
Connecting the Machine to a Network
Checking Network Settings
1. Press [Menu]
➞
or
to select
<
6.NETWORK SETTINGS
> on the LCD
➞
press [OK].
2. Press or to select <2.VIEW IP ADDRESS> ➞
press [OK].
3. Press or to select the desired setting ➞
press [OK].
4. Press [Stop/Reset] to return to the standby display.
1. Connect a Category 5 rated (Cat 5)
twisted-pair LAN cable to the 10Base-T/
100Base-TX port on the back of the machine.
Connect the other end of the cable to a net-
work router or a hub.
Installing Driver Software
NOTE
•For Windows 2000/XP/Server 2003, log on as Administrator to install the software.
•The screenshots below are from Windows XP. However, the installation procedure is essentially the
same for other versions of Windows.
1. Turn on your computer.
2. Quit any open applications, including virus
checking software.
3. Insert the User Software CD into the CD-
ROM drive.
4. When the MF Setup screen appears, click
[Install Drivers].
NOTE
•If the MF Setup screen is not displayed, on the
Windows desktop, click [start] ➞[My Computer].
Open the CD-ROM icon, then double-click
[Setup (Setup.exe)].
•You can click [Read Manuals] to read PDF
manuals.
5. When the MF Network Drivers - Setup
Wizard screen appears, click [Next] and
follow the instructions on the screen.
6.
Select the target machine in the Device List
➞
click [Next].
NOTE
•f the target machine is not listed in the Device
List, click [Search by IP Address] and enter the
IP address ➞click [OK]. If you do not know the
machine’s IP address, see “Checking Network
Settings” on the previous page.
7. Select the driver(s) to install ➞click [Next].
Follow the instructions on the screen to start
installation.
8. After the drivers are installed, select the
default printer ➞click [Next].
9.
Select the driver type (
Printer
and/or
Fax
)
➞
click [Next] to print/fax a test page (optional).
10. When the installation is complete, click [Exit]
to close the MF Network Drivers - Setup
Wizard screen.
You have now completed machine setup.
Part no. FA7-7769 (010)
©2005 Canon Inc.
Canon is a trademark of Canon Inc.
All other products and brand names are registered
trademarks or trademarks of their respective owners.
Specifications subject to change without notice.
PRINTED IN JAPAN OR CHINA
11.
Click [Exit] to close the MF Setup screen.
Remove the User Software CD from the CD-
ROM drive and store it in a safe place.