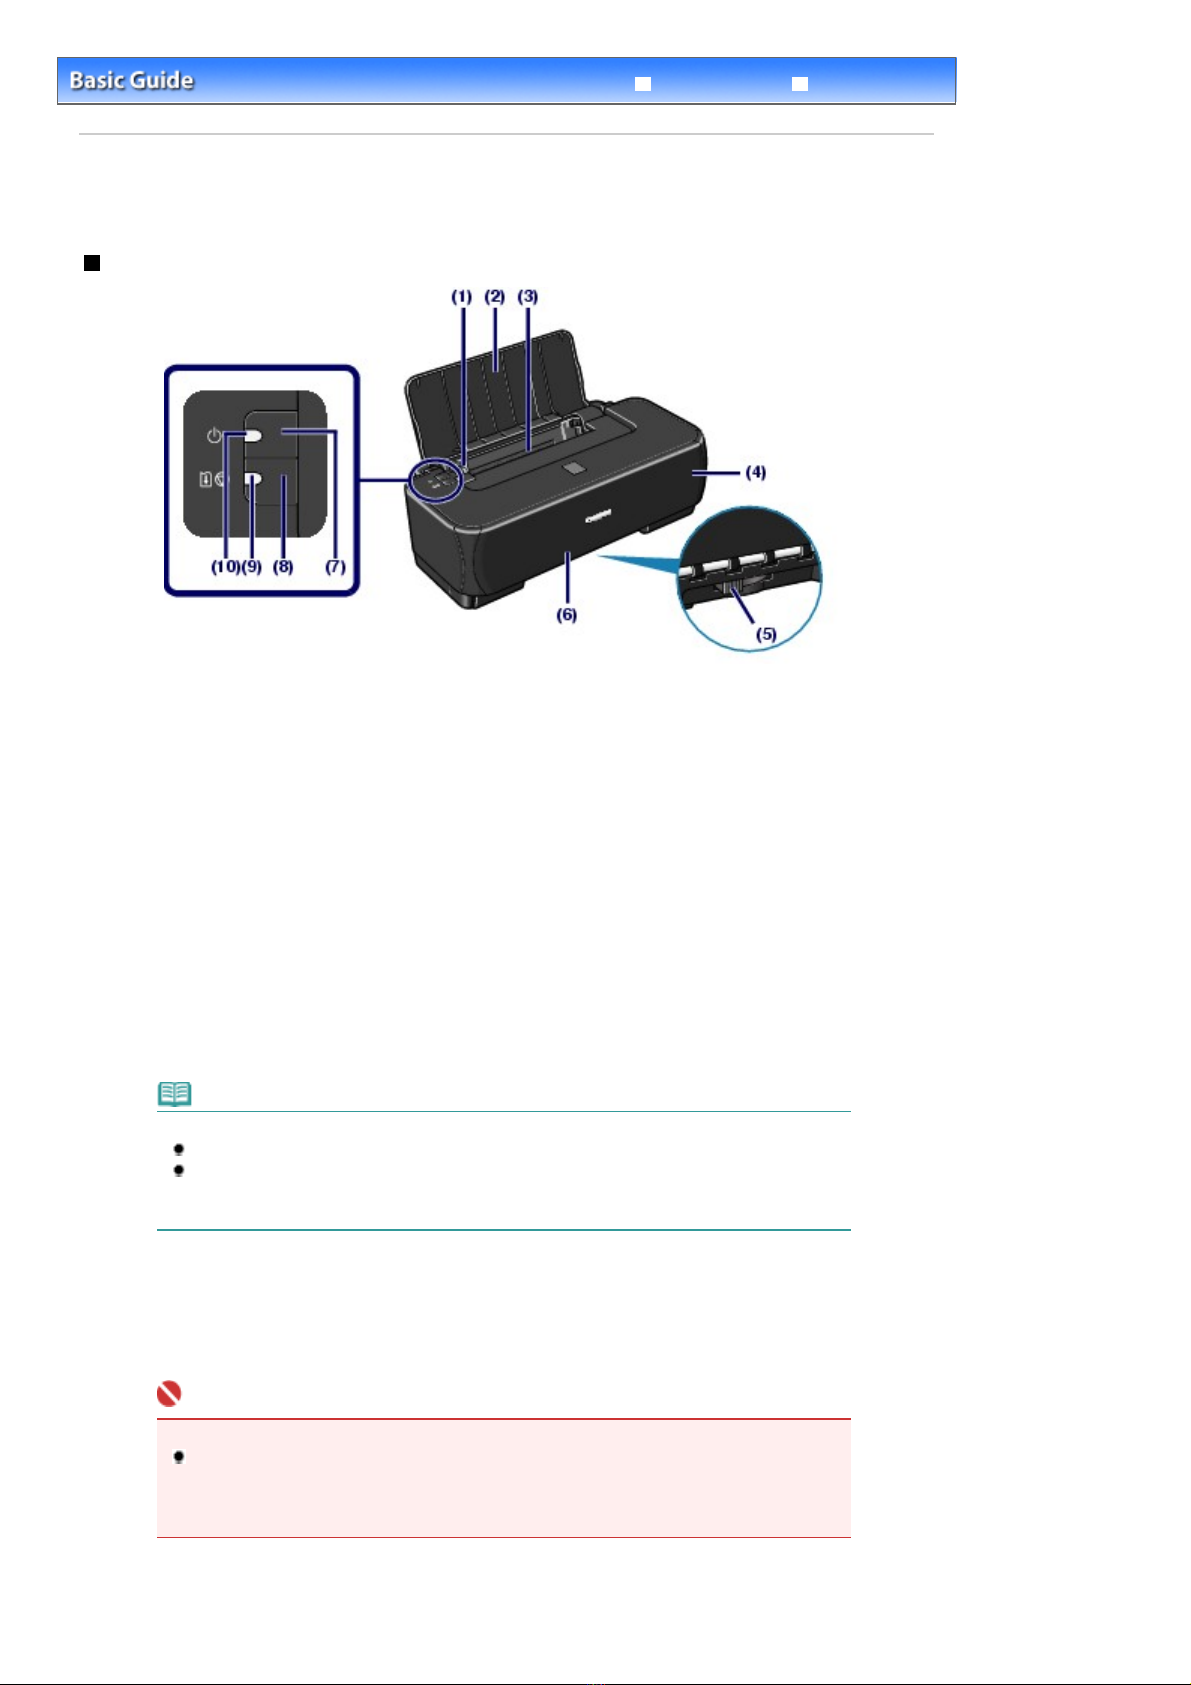
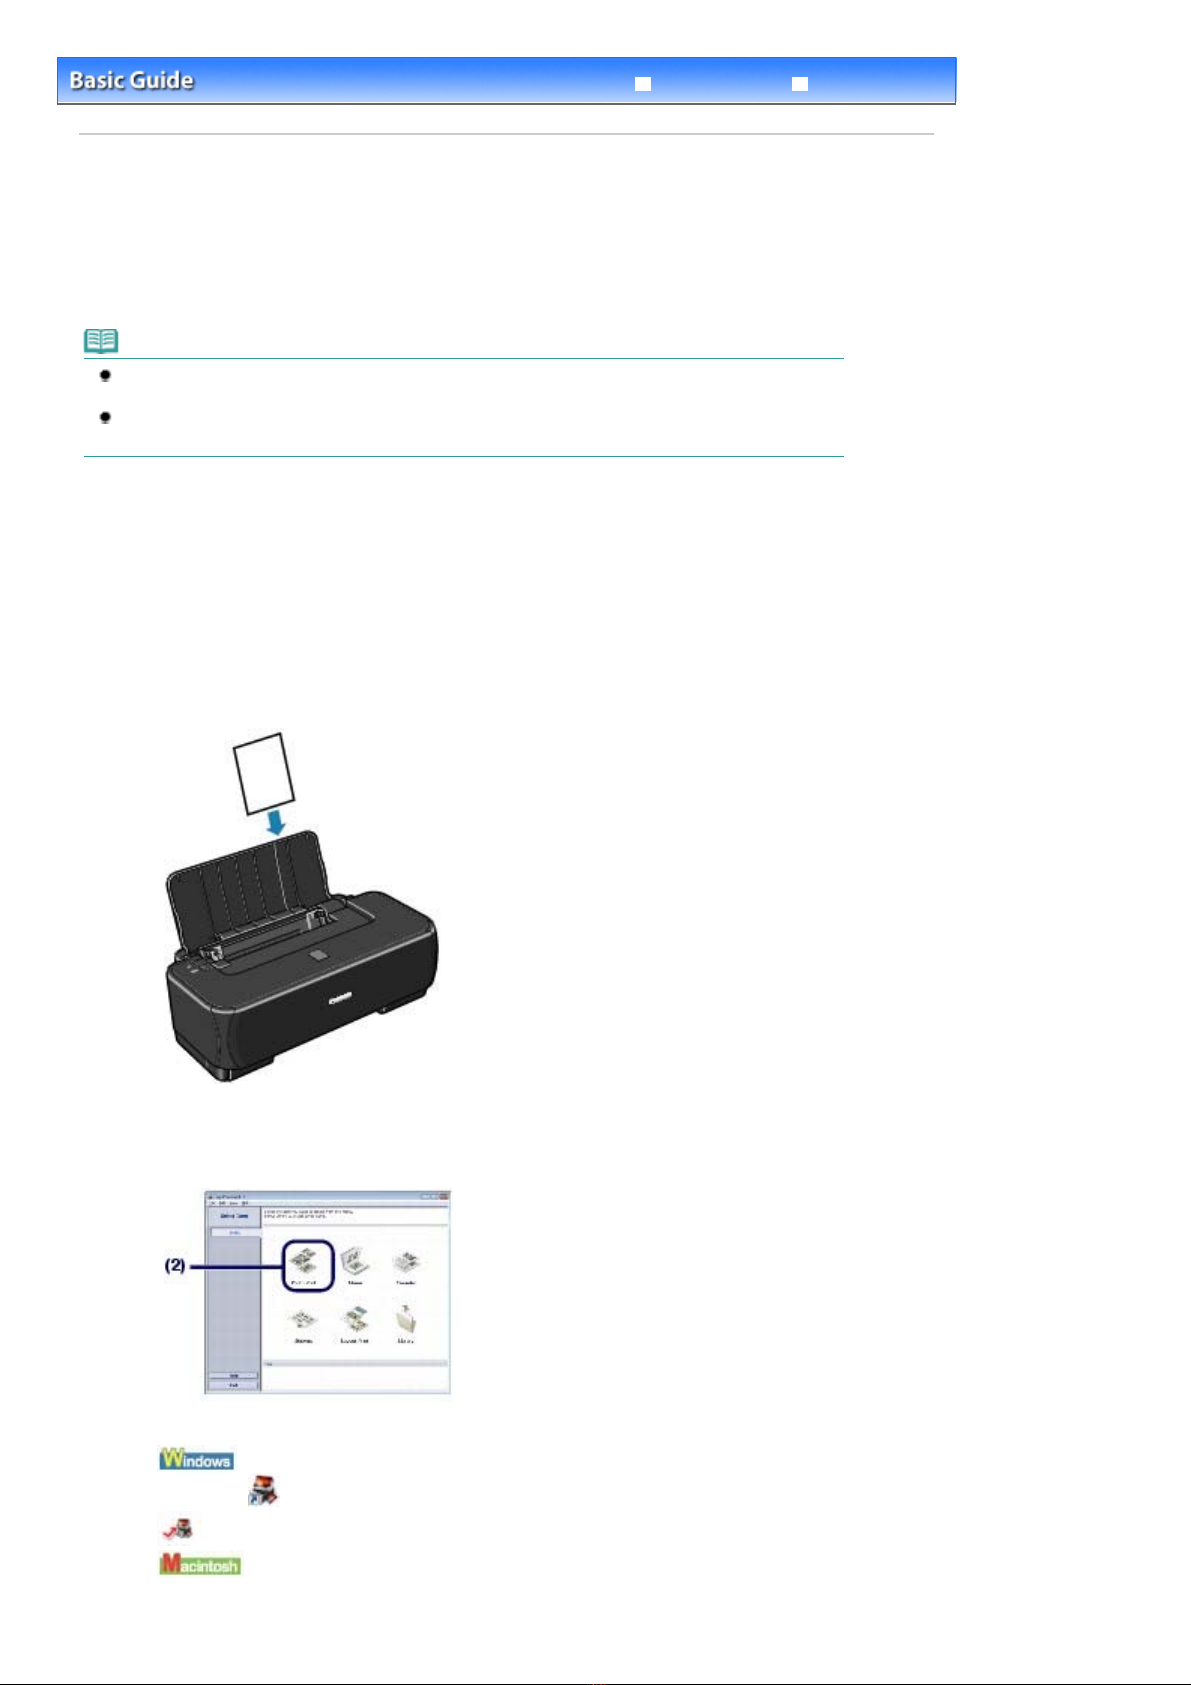
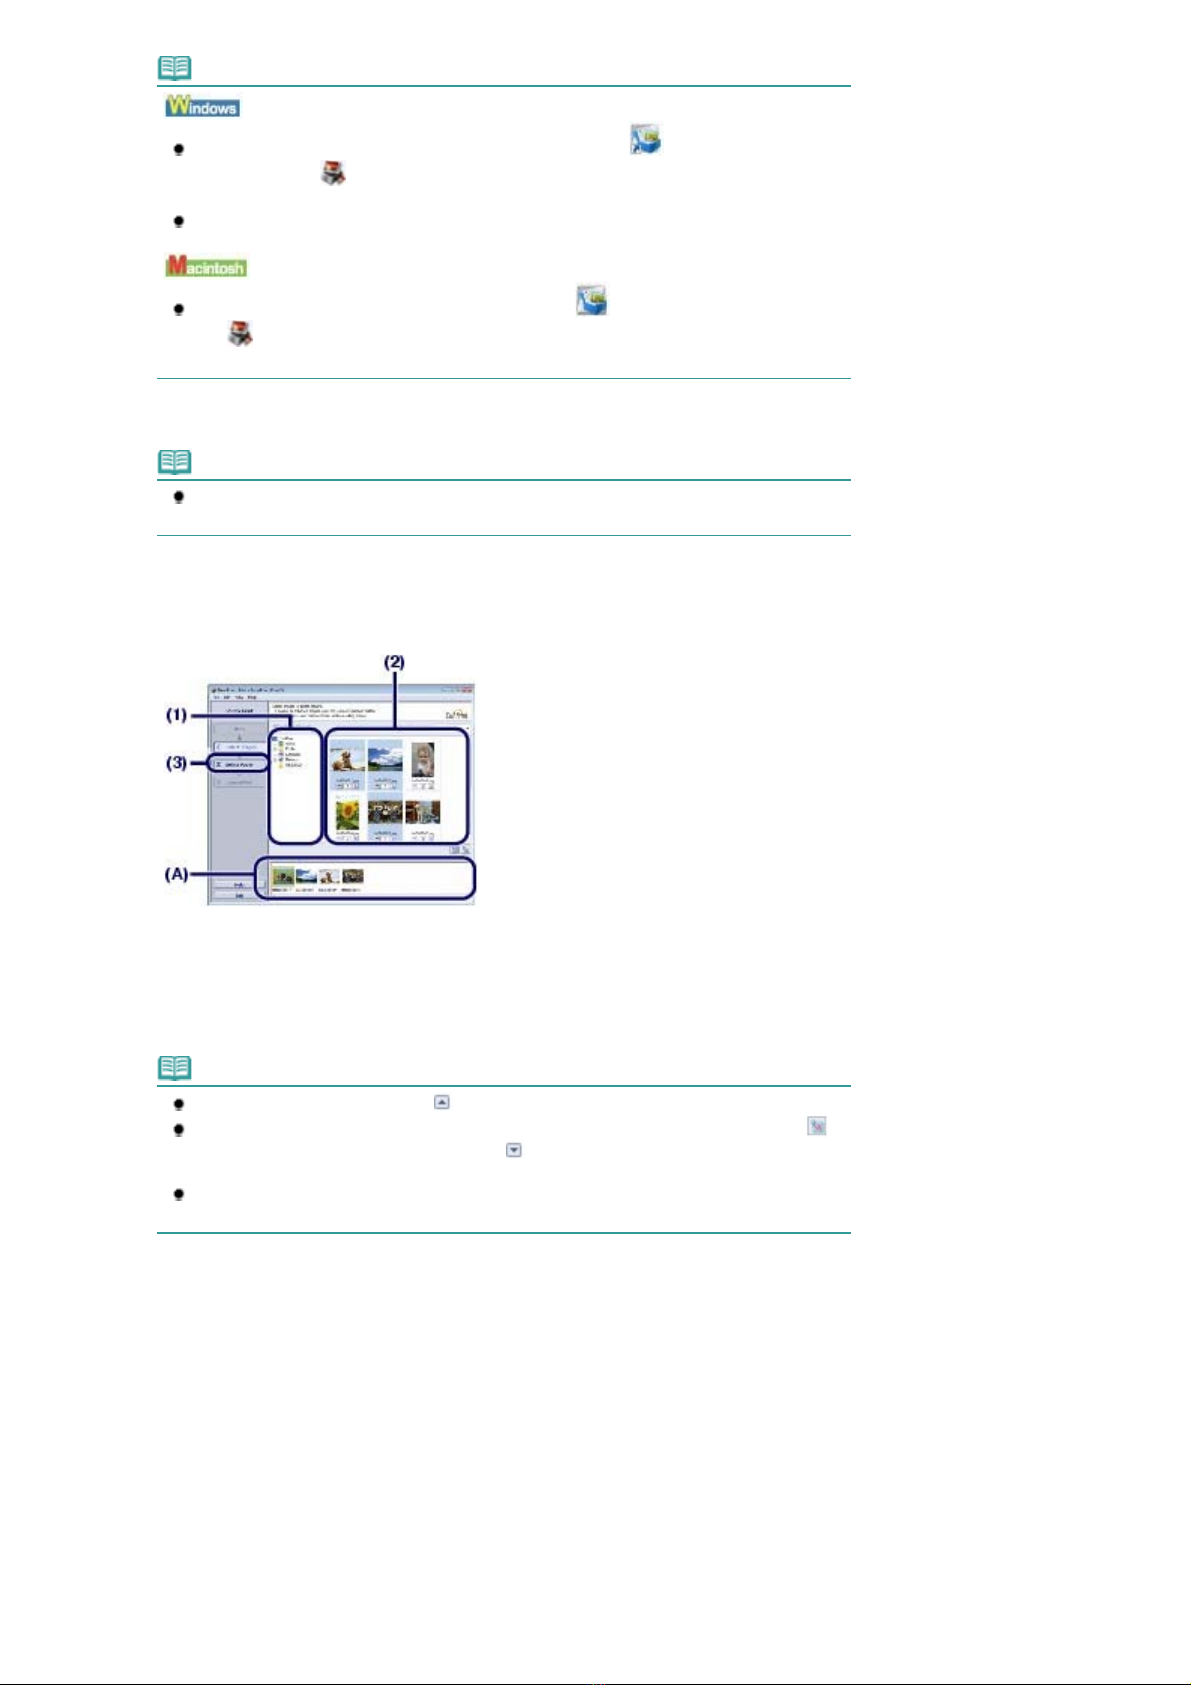
Canon iP1900 Series User guide
Other Canon Printer manuals

Canon
Canon Oce VarioPrint 110 User manual

Canon
Canon PRO-6000 Setup guide

Canon
Canon Color Bubble Jet BJC-1000 Series User manual

Canon
Canon LBP6020 User manual

Canon
Canon BJC-S900 Manual

Canon
Canon iP4000 - PIXMA Photo Printer User manual

Canon
Canon imageclass MF244DW User manual

Canon
Canon Color imageCLASS MF9220Cdn Safety guide

Canon
Canon imageRUNNER ADVANCE DX C478iZ Installation guide

Canon
Canon G1230 Setup guide

Canon
Canon imageRUNNER ADVANCE DX 527i User guide

Canon
Canon imagePRESS C7000VP Series User manual

Canon
Canon 2160B002 User manual

Canon
Canon PIXMA G5000 Series User manual

Canon
Canon TS3500 Series User manual

Canon
Canon iP6220D - PIXMA Color Inkjet Printer User manual

Canon
Canon iP100 - PIXMA Color Inkjet Printer User manual

Canon
Canon MG2900 Series User manual

Canon
Canon PIXMA MP499 Installation and maintenance instructions

Canon
Canon TR7500 Series Setup guide