Carbatec CT-PAP1 User manual

CARBATEC.COM.AU
Carbatec Pen Assembly Press
CT-PAP1 INSTRUCTIONS
GETTING READY
If you have the space on your workbench to
permanently mount your pen press, screw
it down to the bench top using the provided
countersunk holes. (Fig. 01)
If you only require temporary mounting, you
can clamp it down to the bench top. (Fig. 02)
Alternatively, clamp it up right in a bench vise.
It is important to have the pen press fastened
and secured to prevent damage to your
workpiece.
It is recommended to attach anti-scratch pads
on the face of the metal jaw to protect your pen
parts during assembly.
The pen press is designed to assist pressing a
wide range of pen styles and ts most pen kits.
Please refer to the specic instructions of your
pen kit for details.
Carbatec Pty Ltd
Einf[email protected]om.au AU 1800 658 111 NZ 0800 444 329
128 Ingleston Road, Wakerley, Queensland Australia 4154
ABN 84 010 706 242
Fig. 01
Fig. 02
1
FOR TECHNICAL SUPPORT CALL 1800 658 111
CT-PAP1
INSTRUCTIONS
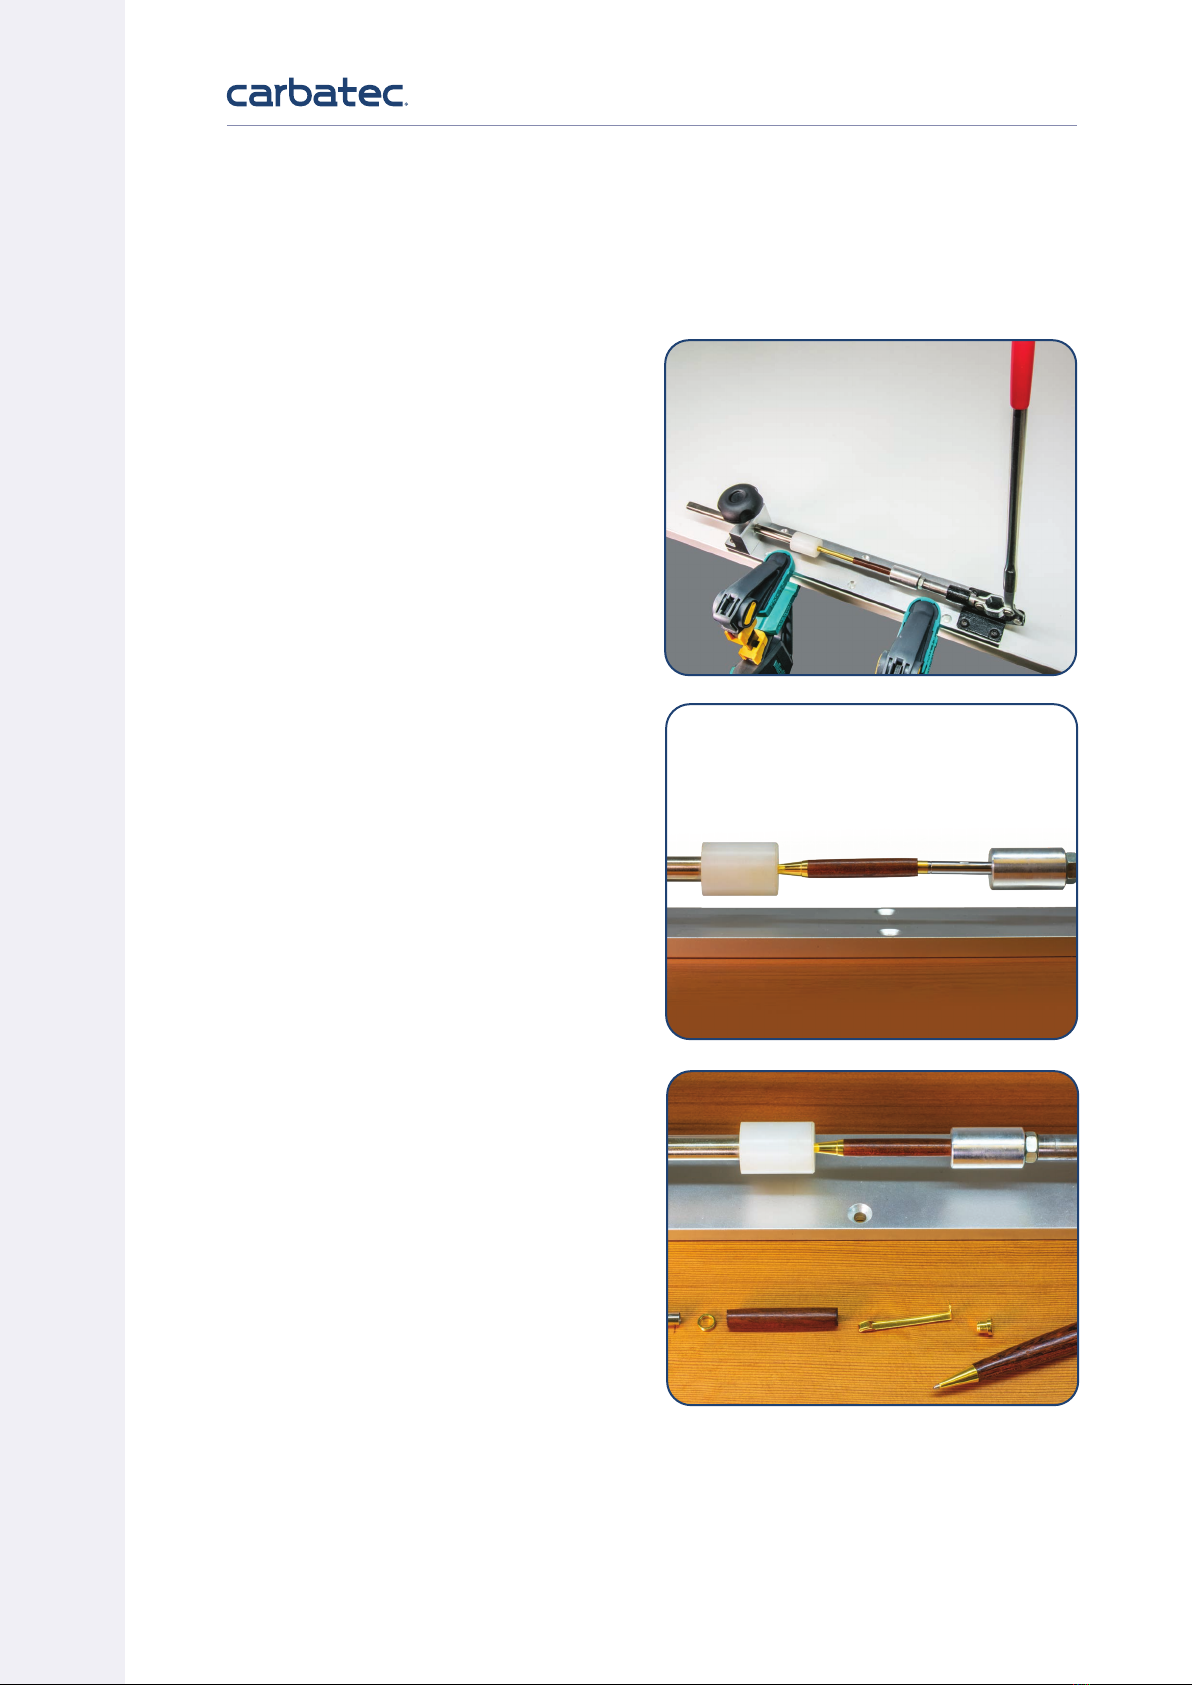
1. Position the assembly lever in a
vertical position.
2. Place the pen part against the rear jaw.
Align your pen tube / nished barrel
with the pen part you wish to press
together. (Fig. 03)
3. Slide the movable rod towards the
front jaw until the pen parts are close.
Lock the moveable rod in position with
the lock knob. (Fig. 04)
4. Gently apply steadily pressure with
care on the assembly lever until the
pen parts are pressed together.
5. Do not over force the lever if you
nd the parts don’t press easily.
You may need to re-align your pen
components.
SUGGESTIONS
Once the pen press is set in position, it is ideal
for repetitive operations.
If you have a batch of pens to assemble, it is
recommended to maintain the same set up for
pressing similar parts at once.
As the assembly progresses and the pressed
parts become longer or shorter, loosen the
knob securing the movable rod. Then move it
into the appropriate position and re-lock it for
continuing the pressing operation and nish
the assembly.
Fig. 04
Fig. 05
Fig. 03
2
Table of contents
Other Carbatec Power Tools manuals


