3
DE
EN
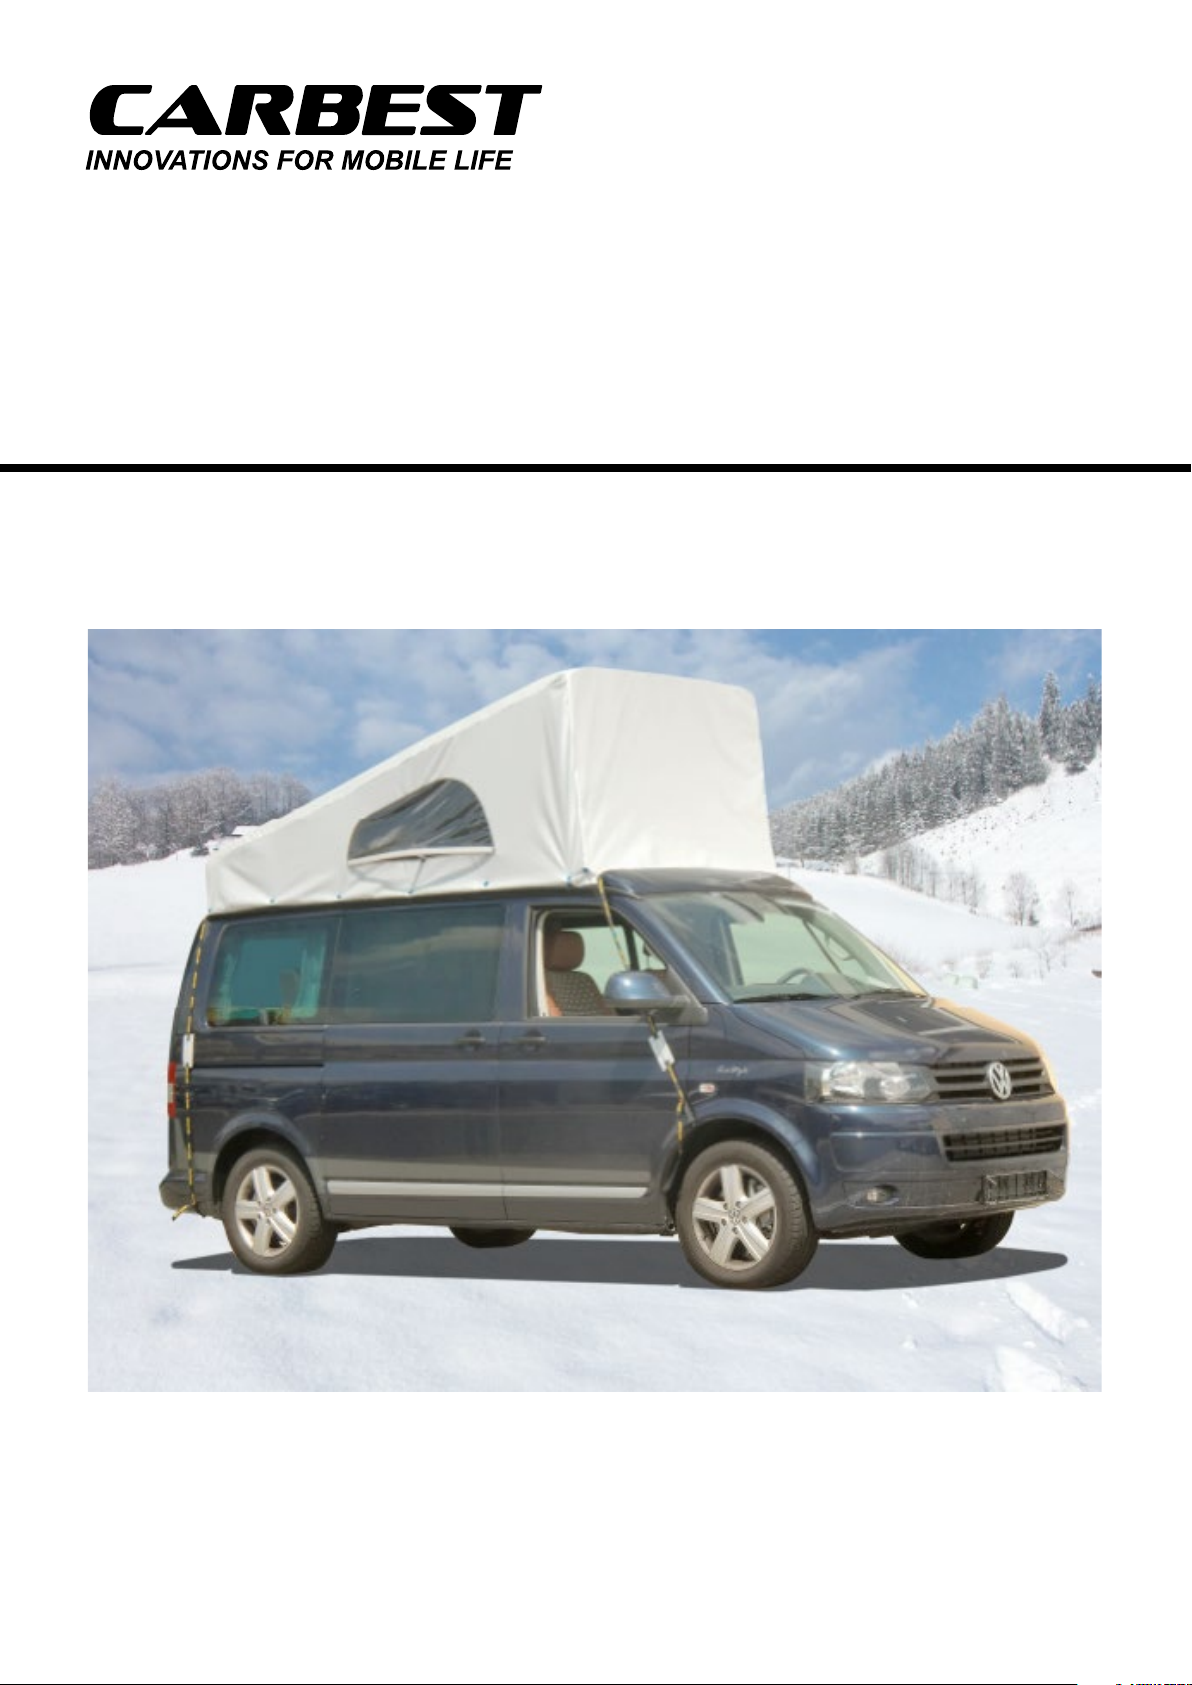
3. Haube über das Fahrzeug ziehen
Die Wetterschutzhaube wird bei geschlossenem Schlafdach (bei geschlossener Hecktür) von hinten über das
Dach des Busses gezogen.
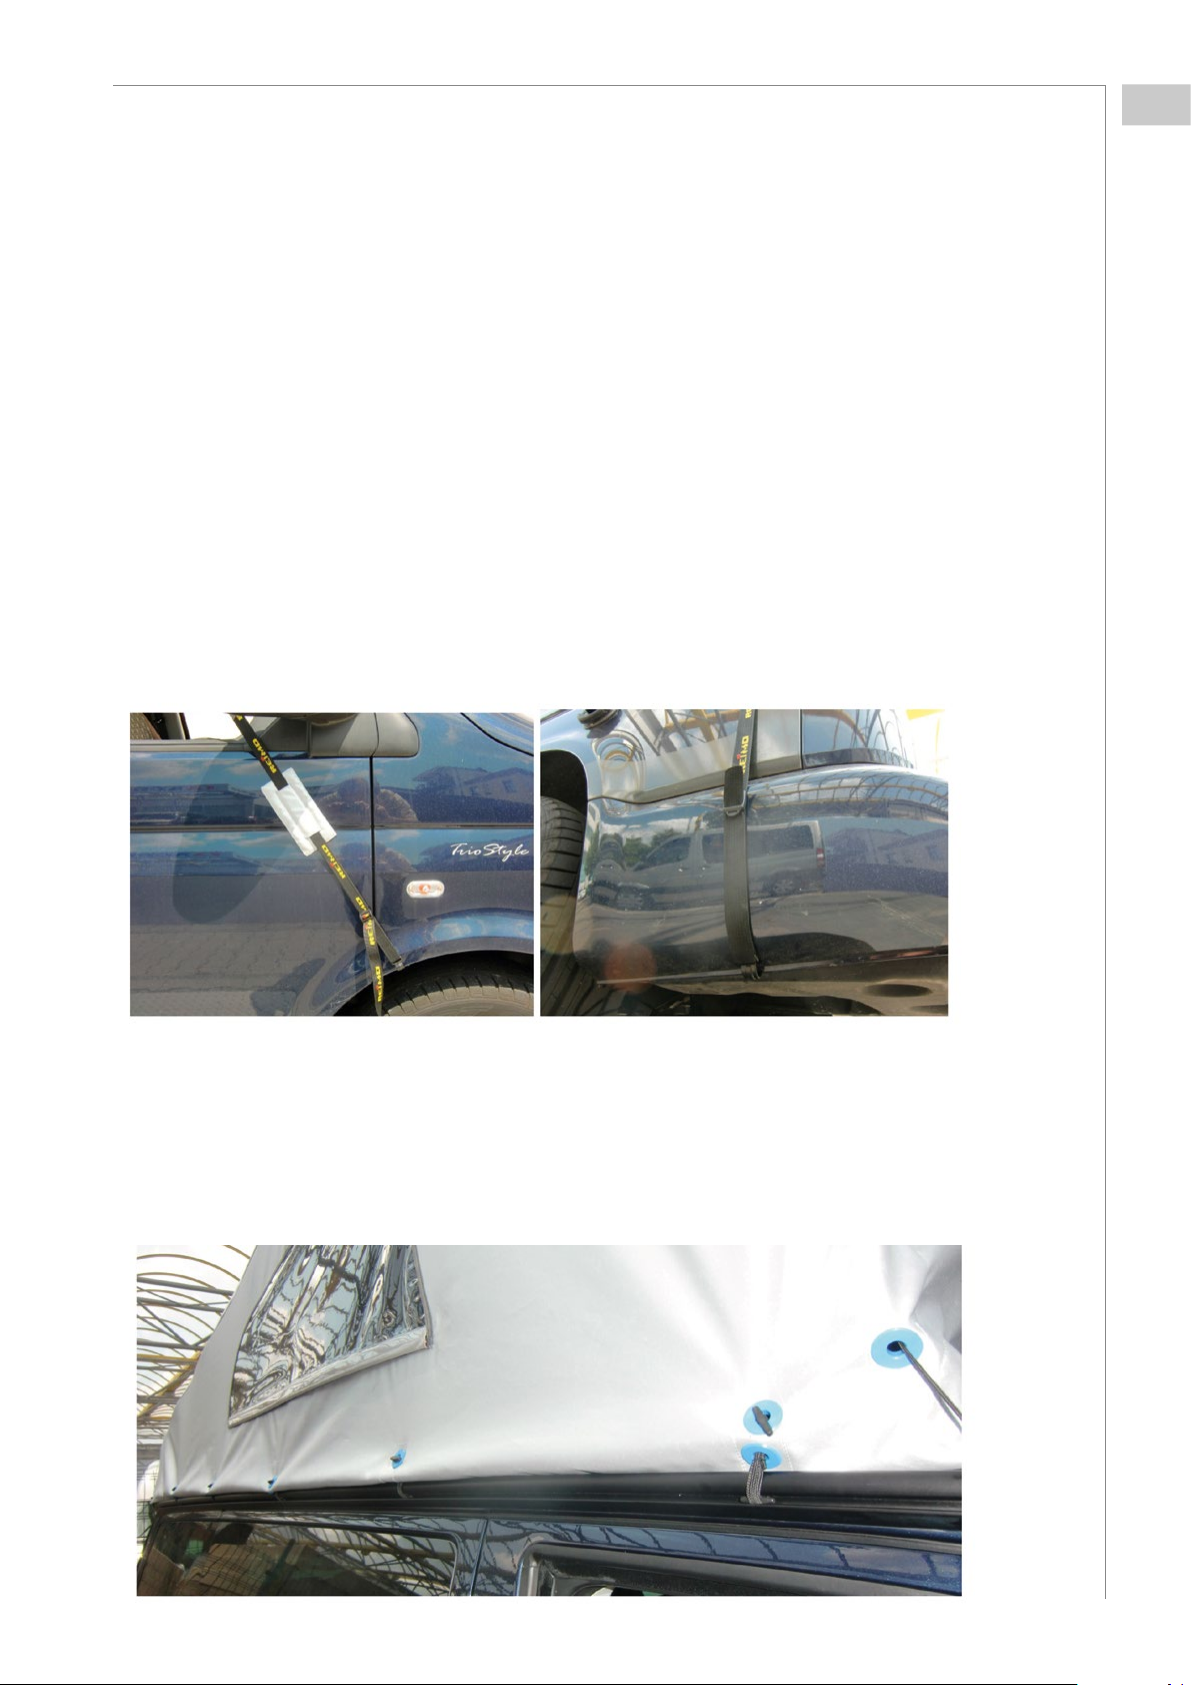
Günstig ist hierzu eine 2. Person. So kann man leichter parallel die vorderen, unteren Ecken (am Gurt) über
das Dach ziehen. Die vorderen Ecken liegen dann korrekt an der oberen Ecke der Windschutzscheibe, die
hinteren am Dach-Ende.
Bevor Sie nun das Dach aufstellen, klemmen Sie die vorderen Gurte (provisorisch) in die Türdichtung, damit
die Gurte beim Aufstellen des Daches eine leichte Führung haben.
Achten Sie dabei darauf, dass Gurt-Versteller und –Haken jeweils ganz am Gurt- Ende sitzen, um Beschädigun-
gen zu vermeiden.
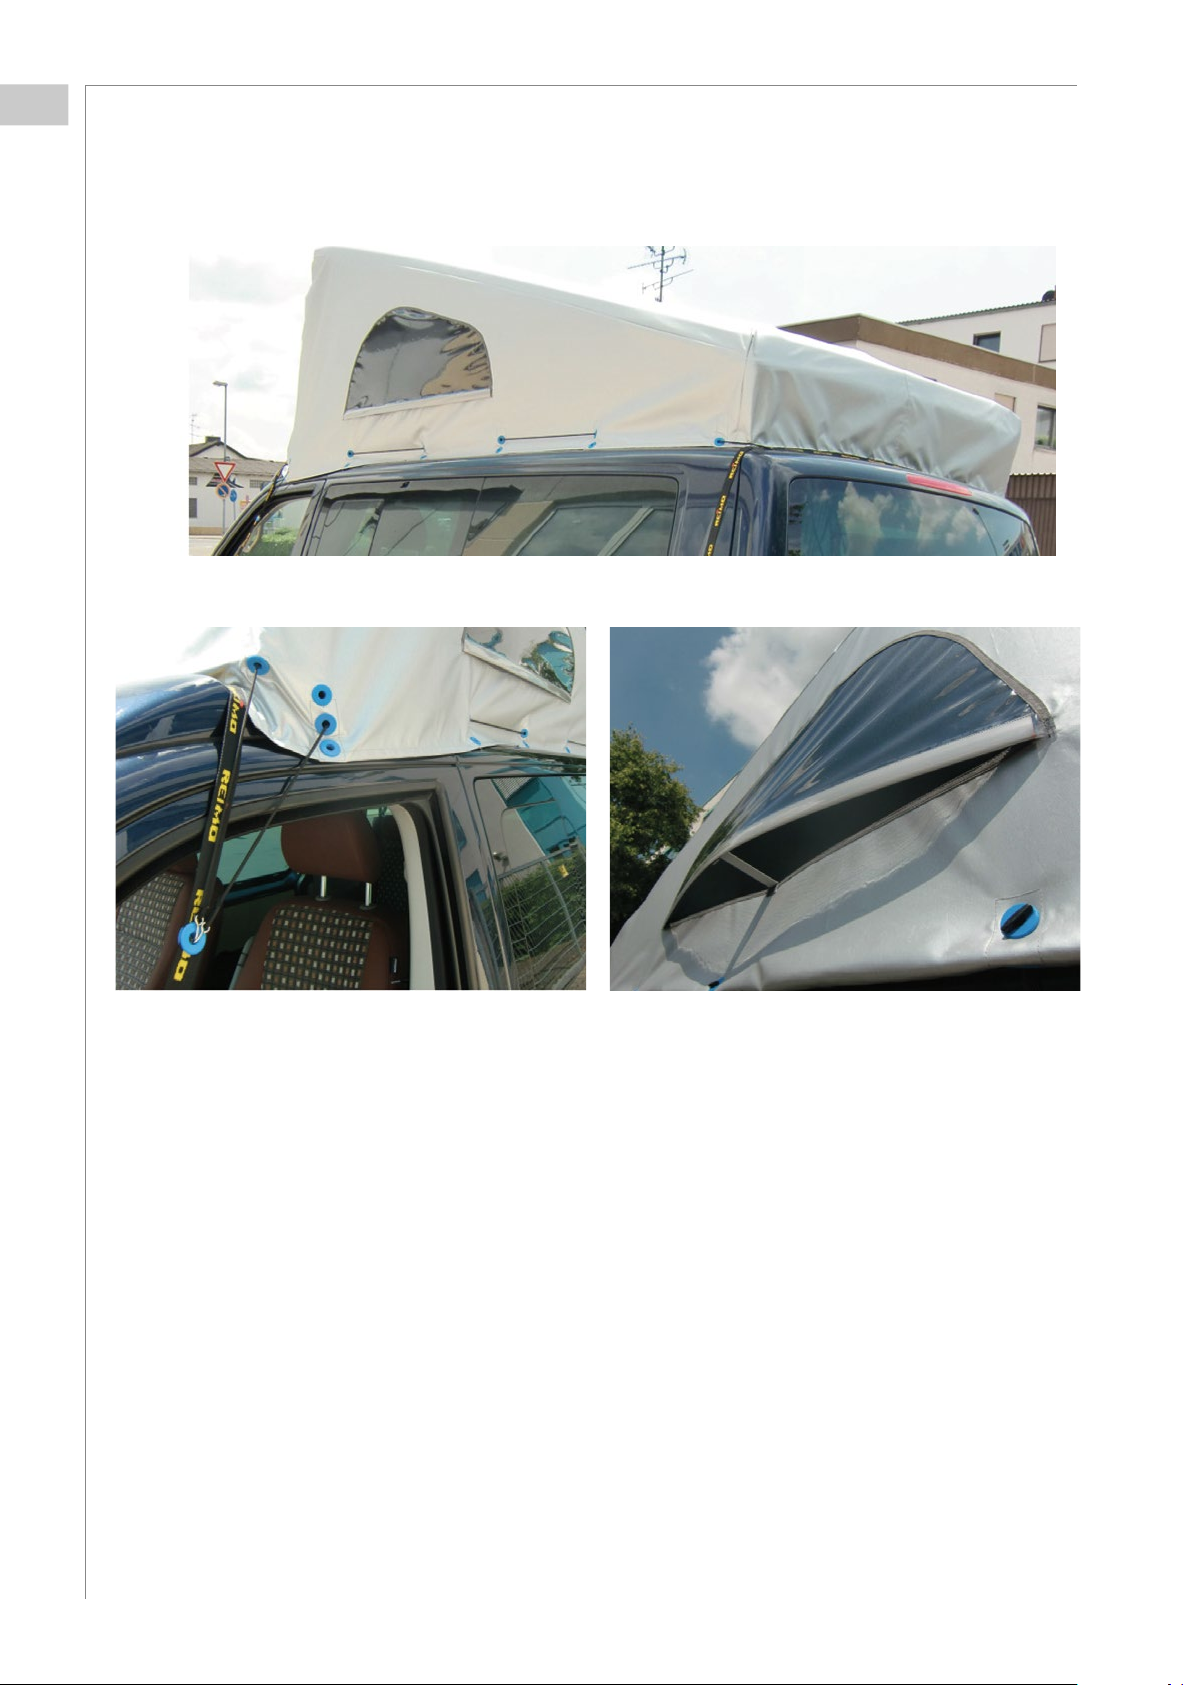
4. Dach aufstellen
Nun stellen Sie das Dach wie gewohnt auf.
Die 2. Person achtet dabei darauf, dass die Haube nicht einseitig vom Dach rutscht.
5. Ecken der Haube mit den Gurten herunterziehen
Ziehen Sie die Hauben-Ecken vorsichtig an den Gurten herunter, bis die Haube gut „sitzt“.
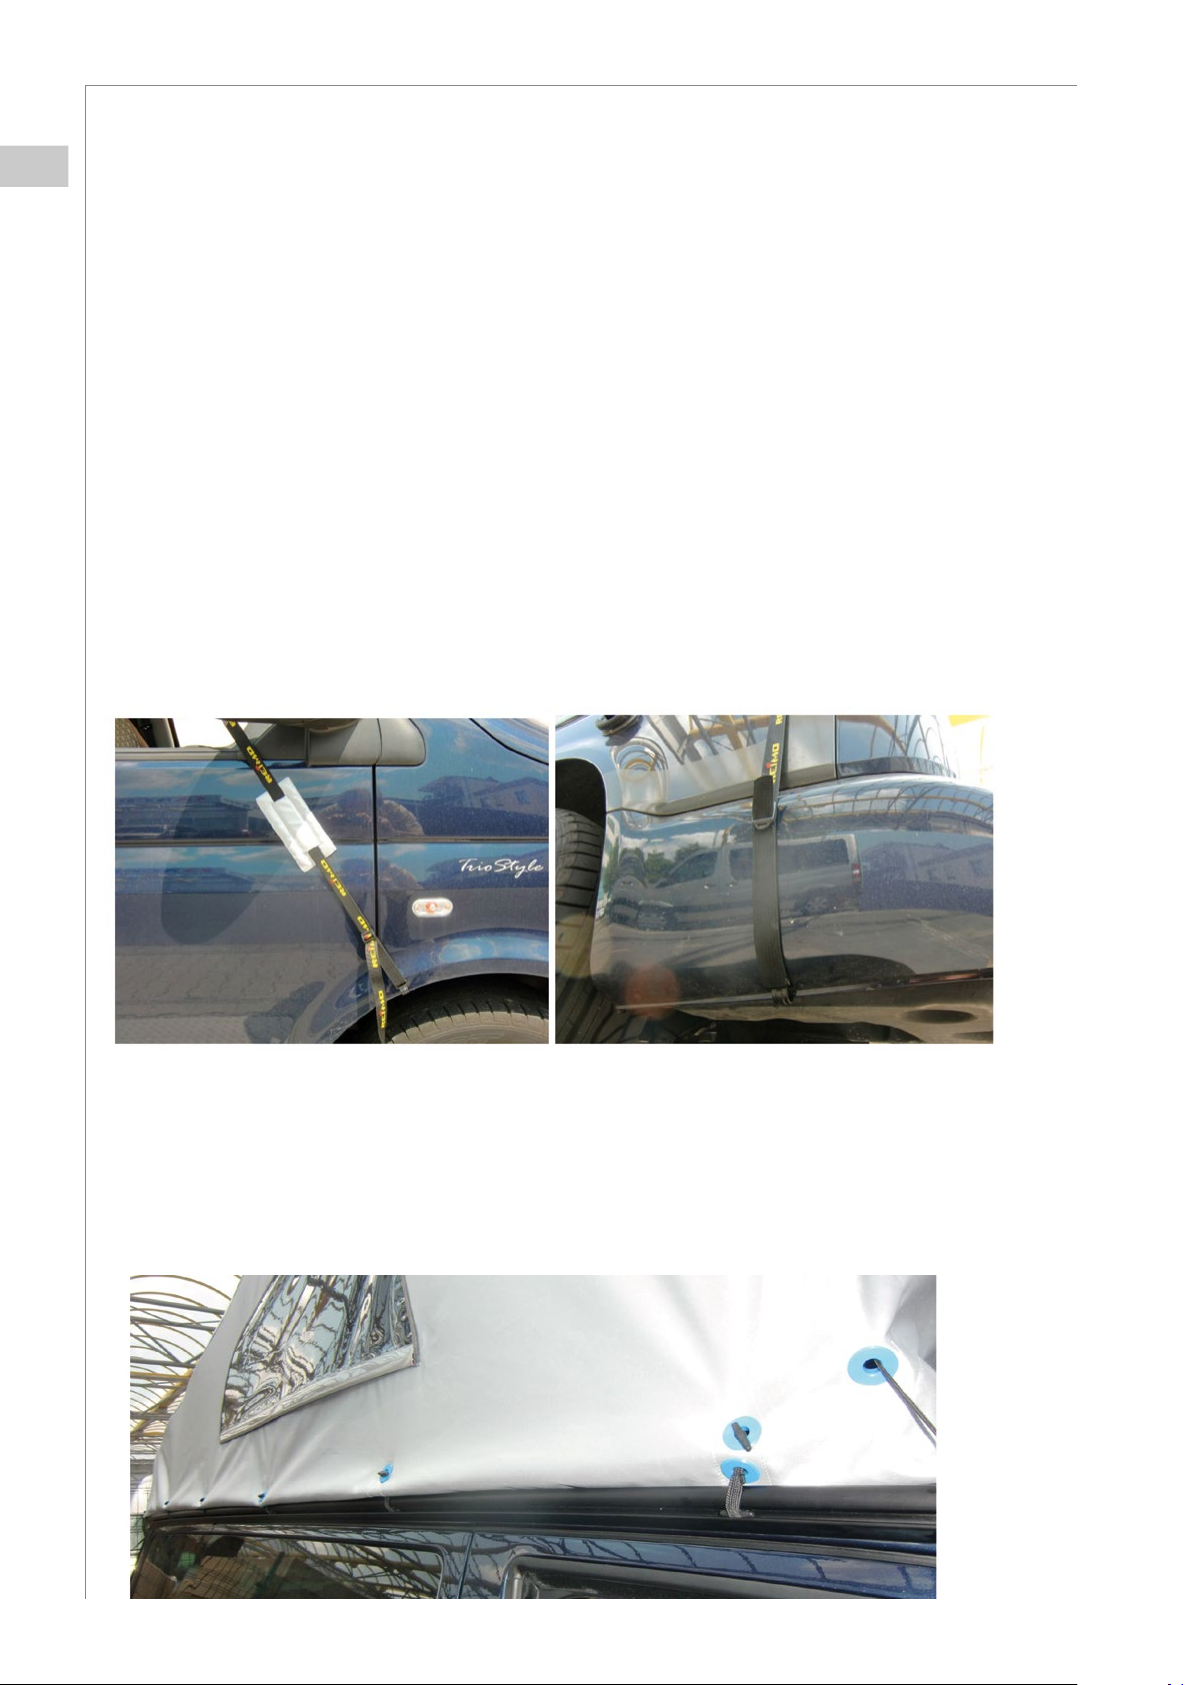
Falls noch nicht vormontiert, schieben Sie die Gurtpolster über die Gurte und bringen Sie die Versteller und die
Plastikhaken an den 4 Gurt-Enden an.
6. Gurte am Bus einhängen
Die Gurte werden vorne an den Radläufen und hinten an der Unterkante des Stoßfängers eingehängt.
7. Befestigen der Haube
Um optimale Wetterfestigkeit zu erreichen, wird die Haube nun wie folgt verzurrt:
a) An der Reimo Multirail bzw. California-Zeltadapterschiene:
auf jeder Seite des Fahrzeugs 6 Knebelverbinder in die Zeltkederschiene einschieben. Von hinten nach vorne
Knebel durch die Ösen in der Haube ziehen. Durch Umschlagen oder Überlappen über die Profilleiste können
unterschiedliche Klima-Situationen erreicht werden: hinterlüftend oder regenabweisend.