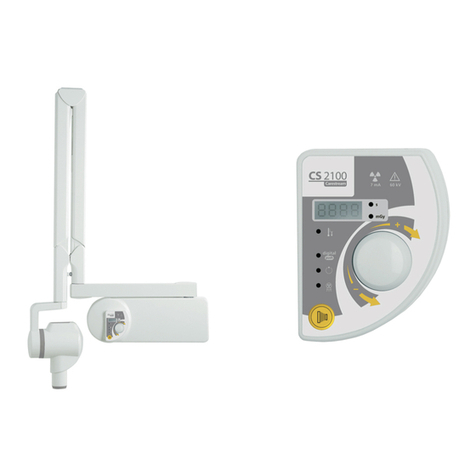
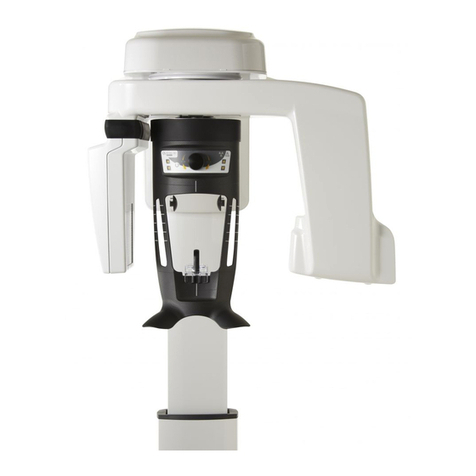
Carestream DENTAL CS 1500 User manual
Other Carestream DENTAL Dental Equipment manuals
Carestream DENTAL
Carestream DENTAL RVG 142 Troubleshooting guide
Carestream DENTAL
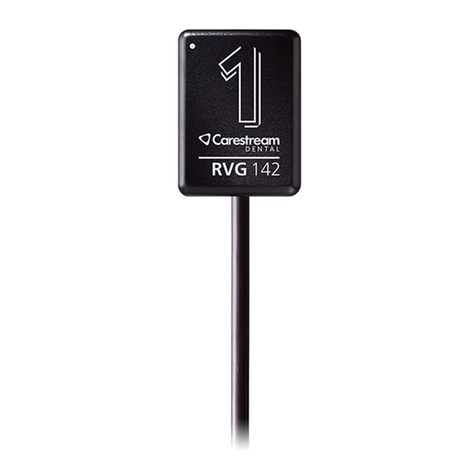
Carestream DENTAL RVG 142 User manual
Carestream DENTAL
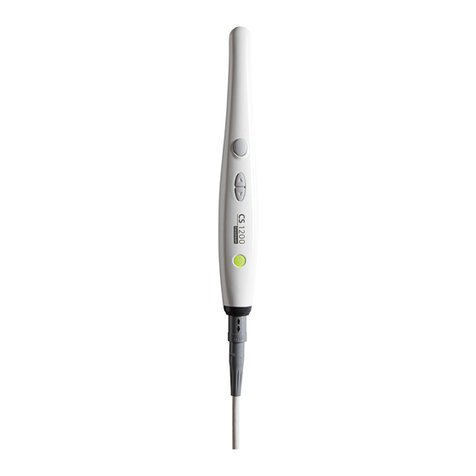
Carestream DENTAL CS 1200 User manual

Carestream DENTAL
Carestream DENTAL CS 1200 Owner's manual
Carestream DENTAL
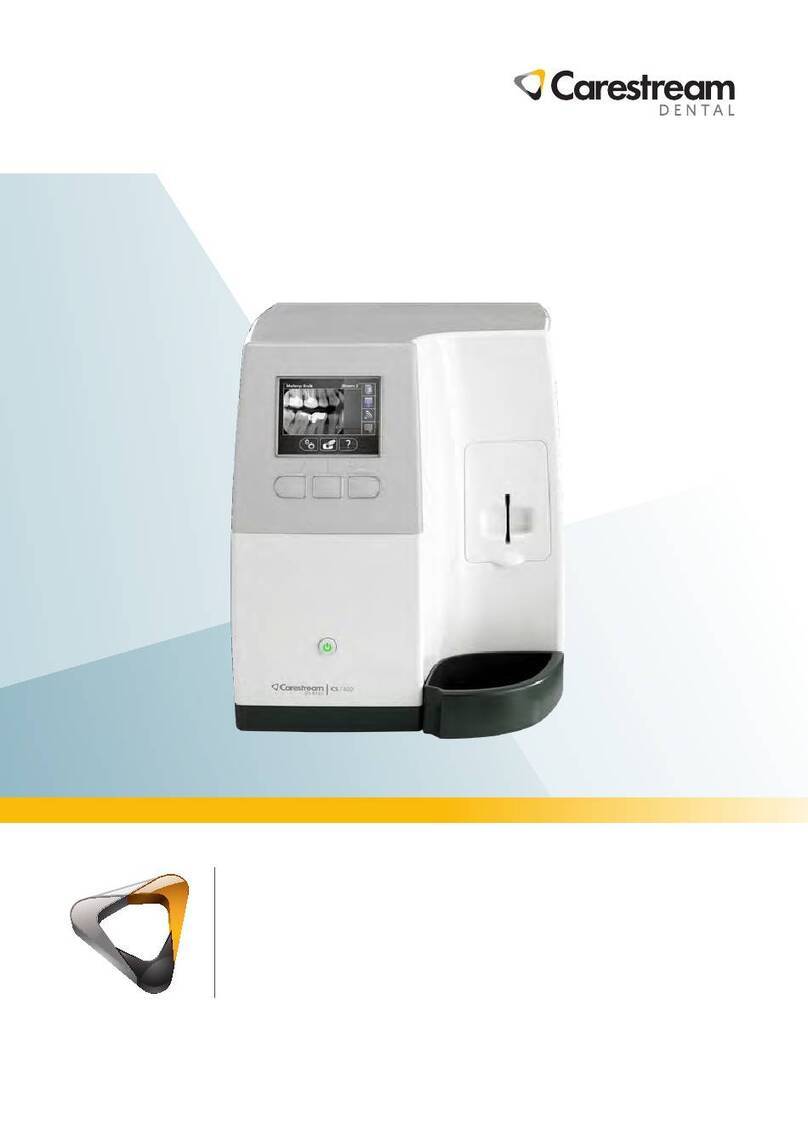
Carestream DENTAL CS 7600 User manual
Carestream DENTAL
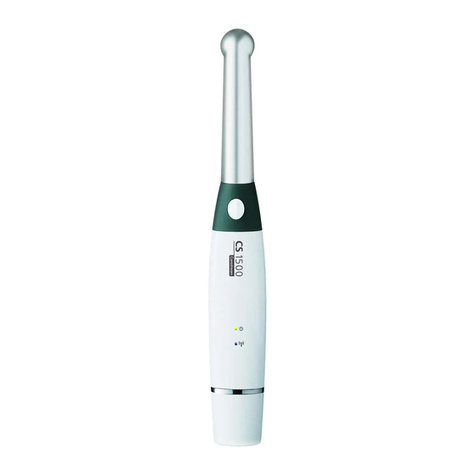
Carestream DENTAL CS 1500 User manual
Carestream DENTAL
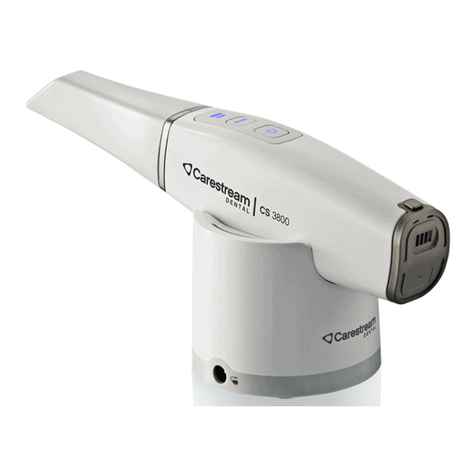
Carestream DENTAL CS 3800 User manual
Carestream DENTAL
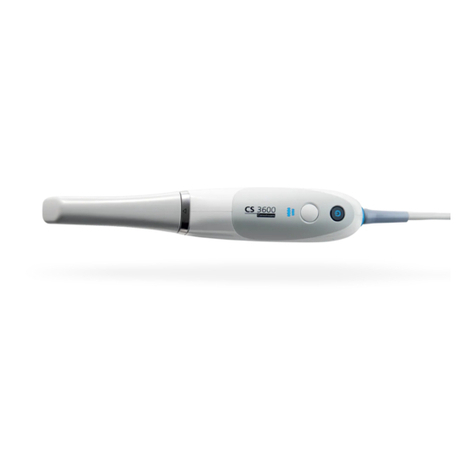
Carestream DENTAL CS 3600 Manual
Carestream DENTAL
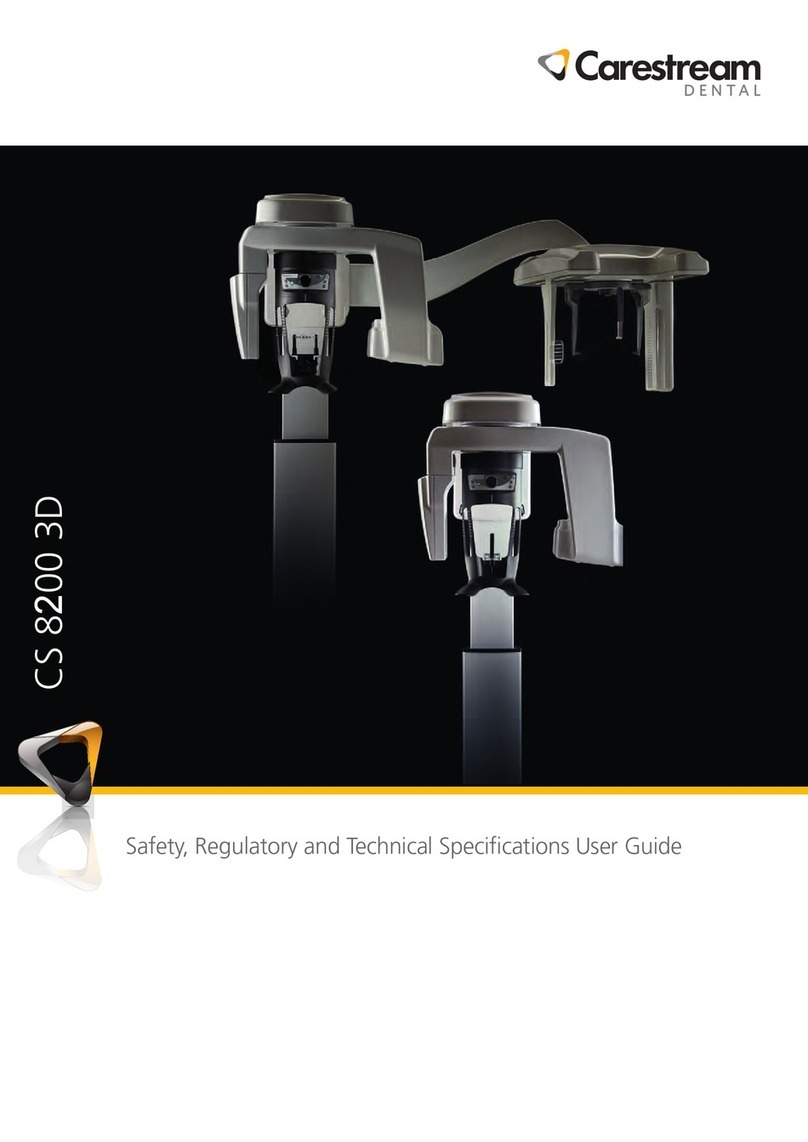
Carestream DENTAL CS 8 200 3D User manual

Carestream DENTAL
Carestream DENTAL CS 3800 Manual

Carestream DENTAL
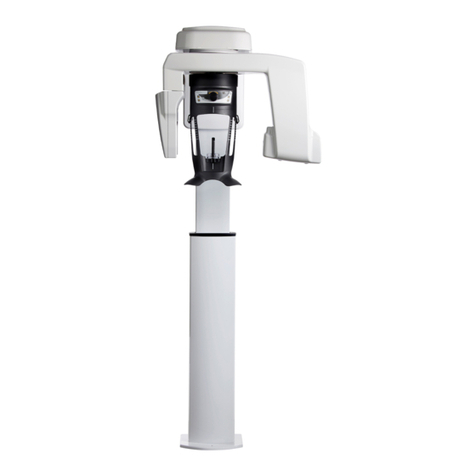
Carestream DENTAL CS 1200 Owner's manual
Carestream DENTAL
Carestream DENTAL CS 8200 3D User manual
Carestream DENTAL
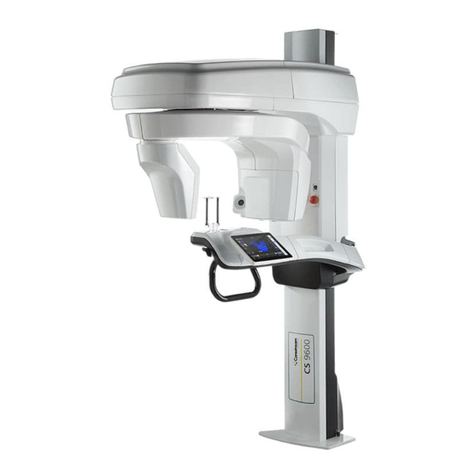
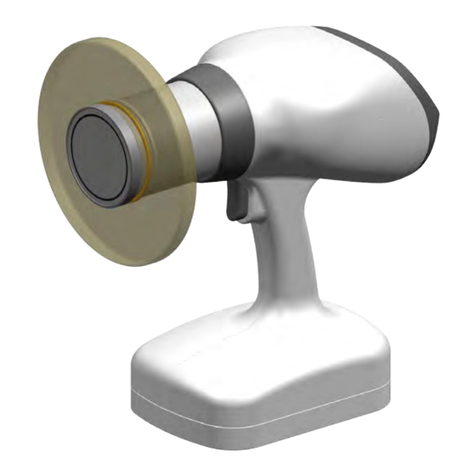
Carestream DENTAL CS 9600 User manual
Carestream DENTAL
Carestream DENTAL Nanoray CS 2400P User manual

Carestream DENTAL
Carestream DENTAL CS 1200 Manual

Carestream DENTAL
Carestream DENTAL RVG OPTIMA Manual

Carestream DENTAL
Carestream DENTAL CS 3800 Manual
Carestream DENTAL
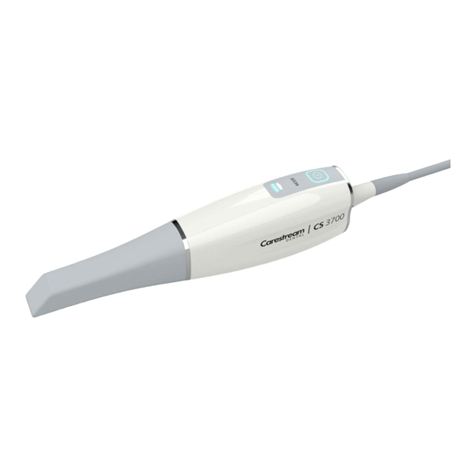
Carestream DENTAL CS 3700 Troubleshooting guide
Carestream DENTAL
Carestream DENTAL CS 8100 3D Series User manual
Carestream DENTAL
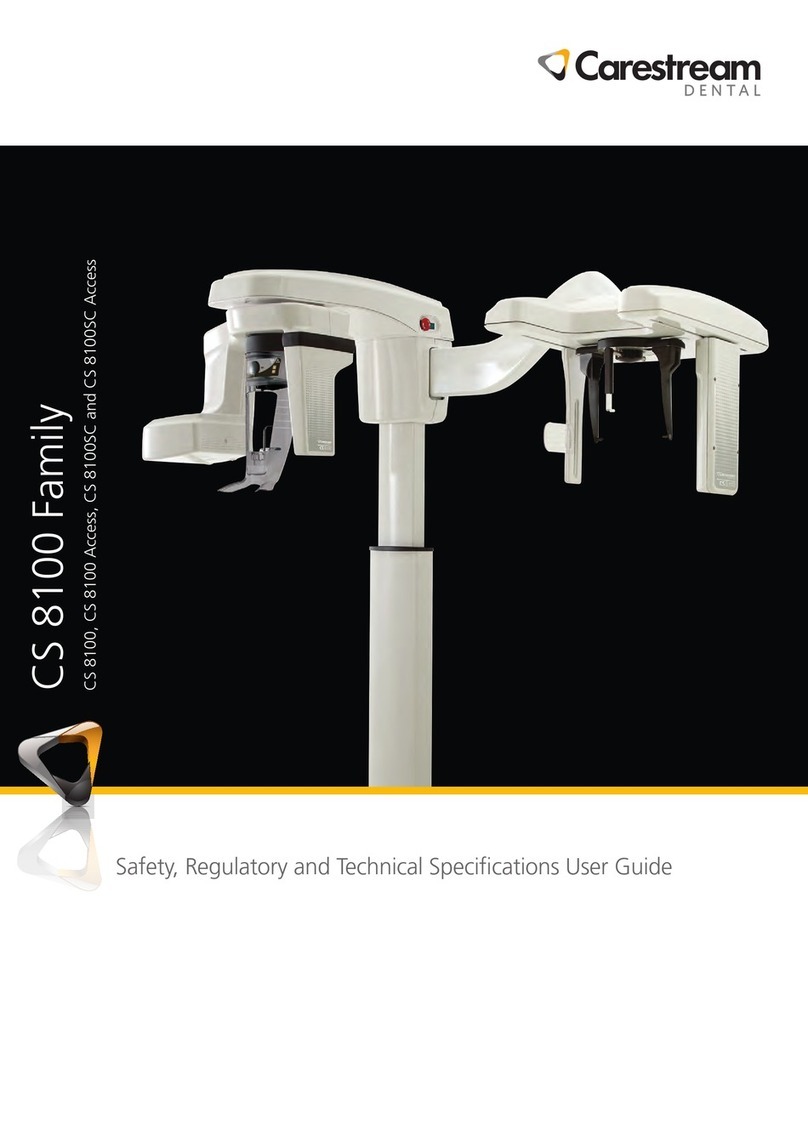
Carestream DENTAL CS 8100 Series User manual
Popular Dental Equipment manuals by other brands

Vatech
Vatech EzRay Air VEX-P300 user manual

KaVo
KaVo GENTLEpower LUX Contra-angle 25 LP Technician's Instructions

DENTSPLY
DENTSPLY SmartLite Focus Instructions for use

LM
LM ProPower CombiLED quick guide

Owandy Radiology
Owandy Radiology RX-AC user manual

mectron
mectron Piezosurgery Cleaning and sterilization manual


