CARPOINT 0635863 User manual

BATTERY CHARGER
ACCULADER • BATTERIE LADEGERÄT • CHARGEUR • CARGADOR
INSTRUCTION MANUAL
GEBRUIKSAANWIJZING
BEDIENUNGSANLEITUNG
MANUEL D’UTILISATION
MANUAL DE INSTRUCCIONES
14,4V/1,0A 7,2V/1,0A

1
INDEX
For Your Safety 2
Product Feature 2
Product Safety Feature 2
Contents 3
Safety Information 3
Locate Charger 4
Battery Type & Settings 4
Charging 4
Equipment Description 6
Indication 6
Component Description 7
Select Charging Mode 7
Reset/Deleting Settings 7
Switching Over between different Modes 7
MODE 1 (6,8V/1,0 & 7,2V/0,6A) 8
MODE 2 (13,6V/1,0A & 14,4V/0,6A) 8
Rescuing Drained Battery 8
Abnormality Protection 9
Overheating Protection 9
Bulk Charging Time 9
Technical Data 10
Charging Phases 11
Diagnosis & Recovery 12
Bulk 12
Absorption 12
Battery capacitance verification stage 12
Maintenance charge 13
Error Mode 13
Power Mode 13
Trouble Shooting 14
Maintenance 14
Mounting & Product Dimensions 14
Equipment 14
Declaration of Compliance 15
ENGLISH

2
FOR YOUR SAFETY
This manual contains important safety and operating instructions. Read this manual carefully
before using the charger for the first time and keep the manual in a safe place for future
reference.
PRODUCT FEATURE
Congratulations on your purchase of the Carpoint 5-Step fully automatic switch mode battery
charger and maintainer, designed for charging a variety of lead acid batteries, widely used in
motorbikes and several other vehicles. The batteries may be of various types i.e. WET/Flooded
(Liquid Electrolyte), GEL (Gelatin type Electrolyte, absorbed into the plates), AGM (Absorbed Glass
Mat), MF, VRLA (Valve Regulated Lead Acid) batteries.
Their capacity range from 6V/1.2Ah to 6V/12Ah and from 12V/7.2Ah to 12V/60Ah. Using
state-of-the art technology, the charger enables the recharging of the batteries to almost 100%
of their original capacity. It recovers slightly sulphated batteries. It diagnoses and rescues drained
battery. It provides trickle charge and maintenance charging which increases battery life and
gives superb performance. It is also ideal fro maintaining batteries of non-regularly used vehicles
of all types. It has memory function. The charger returns to last selected mode automatically
when power is switched on. For repetitive charging process, this is a very useful feature. However
different charging mode could be selected by pressing the “MODE” button. It also features low
back current drain and low ripple.
PRODUCT SAFETY FEATURE
• Electronicallysafeagainstusererrors.Thechargerwillnotdamagevehicleelectronics.Itis
totally safe for months long connections and maintenance of irregularly or seasonally used
batteries even while the charger is still connected to the vehicle. It provides optimal condition
without damage. No risk of over-charging!
• Fullprotectionagainstwrongconnectionandagainstshortcircuitensuressafecharging
operation.
• ProvidedwithSparkprotectionmechanism.Thisfeaturedoesnotactivatewhenthecharger
is in Supply mode. The charger will not begin operation upon connection to the battery unless
charging mode has been selected. This embedded feature eliminates the possibility of a spark
that often appears during connections.
• FullycontrolledbyinternalMCU(Micro-Computer-Unit),whichmakesitfaster,powerful,
reliable and smarter. It detects the state of charge of the battery plugged into it and initiates
charging.
• Dustandsplashproof(IP65)approval.Approvedforindooruse.
ENGLISH

3
• Doubleinsulated
CONTENTS
1) Carpoint Charger 0635863
2) Interchangeable quick contact battery leads with clamps
3) Interchangeable quick contact battery leads with eyelet terminals (Ø 6.3mm)
4) Plug-in fuse 2.0A
5) User Manual
SAFETY INFORMATION
• ThisCarpointchargerisdesignedforcharging6V1.2-12Ahand12V7.2-60Ahlead-acid
rechargeable batteries. Do not use it for any other purposes. It may cause an explosion.
WARNING! DO NOT ATTEMPT TO CHARGE A NON-RECHARGEABLE BATTERY (PRIMARY CELLS).
• Thisapplianceisnotintendedforusebypersons(includingchildren)withreducedphysical,
sensory or mental capabilities, or lack of experience and knowledge, unless they have been
given supervision or instruction concerning use of the appliance by a person responsible for
their safety.
• Childrenshouldbesupervisedtoensurethattheydonotplaywiththeappliance.
• Avoiddangeroflifeandbody!Donotusethechargerwithdamagedcable14.Itmustbe
repaired by an authorized technician.
• Whilechargingalwaysusesafetyglasses,gloves,protectiveclothingandkeepyourfaceaway
from the battery.
• Explosionhazard!Abatterybeingchargedcouldemitexplosivegasses.Avoidsmokingor
open sparks or flames in the vicinity of the battery.
• Dangerofexplosionandre!Whilecharging,explosiveandammablesubstancessuchas
fuel or solvents should not be kept in vicinity of the charger or the battery.
• Donotcoverthechargerwhilecharging.
• Dangerofchemicalburns!Batteryacidishighlycorrosive.Ifyourskinoreyescomeinto
contact with acid, immediately rinse the affected part of the body with excessive water and
seek medical advice.
• Donotchargeafrozenbattery
• Donotchargeadamagedbattery
• Beforecharging,makesuretheinputiswithinstipulatedratinglevel,otherwisecharging
performance may be seriously affected.
• Whileconnectingthechargertothebattery,maintainrightpolarityconnectionandavoid
ENGLISH

4
short-circuiting.
• Disconnectthebatteryfromthechargerwhenchargerisnotconnectedtothepowersupply.
This will reduce back drain current.
• Chargingmustbeceasedimmediatelyifbatteryisfoundtobetoohotorleaksoutliquid
during charging.
• Incaseofmalfunctionordamage,immediatelydisconnectthechargerfromthemains.
• Donotusevehiclewhenchargingpermanentlyinstalledbatteries.
• Ensurethatchargerswitchestomaintenancechargemode,beforeitisleftunattendedand
connected for long time. If this stage does not arrive within 73 hours (max), the charger must
be disconnected manually.
LOCATE CHARGER
• LocatethechargerasfarawayfrombatteryastheDCcordpermits.
• Whilechargingdonotplacechargerdirectlyaboveorbelowthebattery.Gasesoruidsfrom
the battery may corrode and damage the charger.
• Neverallowbatteryacidtodriponthecharger.
• Chargingshouldbecarriedoutinawell-ventilated,weatherprotectedfacility.
BATTERY TYPE & SETTINGS
The following recommendations should only be referred to as guidelines. For precise details, you
must refer to battery manufacturer for instructions.
Symbol Mode Settings Details
1 7.2V/1.0A This mode is normally suitable for 6V (1.2Ah to
12Ah) WET/Flooded, GEL, AGM, MF, VRLA type
lead-acid rechargeable batteries.
2 14.4V/1.0A This mode is normally suitable for 12V (7.2Ah to
60Ah) WET/Flooded, GEL, AGM, MF, VRLA type
lead-acid rechargeable batteries.
CHARGING
1) Charging of a permanently installed battery in a vehicle
a) Before connecting or disconnecting the battery leads, the power cord should be removed
from the mains.
ENGLISH

5
b) Check polarity of battery post. A positive (“+”) battery post usually has a larger diameter
than a negative (“-”) post.
c) Identify the pole of battery which is connected to the chassis (earth). Normally the negative
terminal is connected to the chassis.
d) Charging of negative earthed battery:
• Makesuretheblackwire(“-”poleconnection)hasnotcontactwiththefuellineorthe
battery.
• Connecttheredwire(“+”)tothepositive(“+”)poleofthebatteryandtheblackwire
(“-“) to the vehicle chassis.
e) Charging of positive earthed battery:
• Makesuretheredwire(“+”poleconnection)hasnocontactwiththefuellineorthe
battery.
• Connecttheblackwire(“-”)tothenegative(“-”)poleofthebatteryandtheredwire
(“+“) to the vehicle chassis.
2) Charging of a battery not connected to a vehicle
a) Before connecting or disconnecting the battery leads, the power cord should be removed
from the mains.
b) Connect the red wire (“+”) to the positive (“+”) pole of the battery and the black wire
(“-“) to the negative (“-“) pole.
In case of reverse polarity connection red LED indicate error mode. This
function would not work in Supply Mode. Error indication light would be also
shown if charge mode is initiated without connecting the battery to the battery leads.
3) Charging with eyelet terminals (Permanent connection to the vehicle battery)
a) Before connecting or disconnecting the battery leads, the power cord should be removed
from the mains.
b) Connect the red wire (“+”) to the positive (“+”) pole of the battery and the black wire
(“-“) to the negative (“-“) pole.
2
2
ENGLISH

6
EQUIPMENT DESCRIPTION
a) Indication:
Indication Symbol Description
Yellow LED for “Power”
Red LED displays “Incorrect polarity/fault”
Red LED displays “Recovering”
Red LED displays “Reverse connection”
Red LED on for “Mode 1” Charging 6V battery
Red LED on for “Mode 2” Charging 12V battery
Red LED on (below 25% charging) “Bulk”
Battery voltage 5.1~6.5V (for 6V battery)
Battery voltage 10.2~13.0V (for 12V battery)
Red LED on (below 50% charging) “Bulk”
Battery voltage 6.4~6.8V (for 6V battery)
Battery voltage 12.8~13.6V (for 12V battery)
Red LED on (below 75% charging) “Absorption”
Battery voltage 6.8~7.2V (for 6V battery)
Battery voltage 13.6~14.4V (for 12V battery)
Green LED displays “Fully charged”
“Maintenance”
Battery Voltage ≥ 6.8-0.15V (for 6V battery) (Charger off 30 minutes)
Battery Voltage ≥ 13.6-0.3V (for 12V battery) (Charger off 30 minutes)
“Mode” selection button
1
2
3
4
5
6
7
8
9
10
11
POWER
ENGLISH

7
b) Component Description
Indication Description
Charger
Mounting Holes
Mains Cable
Power plug
Male connector
Female connector with protection cap
Fuse Holder with 2A plug-in fuse
“+” Pole connection cable (red) with ring terminal
“-” Pole connection cable (black) with ring terminal
Female connector
“+” Pole connection cable (red) with quick clamp (red)
“-” Pole connection cable (black) with quick clamp (black)
SELECT CHARGING MODE
The Carpoint battery charger has unique memory function. The charger returns to last selected
mode automatically when power is switched on. For repetitive charging process, this is a handy
feature. However to charge various batteries at different ambient temperature a specific charging
mode could be selected manually by pressing the selection button until the light for
correct voltage is lit. Within 0.5 second, the charger activates the selected mode.
RESET / DELETING SETTINGS
In beginning of charging process after connection to the power supply, the charger automatically
resets itself to “Power” basic settings and remains in position unless further action is
executed by the user. Yellow LED is lit.
SWITCHING OVER BETWEEN DIFFERENT MODES
By repeatedly pressing the selection button displays the charging modes in the
following order:
a) for 6V battery:
b) for 12V battery:
12
13
14
15
16
17
18
19
20
21
22
23
11
11
POWER1
POWER1
POWER1
5
6
ENGLISH

8
After a full charge, if the battery is not disconnected from the charger, it remains in trickle charge
mode. The default mode is OFF output.
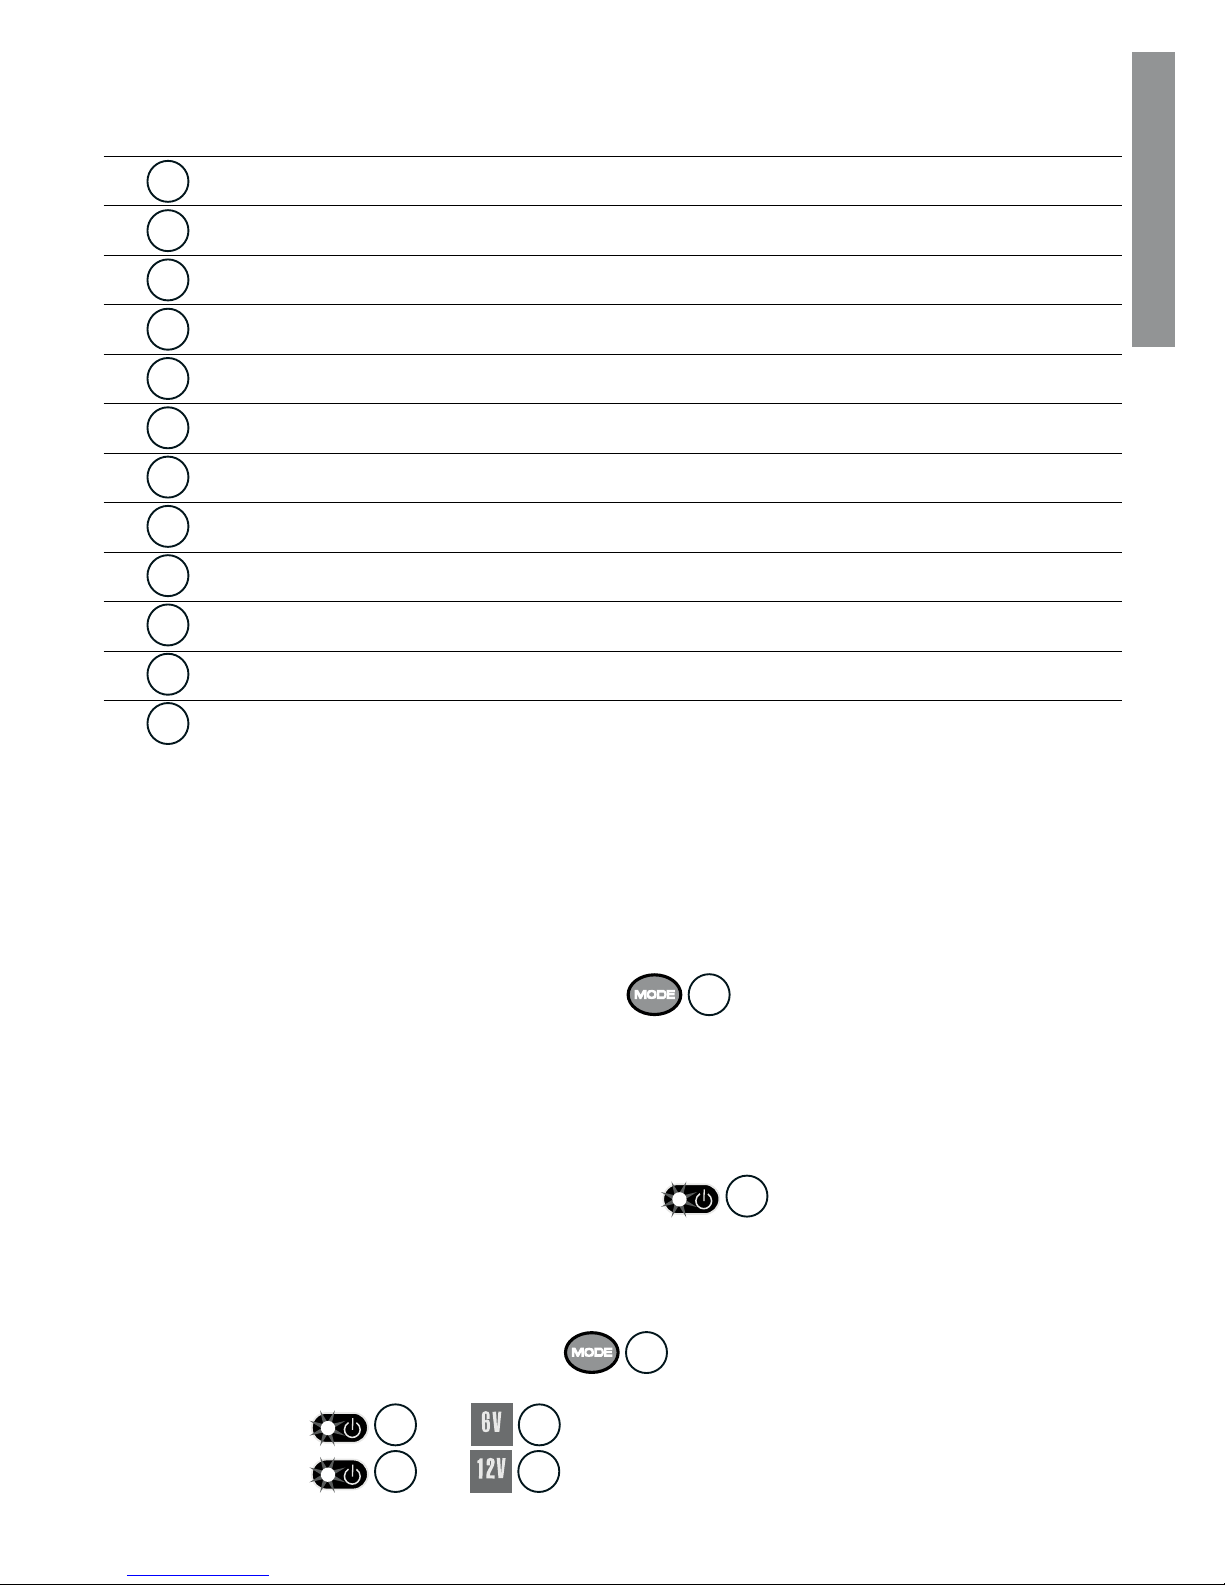
MODE 1 [6V] (6.8V/1.0A) and (7.2V/0.6A)
This mode is suitable for charging 6V batteries with capacity range from 1.2-12Ah in normal
conditions. Connect the output terminals of the charger to the battery with right polarity. Connect
the power cord to the power outlet to begin charging.
Press the selection button to select Mode 1 . After executing this operation
the corresponding LED display will light up. If no further process is activated, the
electronic system will automatically start the charging with a current of 5.25V~6.8V/1.0A±10%
and 6.8V~7.2V/0.6A±10%. Charging shall continue in several stages:
until battery is fully charged up to 7.2V±0.125V. During battery
capacitance verification stage (charger on 30 minutes off 30 minutes) when battery voltage
≥6.8-0.15V/0.2A at this stage all intermediate charging status LEDs display , ,
will turn on one by one until, finally LED display will turn on. The Trickle
current (0.1A±10%) is now available to battery for maintenance.
MODE 2 [12V] (13.6V/1.0A) and (14.4V/0.6A)
This mode is suitable for charging 12V batteries with capacity range from 7.2-60Ah in normal
conditions. Connect the output terminals of the charger to the battery with right polarity. Connect
the power cord to the power outlet to begin charging.
Press the selection button to select Mode 2 . After executing this operation
the corresponding LED display will light up. If no further process is activated, the
electronic system will automatically start the charging with a current of 10.5V~13.6V/1.0A±10%
and 13.6V~14.4V/0.6A±10%. Charging shall continue in several stages:
until battery is fully charged up to 14.4V±0.25V. During battery
capacitance verification stage (charger on 30 minutes off 30 minutes) when battery voltage
≥13.6-0.3V/0.2A at this stage all intermediate charging status LEDs display , ,
will turn on one by one until, finally LED display will turn on. The Trickle
current (0.1A±10%) is now available to battery for maintenance.
Rescuing Drained Battery
When charger is connected to a battery, before the start of charging process, the charger
automatically detects the voltage of the battery. If voltage is below 1V (for 6V battery) and 7.5V
(for 12V battery) the Carpoint charger will not start due to its internal safety circuit. It initiates
recovery charging mode by applying a high voltage 8V (for 6V batteries) or 16V (for 12V
batteries) at 200mA±50mA if the voltage is > 1.0V (for 6V batteries) or > 8V (for 12V batteries).
11
11
5
5
7
7
7
7
8
8
8
8
9
9
9
9
10
10
10
10
6
6
ENGLISH

9
Once the voltage rises to ≥5.25V (for 6V batteries) or ≥10.5V (for 12V batteries) charger changes
over to previously selected charging mode. Now the battery can be charged faster and safer.
Most drained batteries can be charged and used again using this procedure. Rescuing process
terminates within 2 hours ± 15 mins.
Abnormality Protection
In case of short-circuit, open circuit, reversed polarity connection or battery voltage below 1.0V
(for 6V batteries) or below 8V (for 12V batteries), the charger will turn-off the electronic system
and will immediately reset the system back to basic position to avoid damage to battery and
charger.
Overheating Protection
This Carpoint charger is protected by NTC control. During the charging process, if the charger
becomes too hot, the power output is automatically reduced to protect itself from damage.
The charger continues to work trickle charge. Charger increases power automatically when the
ambient temperature drops.
BULK CHARGING TIME
Battery
Size For about 80% Charge (hours)
(Ah) 6V 12V
1.2 3
2 4.5
7.2 15 15
10 20 20
12 25 25
20 40
30 60
40 80
50 100
60 120
Note: Above table is for reference only. Actual data may differ due to battery condition.
ENGLISH

10
TECHNICAL DATA
Input Voltage AC 220-240VAC, 50/60Hz
Output Voltage 6V & 12V (Manual-select)
Input Current 0.4A RMS max
Efficiency >75%
Charging Voltage
Normal temperature mode
Maintenance charging mode
Recovery mode
7.2V±0.125V (for 6V), 14.4V±0.25V (for 12V)
6.8V±0.125V (for 6V), 13.6V±0.25V (for 12V)
8V (for 6V battery), 16V (for 12V battery)
Charging Current 1.0A±0.1A or 0.6A±0.1A or 0.2A±0.05A or 0.2A ON 30
min and OFF 30 min, 0.1A±0.05A
Back Current Drain* <5mA
Ripple** Max 150mV, 0.3A
Ambient Temperature -20°C to +50°C/-4°F to +122°F, Reduced output power at
higher temperature
Type of Charger Five step, fully automatic, switch mode with maintenance
charging
Type of Batteries 6V & 12V Lead-acid batteries (WET, MF,AGM and GEL)
Battery Capacity 1.2-12Ah (for 6V), 7.2-60Ah (for 12V)
Dimensions (LxWxH) 140x60x34.5mm
Housing Protection IP65 (Dust and Splash proof) Indoor use
Weight 0.38kg
Noise Level <50 dB (Tested from a distance of 50cm)
* Back current drain is the amount of current drawn by the charger from battery, when the charger is
connected to the battery, without power cord connected. Carpoint charger has extremely low back current
drain which corresponds to 0.7 Ah per month (1mA/hr)
** Ripple refers to interference of current and voltage. A high current ripple heats up battery and reduces life
of battery. Against a linear charger, which has a current ripple of up to 400%, Carpoint charger’s current
ripple is below 2.5% (0.15/6V or 0.3/12V battery voltage) ,which is much lower than the max 5% for a
sealed acid battery. Equipments connected to the battery could be damaged by high voltage ripple.
ENGLISH

11
CHARGING PHASES
This Carpoint charger performs a 5-step fully automatic charging cycle.
Mode Settings Symbol
1 7.2V/1.0A
2 14.4 V/1.0A
0
2.5
1.0A
7.2V
0.6A
Medium current
Charging
Bulk Absorption
Diagnosis &
Recovery
3.75
5.0
1.0
6.25
7.5
8.75
1 2 3 4 5 6 7 8 9
Fast charging
Battery capacitance
verification stage
Maintenance
Charge
0.2A 0.2A
0.1A
6.8V 6.8V
0.1
0.2
0.3
0.4
0.5
0.6
0.7
0.8
0.9
1.0
1.2
Battery Voltage
≥6.8V-0.15V
Voltage (V)
Current (A)
Hour
0.2A (Max 2
hour)
5.25V
Voltage (V)
0
2.5
5.0
1.0A
14.4V
0.6A
Medium current
Charging
0.2A (Max 2 hour)
7.5
10
12.5
15
17.5
1 2 3 4 5 6 7 8 9
Fast charging
0.2A 0.2A
0.1A
13.6V 13.6V
0.1
0.2
0.3
0.4
0.5
0.6
0.7
0.8
0.9
1.0
1.2
Bulk Absorption
Diagnosis &
Recovery
Battery capacitance
verification stage
Maintenance
Charge
Battery Voltage
≥13.6V-0.3V
Hour
Current (A)
10.5V
Carpoint charging curve 6V (4Ah battery)
Carpoint charging curve 12V (7Ah battery)
ENGLISH

12
1) Diagnosis & Recovery:
As soon charging instruction is given to the charger, the unique diagnostic function
automatically checks status of battery (detects voltage). If a deeply discharged battery’s
voltage is over 1V (for 6V battery) or 7.5V (for 12V battery), charger begins recovery
charging mode by applying high voltage 8V (for 6V battery) or 16V (for 12V battery) at very
low current of 200mA to recover it, which terminates when voltage reaches ≥5.25V (for 6V
battery) or ≥10.5V (for 12V battery). At this stage or if voltage of a battery is over 5.25V (for
6V battery) or 10.5V (for 12V battery) at the beginning of the process, the charger skips pulse
charging and it switches over to normal charging mode. Recovery mode terminates within 2
hours.
2) Bulk:
Approx. 80% of energy is returned in this phase of charging. Charger delivers constant current
of 1.0A±0.1A until the voltage reaches to 6.8V±0.125V (for 6V battery) or 13.6V±0.25V (for
12V battery). It is indicated by LEDs and .
3) Absorption:
Use of a constant high current for extended periods of time risks gassing the battery.
Therefore a constant low charging current is given at 0.6A to raise voltage to 7.2V±0.125V
(for 6V battery) and to 14.4V±0.25V (for 12V battery) at which point the charger switches to
confirm battery capacitance phase. If the battery is fully charged, it is sensed by indication of
red LED . Since current is not delivered at highest constant level, the charger would
minimize the heating up of the battery, and hence it will eliminate the build up of gasses. This
ensures more efficient and safer performance. In this phase complete charging up to almost
100% is achieved. Charger would initiate charge phase.
4) Battery capacitance verification stage:
The battery will signal to the charger and will only take enough current to sustain small
loads such as alarms etc or current leaks in the vehicle wiring circuit. The charger will be
charging with 30 minutes on and 30 minutes off and use a constant voltage 6.8V±0.125V
(for 6V battery) or 13.6V±0.25V (for 12V battery) and constant current 200mA to confirm
the battery voltage. The charging voltage is limited at 6.8V±0.125V (for 6V battery) or
13.6V±0.25V (for 12V battery). If voltage reduces by more then 150mV (for 6V battery) or
300mV (for 12V battery) the current drawn by the battery exceeds 200mA during unique
30±5 minutes charge verification stage each hour, low current of 200mA is given to the
battery for 30±5 minutes or reverts to absorption charging stage. This process is repeated
unless battery is fully charged. When the battery voltage reaches to 7.2V±0.125V (for 6V
7 8
9
ENGLISH

13
battery) or 14.4V±0.25 (for 12V battery), battery is fully charged and ready to use. It is
indicated by green LED
. The charger switches to maintenance charge phase.
Standby feature: When battery remains connected with vehicle’s wiring system, during the
trickle mode, circuits continuously monitor the current drawn by the battery.
5) Maintenance Charge:
Charger begins maintenance charging pulse at constant 100mA to support any connected
accessories or losses due to deterioration vehicle wiring until voltage reaches 6.8V±0.125V
(for 6V battery) or 13.6V±0.25V (for 12V battery).
Green LED would continue to be on as long as battery remains greater or equal to
6.15V±0.125V (for 6V battery) or 12.3V±0.25V (for 12V battery). If the battery is loaded
and/or terminal voltage falls below 6.15V±0.125V (for 6V battery) or 12.3V±0.25V (for 12V
battery), the red LED in the test panel would indicate a problem.
This Carpoint charger is fully interactive which adjusts itself to changing current requirement to
charge and maintain the battery.
ERROR MODE
The charger goes to Error mode in following situations:
a) After charging, battery’s voltage is not sustained or despite recovery attempts the battery was
irrecoverable. This may be due to a defect in the battery itself such as a short-circuited cell or
total sulfation.
b) If battery is still connected to the vehicle’s wiring system, there may be loss of current
through deteriorating wiring or a degraded switch or contact or in-circuit current-consuming
accessories.
c) If wrong charging mode is selected such as 6V charging mode for a 12V battery or 12V
charging mode for a 6V battery.
POWER MODE
The charger goes to Power mode in following situations:
a) Charger’s terminals are short circuited or open circuited when charging is initiated.
b) Charging is initiated without any battery connected to the battery leads.
c) Attempt to charge a battery whose voltage is below 1V (for 6V battery) or 7.5V (for 12V
battery).
10
10
2
2
POWER1
ENGLISH

14
d) The charger is in recovery mode for over 2 hours.
e) The charger is in bulk and absorption mode for over 41 hours.
TROUBLE SHOOTING
Charger light does not turn on:
a) Remove the charger from the AC outlet and recheck the charger clamps are connected to the
correct terminals and are making a clean connection.
b) Check to make sure AC outlet is supplying power.
c) A bad connection of the battery to ground.
Charger light is on but battery does not charge properly
a) The battery may be defective or of oversize.
b) The battery has a excessive current draw, battery must be replaced.
MAINTENANCE
This Carpoint charger does not need any specific maintenance. Only install, maintain or service
this charger when it is disconnected from the mains. It may be cleaned with a dry cloth or soft
tissue. Under any circumstances, do not use any solvents or other cleaning agents.
MOUNTING & PRODUCT DIMENSIONS
The charger is easy to fix using two screws. Please refer to product drawing.
EQUIPMENT
The Carpoint charger is supplied with two detachable and interchangeable colour coded lead
sets- one with clamps for bench charging and other with eyelet terminals (Ø6.3mm) with in-line
battery protection plug-in fuse (2.0A) for permanent attachment to the battery posts to allow
quick connection/disconnection through snap-connector.
ENGLISH

15
DECLARATION OF CONFORMITY
Service Best International B.V.
De Run 4271
5503 LM Veldhoven
The Netherlands
T: +31 (0)40 2302300
F: +31 (0)40 2302302
hereby declares that 0635863 – Battery charger - BX-3 is in compliance with the essential
requirements and other relevant provisions of EN 55014-1:2006, EN 55014-2:1997+A1:2001,
EN61000-3-2:2006, EN 61000-3-3:1995+A1:2001+A2:2005. (Directive EMC 2004/108/EC).
The Technical Construction File is maintained at our offices in Veldhoven, The Netherlands.
Veldhoven, 17-08-2012
P. Zwanenburg, managing director
WEEE and end of life disposal
This marking indicates that this product should not be disposed with other household
wastes throughout the EU. To return your used device, please use the local return
and collection systems or contact the retailer where the product was purchased.
ENGLISH

16

17
INDEX
Voor uw veiligheid 18
Producteigenschappen 18
Producteigenschappen in verband met de veiligheid 18
Inhoud 19
Veiligheidsinformatie 19
Locatie van de lader 20
Accutype & instellingen 20
Laden 21
Beschrijving van de uitrusting 22
Indicatie 22
Beschrijving componenten 23
Selecteren laadmodus 23
Instellingen resetten/verwijderen 23
Overschakelen tussen de verschillende modi 23
MODUS 1 (6,8V/1,0 & 7,2V/0,6A) 24
MODUS 2 (13,6V/1,0A & 14,4V/0,6A) 24
Herstellen van een lege accu 24
Bescherming tegen abnormale omstandigheden 25
Bescherming tegen overhitting 25
Gemiddelde laadtijd 25
Technische gegevens 26
Laadfases 27
Diagnose & herstel 28
Bulk 28
Absorptie 28
Fase voor het controleren van de accucapaciteit 28
Onderhoudsladen 29
Foutmodus 29
Stroommodus 30
Problemen oplossen 30
Onderhoud 30
Installatie & afmetingen van het product 31
Uitrusting 31
Verklaring van overeenstemming 31
NEDERLANDS

18
VOOR UW VEILIGHEID
Deze handleiding bevat belangrijke informatie en bedieningsinstructies. Neem deze handleiding
nauwkeurig door voor u de lader voor de eerste keer gebruikt en bewaar haar op een veilige
plaats voor toekomstig gebruik.
PRODUCTEIGENSCHAPPEN
Gefeliciteerd met uw aankoop van deze volledig automatisch schakelende Carpoint acculader en
-onderhouder, ontwikkeld voor verschillende types oplaadbare loodzuuraccu’s, die vaak worden
gebruikt in motorfietsen en verschillende andere voertuigen. De accu’s zijn van verschillende
types, bv. WET/flooded (vloeibare elektrolyten), GEL (Gelatin type Electrolyte, geabsorbeerd in
de platen) AGM (Geabsorbeerd mat glas), MF en VRLA (Klepgestuurd loodzuur) accu’s.
Hun capaciteit loopt uiteen van 6V/1,2Ah tot 6V/12Ah en van 12V/7,2Ah tot 12V/60Ah. Door
gebruik te maken van state-of-the-art technologie, kan de lader de accu’s opladen tot bijna 100%
van hun originele capaciteit. Hij herstelt accu’s die licht gesulfateerd zijn. Hij stelt een diagnose
en herstelt een lege accu. Hij voorziet een druppel- en onderhoudslading die de levensduur van
de accu verhoogt en voor uitmuntende prestaties zorgt. Hij is ook ideaal voor het onderhoud
van allerlei types accu’s van voertuigen die niet zo vaak worden gebruikt. Hij heeft een
geheugenfunctie. De lader keert automatisch terug naar de laatst geselecteerde modus wanneer
de netstroom wordt ingeschakeld. Voor steeds terugkomende laadprocessen is dit een zeer
nuttige functie. Er kunnen echter ook verschillende laadmodi geselecteerd worden door op de
knop “MODUS” te drukken. Ook beschikt de lader over een lage terugloopstroom en lage rimpel.
PRODUCTEIGENSCHAPPEN IN VERBAND MET DE VEILIGHEID
• Elektronischebeschermingtegenfouten.Deladerzaldeelektronicavanhetvoertuigniet
beschadigen. Hij is zeer veilig om gedurende lange tijd, onregelmatig of seizoensgebonden
accu’s te verbinden en te onderhouden, zelfs wanneer de lader verbonden blijft met het
voertuig. Hij zorgt voor een optimale toestand zonder risico voor schade. Geen risico op
overladen!
• Eenvolledigebeschermingtegenverkeerdaansluitenenkortsluitingzorgtvoorveiligladen.
• Voorzienvaneenmechanismevoorbeschermingtegenvonken.Dezeeigenschapisnietactief
wanneer de lader in de voedingsmodus is. De lader werkt niet totdat de accu is aangesloten,
tenzij de laadmodus is geselecteerd. Deze ingebouwde functie vermijdt de mogelijke vorming
van vonken, die vaak voorkomen tijdens het aansluiten.
• VollediggestuurddooreeninterneMCU(Micro-Computer-Unit),diedeladersneller,
krachtiger, betrouwbaarder en intelligenter maakt. De laadtoestand van de aangesloten accu
NEDERLANDS

19
wordt gedetecteerd, en het laden begint.
• Stof-enspatbestendig(IP65)goedgekeurd.Goedgekeurdvoorgebruikbinnenshuis.
• Dubbelgeïsoleerd
INHOUD
1) Carpoint lader 0635863
2) Snel verwisselbare aansluitklemmen voor de accu
3) Snel verwisselbare aansluitogen voor de accu (Ø 6,3mm)
4) Zekering 2,0A
5) Gebruiksaanwijzing
VEILIGHEIDSINFORMATIE
• DezeCarpointladerisontworpenvoorhetladenvanoplaadbareloodzuuraccu’svan6V
1,2-12Ah en 12V 7.2-60Ah. Gebruik hem niet voor andere doeleinden. Dit kan een explosie
veroorzaken.
WAARSCHUWING! PROBEER NOOIT EEN NIET-OPLAADBARE ACCU (PRIMAIRE CELLEN) OP TE
LADEN.
• Dittoestelisnietbestemdvoorgebruikdoorpersonen(inclusiefkinderen)metverminderde
fysieke, sensorische of mentale capaciteiten, of gebrek aan ervaring of kennis, tenzij onder
toezicht of na het geven van instructies voor het gebruik van het toestel door een persoon
verantwoordelijk voor hun veiligheid.
• Kijkeroptoedatkinderennietmethettoestelspelen.
• Vermijdlevensgevaarengevaaropkwetsuren!Gebruikdeladernietmeteenbeschadigde
kabel (14). Deze dient gerepareerd te worden door een bevoegd technicus.
• Gebruiktijdenshetladensteedseenveiligheidsbril,handschoenen,beschermendekledijen
houd uw aangezicht weg van de accu.
• Ontplofngsgevaar!Bijhetopladenvaneenaccukunnenexplosievegassenvrijkomen.
Vermijd roken, open vonken of vuur in de nabijheid van de accu.
• Gevaarvoorexplosieenvuur!Houdtijdenshetladenexplosieveenontvlambaresubstanties,
zoals brandstof en oplosmiddelen uit de buurt van de acculader.
• Bedekdeladerniettijdenshetladen.
• Gevaarvoorchemischebrandwonden!Accuzuurisuiterstbijtend.Alsuwhuidofogenin
aanraking komen met zuur, het lichaamsdeel onmiddellijk overvloedig met water spoelen en
een dokter raadplegen.
• Laadnooiteenbevrorenbatterijop.
NEDERLANDS
Table of contents
Languages:
Other CARPOINT Batteries Charger manuals
Popular Batteries Charger manuals by other brands

Victron energy
Victron energy Phoenix Smart 12/30 (1+1) manual

Makita
Makita DC40RA instruction manual

Integy
Integy 16X5 instruction manual

Wolf Garten
Wolf Garten QC 25 eM Original operating instructions

Vetus
Vetus BC12202A Operation manual and installation instructions

Jamara
Jamara X-Peak 80 BAL Pult Edition Instruction