manuals.online logo
Brands
  1. Home
  2. •
  3. Brands
  4. •
  5. Carrier
  6. •
  7. Controllers
  8. •
  9. Carrier KVBCN0101CLT Setup guide

Carrier KVBCN0101CLT Setup guide

Other Carrier Controllers manuals
Carrier OPN-OPT-OL Installation manual

Carrier

Carrier OPN-OPT-OL Installation manual

Carrier 40VMD 006 User manual

Carrier

Carrier 40VMD 006 User manual

Carrier Toshiba BMS-CT5120UL User manual

Carrier

Carrier Toshiba BMS-CT5120UL User manual

Carrier 38CQ User manual

Carrier

Carrier 38CQ User manual

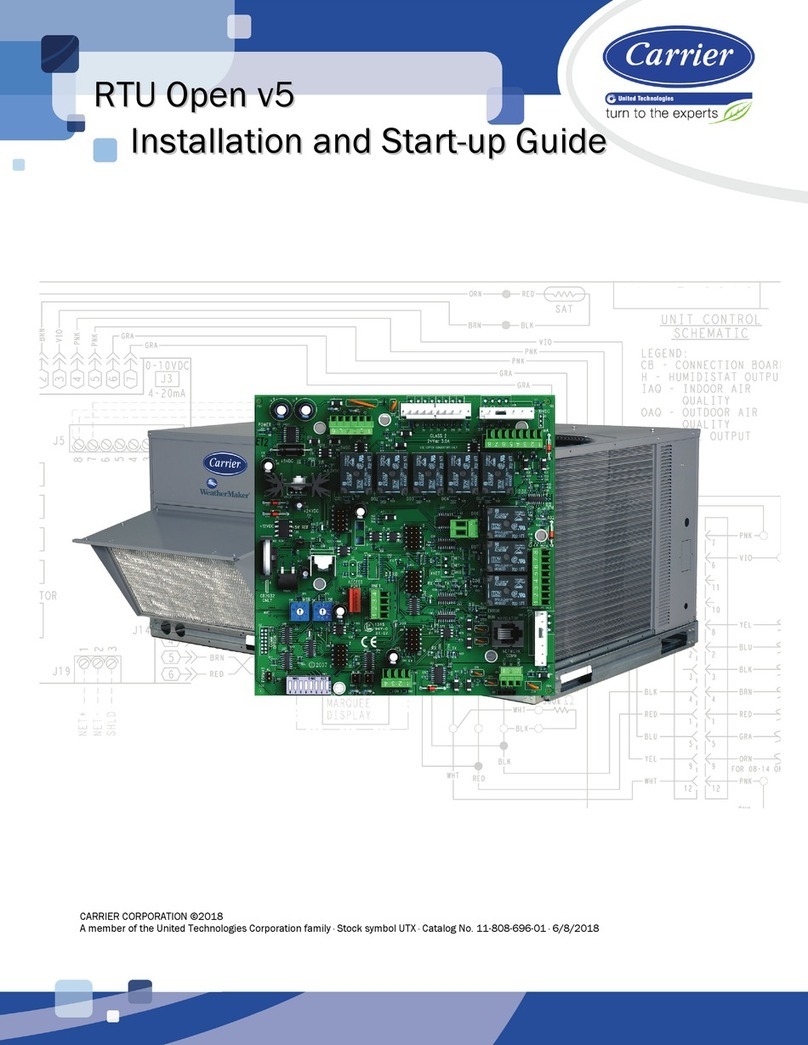
Carrier RTU Open v5 Quick setup guide

Carrier

Carrier RTU Open v5 Quick setup guide

Carrier 3V VVT 33ZCVVTZC-01 Installation manual

Carrier

Carrier 3V VVT 33ZCVVTZC-01 Installation manual

Carrier KJR120 User manual

Carrier

Carrier KJR120 User manual

Carrier Micro-Link 5 User manual

Carrier

Carrier Micro-Link 5 User manual

Carrier TruVu UC253-V Installation manual
Carrier

Carrier TruVu UC253-V Installation manual

Carrier A Series User manual

Carrier

Carrier A Series User manual

Carrier 48/50HC04-28 User guide

Carrier

Carrier 48/50HC04-28 User guide

Carrier ZUI2 User manual

Carrier

Carrier ZUI2 User manual

Carrier 39HXC User manual

Carrier

Carrier 39HXC User manual

Carrier TruVu VAVB3-E2 Installation manual

Carrier

Carrier TruVu VAVB3-E2 Installation manual

Carrier RTU Open v3 Installation manual

Carrier

Carrier RTU Open v3 Installation manual

Carrier XCT7 40VCW117FQEE Installation instructions
Carrier

Carrier XCT7 40VCW117FQEE Installation instructions

Carrier MPC Open XP Series Installation manual

Carrier

Carrier MPC Open XP Series Installation manual

Carrier TruVu UCXP683T-V Installation manual

Carrier

Carrier TruVu UCXP683T-V Installation manual

Carrier Apollo 48HJ004-024 User manual

Carrier

Carrier Apollo 48HJ004-024 User manual

Carrier RTU - OPEN User guide

Carrier

Carrier RTU - OPEN User guide

Carrier CCU Use and maintenance manual

Carrier

Carrier CCU Use and maintenance manual

Carrier A Series User manual

Carrier

Carrier A Series User manual

Carrier 38CQ User manual

Carrier

Carrier 38CQ User manual

Carrier PREMIERLINK 33CSPREMLK Operator's manual

Carrier

Carrier PREMIERLINK 33CSPREMLK Operator's manual

Popular Controllers manuals by other brands

Sunricher SR-ZV9003T3-RGBW-US Installation

Sunricher

Sunricher SR-ZV9003T3-RGBW-US Installation

Ksenia intro Installation and configuration manual

Ksenia

Ksenia intro Installation and configuration manual

Inovance CAN200 Series manual

Inovance

Inovance CAN200 Series manual

Gauzy LC6 FLEX Controller Installation and operation guide

Gauzy

Gauzy LC6 FLEX Controller Installation and operation guide

Viking SLP-1 Technical practice

Viking

Viking SLP-1 Technical practice

CKD KBX-30E-U Series instruction manual

CKD

CKD KBX-30E-U Series instruction manual

Sharp Energy Sun Flux User manual & installation guide

Sharp Energy

Sharp Energy Sun Flux User manual & installation guide

Yamaha RCX40 user manual

Yamaha

Yamaha RCX40 user manual

AB Quality PowerFlex 400 Frames D-H Service bulletin

AB Quality

AB Quality PowerFlex 400 Frames D-H Service bulletin

Yamaha MJC8 owner's manual

Yamaha

Yamaha MJC8 owner's manual

AL-KO ATC operating instructions

AL-KO

AL-KO ATC operating instructions

Savant SmartControl 2 Deployment guide

Savant

Savant SmartControl 2 Deployment guide

GameSir T3S user manual

GameSir

GameSir T3S user manual

Kostal inveor operating manual

Kostal

Kostal inveor operating manual

Emerson Yarway 20-55 Operating and safety instructions

Emerson

Emerson Yarway 20-55 Operating and safety instructions

CoCo ACM-LV24 Quick installation guide

CoCo

CoCo ACM-LV24 Quick installation guide

Brooks SLA5810/20 Installation and operation manual

Brooks

Brooks SLA5810/20 Installation and operation manual

SIGMA TEK SR 011 Technical manual

SIGMA TEK

SIGMA TEK SR 011 Technical manual

manuals.online logo
manuals.online logoBrands
  • About & Mission
  • Contact us
  • Privacy Policy
  • Terms and Conditions

Copyright 2025 Manuals.Online. All Rights Reserved.

1
KVBCN0101CLT
Wall Control Installation
Installation Instructions
OneTouch Control
INTERMITTENT
MAX
MIN
!WARNING
ELECTRICAL SHOCK HAZARD
Failure to follow this warning could result in personal
injury or death.
Before installing, modifying, or servicing, main electrical
disconnect switch must be in the OFF position. There
may be more than 1 disconnect switch. Lock out and tag
switch with a suitable warning label.
CAUTION
!
UNIT OPERATION HAZARD
Failure to follow this caution may result in equipment
damage or improper operation.
Never install more than one KVBCN0101CLT wall
control per unit.
NOTE: If this wall control is installed with any of the following
Carrier units the integrated control of those units must be turned
OFF; HRVCCSHA1100, HRVCCSVA1100, ERVCCSHA1100,
or ERVCCSVA1100, HRVCCLHA1150, HRVCCLHA1250.
NOTE: To ensure proper operation remove Jumper G on JU1 pin
IF this wall control is installed with another ERV or HRV Carrier
unit.
CAUTION
!
UNIT OPERATION HAZARD
Failure to follow this caution may result in equipment
damage or improper operation.
Ensure that the wires do not short-circuit between
themselves or by touching any othercomponents on the
wall control. Avoid poor wiring connections. To reduce
electrical interference (noise) potential, do not run wall
control wiring next to another control contactor or near
light dimming circuits, electrical motors,
dwelling/business power or lighting wires, or power
distribution panels.
2
Color Mode Suggested Use
Green Intermittent Select this mode when you are away from the house for a few days, or when
you deem the inside air is too dry in heating season or too humid in cooling
season. In this mode the unit is OFF for 40 minutes per hour and ventilates at
minimum speed the remaining 20 minutes of the hour.
Yellow Minimum Speed
Ventilation
For normal daily operation
Red Maximum Speed
Ventilation
For excess pollutants and humidity
(Parties,odors,smoke,etc.)
INSTALLATION
Step 1—Cut a 2 3/8 in. high by 1 3/8 in. wide hole in the wall.
See Fig. 1.
Step 2—Temporarily place the switch in the hole to mark the
correct locations for the 2 wall anchors.
Step 3—Remove the switch, drill the 2 wall--anchor holes and
insert the wall anchors into the wall.
Step 4—Using Fig. 2 as a guide, connect the electrical wiring.
Step 5—Finish mounting KVBCN0101CLT wall control. Plug
the unit in and test the wall control operation.
1--3/8 in.
2--3/8 in.
A05291
Fig. 1 -- Wall Control Installation
NO C NC I OC OL Y R G B
BG
OC
KVBCN0101CLT Control
REAR VIEW
GB
Y
A05292
Fig. 2 -- Wall Control Wiring
Copyright 2005 Carrier Corp. S7310 W. Morris St. SIndianapolis, IN 46231
Manufacturer reserves the right to change, at any time, specifications and designs without notice and without obligations.
Catalog No:A G --- K V B C N --- C 0 1
Replaces: New
Printed in U.S.A.
Edition Date: 12/05
KVBCN