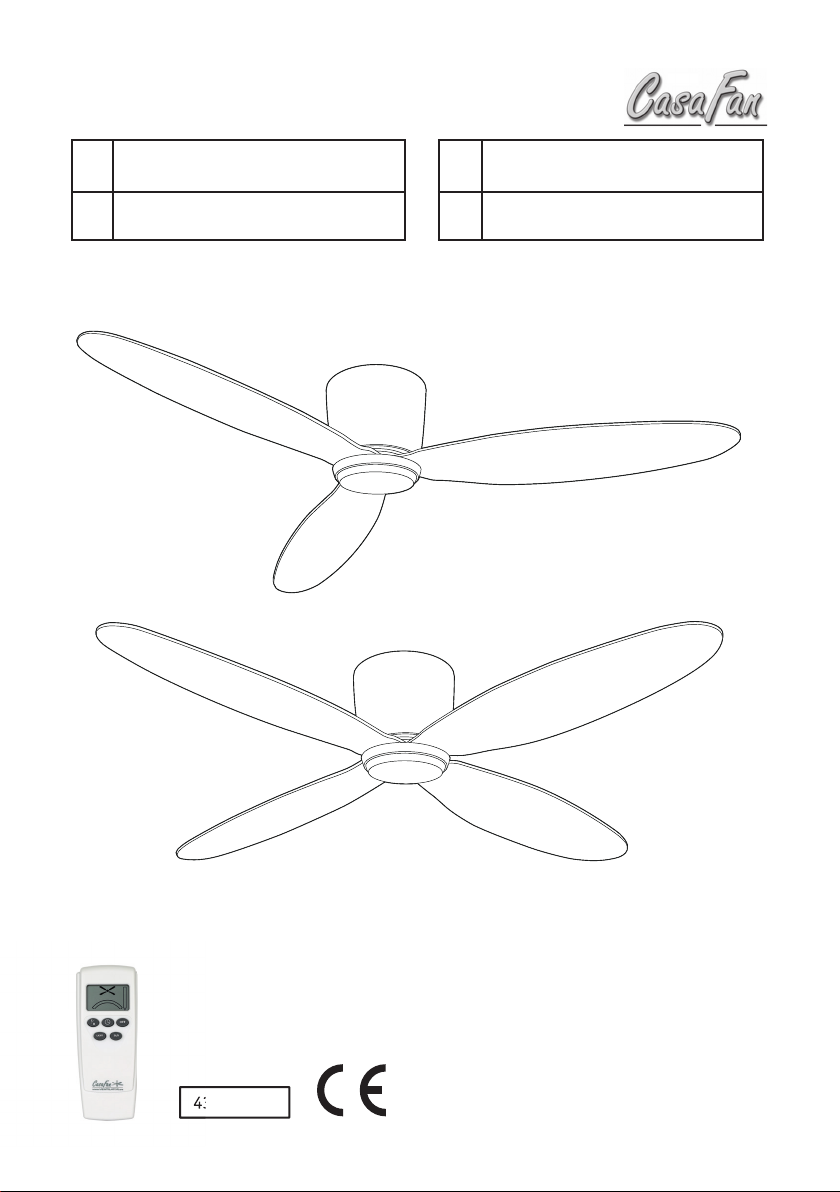
Casa Fan ECO PLANO II Technical document
Other Casa Fan Fan manuals

Casa Fan
Casa Fan Eco Genuino 122 Technical document

Casa Fan
Casa Fan Speed 40 G Technical document

Casa Fan
Casa Fan Airos Circulate Technical document

Casa Fan
Casa Fan Speed 40 G Technical document

Casa Fan
Casa Fan HIGHSTREAM DF800 Eco Technical document

Casa Fan
Casa Fan Eco NEO III 103 Technical document

Casa Fan
Casa Fan Greyhound TV36 II Technical document

Casa Fan
Casa Fan ECO AVIATOS 132 Technical document

Casa Fan
Casa Fan CLASSIC FLAT-III 132 Technical document

Casa Fan
Casa Fan Eco Regento Technical document

Casa Fan
Casa Fan FB-IR Basic Technical document

Casa Fan
Casa Fan SafeLine WM3 Eco Wall Technical document

Casa Fan
Casa Fan Eco Elements 103 Technical document

Casa Fan
Casa Fan ECO AVIATOS 132 Technical document

Casa Fan
Casa Fan ECO PLANO II Technical document

Casa Fan
Casa Fan ECO PLANO II Technical document

Casa Fan
Casa Fan ALU 132 Technical document

Casa Fan
Casa Fan TRADITION TV 30 CH Technical document

Casa Fan
Casa Fan AIROS ECO SILENT Technical document

Casa Fan
Casa Fan TRADITION TV 30 CH Technical document


Popular Fan manuals by other brands

ELTA FANS
ELTA FANS H03VV-F installation guide

Hunter
Hunter 20714 Owner's guide and installation manual

Emerson
Emerson CARRERA VERANDA CF542ORB00 owner's manual

Hunter
Hunter Caraway Owner's guide and installation manual

Panasonic
Panasonic FV-15NLFS1 Service manual

Kompernass
Kompernass KH 1150 operating instructions