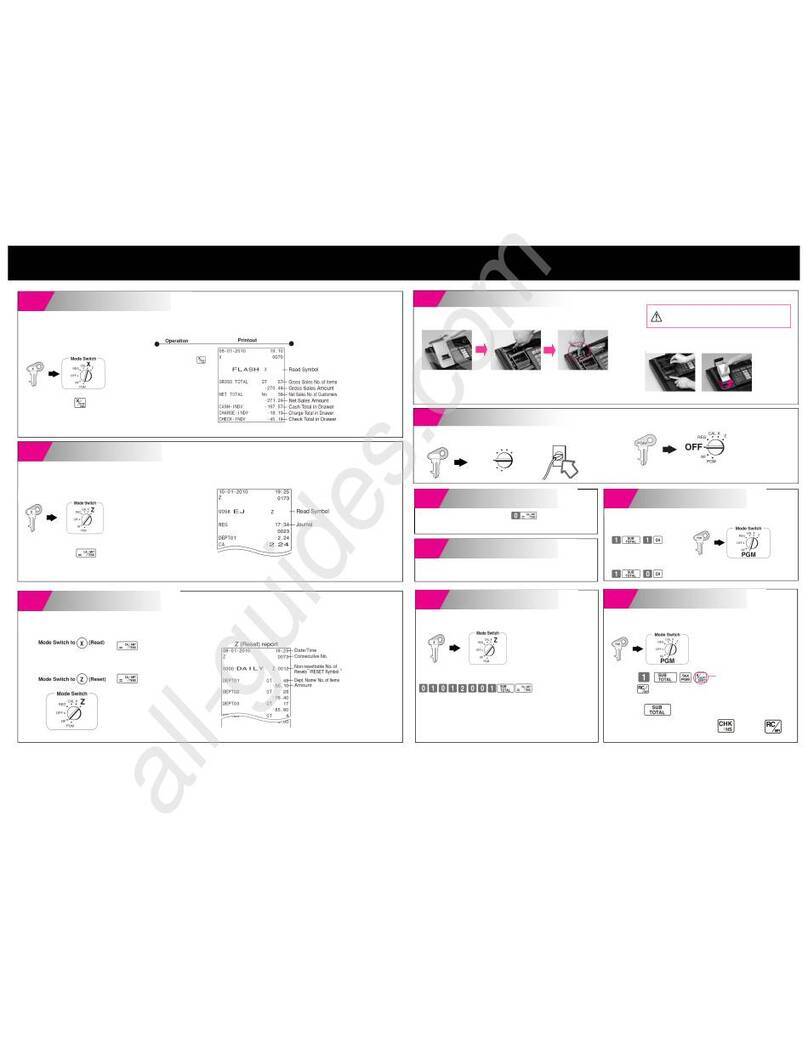
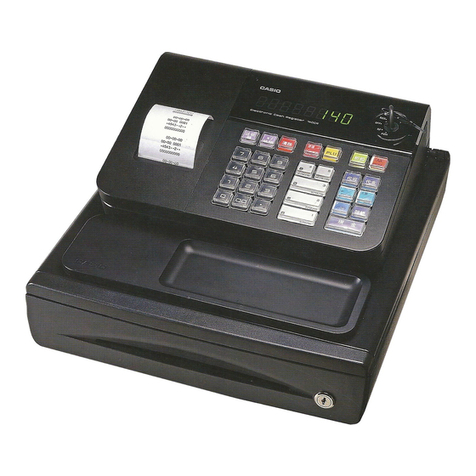
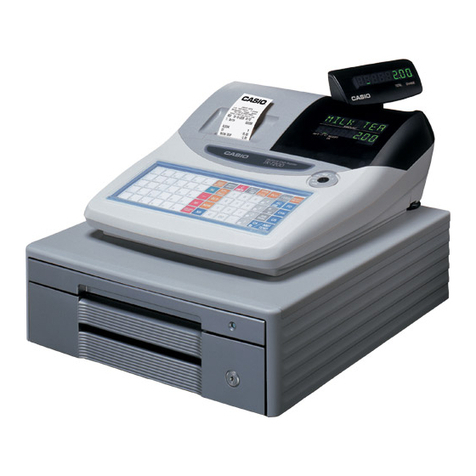
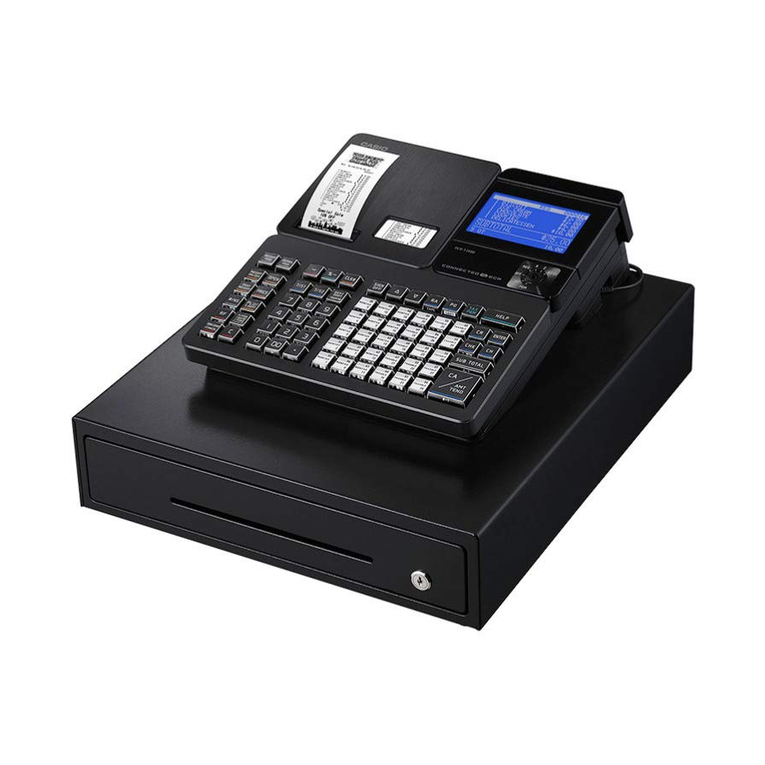
Casio 200cR Assembly instructions

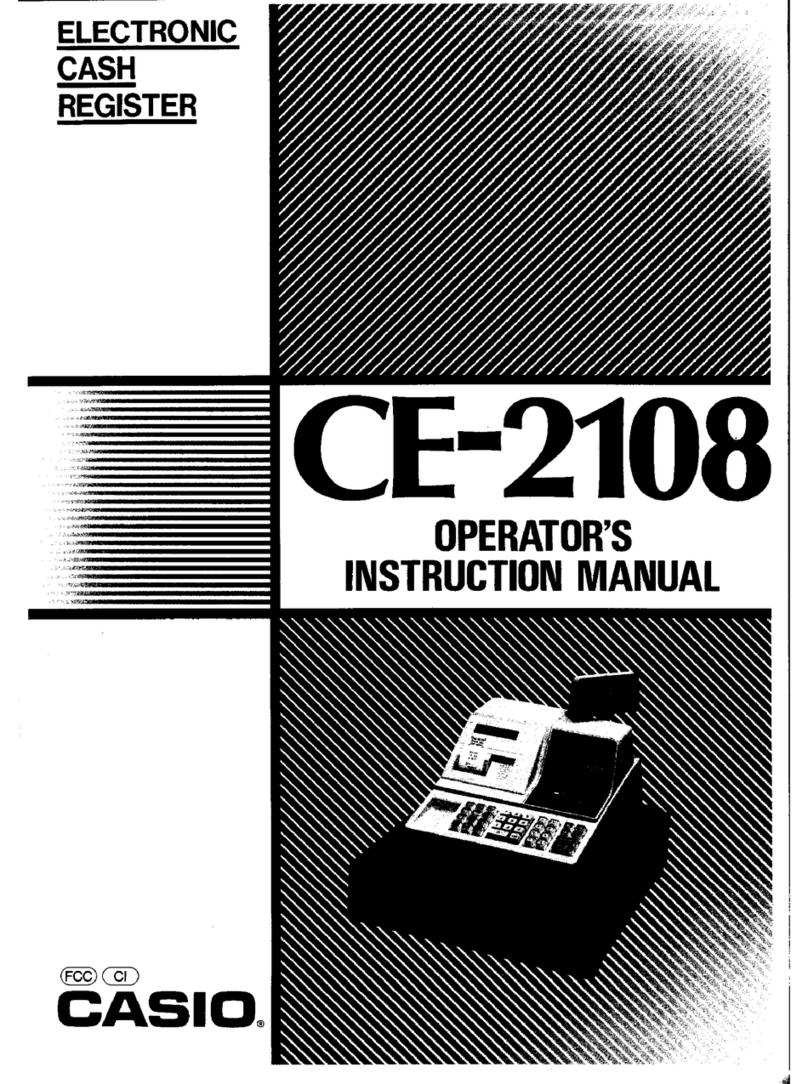
ELECTRONIC
CASH
REGISTER
200cR
OPERATOR'S INSTRUCTION
MANUAL
cAslo.

Inttoduction
Unpacking
the
register
Take-up
reel
(UM-3x 3)
ramkey
Welcome
totheCASIO
200CR!
Congratulations
upon
your
selection
of
aCASIO
Electronic
Cash
Register,
which
isdesigned
provideyears
of
reliable
operation.
bperation
ofa
CASIO
cash
register
issimple
enough
tobe
mastered
without
special
trainir
Everything
you
need
to
know
isincluded
in
this
manual,
so
keep
it
on
hand
for
reference.
Consult
yojrCASIO
dealer
if
you
have
any
questions
about
points
not
specifically
covered
intl
manuAl.
The
main
plug
on
thisequipment
mustbeused
todisconnect
mains
power.
please
ensure
that
thesocket
outlet
isinstalled
near
theequipment
and
shall
be
easily
accessible.
Roll paper
Ft--
K\-
llh$fl
||I|l,u#"ll oPerator's
ll Mu,'.,ui'n
Il instructionmanuav
ll aa Il -
IL W--['f Drawer
key
NI
tu
ilil
\lJ trlemory
backup
batteries
CASIO
CI
6-2.
Hon-r
'51

*:
G:
:s:
:$
1$
.*
:.$
F
lmportant! i,,,, ,,
Before
youdoanything,
be
sure
to note
thefollowing
important
precautions!
Donotlocate
thecashregisterwhere
it will
besub-
jeded todirectsunlight,
highhumidity,
splashingwith
waterorotherliquids,
orhightemperature
(such
as
nearaheater).
s
o
rh.
o
!I
s
ED
l)
I
)
)
Neveroperate
the
cash
register
while
your
hands
are
wet.
Never
trytoopenthecash
register
orattempt
your
ownrepairs.
Take
thecashregister
toyourautho-
rized
CASIOdealerforrepairs.
Besuretocheckthe
stickeronthesideofthecash
register
tomake
sure
thatitsvoltage
matchesthat
of
the
power
supplyinthe
area.
Useasoft,dryclothtocleantheexterior
ofthecash
register.
Neverusebenzene,or any othervolatile
agent.

@..
Contents
I
lntfOdUCtiOn.rrrr.,rr.,.r.,rr'i,rrr..r,.rr.rr.r.r,rrr..rrrrrrri.rr.rrrr............... Z
Unpacking
theregister................ """"""""'t
Getting Startgd rrrrrrrtrrrrrr.r,r.rrr.r..rr'r.r..r.r.rrr..rrrrrrr..r.r,rr.......... I
Remove
thecash
register
from
itsbox..'...'...' """"""""1
Remove
the
tape
holding
parts
ofthecash
register
in
place """""'l
lnstall
the
three
memory
backup
batteries """"""""""'r
Plug
thecash
register
intoa
walloutlet """"""""""""'i
Insert
the
mode
key
marked
"PGM"
intothe
ModeSwitch
Turn
the
mode
key
tothe
"REG"
position
Install
receipVjournal
PaPer
Toload
1-ply
paper
for
printing
ofreceipts
Toload
1-ply
paper
for
printing
of
journal """""""""" 1
Toload
2-ply
paper
for
printing
ofreceipts """"""""" 1
Set
the
date.......... " """"""""' 1
Set
the
time.......... """""""""" 1
Select
printouts
receipt
or
journal """"""' 1
Tax
table
programmlng............. """"""""" 1
Programming
automatic
tax
calculation """""""""""' 1
Programming
taxcalculations
(withoutspecial
rounding) """""""" 1
Programming
taxcalculations
(with
special
rounding)
Introducing 200CR.r..r.r.r.r. rr.rrr.r.r...............
1l
I
General
guide """" I
Mode
keY
DisPlaYs.......
Drawer,
Modeswitch """ """""""""""'t
Keyboard
BasicOperations
and Setups rrr-rr-r.. ,"""' 2
Howto
read
the
printouts """"'2
a
How
touse
your
cash
register
..'.......'.. """"""""""""2
DisPlaYing
the
timeand
date
PreParing
coins
forchange
Preparing
and
using
department
keys '"""" """""""i
Registering
department
keys'...'.'......
Programming
department
keys
..'........'.
Registering
department
keysby
programmingdata
"""" ""
Preparing
and
using
PLUs """"""""""""'i
Programming
PLUs
....'...'...
Registering
PLUs
...'.'....'.'......'...:.'...'...
Preparing
and
using
discounts
Programming
discounts
Registering
discounts
cAsto
c
6-2.
Hon-
'5'

ilf Preparing
andusingreductions .................32
Programmingfor
reductions ...................32
Registeringreductions ......33
Registering
charge
andcheck
payments .....................34
Registering
returned
goods
intheREGmode .............35
Registering
returned
goods
intheRFmode ................36
Registering
moneyreceived
onaccount ......................37
Registeringmoney
paid
out .....37
Making
correctionsin
aregistration......... ....................38
No
sale
registration ..................40
Printingthe
dailysalesRESETreport .......41
Convgnignt Operations and Setups !r.r.r.r..r.r.r.rr....,..,.,......42
g
s
g
q
o
o
t.
Aboutthe
clerkcontrolfunction .................42
About
post-finalization
receipt................ ......................43
Programming
general
printing
control ........44
ProgrammingREAD/RESET
report
printing
control ......................45
Programming
compulsory,
clerkcontrol
function
andother
features...............46
Setting/editingthe
storetelephonenumber............. ......................47
Setting
astore/machinenumber ................48
High
digit
limitation
fordepartments......... ...................49
Single-item-salesfordepartments
and
PLUs ..............50
Registering
discountsand
premiums............ ...............53
Other
programmable
options .....................55
Calculator
functions .................56
PrintingREAD/RESET
reports ...................58
Printing
thecashregister's
program ..........64
Troubleshootin$ ......... rrrr'r,r,r...!r.r.rr...r.r,r,rrr..r........
66
Whenan
erroroccurs ..............66
Whentheregister
does
not
operateata||......... ...........67
Incaseof
power
failure ............68
WhentheL
signappears
on
the
display ......................68
User
Maintenance
and
Options .....
69
Toreplace
theinkribbon ..........69
Toreplace
journal
paper ..........70
Toreplacereceipt
paper ..........71
Options ...................71
Specif ications rr,.....,rrr r.r.r,rr.r.rrr.....rr.r.r.rr.r.r.r..
....,.... 72

TGetting Stafted
$t'4ai!?t'
ii
Installthe
three
batteries.
Thissectionoutlines
howtounpackthe
cash
registerand
getit readytooperate.
Youshould
readthis
partof
the
manualeven
if youhaveusedacash
register
before.
Thefollowing isthe
basicset
upprocedure,along
with page
references
where
youshould
look for more
details.
€
#* Remove
thecash
register
fromitsbox.
Makesurethat
all of the
parts
and
accessories
areincluded.
Remove
thetape
holding
parts
of
thecash
register
inplace.
Also removethe small plasticbagtaped
to the
printercover.
Inside
youwill find themode
keys.
i;#@!:;:1 -;:i;.;;.
ra'
?i
1j
I:
'*;l
.itl
:i
ii
li:
:'!i
't4'
!!
#P4rXii
*#
Mre
memorybackup
l. Remove
the
printercover
and
inner
cover.
2.Remove
the
battery
com-
partmentcover.
Pressing
down
where
the
cover
is
marked
"\L_:1"
and
put
it
up.

ffi
@.
Ww Install
the
threememory
backup
batteries
(continued).
3.Notethe(+) and
(-) markingsin thebattery
compartment.Load
asetof threenewSUM-3
(UM-3) batteries
sothattheir
positive
(+)and
negative
(-) endsarefacingasindicated
by
themarkings.
-1.
Replace
thebattery
compartmentcover. 5.Replace
theinnercover
and
printer
cover.
I*portant! :r : :::.:.:..
: ,: ,,.
,,::r:
These
batteries
protect
theinformation
storedin yourcash
register's
memory
whenthere
isa
power
failureor when
youunplugthecash
register.
Besureto installthesebatteries.
Precaution!
Incorrectly
using
batteriescan
causethem
toburstorleak,
possibly
damagingtheinterior
of
the
cashregister.
Note
the
followings.
. Be
surethatthe
positive
(+)
and
negative
(-)endsofthe
batteriesare
facing
asmarkedinthe
batterycompartment
when
you
load
theminto
theunit.
. Never
mix
batteriesof
differenttypes.
. Nevermix
old
batterieswithnew
ones.
. Never
leave
dead
batteries
in
the
batterycompartment.
. Remove
the
batteriesif
you
do
not
plan
to
use
the
cashregisterforlong
periods.
. Replacethe
batteries
at
least
once
everytwo
years,
nomatterhowmuch
thecashregisteris
used
duringthe
period.
WARNING!
. Never
trytorecharge
the
batteriessuppliedwith
theunit.
. Donot
expose
batteriesto
direct
heat,
letthem
becomeshortedortrytotake
themapart.
Keep
batteriesout
ofthereachofsmallchildren.lfyour
childshouldswallow
a battery,consulta
physician
immediately.
E
t
s
co
o
s
rh.
b
(5

Toload
1-ply
paper
for
printing
ofreceipts
Roll
paper
spindle
Paper
separator
Paper
inlet
Use a modekey to setthe
modeswitch
totheREG
po-
sition.
Removethe
printer
cover.
,i ?{"''".:
'',
! .-.&? I
i 'rt* !
Cutofftheleading
end
ofthe
paper
soit is
even.
,,r""'..,,,'..r,.
:' ,tii "
ri. "i1i.,{i;.: I
"tto.. .-'-,,,i''
Ensuringthepaper
is being
fed from the bottom of the
roll, lower theroll into the
space
behindthe
printer.
Work thepaper
roll gently
between
thetwo spindlesso
thattheyslipintothecenter
hubs
of theroll.
E
t
s
o
UI
s
itr.
o
(5
s*
Install
receipVjournal
paper
(continued).
l' :if&, "u.
: H*"" i
\*W.i
Press
plate.
Press
the@ k"y until about
20cmor30
cm
ofpaper
i
fed
fromthe
printer.
Replacethe printer cover,
passing
theleading
endof
thepaper
through
thecut-
ter slot.Tearoff theexcess
paper.

Getting Started
Plug
the
cash
register
intoawall
outlet.
Besure
tocheckthestickeronthe
sideof thecashregister
tomake
surethatitsvoltagematches
thatof the
powersup-
ply in yourarea.Theprinterwill operatefor afew seconds.
Insert
themodekey
marked
"PGM"
intotheMode
Switch.
* Turn
themodekey
tothe
"REG"
position.
Thedisplay
shouldchangeto
thefollowing.
fl

.w
Install
receipVjournal
paper
(continued).
Toload
1-ply
paper
forprinting
ofreceipts
Roll
paper
spindle
Paper
separator
Paper
inlet
Use a modekey to setthe
modeswitchtotheREGpo-
sition.
t.frt
\"w.9
Removetheprintercover.
i' .41ttu 2a
Cutofftheleading
endofthe
paper
soit iseven.
Ensuringthepaper
is being
fed from the bottom of the
roll. lower theroll into the
spacebehindthe
printer.
Workthe
paper
roll gently
betweenthetwo spindles
so
thattheyslipintothe
center
hubs
of the
roll.
a ffi.s.f
\.. #s-{
Press
paperover silve
plate.
',0,'l,G;.,2
i€i.
:#i
Pressthe@ k"y until about
20cm or 30cmof paper
is
fed from theprinter.
,{ .NFs *",:,
3 ffi4ffi 'l
\.
ww".{
""* w? f
Replacethe printer cover,
passing
theleading
endof
thepaper
throughthecut-
ter slot.Tear
off theexcess
paper.
E
t
s
o
O)
.s
.h.
b
(5

Gettittg 9itarted
*=*
€+1
InstallreceipVjournal
paper
(continued).
To
load1-ply
paper
for
printing
of
journal
+''
1g
'tu, i-#-X
Follow
steps
\*,,.$-"*,rlthrough
td--Junder'Toload l-plypaperforprinting
of
receipts"
ontheprevious
{ffi
Remove
the
flat side
plate
of
thetake-upreel.
Slidetheleading
endof the
paper
into thegrooveonthe
spindleof the take-upreel
andwindit onto
thereeltwo
or threeturns.
Replace
theflat side
plate
of
thetake-up
reel.
Placethe take-upreel into
place
behindthe
printer.
abovetheroll paper.
Press
the @ k"y to take
anyslackin thepaper.
Replacetheprinter co

"1'-, "'".*]"''u
Follow
otp' ,' # ri tr,rougtr
t-ff",} under
'"To
load
l-plypaper
forprinting
ofreceiprs,,
on
page
9.
Separate
the
twosheets
ofthe
paper.
Pass
the outer sheet
undertheseparator.
,f'
-Ttr
3
i," *YF
Pass
the
inner
sheet
over
the
separator.
r,ffi"i
'.. ';'uf.,j
Press
the @
about
20 cm or
paper is fed
printer.
key until
30cm of
from the
E
fl
s
.o
UI
S
o
(t
i''$
d'?"-'.
i $q-$",j
Insert
theleading
end
of the
innersheet
(whichwill be
yourjournal)intothe
take-up
reel,
as
described
starting
:..
fromstep'' under"Toload
l-plypaperforprintingof
receipts."
," 'i}j ",
'..
fl.""3
.r
Join the ends
of the paper
again
andinsert
them
into
the
paper
inlet. , .,.::
,,1
a.aa:
t'... t: :lt "'
Replace
theprinter
cover,
passing
theleading
end
of the
outersheet
through
thecutterslot.
Tear
off theexcess
paper.
To
foad
2-ply
paper
for
printingrcf
receipts
iffii
Passpaper
oversilver
plate.

Getting Started
'#- Set
the
time.
+n@
Example:
December
6,1996 + ggnEgg
+ [3tr'tril] + m
rTi
Lg",".ltJryg_l+Hj
+t,',''J
. trgtrtr
. EITEtr
+nffi+
Example:
09:05
am
09:20
Pm
ds?
d' H*ff
* Select
printoutsreceipt
oriournal'
X
z
+ gm +RECEIPT(g)/rouRNAL(]l)+
@ +
Note:
Besure
to select
"0" (Receipts)when
youuse
2-plypaper'
Mode
Switch
,3**-"ll*rra"+a,.gy;t;tu*;*i
u Setthe date.
'a)
PGt\r4v
Mode
Switch

Itt
t4
Va
il1
BI
*
fi
tq,:
€.r
?n
:J:
lr-i
*!
:9':
11
;9
9:l
fii
iL:
,ti
.qi
g.
;"i:
i:!
3;
P
6,
E;
Fi
*i-i >r
HV
r"i ar
!! rh.
c; \
it l!
iX rh.
tul
(,)
:: o
i;F
rrb
ii 'lr.
so
* tlr
iav
gx
ii;
F
BI
;ii
?i.
llr:
q
itr
tJl
ili
t::
i?
!!
g
:li
:!;i
ri:l
:i:
:iu
l:r:
ii
::!l
t::
a:!
:::
ri:
:al
+
+
I
..-: ]:;:
- 6f"*#1
iii'*, Tax
tableoroorammino
This
cashregister
iscapableof automatically
calculating
uptothree
different
salestaxes.
Thesales
tax
calculations
are
basedonrates,
so
youmust
tellthe
cashregister
therates,
thetype
of tax(add-
inor add-on)
,and
thetype
of rounding
toapply.
Note
thatspecialrounding
methods
(page
14)
are
also
available
tomeet
certain
localtaxrequirements.
Important!
After you program the tax calculations,you alsohaveto individually specifywhich depart-
ments (page26) andPLUs (page28) areto be taxed.
Prepare
thefollowing subjects:
l. Taxrates
2. Rounding
methodfor taxcalcularion
(Round
up/Round
off/Cutoff)
3. Tax
calculation
system
(Add-on/Add-in)
Programmingprocedure cnr-l
nec
tlt,)
OFF{
-',
Programming
tax
calculations
(without
specialrounding)
Assign
TaxTable
I
\ssigning
Taxtable
2,enter
slBAH instead
of
filtlflH +
\ssigning
Tax
table
3,enter
UHEH instead
of
[|nHE
Enter
taxrate.
ei"*pl.'riz =-il;; Hfi .
8.257o
= Enter
gilEgi
EnterRounding
method,
Tax
calculationmethod
aJo-""
i"" " '
""'"'"'"' ':
l-raction
round
up ' fttrEE
Fractionroundoff
, trtrtrEi
Fraction
cutoff , otrtrEl
Add-inTax .
Fraction
round
up , trtrOE
Fractionroundoff
: EOEEI
F:1.tio-l
:Yj
9f1..'...EE0E,
Teminatethe
procedure.
Mode
Switch
+
gM
+
a:rggm
+
Tax
Rate
(Max 2 integer
+.4decimal)
+
fr t-l-tru
I-[Tr-frl]ru
+
lT0TALl
table
programming
Programmin
automatic
tax
calculation
+

Getting Stafted
@ Special
Rounding
1
Last(righrmost)
digit
0-2
3
-7
8-9
@ Special
Rounding
2
Last(right-mostl
digir
0-5
6-9
@ Special
Rounding3
Lasttright-mosttdigit
00-24
25
-74
75-99
#.'::?:::ifAwiw;r;;:?:l
I
: "; ";;
':wF
FA
#e Tax
table
programming
(continued)
*."-..
Aboutspecial
rounding...
Besidescut off, roundoff androundup, you canalsospecify
"special
rounding"for su
totals.
Special
roundingconverts
the
right-most
digitof anamount
to"0" or"5" tocomply
with
requirementsof certain
areas.
+
+
+
+
+
+
+
Rounding
result
0
5
10
Rounding
result
0
10
Rounding
result
0
50
100
Rounding
result
00
25
50
75
100
Examples:
t.2t ) 1.20
1.26
r 1.25
1.28
) 1.30
Examples:
r.123
) 1.120
t.525
) 1.530
Examples:
1.24 r 1.00
1.52
t 1.50
t.l1 ) 2.00
@ Special
Rounding
3
(Denmark
Rounding)
WithDenmarkrounding,
the
rounding
methodapplies
tosubtotals
depends
onwhether
youfi
thetransactionby inputting anamount
tendered
or not.
. Whena finalization
is
performed
withoutanamount
tendered
entry
Last
(right-most)
2 digits Rounding
result
00
25
50
15
100
. Whena
finalization
is
performed
with
an
amount
tendered
entry
Last
(right-most)
2digits
ofchange
due
00-12
t3-37
38-62
63-87
88-99
of subtotal
o0-r2 +
13
-37 +
38-62 +
63-81 +
88-99 +
+
+
+2
+
+

s Tax
table
programming
(continued)
. Partial
tenders
(payments)
Norounding
isperformed
forthe
amount
of tendered
norforthechange
amount
duewhen
the
customer
makes
a
partial
tender.
When
a
partial
tender
results
inaremaining
balancewithin
the
range
of 1through
12,
the
transaction
isfinalized
asif therewasno
remainins
balance.
. Display
and
printing
of
subtotals
Whenyou
press
the
ffi key,
theunrounded
subtotalis
printed
andshown
on
thedisplay.If thecash
register
isalso
setuptoapply
anadd-on
taxrate,
the
add-on
taxamount
isalso
included
in the
subtotal
thatis
printed
anddisplayed.
Important!
\l'henyouare
usingDenmark
rounding,
youcan
usethel9/Hfl
key
toregister
tendered
amountin
rvhich
the
last
(right-most)
digits
are00,25,50
or 75.Thisrestriction
does
notapplytothe@
and
@ keys.
E
fl
s
(r)
Ol
s
o
(5

Getting Stafted
;i3: ;.d:
'ru'tr
iffi f*{iii'
Taxtableprogramming(continued)
Programmingtaxcalculations
(with
special
rounding)
Prepare
the
following subjects:
1.Taxrates
2. Roundingmethodfor tax calculation(Roundup/Roundoff/Cut offl
3.Taxcalculationsystem
(No/Add-on/Add-in)
4. Rounding
system
(Special
roundingl/Specialrounding
2/Special
rounding3/Denmark
rounding)
Programming
procedure cnl-l
nrO
-r -9 X
AssignTaxTableI
AssigningTaxtable
2,
enter
[lgE]l instead
oftrEEE
Assigning
Tax
table3,
enter
gggg insteadof9ilf,|tr.
Entertax rate.
EnterRounding
method,Taxcalculation
method
+
+
+
NoTax - Enter
[l
-7
OFF{
,)
ModeSwitch
+
Effi
+
gNHH@
+
r[t-r-fr-nffi
TaxRate
(Max 2 integer
+ 4 decimal)
+
[r-Itf]W
Special
rounding1
Add-on
Tax
Fraction
round
up 'trtrllp
Fraction
round
off ,
EOIIE
Fraction
cut
off ,
trE[H
Add-inTax
Fractionroundup ,
Etrlltl
Fraction
round
off 'trEllE
FractioncutotT ,trtril[l
Notax ,
trtrI!tr
Special
rounding2
Add-onTax
Specialrounding3
Add-on Tax
Fractionroundup
Fractionround off
Fractioncut off
Add-inTax
Fractionround up
Fractionround off
Fractioncutoff
No tax
Denmarkrounding
Add-onTax
'
trtrtrE
'trOtrE
,
trEtrE
.
EtrtrE
'EtrtrE
,
OtrtrE
,0trtrE
Fractionroundup
Fractionround off
Fractioncut off
Add-inTax
Fractionroundup
FractionroundofT
Fractioncutoff
No tax
Terminatethe
procedure.
Fractionroundup 'trOEE
Fractionroundoff ,HOEH
Fractioncutoff ,ilOEE
Add-inTax
Fractionroundup ,EtrEB
Fractionroundoff ,EtrHH
Fractioncutoff ,EtrtrE
Notax ,trtr$O
,HtrEE
'
EtrHH
.
EtrEE
,
trtrf,E
,
H$HH
,
trgEE
,
OOEO
+
llrlBI
lTcTA.l
+
---4\
io \
---{< \
io)
\v

InJroducing ?OOCR
Thrs
part
oi themanual
introduces
youtothecash
registerand
provides
ageneral
explanation
of itsvarious
General
guide
Pop-updisplay
Take-upreel
Roll
paper
Printer
Printer
inkribbon
Battery
compartment
Batterycompartment
Holdsmemorybackup
batteries
(page
6).
Roll
paper
You canusetheroll paper
to print receiptsanda
journal
(page
9, 10).
Printer
inkribbon
Providesink for printingof registration
detailson
the
roll paper
(page
69).
Modekey
Therearetwotypes
ofmode
keys:the
programkey
(marked"PGM") and the operator
key (marked
"oP").
Two of each
typeof key comes
packed
with cash
register.
The program
key canbe usedto setthe
modeswitchtoany
position,
whilethe
operator
key
can selectthe
REG, CAL andOFF positions
only.
Main
display
Modeswitch
Keyboard
Receipt
On/Off
key
Whenyou areusingtheprinterfor re-
ceiptprinter,
you canuse
thiskey (in
theREG andRF modes
onlv) to turn
theprinteron andoff. If a customer
asks
tor
ceiptwhilereceipt
printingisturned
off bythis
youcan
issueapost-finalizationreceipt (page
Note:
Insteadof thereceipt
on/offswitch,
suance
iscontrolled
bvthis
kev.
mm
Program
key Operator
key

t
o
o
o
N
o
s
(.)
s
E
E
S
I
i
Displays MainDisplay
Departmentregistration Pop-upDisplay
PLU
Repeat
fotalizeoperation
Q DepartmentNumber
Whenyoupress
adepartment
keytoregisteraunitprice,
thecorresponding
department
number
(01
through04)appearshere.
O PLU
Number
WhenyouregisteraPLU item,thecorrespondingPLU numberappears
here.
Q Number of Repeats
Anytime you perform arepeatregistration
(page
25),thenumberof repeats
appears
here.
Notethat
only onedigit isdisplayed
for the
number
of repeats.
Thismeans
that
a"5" couldmean5,
l5 oreven
25repeats.
$ totaVChange Indicators
WhentheTOTAL indicatorislit, thedisplayedvalueismonetary
total
orsubtotal
amount.Whenthe
CHANGE indicator
islit, thedisplayedvalueisthechangedue.
@ ReceiptON/OFR X, Z indicators (Lowestsegment)
Receipt
ON/OFF:Whentheregisterissuesreceipts,thisindicator
islit. (REG/RF
modeonly)
X: IndicatesX mode
Z: Indicates
Z mode
registration
registration
Other manuals for 200cR
1
Table of contents
Other Casio Cash Register manuals

Casio
Casio TK-7500 User manual

Casio
Casio PCR T48S - Cash Register User manual

Casio
Casio SE-G1 User manual

Casio
Casio SE-C300 User manual

Casio
Casio TE-M80 User manual
Casio
Casio TK-7000 User manual

Casio
Casio PCR-T2500 User manual

Casio
Casio SE-S400 User manual

Casio
Casio QT-7300 Series User manual

Casio
Casio TK-800 Assembly instructions

Casio
Casio 130CR User manual

Casio
Casio TE-7000S User manual

Casio
Casio TK-1550 User manual

Casio
Casio TE-2200 User manual

Casio
Casio TK-T200 User manual

Casio
Casio SA-5000 User manual

Casio
Casio PCR-T465 User manual

Casio
Casio CE-280 Assembly instructions

Casio
Casio CE-2400 Assembly instructions

Casio
Casio SE-C3500 User manual