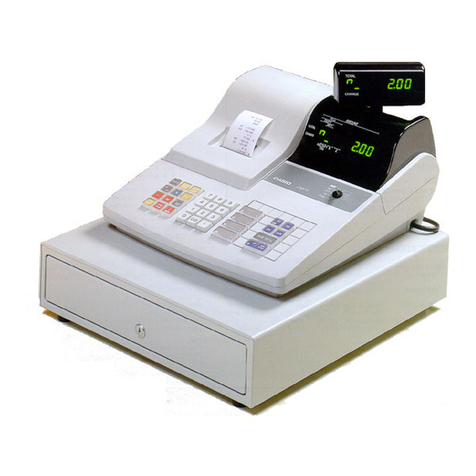
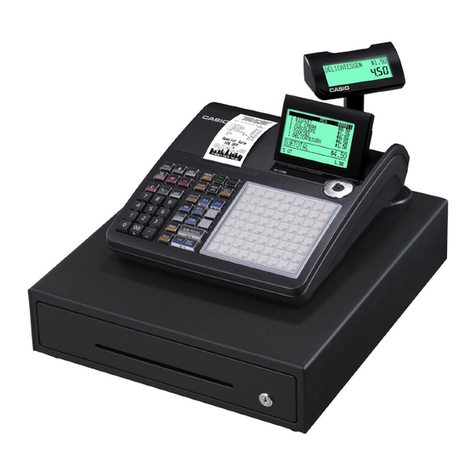
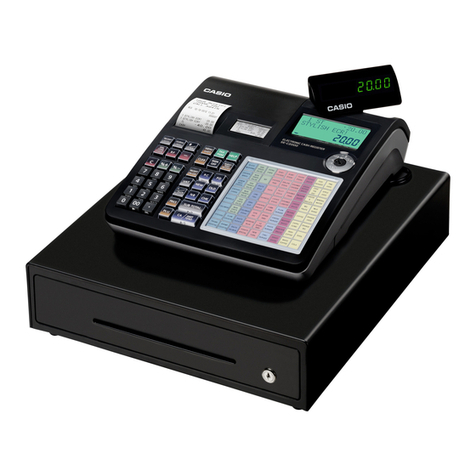
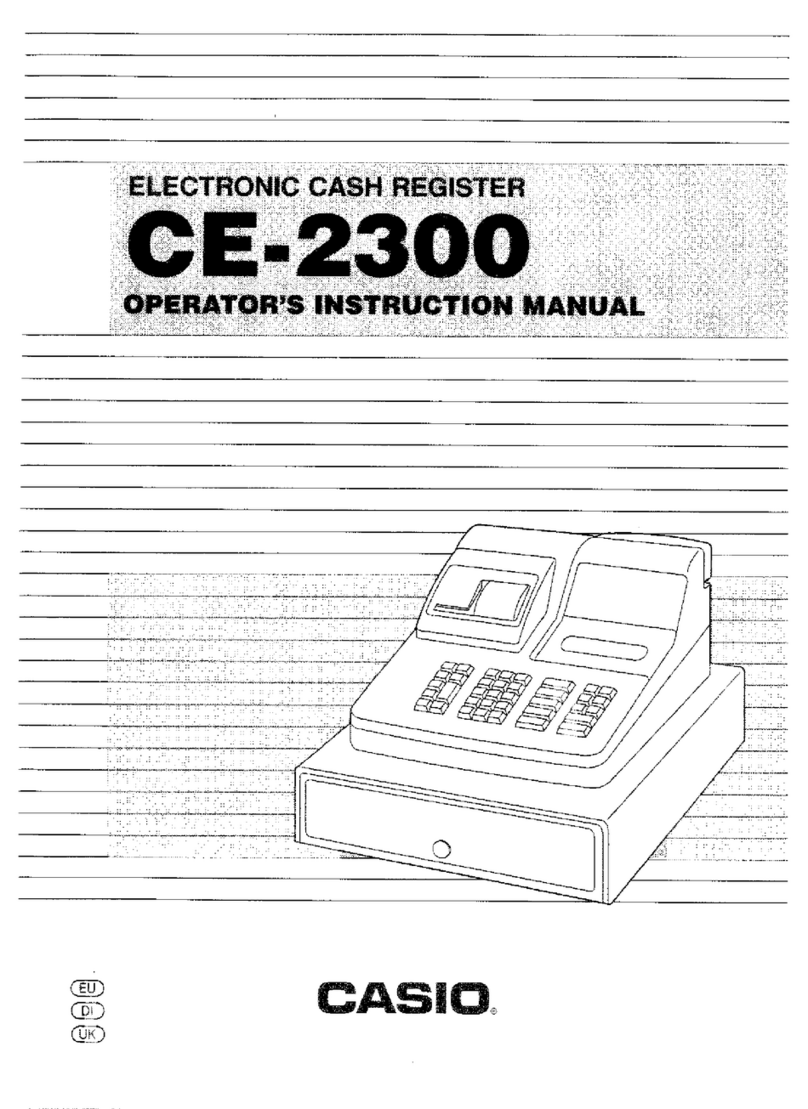
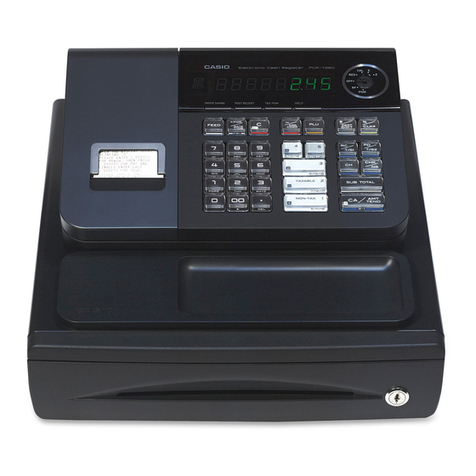
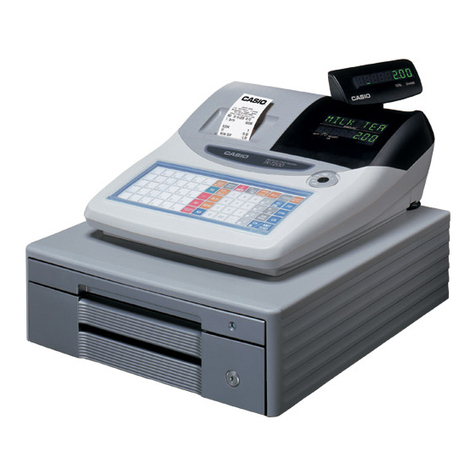
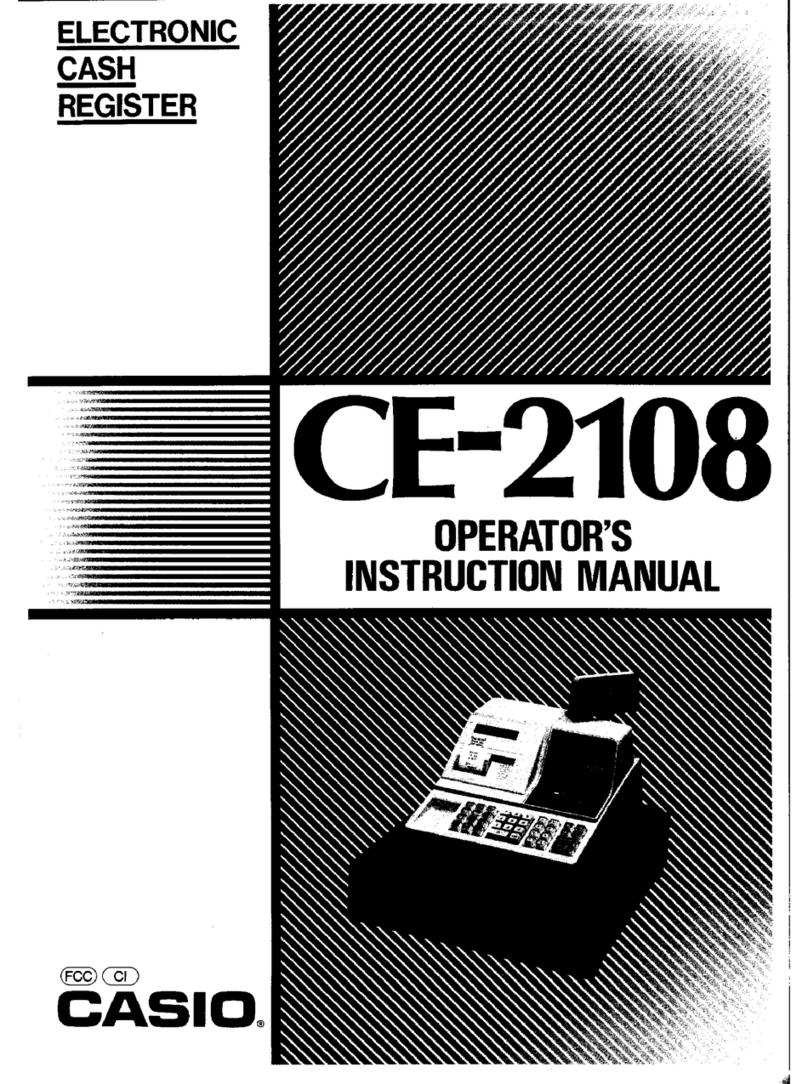
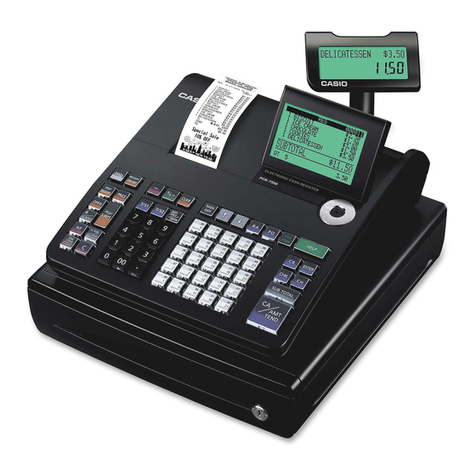
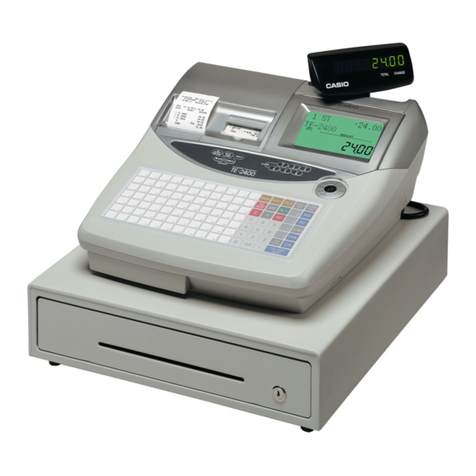
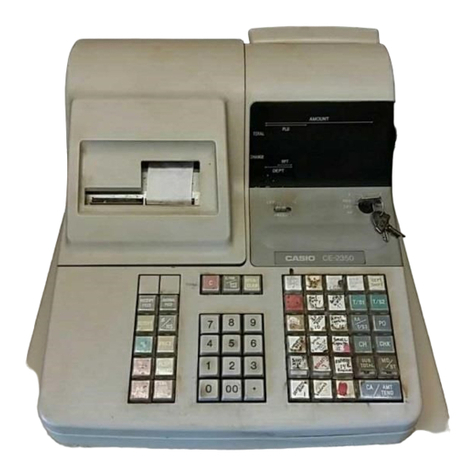
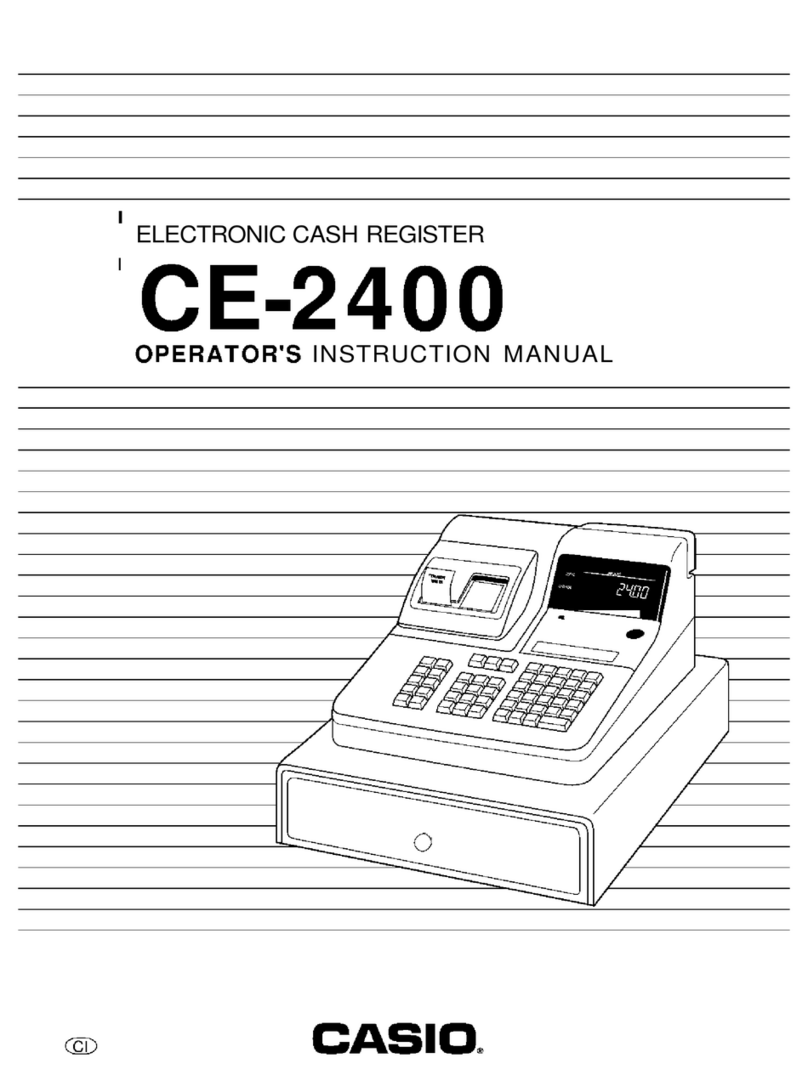
Casio CE-2400 User manual

SERVICE MANUAL
ELECTRONIC CASH REGISTER
(without price)
CE-2400(EX-259B)
OCT. 1996
Printer Model : CR-710

CONTENTS
Page
1. FEATURES................................................................................................... 1
2. SPECIFICATIONS........................................................................................ 1
3. MAC (Memory All Clear) OPERATION.......................................................2
4. DIAGNOSTIC OPERATION ......................................................................... 3
4-1. How to Start................................................................................................................. 3
4-2. Mode switch and PAD status display check.............................................................4
4-3. Hard key code check .................................................................................................. 4
4-4. Hard check function....................................................................................................5
4-4-1. Display, RAM, drawer and printer check ........................................................5
4-4-2. RAM read only check .......................................................................................6
4-4-3. Voltage check of memory back-up battery.....................................................6
4-4-4. All characters print check................................................................................7
4-4-5. Display the time ................................................................................................7
4-4-6. How to release the diagnostic mode...............................................................7
5. OPTION CIRCUIT......................................................................................... 8
6. CIRCUIT EXPLANATION............................................................................. 9
6-1. Power supply circuit ...................................................................................................9
6-2. CPU (µPD75517GF-400-3B9) ....................................................................................11
6-3. Motor error detection circuit ....................................................................................12
6-4. Mode key switch status read ...................................................................................13
6-5. RAM address/head drive signal switching circuit..................................................13
6-6. Initialize IC (Reset IC)................................................................................................14
6-7. Printer error condition of CPU .................................................................................14
6-8. Error code.................................................................................................................. 14
7. TO OPEN THE UPEER CASE ................................................................... 15
8. PCB LAYOUT............................................................................................. 16
9. CIRCUIT DIAGRAM ................................................................................... 17
10. PARTS LIST ............................................................................................... 28
— 1 —
• Operating temperature 0 °C ~ 40 °C
• Operating humidity 10 % ~ 90 %
• Storage temperature -25 °C ~ 65 °C
• Storage humidity 10 % ~ 95 %
• Vibration strength 1.5 G (The machine must be in the carton box)
• Power consumption Specification 0.35 A
In operation Max. 0.22 A
Min. 0.09 A
Power OFF 0.08 A
• Memory protection Back-up battery Mangan battery (UM-3 ×3 pcs.)
Back-up period 1 year (25 °C)
Battery life Replace the battery every year.
• Clock & Calendar Accuracy Within ±120 sec. per month (25 °C)
Auto calendar Effective until 2099 A.D.
Item CE-2350 CE-2400
Department number 38 40
PLU number 400 500
Clerk number 10 20
Calculator function Nil Available
• CPU Name µPD75517GF-400-3B9
Number of control bit 4
Internal RAM 512 ×4 bits
Internal ROM 12160 ×8 bits
Main system clock 4.19 MHz
Sub system clock 32.768 KHz
• RAM Name LC36256AL70/85/10
Capacity 32 KB
1. FEATURES
The difference between CE-2350 and CE-2400 is as follows.
2. SPECIFICATIONS
2-1. Electrical specifications
2-2. Environmental specifications
2-3. Principal components

— 2 —
• Printer Name CR-710-001
Print method Rubber-type inner-hummer printing system
Receipt number 2 receipt (Receipt & Journal)
Print digit 12 digits
(Numeric: 10 digits, Symbol: 2 digits)
Printing speed Approx. 2.4 lines/sec.
MCBF 1,500,000 lines
Paper width W 44.5 ±0.5 mm
Paper diameter 83 mm or less
Paper thickness 0.06 ~ 0.09 mm
Ink roll IR-93
Ribbon life 400,000 lines
• Display Name LED (HDSP-5261)
Number of digit 8 digits (LED ×4 pcs.)
• Power transformer Name TE-233-E4D
• Keyboard: Input system 2 keys roll over
• Drawer Name DL-2416 (D-15TC-A55SP-1*) M type drawer
for U.S.A.
2-4. Option
• Wet cover Name WT-63
• Power protection battery (B-6) Drive period Approx. 3 hours with the following conditions
Drive conditions Processing time: 60 sec./customer
Quantity of sales: 8 items/customer
Registered amounts: 3 digits/item
Number of customer: 25 persons/hour
Charging time 8 hours to full charge
3. MAC (Memory All Clear) OPERATION
Procedure
(1)Plug the power cord into an outlet.
(2)Pressing the JOURNAL FEED button and turn the mode switch to Z position.
(3)Release the JOURNAL FEED button. After few seconds, MAC operation will be executed.
(4)The following receipt will be issued, if completed.
00•00•00
00:00
No
0001
000000000
••2749• •
Date
Time
Consecutive No.
MAC print

— 3 —
Notes:
1. After initialize operation, the clock counts from 00 : 00 A.M. and also the calendar is started from
00 - 00 - 00.
2. If the memory of RAM is broken, the machine will be initialized after power on.
4. DIAGNOSTIC OPERATION
4-1. How To Start
(1)Plug the power cord into an outlet.
(2)Execute the MAC operation.
(3)Turn the mode switch to "Z" position.
(4)Input 99999999 and press the sub total button.
(5)Start the diagnostic program and issued following receipt.
Note: If you have done the registration after MAC operation, the Diagnostic program can not start.
00•00•00
00:00
No
0002
••••••••–
••2749• •
Date
Time
Consecutive No.
Start printing for diagnostic program

— 4 —
20 26 32 38 43
19 25 31 37 42
18 24 30 36 41
17 23 29 35 40
16 22 28 34 39
15 21 27 33
C1314
789
456
123
01011
Receipt Journal
FEED FEED
47 51
46 50
45 49
44 48
4-2. Mode switch and PAD status display check
When the Clear key is pressed or changing the position of mode switch, the machine displays the
mode switch position.
Drawer status 1 Drawer open
0 Drawer close
PAD status PAD 1 PAD 2
0 0 Short Short Canada
0 1 Open Short
1 0 Short Open
1 1 Open Open U.S.
Receipt switch position 8 Receipt OFF
0 Receipt ON
Mode switch position 1 Z
2X
4 REG
8RF
4-3. Hard key code check
When all keys except numerical keys, Clear key, RECEIPT FEED key, JOURNAL FEED key are
pressed directly, the machine displays the hard key code as shown below.
23
Hard key code
20100 0

— 5 —
4-4. Hard check function
Enter 1 digit from numeral key and press the sub total button (ST), the following Hard check function
will be executed.
(1) 1+ST : Display, RAM, Drawer, Printer check
(2) 5+ST : RAM read only check
(3) 7+ST : Voltage check of memory back-up battery
(4) 8+ST : Print all characters
(5) 9+ST : Display the time
4-4-1. Display, RAM, drawer and printer check
Operation: 1+ST
(1)All segments turn on.
(2)Date and time set
Set the following data in the machine automatically.
Date : 1st. January 1992
Time : 12 : 34 : 00
(3)RAM write and read check
The machine writes data into RAM and read out the data to compare with written data.
When this check is finished correctly, the machine goes to check No. (4).
However, if an error is occurred, the machine sounds an error tone, prints the error receipt,
and stops Hard check program.
Error receipt sample " -- -- "
(4)Drawer open check
Open the drawer.
(5)Printing check
Print the following character.
Z 0 0 0 0 0 0 0 0 0 CA CD
88888.8.8.8.

— 6 —
(6)Receipt issue
The following receipt is issued.
01•01•92
4512:34
No
0004
Z 0 0 0 0 0 0 0 0 0 CA CD
(7)Test display
765432.10
4-4-2. RAM read only check
Operation: 5+ST
Note: Be sure to execute the RAM write and read check (1 + ST) before this check.
The machine reads out the data to compare with written data until an error is occurred and
blinks " -- " on the display during this check.
To stop this check, turn the mode switch to OFF position.
If an error is occurred, the machine sounds an error tone, prints " -- -- " on the
receipt, and stops this check.
4-4-3. Voltage check of memory back-up battery
Operation: 7+ST
Display the voltage of back-up battery in real time. (Measurement is Volt (V) level.)
To stop this check, turn the mode switch to OFF position.

— 7 —
4-4-4. All characters print check
Operation: 8+ST
01•01•92
45 12:36
No
0005
Z 000000000 CA CD
1 111111111 CH I
2 222222222 RA II
3 333333333 PO III
4 444444444 CK IV
5 555555555 # ST
6 666666666 VD CG
7 777777777 TX Q
8 888888888 TA @
9 999999999 NS AT
★ ★★★★★★★★+CR TL
• ••••••••– ✽–
XPLNo:% RF
4-4-5. Display the time
Operation: 9+ST
The machine display the time.
To stop this check, press the Clear key.
1 2 -- 3 4 01 The time counts up.
If you make following operation, the machine resets the time data and starts again.
Operation: 9 9+ST
4-4-6. How to release the diagnostic mode
Execute MAC operation.

— 8 —
5. OPTION CIRCUIT
Power protection battery B-6
Power protection battery B-6 is available for CE-2350.
However, interface circuit is not mounted to the machine.
When you use the B-6, mount the following parts.
Parts list for interface
Code No. Parts Name Specification Q'ty
2200 3577 Transistor 2SA1015 (GR, O, Y) 1
2301 0011 Diode 1S2471 2
2310 3541 Zener diode RD12EB2 1
2600 7313 Carbon film resistor R-25-10K-J 3
2614 0552 Carbon film resistor R-25-2K-J 1
2801 7098 Electrolytic capacitor 50RE2 1
6219 4553 Connector fixing plate E311094-1 1
6236 6180 P1625-06P connector ass'y E314531B-10 (#22-200) 1
Pin assignment for B-6 connector
Pin layout
▼
Interface circuit for B-6
Pin No. Description
1 F.G. (Green)
2 Not used
3 CS (Black)
4 GND (Blue)
5 Not used
6 VP (Brown)

— 9 —
6. CIRCUIT EXPLANATION
6-1. Power supply circuit
Q1 : Transistor for controlling voltage (VP)
Q2 : Transistor for voltage detection
Q3 : Transistor for controlling power down (PWD) signal
ZD2 : Zenner diode for controlling base current of Q2
ZD3 : Zenner diode for detecting power down (PWD) signal
After plugging the AC cord into the outlet, the AC voltage (23.8 V) appears at CN1 connector.
Then this voltage is rectified by the diode bridge and it become constant voltage through the capacitor
C1.
[Voltage VP]
A constant voltage (31.4 V) appears on the "2" position. This voltage made from the constant
voltage circuit consist of transistor Q1 and Q2, zener diode ZD2, resistor R7, R8, R12 and R13.
[Voltage VLED and VCC]
The voltage goes to pin No.1 of regulator IC1 and then it is out from pin No.2 of IC1 as stable
voltage (5.6 V).
Then this voltage falls down to 5 volts through the diode.
It is used for VCC (for logic) and VLED (for display drive).
Also, it goes to pin No.4 of IC1 and using to control the output voltage level.
Inductor L1 is used to stabilize the VCC voltage when the drawer opened.
FROM TRANSFORMER
F1 D2 1SR35-100A
1SR35-100A
1SR35-100A
1SR35-100A
D1
D4
D3
C4
50F2S683J
CN1
5277-02A
1
2
C1 3300µF50WV
Q2
R121K
2SC4640
C5
C103
ZD2
RD7·5EB3
R13
2.7K
R8
R7
C9
5.1K
820 ZD3
R15 10K
RD16EB3
Q3
2SC4640
1µF50WV
C6
50RE2-47
R14
100K
D9
1S2473
Q1
2SD1196
WITH HEATSINK
OSH-1625-SP
IC1
VIN 1 VIN
GND
VOUT
LM2575T-5.0
3
4
2
5 ON/OFF
OUTPUT
FEEDBACK
47~63KHz
MCDR1419-681K
L1
D8
RK-14
25RE2-330
C8
1S2473
D7
D11
1S2473
PWD
VP 24V
VLED 5.6V
VCC 5.0V
GNDP
GND
GND
1
2 5 7 8 9
3
4
6
10
11
12

— 10 —
Check point 1 2 3456789101112
Power ON
23.8(AC) 31.4
25.2 7.61 24 8.2 8.1 0.6 0 5 5.6 5
Power cord off 0 0 0000000000
[PWD signal]
After plugging the AC cord into outlet, VP voltage appears on the base terminal of transistor Q3.
When the VP exceeds 16 volts, Q3 is turned on by the differential voltage between base and
emitter terminal of transistor Q3.
Then the PWD signal goes to GND level and informs "Power ON" to the CPU.
When the VP drops less than 16 volts, Q3 is turned off.
Then the PWD goes high level since the PWD is pulled up to VDD.
When the CPU receives "High" signal of PWD, CPU goes to "Power failure process".
Note:When plugging the AC cord into outlet, all voltages are supplied to the PCB.
If you open the machine for repair, make sure to unplug it.
[Location for voltage check points]
Actual value on the E259-1 PCB [unit : V]
2
3
46
5
7
8
9
1
11
10
12

— 11 —
Pin No. Signal Descriptions I/O
1 AN0 Mode switch signal (RF, OFF, REG, X, Z) signal In 2.0V
2 AVREF VCC terminal (+5 V) — 5.0V
3 VDD VDD terminal (+5 V) — 5.0V
4 VDD VDD terminal (+5 V) — 5.0V
5 P113 Motor drive signal (M4) Out Low
6 P112 Motor drive signal (M3) Out High
7 P111 Motor drive signal (M2) Out Low
8 P110 Motor drive signal (M1) Out Low
9 P103 Stamp/Clock signal Out Low
10 P102 RAM address signal (A12)/Receipt and Journal feed (FEED) Out Low
11 P101 RAM address signal (A09/A11)/Head drive signal (HD6) Out Low
12 P100 RAM address signal (A08/A10)/Head drive signal (HD5) Out Low
13 P93 RAM address signal (A03/A07)/Head drive signal (HD4) Out Low
14 P92 RAM address signal (A02/A06)/Head drive signal (HD3) Out Low
15 P91 RAM address signal (A01/A05)/Head drive signal (HD2) Out Low
16 P90 RAM address signal (A00/A04)/Head drive signal (HD1) Out Low
17 SI1/P83 Key input signal (KI7) In High
18 SO1/P82 Key input signal (KI6) In High
19
SCK1/P81
Key input signal (KI5) In High
20 PP0/P80 Key input signal (KI4) In High
21 KR7/P73 Not used Out —
22 KR6/P72 Display segment signal (SG1) Out Pulse
23 KR5/P71 Display segment signal (SF1) Out Pulse
24 KR4/P70 Display segment signal (SE1) Out Pulse
25 KR3/P63 Display segment signal (SD1) Out Pulse
26 KR2/P62 Display segment signal (SC1) Out Pulse
27 KR1/P61 Display segment signal (SB1) Out Pulse
28 KR0/P60 Display segment signal (SA1) Out Pulse
29 P53 Display segment signal (SDP0) Out Pulse
30 P52 Display segment signal (SG0) Out Pulse
31 P51 Display segment signal (SF0) Out Pulse
32 P50 Display segment signal (SE0) Out Pulse
33 VSS GND terminal — —
34 P43 Display segment signal (SD0) Out Pulse
35 P42 Display segment signal (SC0) Out Pulse
36 P41 Display segment signal (SB0) Out Pulse
37 P40 Display segment signal (SA0) Out Pulse
38 P33 Display segment common signal (Dg4) Out Pulse
39 P32 Display segment common signal (Dg3) Out Pulse
40 P31 Display segment common signal (Dg2) Out Pulse
41 P30 Display segment common signal (Dg1) Out Pulse
42 P23/BUZ Buzzer signal Out Low
43 P22/PCL Motor drive signal (for paper feeding) Out Low
44 P21 Step motor common signal (for print wheel) Out High
45 P20/PT00 Drawer open signal (DW) Out Low
46 P13/TI0 Key input signal (KI9) In High
47 P12/INT2 Key input signal (KI8) In High
48 P11/INT1 Power down signal In Low
49 P10/INT0 Reset pulse from printer In High
6-2. CPU (µPD75517GF-400-3B9)
PW-on
level

— 12 —
Pin No. Signal Descriptions I/O
50
P03/SI0/SB1
Key input signal (KI3) In High
51
P02/SO0/SB0
Key input signal (KI2) In High
52
P01/SCK0_
Key input signal (KI1) In High
53 P00/INT4 Key input signal (KI0) In High
54 VSS GND terminal — —
55 XT1 Sub system clock signal (32.768 KHz) In Pulse
56 XT2 Sub system clock signal (32.768 KHz) In Pulse
57 IC GND terminal — —
58 X1 Main system clock signal (4.19 MHz) In Pulse
59 X2 Main system clock signal (4.19 MHz) In Pulse
60 RESET_ Initialize signal In High
61 P143 RAM write enable signal (WE_) Out High
62 P142 RAM chip enable signal (CE_) Out High
63 P141 Journal feed common signal Out Low
64 P140 Receipt feed common signal Out Low
65 P133 RAM data signal (D3) I/O High
66 P132 RAM data signal (D2) I/O High
67 P131 RAM data signal (D1) I/O High
68 P130 RAM data signal (D0) I/O High
69 P123 Key common signal (Kc02) Out Pulse
70 P122 Key common signal (Kc01) Out Pulse
71 P121 Key common signal (Kc00) Out Pulse
72 P120 RAM address signal (A14) Out Low
73 AVSS GND terminal — —
74
P153/AN7
Receipt ON/OFF signal In High
75
P152/AN6
Motor error signal In Low
76
P151/AN5
Pad data signal (PAD2) In High
77
P150/AN4
Pad data signal (PAD1) In High
78 AN3 GND terminal — —
79 AN2 Battery voltage detection terminal In
0 ~ 4.5V
80 AN1 Drawer sensor signal In Low
PW-on
level
To Printer To CPU
Note:The "PW-ON level" is measured under following conditions.
(1) Mode switch is REG position.
(2) The display is the time.
(3) Receipt switch is ON position.
(4) PAD1 and PAD2 are both open.
6-3. Motor error detection circuit
When CPU output motor signal, transistor Q8 becomes on and the voltage level at "A" point becomes
GND. Then, paper feeding motor rotate. Normally, pin No. 1 of IC4 appears low signal.
IC4 detects differential voltage between pin No. 2 and 3.
In case pin No. 3 is higher than No. 2, output (pin No. 1) signal is high.
If motor happens over load (paper jam etc.), over load current (250mA) runs resistor R9. So " A" point
voltage level becomes high.
Then IC4 outputs high signal and then CPU knows motor error occured.
Whe the CPU receives "Motor error signal" CPU stops motor signal.
R10
VP D35
1SR-35-100A VP
22K
(±2%)
1K
1
BA10393
(±2%)
TFC103
R9
R6
8
3
2+
3.9 (R50X)
–
Q8
GNDP 10K R11
2SD1853 1.5KR26
10K
VCC
R37
MOTOR ERROR
MOTOR
IC4
C10

— 13 —
RF
REG
X
Z
6-4. Mode key switch status read
The CPU knows the mode switch status by voltage level of pin No.1.
The voltage level is down by resistor. Each voltage is as shown below.
16 Kohms
6.2 Kohms
2 Kohms
560 ohms
Mode REG X Z RF OFF
Voltage (V) 196 3.29 4.36 0.98 0
▲
To Pin No.1 of CPU
6-5. RAM address/head drive signal switching circuit
The CPU uses the port for RAM address (A0 ~ A11) and head drive signal (HD1 ~ HD6).
To select the RAM address and head drive signal, CPU use "STEP MOTOR COM" signal.
When CPU wants to read the RAM chips, CPU stops "STEP MOTOR COM" signal.
The CPU controls RAM address (A0 ~ A12) using IC 10 because CPU has 7 ports.
First, CPU sends RAM address (A4 ~ A7, A10, A11) to IC10 and IC10 store the address data.
Next, CPU sends RAM address (A0 ~ A3, A8, A9, A12, A14) to RAM.
At the same time, CPU sends clock signal to IC10.
Then, IC10 outputs stored data (A4 ~ A7, A10, A11). In this way, CPU controls RAM address.
P140
P141
P142
P143
RESET
X2
X1
IC(VSS)
XT2
XT1
VSS
P00/INT4
P01/SCK0
P02/SO0/SB0
P03/SI0/SB1
P10/INT0
P11/INT1
P12/INT2
P13/TIO
P20/PTO0
P21
P22/PCL
P23/BUZ
P30
AN0
AVREF
VDD
VDD
P113
P112
P111
P110
P103
P102
P101
P100
P93
P92
P91
P90
SI1/P83
SO1/P82
SCK1/PB1
PPO/P80 dall
KR7/P73
KR6/P72
KR5/P71
KR4/P70
1
2
3
4
5
6
7
8
9
10
11
12
13
14
15
16
17
18
19
20
21
22
23
24
64
63
62
61
60
59
58
57
56
55
54
53
52
51
50
49
48
47
46
45
44
43
42
41
AN1
AN2
AN3
P150/AN4
P151/AN5
P152/AN6
P153/AN7
AVSS
P120
P121
P122
P123
P130
P131
P132
P133
80
79
78
77
76
75
74
73
72
71
70
69
68
67
66
65
25
26
27
28
29
30
31
32
33
34
35
36
37
38
39
40
KR3/P63
KR2/P62
KR1/P61
KR0/P60
P53
P52
P51
P50
VSS
P43
P42
P41
P40
P33
P32
P31
M4
M3
M2
M1
Ki7
Ki6
Ki5
Ki4
SG1
SF1
SE1
Ki0
Ki1
Ki2
Ki3
RP
PWD
Ki8
Ki9
DW
STEP MOTOR COM
MOTOR
BUZZER
SD1
SC1
SB1
SA1
SDP0
SG0
SF0
SE0
SD0
SC0
SB0
SA0
Dg4
Dg3
Dg2
PAD1
PAD2
MOTOR ERROR
R ON/OFF
A14
Kc00
Kc01
Kc02
D0
D1
D2
D3
R-COM
J-COM
CE
WE
RESET
A
B
C
G2A
G2B
G1
Y7
GND
Vcc
Y0
Y1
Y2
Y3
Y4
Y5
Y6
1
2
3
4
5
6
7
8
16
15
14
13
12
11
10
9
28
27
26
25H5A8A10
24H6A9A11
23
22
21
20
19
18
17
16
15
1
2
3
4
5
6
7
8
9
10
11
12
13
14
Vcc
WE
A13
A8
A9
A11
OE
A10
CE
I/O8
I/O7
I/O6
I/O5
I/O4
A14
A12
A7
A6
A5
A4
A3
A2
A1
A0
I/O1
I/O2
I/O3
GND
9
5
6
7
8
4
3
2
1
2
3
4
5
6
7
8
16
15
14
13
12
11
10
9
Vcc
Q6
D6
D5
Q5
D4
Q4
CLOCK
CLEAR
Q1
D1
D2
Q2
D3
Q3
GND
H6A9A11
H5A8A10
H4A3A7
H3A2A6
H2A1A5
H1A0A4
STPCLK
FEEDA12
VCC
GND
VDD 56K
R79
C44
IC13 TC74HC138AP
234567
RA 3MS5636F 1
Vcc
VDD
VDD
C28
C103
1
GND
DWS
GND 56K R70
C471 C33
PAD2
PAD1
MODECOM
VCC
VDD
GND
C30
C31
D29
1S2473
TFC104
C103
GND
VDD
VLED
12
3DA1
GND
H4A3A7
H3A2A6
H2A1A5
H1A0A4
FEEDA12
GND
VDD
VCC
H2A1A5
H4A3A7
H6A9A11
STPCLK
H1A0A4
H3A2A6
H5A8A10
C29
TFC103
TFC104
C41
IC8 BA12003 IC9 BA12003
16 1 10 7
IC11 LC36256AL
TC74HC174
IC10
VP
D27 1SR-35-100A
2SD1853
R72
100K
1
2
3
GND
R54
C32
C101
GND
1M
C25
SB007W035
C102
R69 8.2K
R71 56K
R67 CRH100-J-6R8
10K
D28
1S2473 GND
R432K
RP
6 5 3 2 4
1
VCC
MS5635F
RA2
10K
R68
Q18
GND
GND
Dg1
C102
C17
GND C-002RX
IC5 µPD75517GF-400-389
53253-0310
RA5 MS1038F
CN4

— 14 —
6-6. Initialize IC (Reset IC)
When the voltage level on pin No. 60 of CPU is not stabilized, CPU does not work properly in rare case.
Therefore, this machine uses the initialize IC for stabilizing the voltage.
Even the voltage level of VDD (Pin No. 2) is changed of initialize IC,Initialize IC output stabilized 5 volts
from pin No.1.
6-7. Printer error condition of CPU
(1)When motor error signal comes, CPU knows printer error.
(2)When reset pulse does not come within a period of time which is controlled by CPU, CPU knows
printer error. Then, CPU stops printing.
CPU selects printing character by software.
6-8. Error code
P140
P141
P142
P143
RESET
X2
64
63
62
61
60
59
P121
P122
P123
P130
P131
P132
P133
70
69
68
67
66
65
Kc01
Kc02
D0
D1
D2
D3
R-COM
J-COM
CE
WE
RESET
GND
GND
VDD
VDD 56K
R79
C472
C43
C44 TFC103
12
3
IC12S-80730AN
C103
C42
X2 CST4.19MG
Mode Switch position changed before
finalization.
Registration without entering a clerk
number. Thiserror appearsonly when
the clerk control function is activated.
Registration attempted while the
drawer of the register is open.
Transaction cancel buffer is full.
READ/RESET operation without dec-
laration of cash in drawer. This error
appears only when the money decla-
ration (cash in drawer amount input) is
required by programming.
Error code Meaning Action
E01
E08
E11
E27
E38
Return the Mode Switch to its original
setting and finalize the operation.
Enter a clerk number.
Shut the drawer before attempting to
perform a registration.
Finalize the transaction.
Perform money declaration.

— 15 —
7. TO OPEN THE UPPER CASE
(1)Remove the printer cover.
(2)Remove the four screws 1near the printer unit.
(3)Slide the upper case to backward and pull it up then remove it.
(4)Remove the five screws 2to separate the keyboard.
Slide this direction

— 16 —
8. PCB LAYOUT

2
1
3
4
5
6
7
8
2
1
3
4
5
6
7
8
BCDEFGHI JKA
BCDEFGHI JKA
— 17 —
Name Board No. Drawing No.
9. CIRCUIT DIAGRAM
11P
76.8ms 1.55s
(MIN)
5.6ms
4.5mS
4.5mS
1.1mS
1.1mS
1.1mS
126ms
85ms
VP
PWD
VCC
VDD
KC
COM
Seg
CPU CLK
52045-2845
5277-02A
IL-G-3P
52045-2045
53253-0310
52045-2245
E259-1
3P 3P
2P
2P 5P
22P
RECEIPT
ON/OFF
MODE-KEY
E241-E3-2
E240-E3-1
E259-E4
52045-2245
W-P7911
E240-E2
9P
20P
PLEM20R
W-P7909
POWER
TRANSFORMER
AC IN
POP UP DISPLAY
E240-E2
W-D3409 W-D3411
DRY BATT.
DRAWER
PRINTER
CR-710
28P
US
RECEIPT
FEED
JOURNAL
FEED
RECEIPT/
EXCHG
#
NS
%
PRICE
—
PLU/
S.DEPT
RF ERR.
CORR
CANCEL
7
4
1
0
8
5
2
00
9
6
3
•
X/FOR
DATE
TIME
26
6
25
5
24
4
23
3
22
2
21
1
32
12
31
11
30
10
29
9
28
8
27
7
38
18
37
17
36
16
35
15
34
14
33
13
40
20
39
19
RAT/S1
CH
SUB
TOTAL
CAL
MODE
CHK
MD/ST
CA
=
AMT
TEND
DEPT
SHIFT
C
C/AC OPEN/
CLK#
÷
x
–
+
POT/S2
BLOCK DIAGRAM E240020

2
1
3
4
5
6
7
8
2
1
3
4
5
6
7
8
BCDEFGHI JKA
BCDEFGHI JKA
— 18 —
Name Board No. Drawing No.
P140
P141
P142
P143
RESET
X2
X1
IC(VSS)
XT2
XT1
VSS
P00/INT4
P01/SCK0
P02/SO0/SB0
P03/SI0/SB1
P10/INT0
P11/INT1
P12/INT2
P13/TIO
P20/PTO0
P21
P22/PCL
P23/BUZ
P30
AN0
AVREF
VDD
VDD
P113
P112
P111
P110
P103
P102
P101
P100
P93
P92
P91
P90
SI1/P83
SO1/P82
SCK1/PB1
PPO/P80 dall
KR7/P73
KR6/P72
KR5/P71
KR4/P70
1
2
3
4
5
6
7
8
9
10
11
12
13
14
15
16
17
18
19
20
21
22
23
24
64
63
62
61
60
59
58
57
56
55
54
53
52
51
50
49
48
47
46
45
44
43
42
41
AN1
AN2
AN3
P150/AN4
P151/AN5
P152/AN6
P153/AN7
AVSS
P120
P121
P122
P123
P130
P131
P132
P133
80
79
78
77
76
75
74
73
72
71
70
69
68
67
66
65
25
26
27
28
29
30
31
32
33
34
35
36
37
38
39
40
KR3/P63
KR2/P62
KR1/P61
KR0/P60
P53
P52
P51
P50
VSS
P43
P42
P41
P40
P33
P32
P31
M4
M3
M2
M1
Ki7
Ki6
Ki5
Ki4
SG1
SF1
SE1
Ki0
Ki1
Ki2
Ki3
RP
PWD
Ki8
Ki9
DW
STEP MOTOR COM
MOTOR
BUZZER
SD1
SC1
SB1
SA1
SDP0
SG0
SF0
SE0
SD0
SC0
SB0
SA0
Dg4
Dg3
Dg2
PAD1
PAD2
MOTOR ERROR
R ON/OFF
A14
Kc00
Kc01
Kc02
D0
D1
D2
D3
R-COM
J-COM
CE
WE
RESET
A
B
C
G2A
G2B
G1
Y7
GND
Vcc
Y0
Y1
Y2
Y3
Y4
Y5
Y6
1
2
3
4
5
6
7
8
16
15
14
13
12
11
10
9
Kc0
Kc1
Kc2
Kc3
Kc4
Kc5
28
27
26
25H5A8A10
24H6A9A11
23
22
21
20
19
18
17
16
15
1
2
3
4
5
6
7
8
9
10
11
12
13
14
Vcc
WE
A13
A8
A9
A11
OE
A10
CE
I/O8
I/O7
I/O6
I/O5
I/O4
A14
A12
A7
A6
A5
A4
A3
A2
A1
A0
I/O1
I/O2
I/O3
GND
9
5
6
7
8
4
3
2
1
2
3
4
5
6
7
8
16
15
14
13
12
11
10
9
Vcc
Q6
D6
D5
Q5
D4
Q4
CLOCK
CLEAR
Q1
D1
D2
Q2
D3
Q3
GND
H6A9A11
H5A8A10
H4A3A7
H3A2A6
H2A1A5
H1A0A4
STPCLK
FEEDA12
VCC
VDD
VCC
R77
R75
R76
R7810K
10K
10K
10K
VCC
VCC
GND
GND
GND
VDD
VDD 56K
R79
C472
C43
C44 TFC103
12
3
IC12S-80730AN
C103
C42
IC13 TC74HC138AP
234567
RA 3MS5636F 1
Vcc
VDD
VDD
C28
C103
1
GND
DWS
GND 56K R70
C471 C33
PAD2
PAD1
MODECOM
VCC
VDD
GND
C30
C31
D29
1S2473
TFC104
C103
GND
VDD
VLED
12
3DA1
GND
H4A3A7
H3A2A6
H2A1A5
H1A0A4
FEEDA12
GND
VDD
VCC
H2A1A5
H4A3A7
H6A9A11
STPCLK
H1A0A4
H3A2A6
H5A8A10
C29
TFC103
TFC104
C41
IC8 BA12003 IC9 BA12003
16 1 10 7
IC11 LC36256PLL
TC74HC174
IC10
VP
D27 1SR-35-100A
2SD1853
R72
100K
1
2
3
1
2
3
GND
R54
C32
C101
GND
1M
C25
SB007W035
C102
VP
VCC
R69 8.2K
R71 56K
R67 CRH100-J-6R8F2 0.8A
DW
DWS R36 10K
D28
1S2473 GND
R432K
RP
6 5 3 2 4
1
VCC
MS5635F
RA2
10K
R68
CN5
Q18
GND
GND GND
VP
Dg1
C102
C17
C102
C18
R44 10K
BA12001
IC7
116
GND GND
GND
1K R28
1K R29 PWD
VDD
R27
56K
C12
C103
BZ1
PKM22EPP-2002
+
–
32.768KHz
4.19MHz
X2 CST4.19MG
C20
R38 330KC150
C-002RX
C150 C21
X1
IC5 µPD75516GF-351-389
DISPLAY
TO BLOCK DIAGRAM (2/5) DISPLAY
TO BLOCK DIAGRAM (2/5) KEY
KEY
TO BLOCK DIAGRAM (3/5)
J-COM
PRINTER
R-COM
53253-0310
IG-G-3P-S3T2-E
RA5 MS1038F
DRAWER
BATTERY
SHORT
US
PAD MATRIX
L
PAD1 PAD2
CN4
MAIN PCB E259-1 (1/5) E240021
Other manuals for CE-2400
2
Table of contents
Other Casio Cash Register manuals

Casio
Casio 110CR User manual

Casio
Casio TK-T500 Series User manual

Casio
Casio QT-6000 User manual

Casio
Casio TK-810 Assembly instructions

Casio
Casio CE-280 Assembly instructions

Casio
Casio TE-M80 User manual

Casio
Casio TE-2400 User manual

Casio
Casio SE-S10 User manual

Casio
Casio PCR-1000 User manual

Casio
Casio PCR-365A User manual

Casio
Casio SR-C4500 User manual

Casio
Casio CE-300 (EX-247) User manual

Casio
Casio CE-300 (EX-247) User manual

Casio
Casio PCR-260B User manual

Casio
Casio PCR-T285 User manual

Casio
Casio CE-4000 Assembly instructions

Casio
Casio PCR-T273 User manual

Casio
Casio PCR-T2000 User manual

Casio
Casio TE-100 User manual

Casio
Casio QT-2000 User manual