Technical instructions Mini Brio X15CA v1.0EN
www.ccei.ca 4
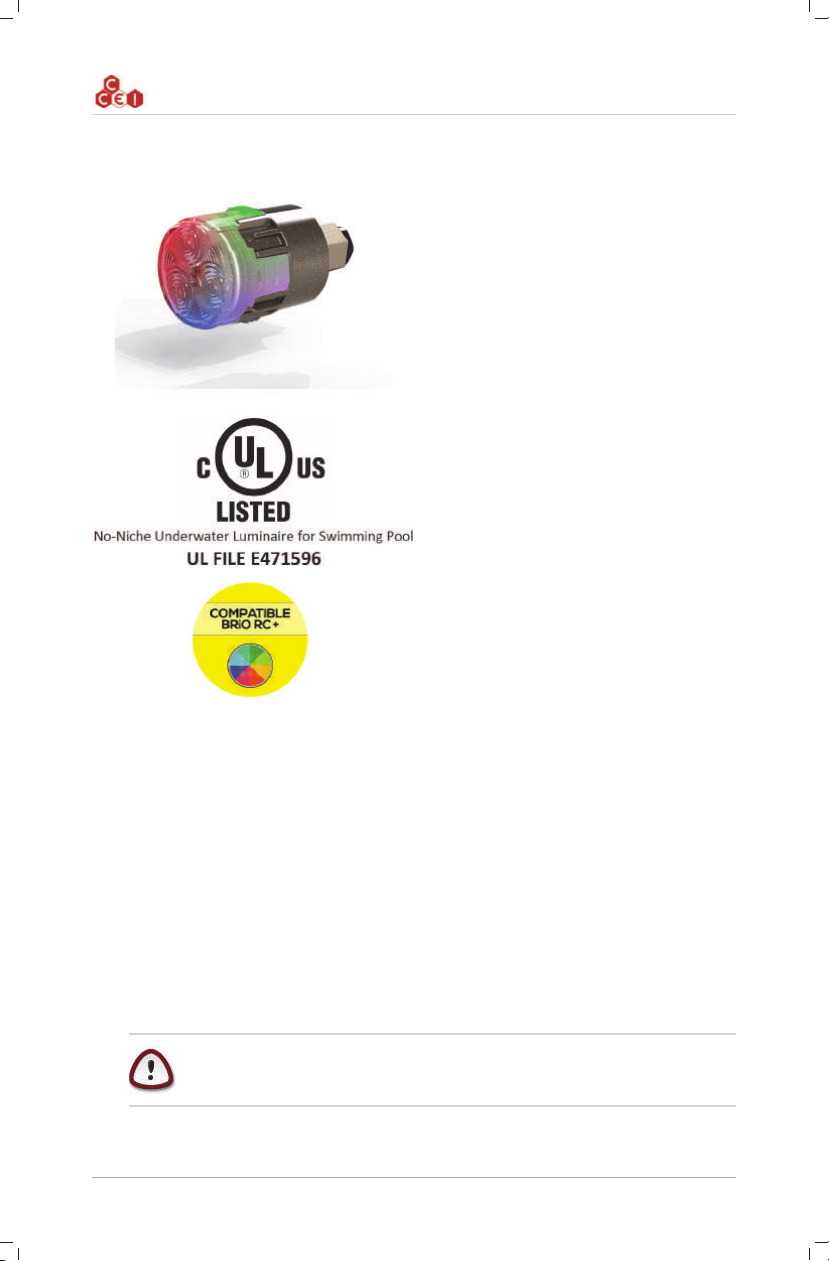
3. Description
The Mini Brio X15 power LED projectors are designed to replace incandescent lighting, reduce your
energy consumption and light up your pool in any colour.
They come with powerful LED to improve the quality and reliability
of the lighting of your pool while reducing your energy consump-
tion.
The colours are created by mixing 3 primary colours: Red, Green
and Blue (RGB Technology).
By adjusting the intensity of these three colours, it is possible to
create an endless amount of shades.
3.1. Warnings
This product must be installed by a licensed or certified electrician or a qualified
pool professional in accordance with the current National Electrical Code (NEC),
NFPA 70 or the Canadian Electrical Code (CEC), CSA C22.1. All applicable local
installation codes and ordinances must also be adhered to. Improper installation
will create an electrical hazard which could result in death or serious injury to pool
users, installers or others due to electrical shock, and may also cause damage to
power source. Always disconnect the power to the pool light at the circuit breaker
before servicing the light. Failure to do so could result in death or serious injury
to service person, pool users or others due to electrical shock.
For countries in compliance with International Electrotechnical Commission
(IEC) regulatory standards: The light fixture must be installed by a licensed or
certified electrician or a qualified pool service person, in accordance with current
IEC 364-7-702 and all applicable local codes and ordinance. Improper installation
will create an electrical hazard, which could result in death or serious injury to
pool user, installer or other due to electrical shock and may also cause damage to
the property.
3.2. Technical support
Website : www.ccei.ca / Phone : +1.514.649.7748