CDA SL670BL User guide

1
SL670BL
Thirteen function steam oven
Use and maintenance

2| Instruction Manual
3 Important information
5
5
First use of the oven
Standby mode
6 Control panel
8 Heating functions and
additional functions
9 Function indicator symbols
9 Setting the time
10 Child lock
10 Minute minder
11 Display brightness
11 Oven door
11 Delayed start
13 Semi automatic cooking
14 Automatic cooking
15 Using the grill
15 ECO heating
16 Pre-set programmes
17 Steam programme settings
Contents
IMPORTANT: Please read the user instructions carefully before
using the appliance for the first time and before installing it.
Failure to install the oven, or to have it installed, as per the
instruction manual could invalidate the warranty. Any service
calls relating to misue or incorrect installation could incur a
service charge.
17 Descaling the steam system
19 Practical tips
20 Temperature probe
22 Rapid preheating
22 Oven preheat
22 Temperature
23 Cooling fan and residual heat
23 Lighting
24 Cleaning and maintenance
31 Changing the oven light bulbs
32 Installation
34 Mains electrical connection
36 Technical assistance
37 Error codes
38 Specifications
39 Product fiche
40 Product information

Instruction Manual | 3
Important information
This appliance must only be used for the purpose for which it is
intended, i.e. domestic cooking. Any other use could be dangerous
and may lead to premature failure of the appliance.
The CDA Group Ltd. cannot be held responsible for injuries or losses
caused by incorrect use or installation of this product. Please note
that CDA reserves the right to invalidate the guarantee supplied with
this product following incorrect installation or misuse of the appliance.
Under no circumstances should any external covers be removed for
servicing or maintenance except by suitably qualified personnel.
User information
• The appliance and its accessible parts become hot during use.
Care should be taken to avoid touching heating elements
• The appliance can be used by children aged from 8 years
and above. Persons with reduced physical, sensory or mental
capabilities must be given instruction or supervision
concerning safe operation of the appliance and understand the
hazards involved
• Do not allow anyone unfamiliar with the contents of this instruction
manual to operate the oven
• Do not use harsh cleaning agents or sharp metal objects to clean
the door as they can scratch the surface potentially resulting in
cracking or shattering of the glass
• Take care when opening the oven door during or after a cooking
cycle as hot steam may escape
• Do not use the oven in the event of a technical fault. Any faults
must be fixed by an appropriately qualified and authorised person
• In the event of an incident due to a technical fault, disconnect the
power and report the fault to CDA Customer Care
• The appliance has been designed only for cooking, any other use
may invalidate your warranty and cause danger
• Do not place anything weighing over 15kg on the opened oven
door
17 Descaling the steam system
19 Practical tips
20 Temperature probe
22 Rapid preheating
22 Oven preheat
22 Temperature
23 Cooling fan and residual heat
23 Lighting
24 Cleaning and maintenance
31 Changing the oven light bulbs
32 Installation
34 Mains electrical connection
36 Technical assistance
37 Error codes
38 Specifications
39 Product fiche
40 Product information

Appliance information
Please enter the details on the appliance rating plate below for
reference, to assist CDA Customer Care in the event of a fault with
your appliance and to register your appliance for guarantee purposes.
Appliance Model
Serial Number
IMPORTANT INFORMATION FOR CORRECT DISPOSAL OF THE
PRODUCT IN ACCORDANCE WITH EC DIRECTIVE 2012/19/EU.
At the end of its working life, the product must be taken to a special
local authority waste collection centre or to a dealer providing
appliance recycling services.
Disposing of a household appliance separately avoids possible
negative consequences for the environment and health. It also
enables the constituent materials to be recovered, saving both energy
and resources. As a reminder of the need to dispose of household
appliances separately, the product is marked with a crossed-out
wheeled dustbin .
4| Instruction Manual

Instruction Manual | 5
First use of the oven
In order to remove oil residues accumulated during the manufacturing
process and dust accumulated during storage and transport, we
recommend a preliminary cleaning before first use. This is to protect
your health and provide optimum quality in cooking.
IMPORTANT!
Remove the protective foil from the telescopic runners before using
the oven.
Preliminary heating
1. Remove any packaging elements from the oven cavity
2. Turn on ventilation or extractor fan in the room or open a window
3. Set the oven to 250°C using the rapid preheating function
4. Allow to heat for approximately 30 minutes
5. Turn oven o and allow to cool
6. To clean the oven use a well wrung-out cloth with warm water and
a small amount of washing up liquid
7. Dry with a clean cloth
A slightly unpleasant smell may be emitted during this process due to
the vaporising of oil residue used to protect the oven during storage.
Standby mode
Switching the appliance to standby mode resets all functions settings,
times, temperature and automatic programmes. All heating elements
are deactivated and the display is dimmed except for the timer.
To enter standby mode, press the sensor for 3 seconds at any time
(this is applicable even if the oven is locked). A beep will be heard
indicating the mode is active. To exit standby mode simply press the
sensor for 3 seconds, a dierent beep will be heard to indicate the
oven is now ready for operation.

6| Instruction Manual
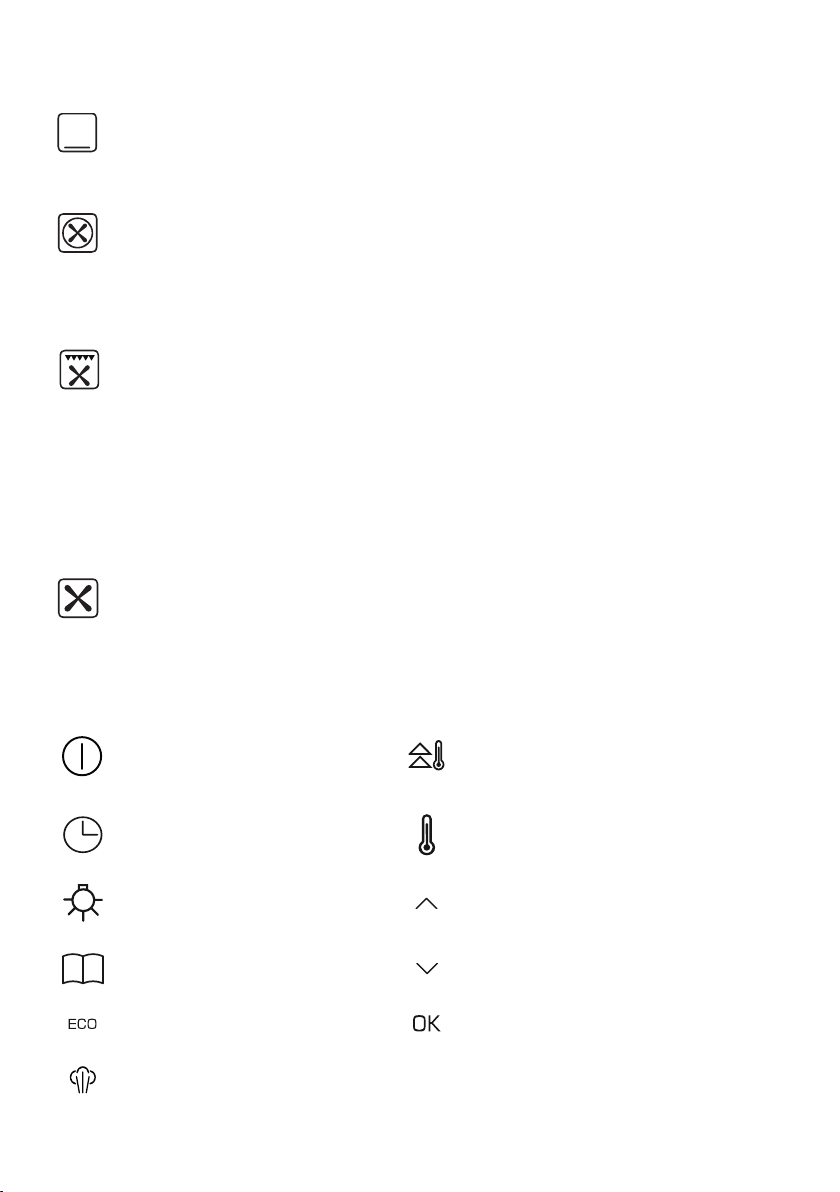
Control panel
The control panel is equipped with an LED display and backlit touch
sensors.
Fan cooking with lower heat
With this setting the convection fan and bottom heater are on,
which increases the temperature at the bottom of the cooked
dish. Intense heat from the bottom is ideal for moist cakes and
pizza.
Fan assisted oven
This setting is most suitable for baking cakes.
Conventional oven
The thermostat enables the user to set the temperature within
a range of 30°C to 280°C. This setting is ideal for baking cakes,
meat, fish, bread. For best results preheat the oven and use a
baking tray on one level.
Half grill
This function radiates heat from the grill element. This fully
temperature variable grill can be set between 30°C and 280°C
maximum.
Full grill
In this setting both the grill and top element are engaged. This
increases the temperature in the top part of the oven chamber
making it suitable for browning and grilling larger portions of
food. It can be set between 30°C and 280°C maximum.
Instruction Manual | 7
Warming oven
This function radiates heat from the bottom element, baking
cakes from underneath until done.
Defrost
This function uses the fan to circulate air at ambient temperature
within the oven which helps to accelerate the defrosting
process.
Fanned full grill
This function radiates heat from the grill element and the top
element but also uses the fan to circulate hot air. The hot air is
distributed over and under the food that you are grilling. This
fully temperature variable grill is ideal for grilling fish or other
items where the appearance could be spoiled by a normal grill
function. It can be set between 30°C and 280°C maximum.
Fan oven
This function uses the circular heating element with a
temperature between 30°C and 280°C. The fan then circulates
the hot air which helps to achieve uniform heat distribution.
On/o switch
(standby) Rapid preheating
Clock / Minute minder Set temperature
Light Plus sensor
Pre-set programmes Minus sensor
Eco programme Confirm sensor
Steam cleaning
8| Instruction Manual
Heating functions and additional functions
Function Description
Oven Elements Temperature [°C] Default
Tempe-
rature
[°C]
Lighting
Top Heater
Roaster
Fan Heater
Bottom Heater
Fan
Min. Max.
Heating Functions
Conventional √ √ √ 30 280 200
Pastry √ √ √ √ 30 280 180
Fan cooking √ √ √ 30 280 180
Grill √ √ 30 280 250
Super grill √√√ 30 280 250
Turbo grill √ √ √ √ 30 280 200
Pizza √ √ √ √ 30 280 220
Roasting √ √ 30 240 200
Defrosting √ √ - - -
Additional Functions
Temperature see manual for details
ECO baking see manual for details 30 280 200
Lighting √- - -
Quick oven pre-heat √30 280 -
Pre-set programmes see manual for details
Steam programme see manual for details

Instruction Manual | 9
Function indicator symbols
Minute minder active
Duration
End time
Child lock active
Oven preheat
Setting the time
When the appliance is connected to power, the display will show the
hour digits flashing, the minute digits will be illuminated.
• Use and to set the hours. Touch to confirm the setting, the
hour digits will now be illuminated and the minutes will be flashing
• Use and to set the minutes. Touch the sensor to confirm
the setting. The appliance enters sleep mode and the time set will
be shown
Note: The time can only be set in 24 hour format
Changing the time
The time display can only be changed when no other functions are
being used.
If in sleep mode, press the on/o sensor to wake the appliance up.
Once the display has illuminated, touch and hold . The symbol
will flash on the display. Touch again and the digits will start to flash.
You can now proceed to set the time following the steps in the
'Setting the time' section above.
Steam active
Temperature probe
connected
10 | Instruction Manual
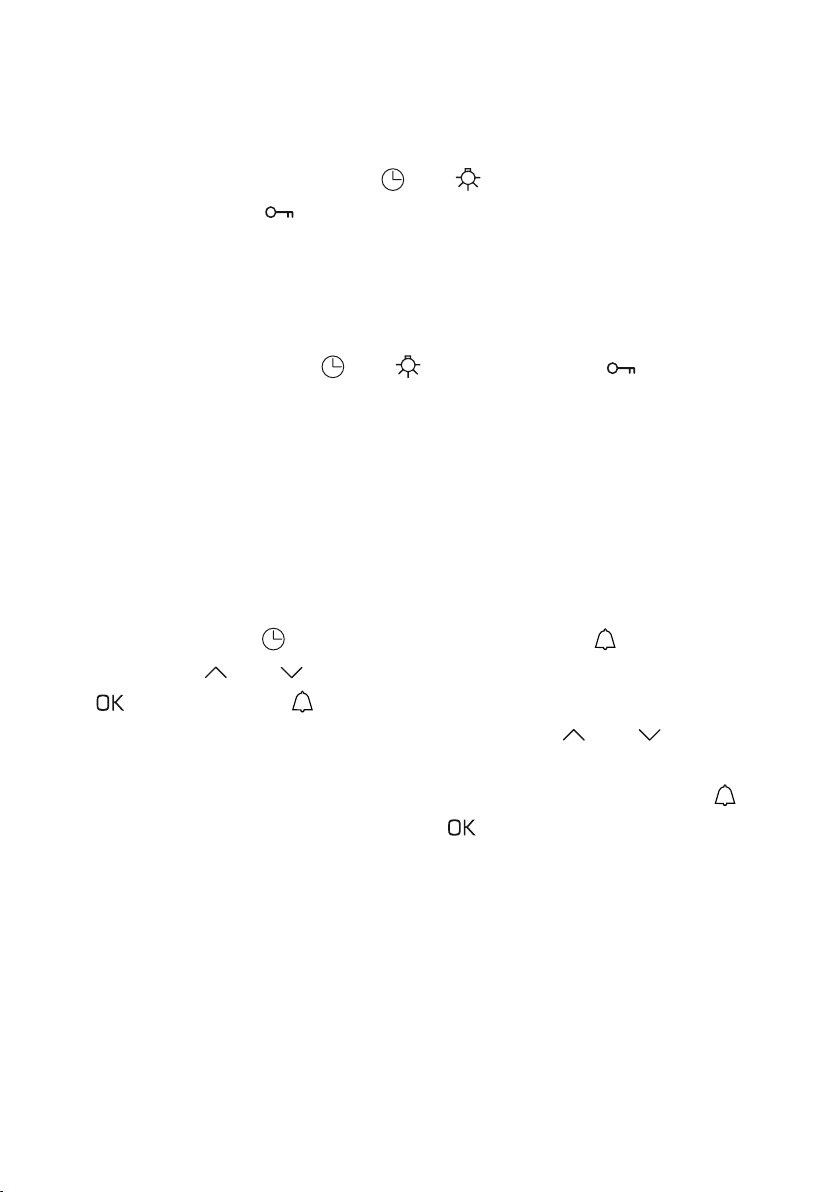
Child lock
The child lock is intended to prevent changes to the oven
settings and the oven being turned on. When the appliance is on
simultaneously touch and hold and for 3 seconds to activate
the child lock. The symbol will be illuminated. When the child
lock is activaed in standby mode it prevents the oven from being
turned on. When the child lock is activated when the appliance is
in use, it prevents the settings from being changed but the oven
can still be turned o. To turn the child lock o simply touch and
hold 3 seconds and the and sensors and the symbol will
go out.
Minute minder
During a cooking function, only the minute minder can be set or
adjusted. The clock or delayed cooking time can not be set or
adjusted during the function.
• Touch and hold and the display will show the symbol
• Touch the and sensors to adjust the the setting and touch
to confirm. The symbol will be illuminated on the display,
indicating the time is set. Touch and hold the and sensors to
clear the setting
• Once the time has elapsed you will hear a beeping and the
symbol will be flashing. Touch the sensor to silence the beep-
ing and end the function
The minute minder can be set for a maximum of 2 hours.
Table of contents
Other CDA Oven manuals

CDA
CDA SK651 Quick start guide

CDA
CDA SC223 Quick start guide

CDA
CDA DC930 Series Reference manual

CDA
CDA SK410SS Specification sheet

CDA
CDA DC740 Reference manual

CDA
CDA CD 307 Operation instructions

CDA
CDA VK703 User guide

CDA
CDA CD940SS User manual

CDA
CDA SK800 Installation and operating instructions

CDA
CDA SK210 Specification sheet


