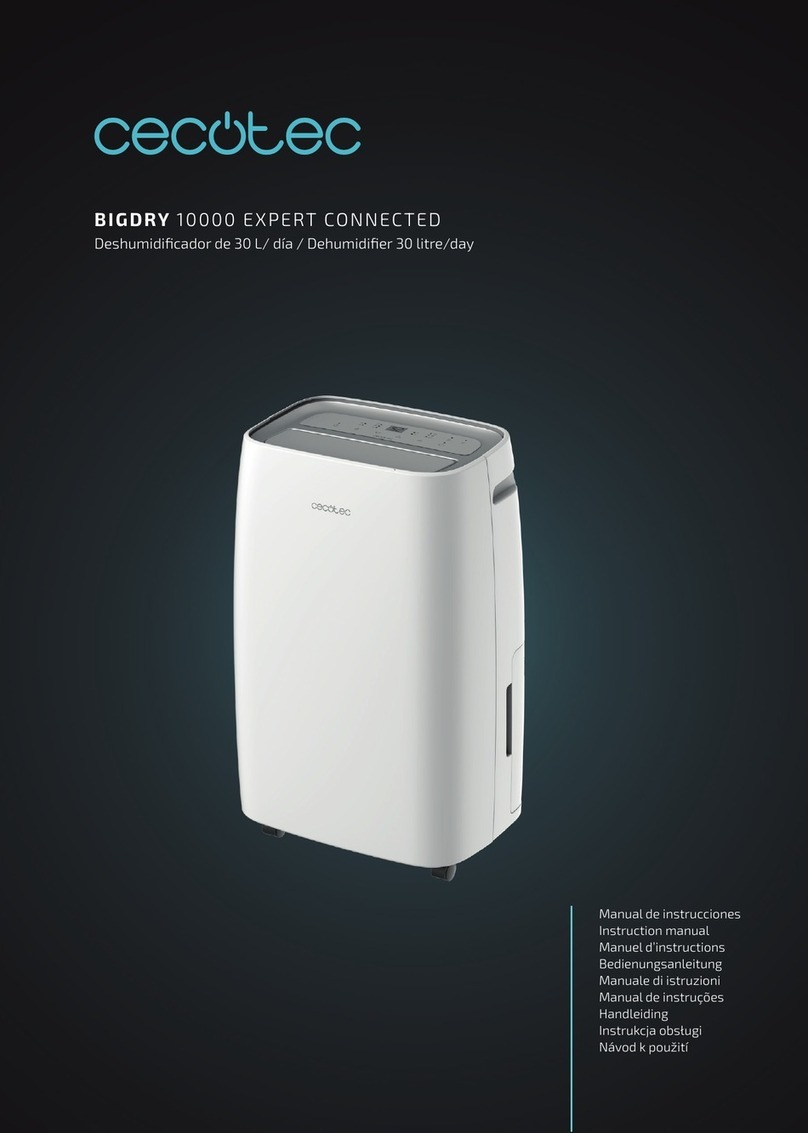
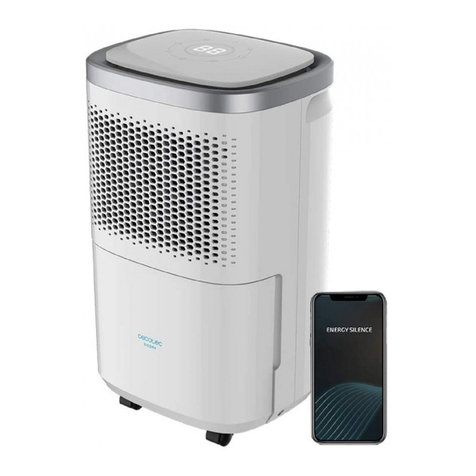
cecotec BIGDRY 7000 MASTER CONNECTED User manual

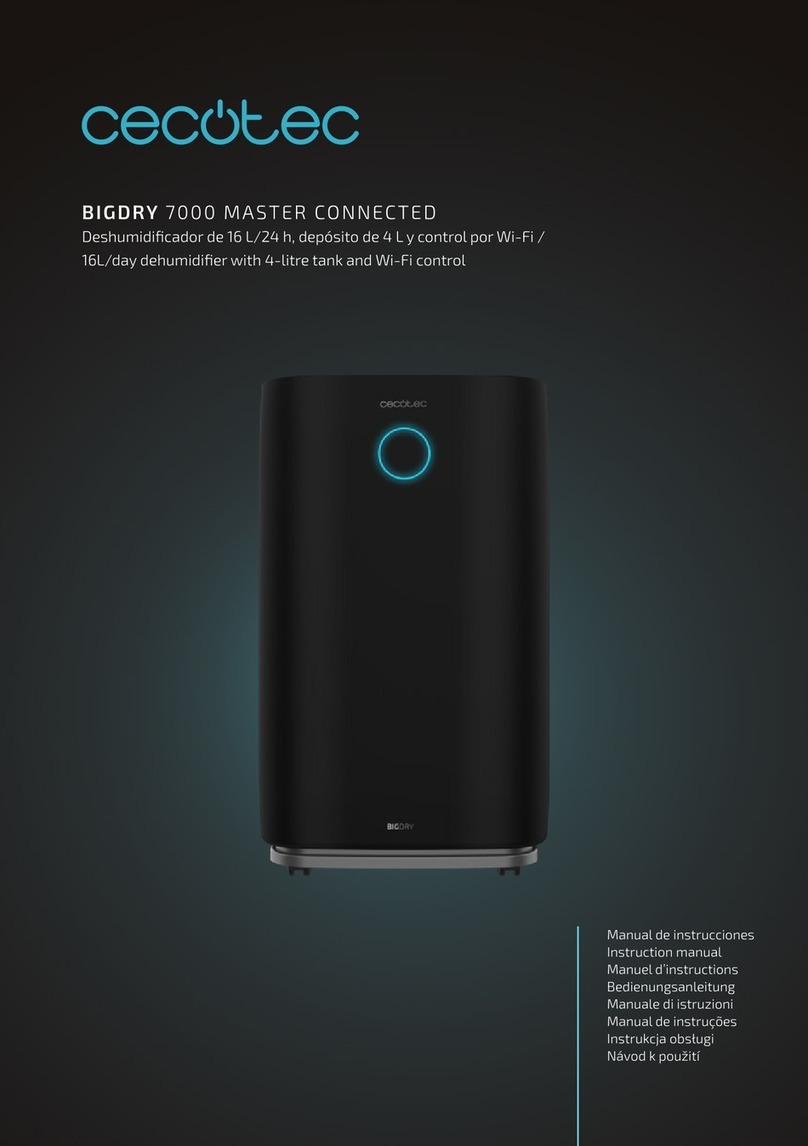
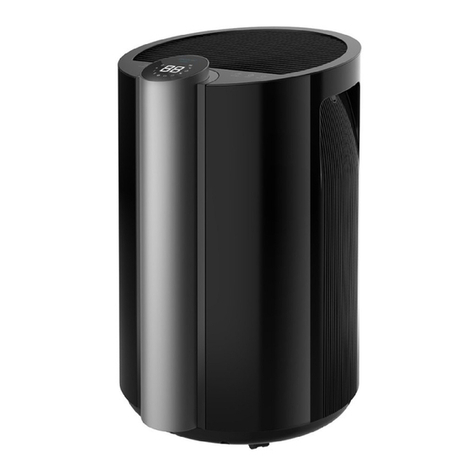
BIGDRY 7000 MASTER CONNECTED
16L/day dehumidier with 4-litre tank and Wi-Fi control
Instruction manual

INDEX
1. Parts and components
2. Before use
3. Product assembly
4. Operation
5. App
6. Cleaning and maintenance
7. Troubleshooting
8. Technical specications
9. Disposal of old electrical appliances
10. Technical support service and warranty

This product does not replace normal ventilation products.
Make sure the product is used and kept in well-ventilated areas.
During operation, leave at least a 30-cm space on the back and
sides of the product.
The device must be placed so that the plug is accessible.
The appliance shall be installed in accordance with local
national wire and gas regulations.
Operate the device in a temperature range between 5 ºC and
35 ºC. Operating it out of this range could cause the device not
to operate properly.
Ensure the lter and the product’s cover are properly installed
before operating it.
Place the device on a stable and level surface.
Do not sit or stand on the device.
Disconnect the device if it is not going to be used for a long
time.
Make sure the tank is emptied after each use to ensure proper
operation.
Do not unplug by pulling on the power cord.
Do not use an extension cord or an adapter plug.
Do not put objects on the unit.
Do not climb or sit on the unit.
Do not discharge the refrigerant into the atmosphere.
Do not operate the device in closed areas such as inside closets.
Do not use outdoors.
Do not insert ngers or other objects in the air inlet or outlet to
prevent injuries and product damage.
Do not touch the air inlet or the aluminum ns of the unit.
Do not twist, bend, strain, or damage the power cord in any
way. Protect it from sharp edges and heat sources. Do not let
it touch hot surfaces. Do not let the cord hang over the edge of
the surface.
SAFETY INSTRUCTIONS
Read these instructions thoroughly before using the appliance.
Keep this instruction manual for future reference or new users.
Make sure that the mains voltage matches the voltage stated
on the rating label of the appliance and that the wall outlet is
grounded.
This unit is designed to be used with R-290 (propane) gas only.
The refrigerant loop is sealed. Only a qualied technician
should attempt to service it.
Check the power cord regularly for visible damage. If the cord is
damaged, it must be replaced by the ocial Technical Support
Service of Cecotec, in order to avoid any type of danger.
To avoid electric shocks, do not clean with or allow to get inside
the product: Water, liquid or any ammable substance.
Do not immerse the cord, plug, or any non-removable part
of the appliance in water or any other liquid, nor expose the
electrical connections to water. Make sure your hands are dry
before handling the plug or switching on the appliance. Prevent
water from spilling onto the unit.
Do not tilt or turn over the unit.
Switch o the device immediately in the event of defects or
malfunctions and before repairing it. Unplug the power cord
when cleaning or when not in use.
Do not use the device if its cord or any other part is damaged.
In this case, contact the ocial Technical Support Service of
Cecotec.
Do not spray insecticide, perfume or other ammable
substances around the product. Do not operate the device with
products with odours.
Do not install the device near to heat-generating appliances or
ammable and dangerous materials.

Pipe-work shall be protected from physical damage and shall
not be installed in an unventilated space, if that space is smaller
than 4 m².
Do not use means to accelerate the defrosting process or to
clean, other than those recommended by Cecotec.
This appliance cannot be used by children or persons with
reduced physical, sensory or mental capabilities or lack of
experience and knowledge. Supervise young children to make
sure that they do not play with the appliance.
Instructions on gas
R-290 (propane) is ammable and heavier than air.
It collects rst in low areas but can be circulated by the fans.
If propane gas is present or even suspected, do not allow
untrained personnel to attempt to nd the cause.
The propane gas used in the unit has no odour.
The lack of smell does not indicate a lack of escaped gas.
If a leak is detected, immediately evacuate all persons from the
store, ventilate the room and contact the local re department
to advise them that a propane leak has occurred.
Keep any required ventilation openings clear of obstruction.
Do not let any persons back into the room until the qualied
service technician has arrived and that technician advises that
it is safe to return to the store.
No open ames, cigarettes or other possible sources of ignition
should be used inside or in the vicinity of the units.
Component parts are designed for propane and non-incentive
and non-sparking. Component parts shall only be replaced
with identical repair parts.
Failure to abide the before instructions could result in an
explosion, death, injury and property damage.
1. PARTS AND COMPONENTS
Fig. 1
1. Control panel
2. Air outlet
3. Front housing
4. Casters
5. Top
6. Air lter
7. Back housing
8. Continuous drainage
9. Water tank
2. BEFORE USE
Take the product out of the box and remove all packaging material.
Make sure all parts and components are included and in good conditions. If any visible signs
of damage are observed, contact the Technical Support Service immediately.
When installing the device, ensure a minimum safety distance of 20 cm to each of its sides.
3. PRODUCT ASSEMBLY
Place the unit on a rm, level surface in an area with at least 30 cm of free space around it to
allow for proper air circulation.
Install the unit in rooms bigger than 4 m².
Never install the unit where it could be subject to:
Heat sources such as radiators, heat registers, stoves or other products that products that
produce heat.
In an area where oil or water may be splashed.
Direct sunlight.
Mechanical vibration or shock.
Excessive dust.
Lack of ventilation, such as cabinet or bookcase.
Uneven surface.
Note: If tipped more than 45°, allow the unit to set upright for at least 24 hours before turning
it on.

4. OPERATION
Note:
Keep doors and windows close for better energy saving.
Adjust the wind deector in the upward direction prior to start up.
Empty the water tank before moving the device.
Make sure the water tank is correctly tted otherwise the unit will not operate properly.
The dehumidier starts up in the mode selected when the unit was last used.
The dehumidier starts dehumidifying if the room humidity is 3% higher than the selected
humidity.
There is a protective 3-minutes time delay of the compressor. Wait 3 minutes for the
dehumidier to resume dehumidication.
Control panel
Fig. 2.
Power button/Wi-Fi icon (1)
Use this button to switch the device on and o. When turned on, the operation light
indicator will turn on and the device will operate with the default fan speed setting, High,
and the default humidity setting, 50 %. When turned o, the light indicator will turn o, the
compressor with stop immediately and the fun will shut down after 30 seconds.
Mode button (2)
Press this button to select a mode:
Automatic mode: Adjustable humidity, adjustable fan speed.
Dry mode: The compressor keeps working without humidity setting and the fan works at high
speed.
Sleep/Reset (3)
Touch the Sleep button to activate this mode. The light indicator will turn on. Long press the
Sleep button to reset the lter lifespan.
Timer button (4)
Set the timer from 1 to 12 hours. Every time the button is pressed, the value increases by 1
hour.
Set the time to “00” to cancel the timer function.
Speed button (5)
Set the air speed to “low” or “high”. The corresponding indicator light will turn on.
In the Dry mode, Sleep mode and the defrosting period, the wind speed cannot be changed.
Child lock (6)
Long press this button to activate or deactivate the child lock function.
Note:
5°C ≤ Room Temp. ≤ 35°C
When the room temperature is lower or higher than the operating temperature, the
dehumidier stops.
When 5°C ≤ Room temp. ≤ 16°C, the compressor automatically defrosts at intervals; during
defrosting, the compressor stops, and the fan keeps running.
5. APP
In order to link your product with our App, please follow the below steps.
Download the EnergySilence App from Google Play or App Store.
If it is the rst time you use it, register an account. If not, log in.
Once you have entered the App, press “+” on the top right-hand corner and tap “BigDry 7000”.
Turn your device on and press the timer button for 3 seconds until the device beeps. Check
that the Wi-Fi icon is blinking quickly.
Enter your Wi-Fi password and press conrm.
The linking process will start automatically.
6. CLEANING AND MAINTENANCE
Disconnect the appliance from the power supply and allow it to cool down before cleaning.
Use a soft, damp cloth to clean the product’s surface. Cleaning the device with a product
containing chemicals may change the colour of the unit.
Do not immerse the appliance in water or other liquid.
Do not use abrasive scouring pads, powders or cleaners.
Make sure your hands are dry before handling the plug or switching on the appliance.
If the device is not going to be used for an extended period:
Empty the water in the tank and remove it, then clean it and dry it and assemble it back.
Clean the lters.
Place the device upright and avoid direct sunlight.
There are two ways of emptying collected water produced by the unit:
Manual draining: Empty water tank manually.
When the water tank is full, the Full tank indicator will light up, the device will beep and will
turn automatically o. When the tank is emptied and reinstalled, the device will operate
again.
Turn the device o.
Pull on the water tank and slide it out of the body of the dehumidier.
Empty the water in the tank.
Clean the inside and the outside of the tank.
Reinstall the empty tank. Fig. 3.
Press the power button to resume operating.
If the Full tank light does not turn o, check that the oat is correctly in place.
Continuous draining: Use gravity to drain condensate water by attaching a drain hose.
Connect the drain hose to the unit. Condensate water can ow into a bucket or drain by
gravity.
Set the unit in a horizontal surface and stable position.
Switch o the unit before operating.
Move the plug away from the water outlet opening and keep it in safe area.
Fig. 4.
Securely and properly connect the drain hose and make sure it is not kinked and clear of
obstruction.
Place the outlet of hose over a drain or bucket and ensure that water could freely ow out of
the unit.
Do not submerge the end of hose into water; otherwise it can cause air lock in the hose.
Fig. 5.
To avoid water spillage:
As the negative pressure of condensate drain container is large, tilt the drain hose downward
toward the oor. Make sure the degree of inclination exceeds 20º.
Straighten the hose.
Cleaning the lter
We recommend doing this every two weeks.
The device’s capacity may be reduced if the lter is clogged. Dust collects on the lter and
restricts the airow. The restricted airow reduces the eciency of the system and if it
becomes blocked it can cause damage to the unit.
The air lter is removable for easy cleaning. Do not operate the unit without an air lter, or
the evaporator may be contaminated.
Remove the lter frame and take o the lter. Fig. 6.
Soak the lter in warm water at about 40 ºC. Rinse gently with a neutral detergent.
Use the vacuum cleaner’s brush to gently remove dust from the screen.
Fig. 7.
Replace the lter.
Fig. 8.
7. TROUBLESHOOTING
Problem Possible cause Solution
The unit doesn’t
operate
No power supply Plug the power cord into the
outlet.
The tank is full or not
installed properly
Empty the water in the tank and
then reinstall the tank.
Is the temperature of the
room above 35 ºC or below
5 ºC?
The protection device is
activated and the unit
cannot operate.
The dehumidifying
function doesn’t work
Is the lter clogged? Clean the lter as described in
this manual.
Is the intake duct or
discharge duct obstructed?
Remove the obstruction from the
discharge duct or intake duct.
No air is discharged Is the lter clogged? Clean the lter as described in
this manual.
The device produces
strange noises when
operating
Is the unit tilted or
unsteady?
Move the unit to a stable, sturdy
location.
Is the lter clogged? Clean the lter as described in
this manual.
Errors
E2 Humidity sensor error Contact the Technical Support
Service of Cecotec
LO Environmental humidity is below 20 % The dehumidier shuts down
for self- protection
HI Environmental humidity is above 90 %
CL Low temperature protection, the room
temperature <5ºC
CH High temperature protection, the room
temperature >35ºC

8. TECHNICAL SPECIFICATIONS
Product reference: 05651
Product: BigDry 7000 Master Connected
Max. rated input power current: 378 W/2.0 A(30 ºC, RH80 %)
Water tank capacity: 4L
Maximum refrigerant charge: R290/60 g
Voltage: 220-240 V, 50 Hz
Refrigerant: R290
Made in China | Designed in Spain
9. DISPOSAL OF OLD ELECTRICAL APPLIANCES
The European directive 2012/19/EU on Waste Electrical and Electronic
Equipment (WEEE), species that old household electrical appliances must
not be disposed of with the normal unsorted municipal waste. Old
appliances must be collected separately, in order to optimize the recovery
and recycling of the materials they contain and reduce the impact on
human health and the environment.
The crossed out “wheeled bin” symbol on the product reminds you of your obligation to
dispose of the appliance correctly. If the product has a built-in battery or uses batteries, they
should be removed from the appliance and disposed of appropriately.
Consumers must contact their local authorities or retailer for information concerning the
correct disposal of old appliances and/or their batteries.
10. TECHNICAL SUPPORT SERVICE AND WARRANTY
This product is under warranty for 2 years from the date of purchase, as long as the proof
of purchase is submitted, the product is in perfect physical condition, and it has been given
proper use, as explained in this instruction manual.
The warranty will not cover the following situations:
The product has been used for purposes other than those intended for it, misused, beaten,
exposed to moisture, immersed in liquid or corrosive substances, as well as any other fault
attributable to the customer.
The product has been disassembled, modied, or repaired by persons, not authorised by the
ocial Technical Support Service of Cecotec.
Faults deriving from the normal wear and tear of its parts, due to use.
The warranty service covers every manufacturing defects of your appliance for 2 years,
based on current legislation, except consumable parts. In the event of misuse, the warranty
will not apply.
If at any moment you detect any problem with your product or have any doubt, do not
hesitate to contact Cecotec Technical Support Service at +34 963 210 728.

Fig./Img./Abb./Afb./ Rys./Obr. 2
Fig./Img./Abb./Afb./ Rys./Obr. 1
1
5
3
7
2
6
4
9
8
16 23 45
Fig./Img./Abb./Afb./ Rys./Obr. 3
Fig./Img./Abb./Afb./ Rys./Obr. 5
Fig./Img./Abb./Afb./ Rys./Obr. 7
Fig./Img./Abb./Afb./ Rys./Obr. 4
Fig./Img./Abb./Afb./ Rys./Obr. 6
Fig./Img./Abb./Afb./ Rys./Obr. 8

www.cecotec.es
Grupo Cecotec Innovaciones S.L.
C/ de la Pinadeta s/n, 46930
Quart de Poblet, Valencia (Spain)
IC01201020
Other manuals for BIGDRY 7000 MASTER CONNECTED
1
This manual suits for next models
1
Table of contents
Other cecotec Dehumidifier manuals

cecotec
cecotec BigDry 9000 Professional User manual

cecotec
cecotec BIGDRY 10000 EXPERT CONNECTED User manual

cecotec
cecotec BigDry 2000 Light User manual

cecotec
cecotec BIGDRY 3000 PURELIGHT User manual

cecotec
cecotec BIGDRY 9000 PROFESSIONAL CONNECTED User manual

cecotec
cecotec BigDry 2000 Essential User manual

cecotec
cecotec BIGDRY 7000 MASTER CONNECTED User manual

cecotec
cecotec BIGDRY 5000 ADVANCE CONNECTED User manual

cecotec
cecotec BigDry 2500 Essential 360 User manual

cecotec
cecotec BIGDRY 4000 EXPERT User manual