Preface
Thank you for choosing
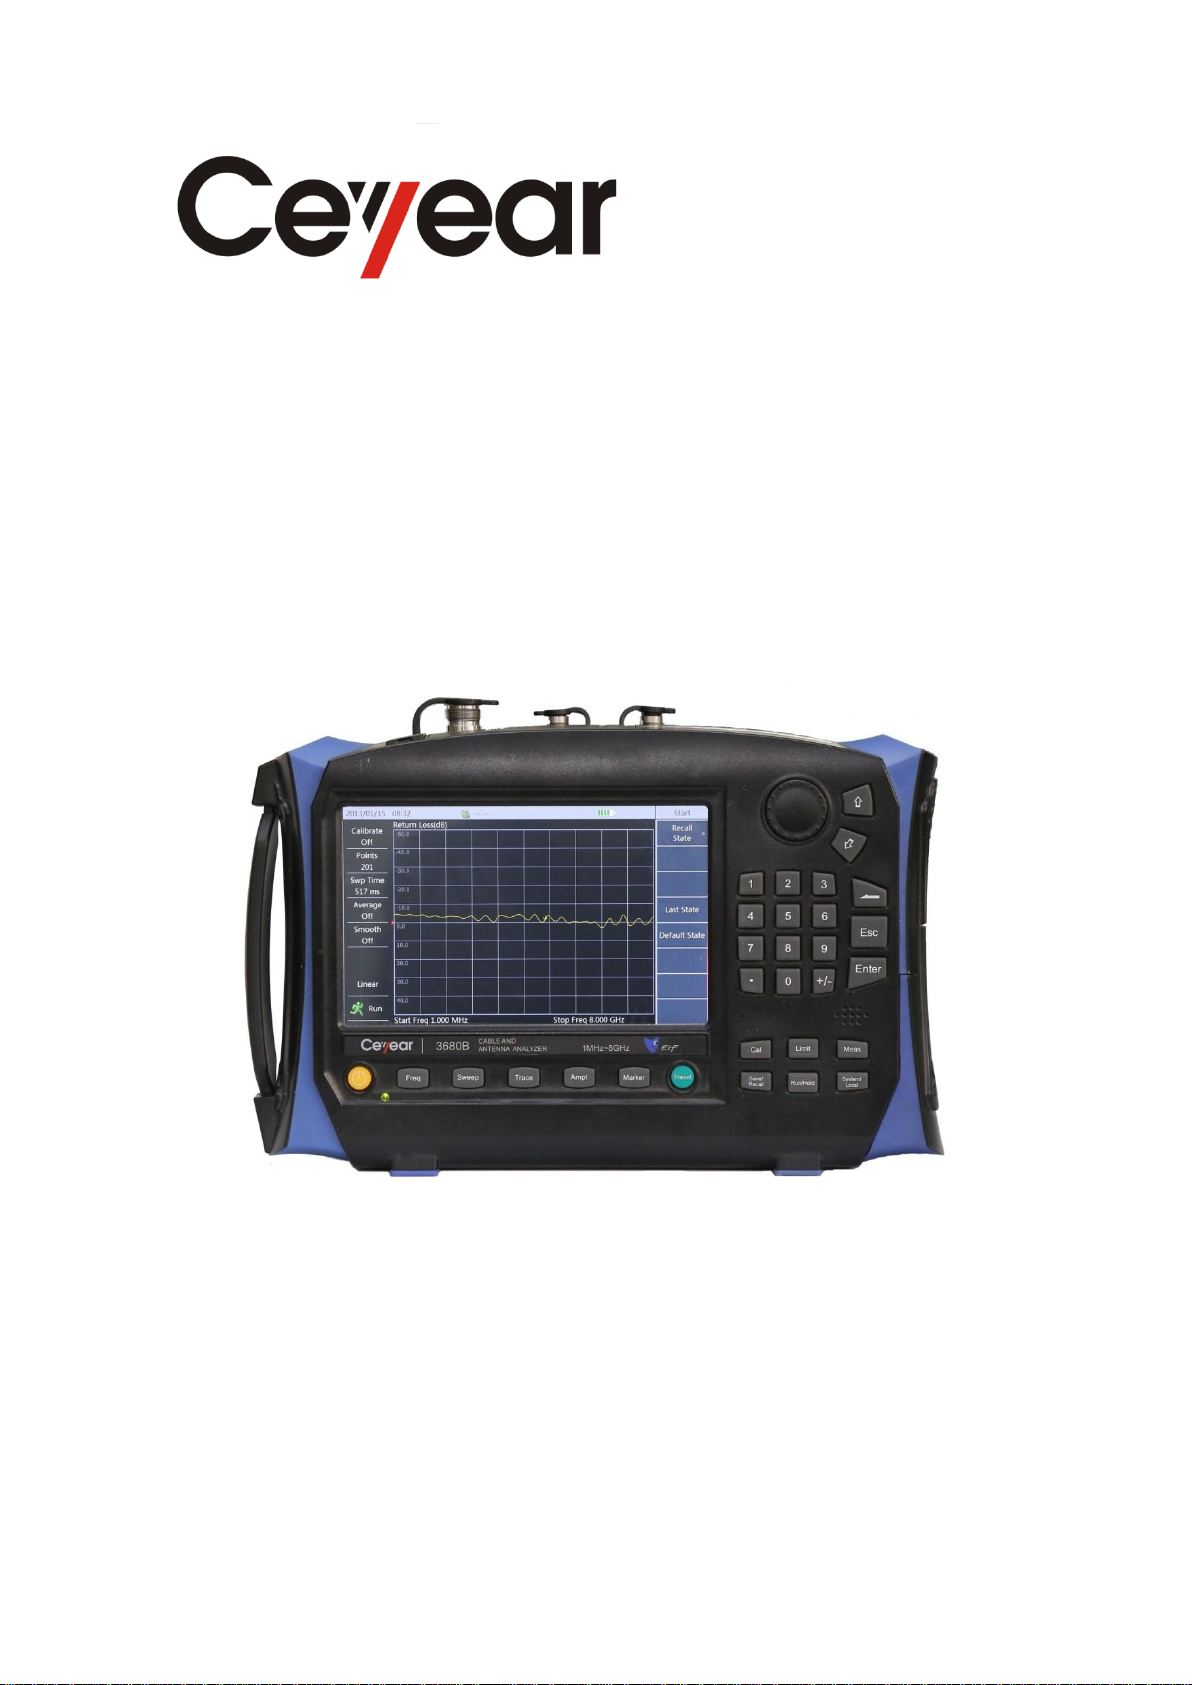
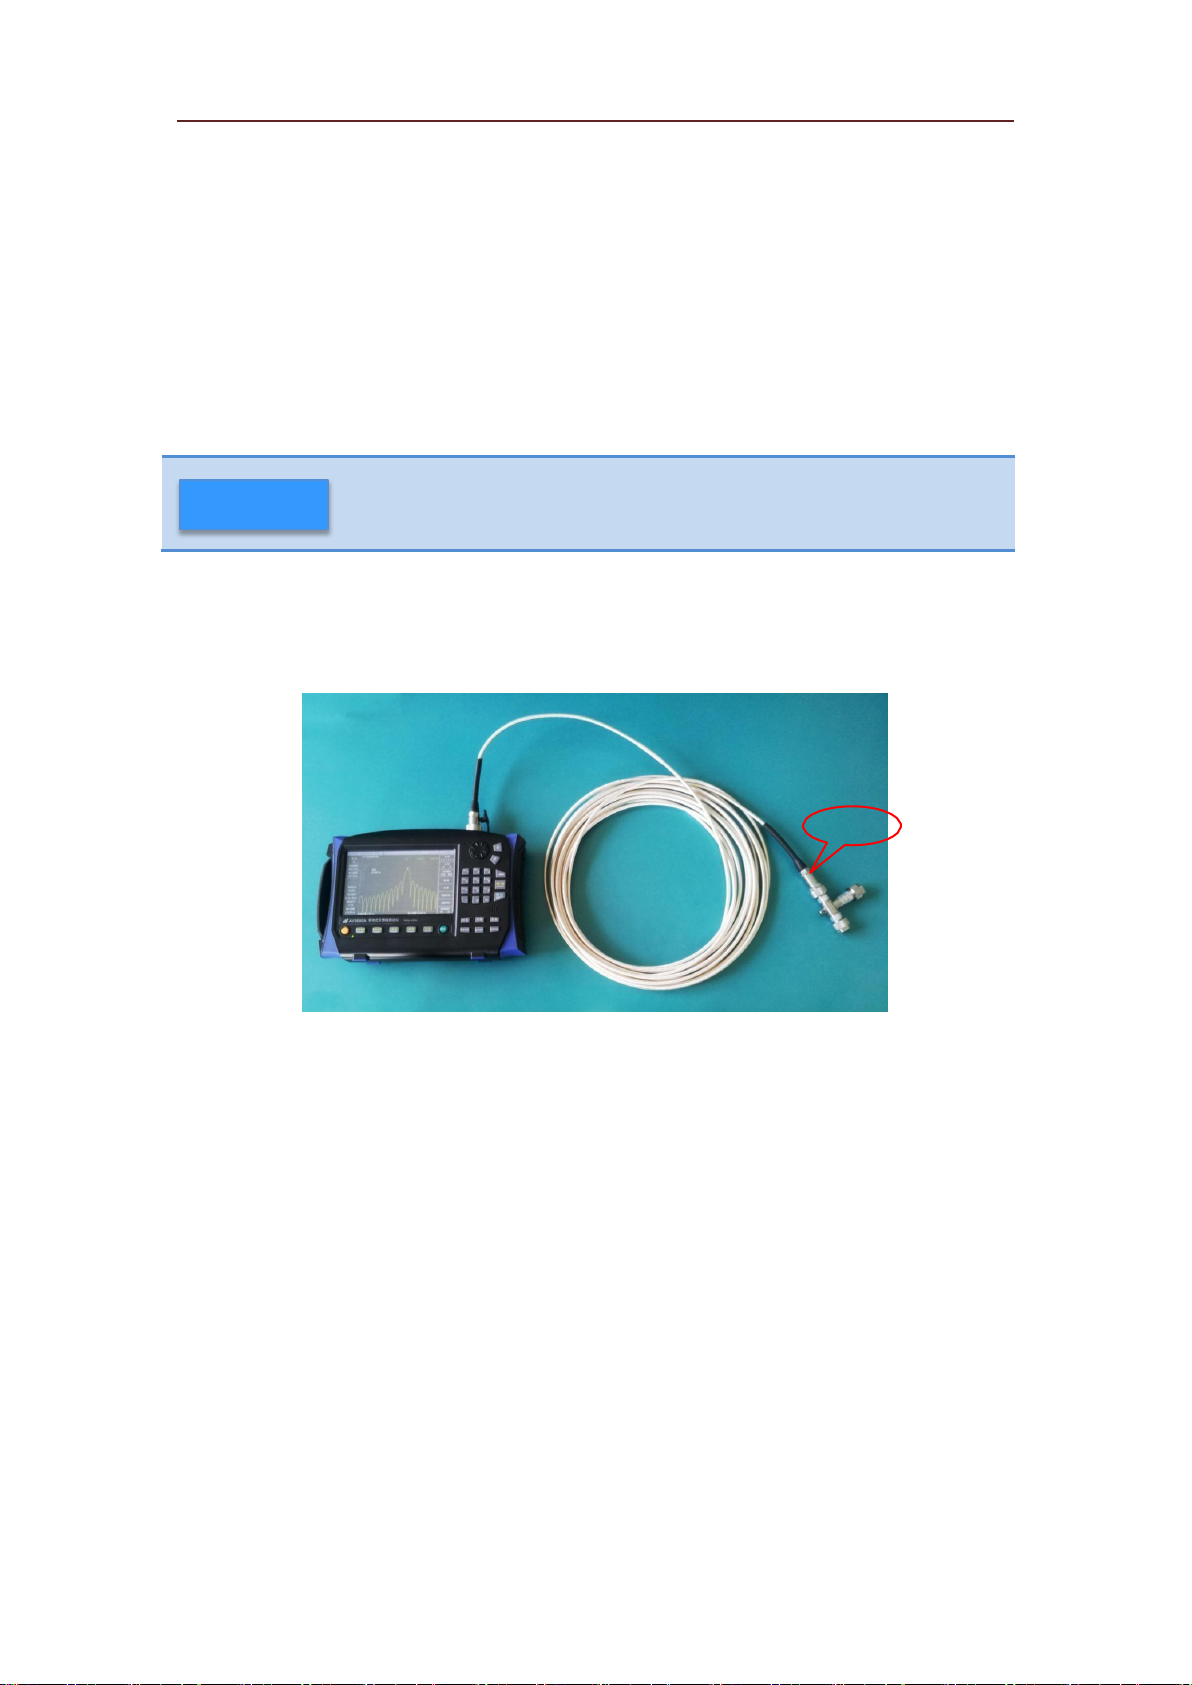
3680A/B Cable & Antenna
Analyzer developed and
produced by China
Electronics Technology
Instruments Co., Ltd. As a
high-grade, precision and
advanced product, this
Analyzer has higher cost
performance of its kind.
We will assume trying our
best to meet your needs as
our responsibility to provide
high quality instruments for
you and also bring you first-
class after-sale service. We
always persist in “Good
Quality, Satisfied Service”
and promise to offer
satisfactory products and
service for you.
Manual No.
AV2.733.1040SK
Ver. No.
A.1 2014.9
China Electronics Technology
Instruments Co., Ltd
Manual Authorization
The information contained in
this guide is subject to change
without notice. And the
explanation right of all the
content and the terms in this
Guide belongs to China
Electronics Technology
Instruments Co., Ltd.
The copyright of the Guide
belongs to China Electronics
Technology Instruments Co.,
Ltd. Other entities and
individuals can’t change or
juggle it without our permission,
and can’t copy and spread for
earn business benefits. If
discovered, we have the right for
the legal action.
Product Warranty
From the date of production,
warranty period of this product
is 18 months. Within warranty
period, we will repair or replace
the damaged parts according to
the actual situations. This
requires user to return the
product back to the
manufacturer and prepay the
postage, which will be returned
together after maintenance.
Certificate of Quality
We ensure that this product
meets the indexes in the guide
from the date of production.
Calibration measurements will
be carried out and finished by
measurement unit with national
qualification, providing user
with relevant information for
reference.
Quality/Environment
Management
This product strictly adheres to
quality and environmental
management system in the
whole process from research and
development, manufacturing to
testing. China Electronics
Technology Instruments Co.,
Ltd has passed the ISO 9001 and
ISO 14001 system certifications.
Safety Precautions
“WARNING”denotes a
hazard. It calls attention to a
particular operating
procedure, method, or other
similar situations which, if
not correctly performed or
not adhered to, could result
in personal injury. Don’t
continue the next step until
you has fully understood
and met the indicated
warning conditions.
The sign of CAUTION
represents important
information tips, but no
danger. It calls attention to a
particular operating
procedure, method, or other
similar situations which, if
not correctly performed or
not adhered to, could result
in damage to the instrument
or loss of important data.
Don’t continue the next step
until you has fully
understood and met the
indicated attention
conditions.