1) Verify you have connected the CAT5 cable correctly. Follow the TIA-
568A standard at both ends. Mis-wiring can cause distorted sound,
prevent the system from functioning, or possibly cause damage to the
components in the system.
2) you have connected the speakers in phase. Follow the label on
the product. Out of phase speakers can rob the system of its bass,
especially when driving dual-voice-coil speakers.
3) Trouble with IR control?
a. you are using the correct remote control. The AB-1 4 will
respond to IR signals from the A050
The A050 can provide both
commands Other 3rd party remote controls that are capable of
learning the IR codes from the A050 can also be used.
b. The top LED on the AB-134 acts as an IR receiver feedback LED
that flashes whenever IR signals are received. Check to make
sure the LED flashes whenever you press buttons on your remote
control. If you don’t see the feedback LED, try replacing the
batteries in your remote control.
c. Make sure your IR emitters are placed directly over the sensor on
the device you are trying to control.
4) If no audio is heard, check to make sure that the audio source is
playing, then press the power button on the AB-134 to make sure it is
turned on.
a. Note, if the status jumper is on pins 1 & 2, the AB-134 will turn off if
there is no audio present for more than 2 minutes. For most
applications, it will be desirable to place the status jumper on pins 2
& 3 so that the AB-134 will revert back to its previous condition
(either on or off) when music is played after a long pause.
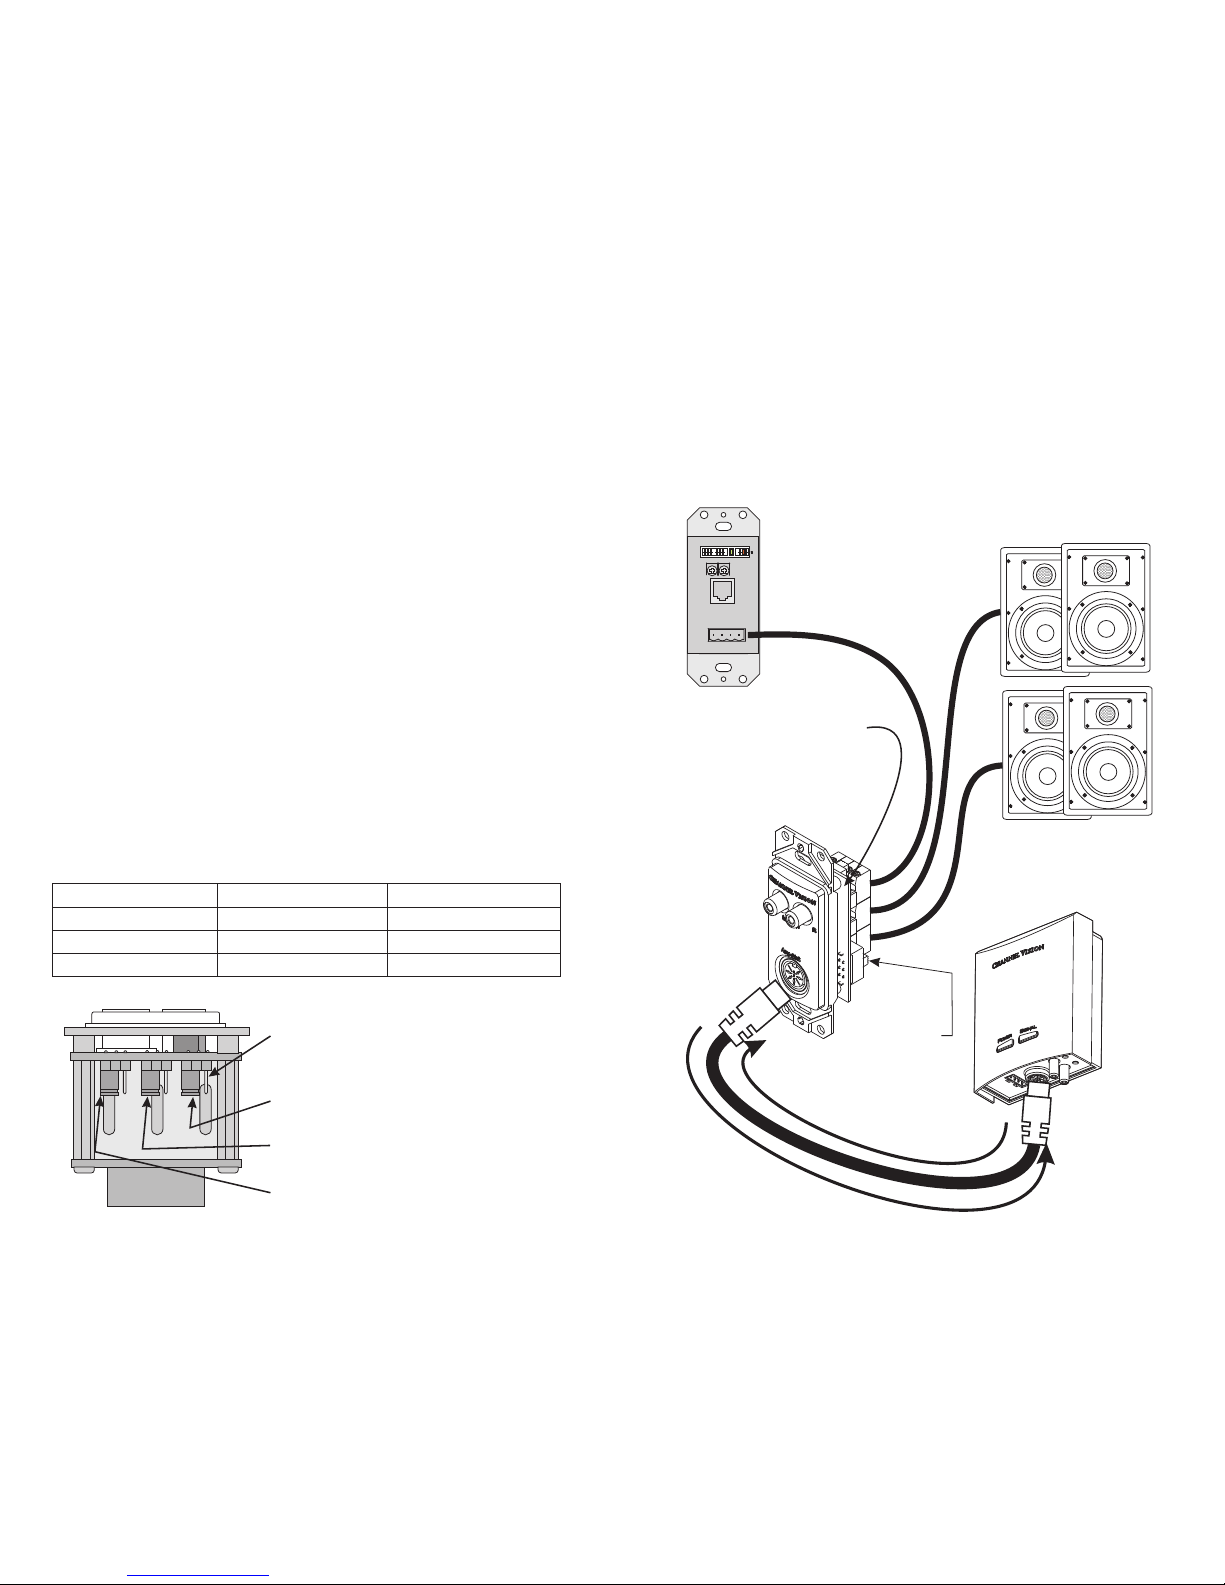
b. Check power supply and voltage. Each Abus hub is powered by
24vDC. The solid brown wire is +, and the striped brown wire is -.
If proper voltage is not fed to each amplified keypad, the system
will not function normally.
5) Observe wiring distance specifications. The maximum recommended
wire length between the audio hub output and AB-134 is 150 feet.
Although the AB-134 can work at greater distances, such extreme
distances are not recommended because erratic performance may
result due to the power loss caused by the CAT5 wire. Locally
powering the keypad may be an option.
6) If you need additional help troubleshooting the AB-134 please contact
Channel Vision technical support (1-714-424-6500) or check our
website for more details: www.channelvision.com.
Verify
Verify 3
5.
5 volume control and source selection
.
5
Connection Tips and Troubleshooting
10
Source
C VH A N N E L I S I O N
Pwr
3
!
!
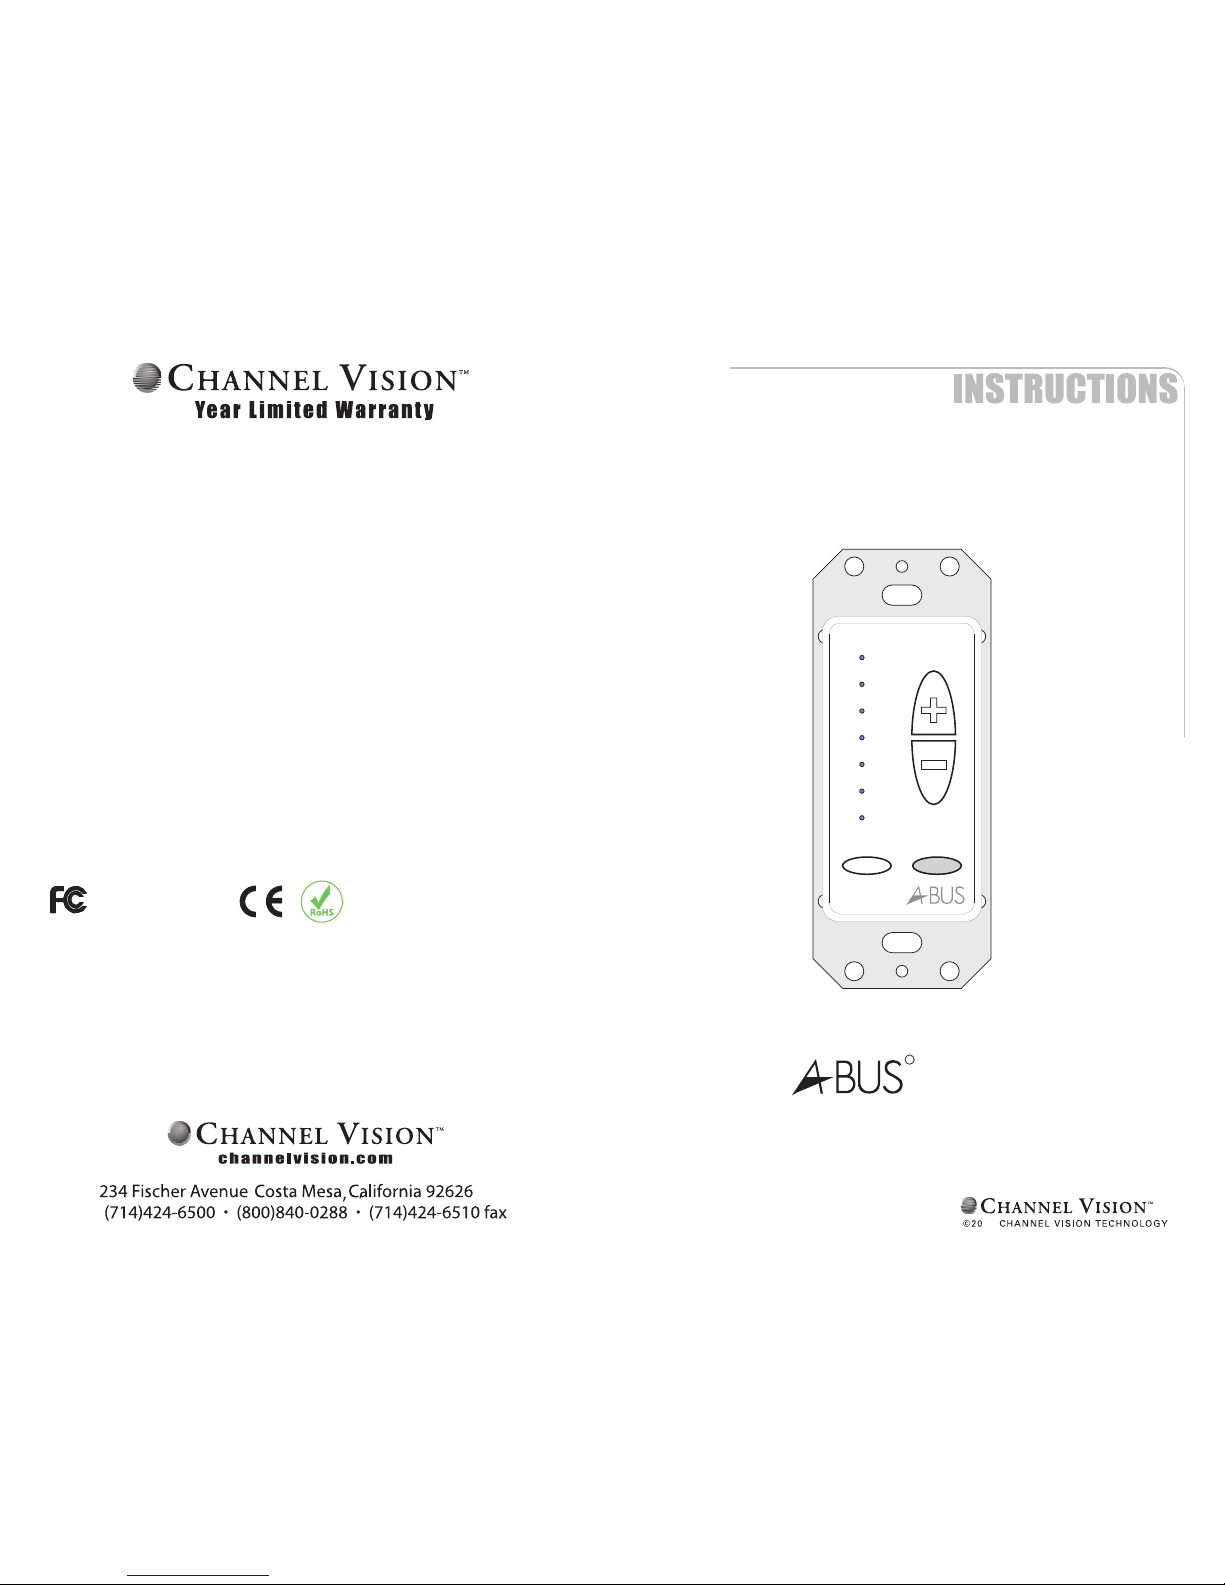
These four LEDs illuminate to indicate
which source input is selected.
The Pwr button is used for source selection.
Compatibility
How it Works
Basic Operation
The AB-1 4 adheres
. However, when using the AB-
1 4 in a multi-source system, we recommend using Channel Vision’s multi-
source CAT5 audio matrix (model P-1044). Multi-source CAT5 audio products
from other manufacturers may not (and typically will not) use the same control
codes for advanced features such as source selection
3 to the same protocols as Channel Vision’s other CAT5
audio hubs to ensure maximum compatibility
3
from the keypad.
The AB-1 4 can be used in two different modes: 1) single source mode, 2)
multi-source mode. Mode selection is controlled by a jumper setting prior to
installation. When using the AB-1 4 with a single-source CAT5 audio hub, it
should be set for the single-source mode. this
. When using it with a
multi-source CAT5 matrix, it should be set for multi-source mode.
3
3
In mode, the unit provides basic
controls: volume up, volume down, and power on/off
audio In this
mode, any zone can independently select and listen to any source at any time.
Source selection can be done either from the AB-134 amplified keypad or by
using the A0505 remote control.
Using the AB-134 Amplified keypad...
The Pwr (power) button located at the lower left of the keypad is used for
source selection and to turn the unit on or off. When in single-source mode,
press and release the Pwr button to toggle the keypad on or off. When in
multi-source mode, if the keypad is off, press and release Pwr to turn it on.
Press Pwr again to see the current source selection and press repeatedly to
scroll through the 4 sources. Press and hold the power button to turn the
keypad off. While the keypad is off, press and hold the power button again to
turn off the zone output of the P-1044.
As you change sources when in multi-mode, you’ll notice that the top 4 LEDs
illuminate corresponding to the source you have selected. When source one
is selected, the first LED is illuminated, when source two is selected, the
second LED is illuminated, and so on.
After a source is selected the LED will stay lit for 5
seconds, then it will return to showing the current
volume level.
Volume adjustments can be made using the
up/down buttons to the right hand side of the
keypad. The keypad can be controlled from the
A0505 remote control (see the section titled: Using
the A0505 remote control for more details).
{