manuals.online logo
Brands
  1. Home
  2. •
  3. Brands
  4. •
  5. Chapin
  6. •
  7. Spreader
  8. •
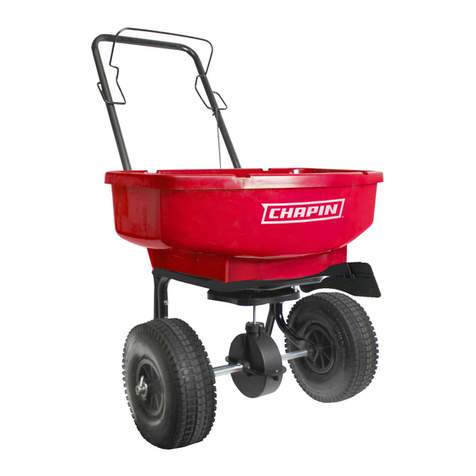
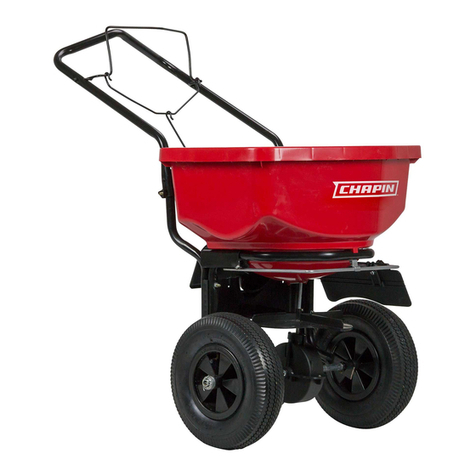
  9. Chapin 8000A Parts list manual

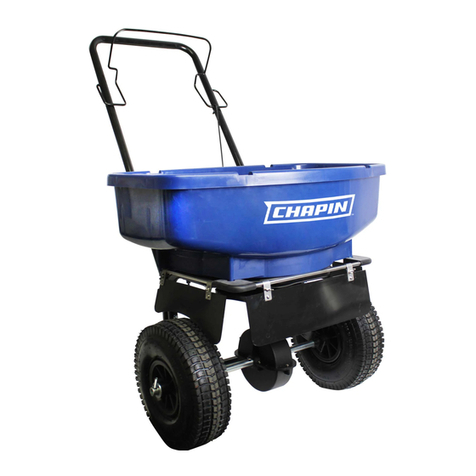
Chapin 8000A Parts list manual

UNE MAUVAISE UTILISATION OU NE PAS SUIVRE LES INSTRUCTIONS PEUT
MENER À UNE DÉFAILLANCE DU PRODUIT OU À DES BLESSURES. POUR
UTILISER CE PRODUIT SANS DANGER, VOUS DEVEZ LIRE ET SUIVRE
TOUTES LES INSTRUCTIONS AVANT L’UTILISATION.
AVERTISSEMENT
SPREADERS Assembly / Operation Instructions / Parts
CHAPIN INTERNATIONAL, INC. P.O.BOX 549 700 ELLICOTT ST.BATAVIA, NY 14021-0549 www.chapinmfg.com 800-950-4458
MODEL 8000A/8001A
Please call 800-950-4458 if you are missing any parts, having trouble assembling,
or have any questions regarding the safe operation of this product.
DO NOT RETURN TO THE STORE.
Veuillez composer le 800-950-4458 si des pièces sont manquantes, si vous avez des problèmes d’assemblage
ou des questions relativement au fonctionnement sécuritaire de ce produit.
NE PAS RAPPORTER AU MAGASIN
014663 R1016
Entreposage et entretien
• Une fois l’épandage terminé, videz la trémie de tout matériel restant.
• Nettoyez soigneusement l’épandeur et laissez sécher avant
d’entreposer
• Pour replier la poignée :
– Desserrez les écrous à oreilles et repliez la poignée vers le bas
– Resserrez complètement les écrous à oreilles
Instructions d’assemblage
Instructions générales d’utilisation
• Assurez-vous que le contrôle de vanne soit en position fermée avant
de remplir la trémie
• Déterminez le réglage approprié du matériel à être utilisé en
vériant le réglage suggéré sur le sac du matériel ET/OU en vous
référant au tableau d’application sur votre panneau de contrôle de
votre épandeur (les tableaux fournis ne sont que des lignes
directrices. Assurez-vous de lire les instructions sur le sac/boîte de
matériel que vous épandez pour dénir le juste réglage dont vous
avez besoin)
• Retirez les écrous à oreilles et glissez l’indicateur au réglage désiré.
Resserrez complètement les écrous à oreilles.
• Pour amorcer l’épandage, commencez à marcher (à environ 5 km/h
(3 m/h)) et tirez vers vous le contrôle de la vanne pour l’ouvrir.
• Pour arrêter l’épandage, poussez simplement sur le contrôle de la
vanne en position fermée.
Model 8000A
65 lb. Spreader
Model 8001A
70 lb. Spreader
Carefully Read These Instructions Before Use
Lea estas instrucciones atentamente antes de utilizarlo
lisez attentivement ces instructions avant l’utilisation
WARNING/ ADVERTENCIA/ AVERTISSEMENT
WARNING: This product contains chemicals, including lead, known to the state of California to cause birth defects and other
reproductive harm. Wash hands after handling.
ADVERTENCIA: Este producto contiene agentes químicos como plomo, que en el Estado de California es conocido por provocar
defectos congénitos y otros daños reproductivos. Lávese las manos después de usarlo.
AVERTISSEMENT : Ce produit contient des produits chimiques, incluant le plomb, reconnus par l’État de Californie comme causant
des anomalies congénitales et autres problèmes reproductifs. Se laver les mains après toute manipulation.
Enlevez les boulons et les écrous Relevez la poignée et replacez
les boulons et les écrous
Assemblage terminé
ADVERTENCIA
EL MAL USO O EL NO SEGUIR LAS INSTRUCCIONES PUEDE ORIGINAR
QUE EL PRODUCTO NO FUNCIONE O QUE PRODUZCA LESIONES. PARA
UN USO SEGURO DE ESTE PRODUCTO, DEBE LEER Y SEGUIR TODAS LAS
INSTRUCCIONES ANTES DE UTILIZARLO.
WARNING
IMPROPER USE OR FAILURE TO FOLLOW INSTRUCTIONS CAN RESULT IN
PRODUCT FAILURE OR INJURIES. FOR SAFE USE OF THIS PRODUCT YOU
MUST READ AND FOLLOW ALL INSTRUCTIONS BEFORE USING.
Assembly Instructions
General Operating Instructions
• Be sure gate control is in the closed position before lling hopper
• Determine appropriate setting for material being used by reading
the suggested setting on the material’s bag AND/OR by
referencing the application chart on your spreader’s control panel
(Charts provided are only guidelines. Be sure to read the
instructions on the bag/box of the material you’re spreading to
identify accurate setting needed)
• Remove wing nut and slide indicator to desired setting. Tighten
wing nut completely.
• To begin spreading, start walking (about 3mph pace) and pull the
gate control towards you to open gate
• To stop spreading simply push the gate control into the close
position.
Por favor, llame al 800-950-4458 si le faltan piezas, tiene problemas con el ensamblaje o tiene alguna duda
sobre el funcionamiento seguro de este producto.
NO LO REGRESE A LA TIENDA
Instrucciones de montaje
Instrucciones de funcionamiento general
• Asegúrese de que la compuerta de control esté cerrada antes de llenar la tolva

• Determine la conguración adecuada para el material que se utiliza leyendo la
conguración sugerida en la bolsa del material O dirigiéndose a la tabla de
aplicación en el panel de control del esparcidor (Las tablas provistas son solo
referenciales. Asegúrese de leer las instrucciones en el empaque del material que
está esparciendo para identicar la conguración necesaria correcta)
• Quite la tuerca mariposa y deslice el indicador hacia la conguración deseada.
Ajuste las tuercas mariposa por completo.
• Para comenzar a esparcir, empiece a caminar (a un paso de 4,5 km/h) y tire la
manija hacia usted para abrir la compuerta
• Para dejar de esparcir, simplemente empuje la manija de la compuerta hacia la p
osición cerrada.
Storage and Maintenance
• When nished spreading empty hopper of any remaining material
• oroughly wash spreader and allow to dry before storing
• To fold down handle:
- Loosen wing nuts and ip handle down
- Tighten wing nuts completely
Guardado y mantenimiento
• Cuando termine de esparcir, quite cualquier material restante de la tolva
• Lave el esparcidor por completo y déjelo secar antes de guardarlo
• Para bajar la manija:
- Aoje las tuercas mariposa y baje la manija
- Ajuste las tuercas mariposa por completo
Remove bolts and nuts Flip handle up and re-attach
bolts and nuts
Completed Assembly
Retire los tornillos y las tuercas Gire la manija hacia arriba y vuelva a
colocar los tornillos y las tuercas.
Ensamblaje completo

This manual suits for next models

1

Other Chapin Spreader manuals

Chapin 8200A Parts list manual

Chapin

Chapin 8200A Parts list manual

Chapin 82500B User manual

Chapin

Chapin 82500B User manual

Chapin 8900A User manual

Chapin

Chapin 8900A User manual

Chapin 82125 User manual

Chapin

Chapin 82125 User manual

Chapin LIFETIME 82400B User manual

Chapin

Chapin LIFETIME 82400B User manual

Chapin 82400 User manual

Chapin

Chapin 82400 User manual

Chapin 8003A Parts list manual

Chapin

Chapin 8003A Parts list manual

Chapin 81008A User manual

Chapin

Chapin 81008A User manual

Chapin 80008N Parts list manual

Chapin

Chapin 80008N Parts list manual

Chapin 82088B User manual

Chapin

Chapin 82088B User manual

Chapin 8700A User manual

Chapin

Chapin 8700A User manual

Chapin 80088A Parts list manual

Chapin

Chapin 80088A Parts list manual

Chapin 8901A User manual

Chapin

Chapin 8901A User manual

Chapin 82108B User manual

Chapin

Chapin 82108B User manual

Chapin 8401C User manual

Chapin

Chapin 8401C User manual

Chapin 81000A Parts list manual

Chapin

Chapin 81000A Parts list manual

Chapin 82088B User manual

Chapin

Chapin 82088B User manual

Chapin SureSpread 80088 Parts list manual

Chapin

Chapin SureSpread 80088 Parts list manual

Chapin 8500B User manual

Chapin

Chapin 8500B User manual

Chapin TOW BEHIND User manual

Chapin

Chapin TOW BEHIND User manual

Chapin 9008A User manual

Chapin

Chapin 9008A User manual

Chapin 81008A Parts list manual

Chapin

Chapin 81008A Parts list manual

Chapin 81000A User manual

Chapin

Chapin 81000A User manual

Chapin 8003A User manual

Chapin

Chapin 8003A User manual

Popular Spreader manuals by other brands

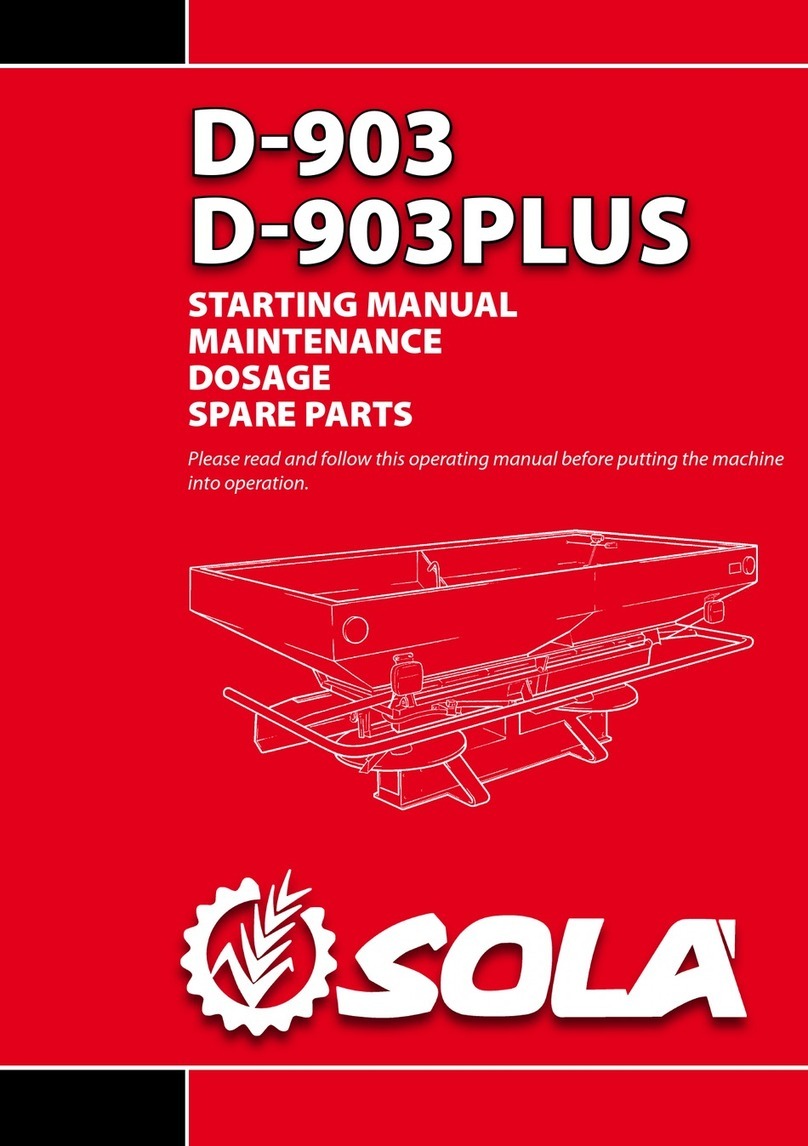
Sola D-903 Starting manual

Sola

Sola D-903 Starting manual

H&S 2280 Operator's manual

H&S

H&S 2280 Operator's manual

LOFTNESS FS 800 Owner's manual and parts book

LOFTNESS

LOFTNESS FS 800 Owner's manual and parts book

Branick 5025 Installation, Operation and Repair Parts Information

Branick

Branick 5025 Installation, Operation and Repair Parts Information

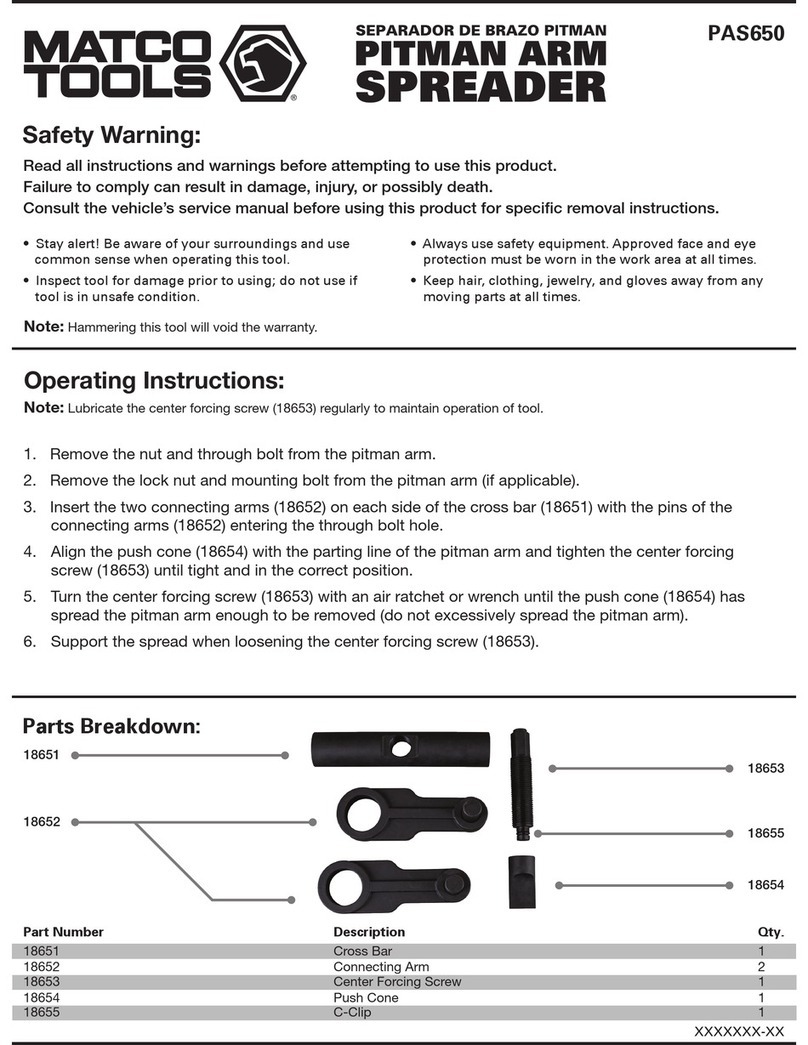
Matco Tools PAS650 quick start guide

Matco Tools

Matco Tools PAS650 quick start guide

Worksaver ATVK-350, ATVK-370, ATVK-390 owner's manual

Worksaver

Worksaver ATVK-350, ATVK-370, ATVK-390 owner's manual

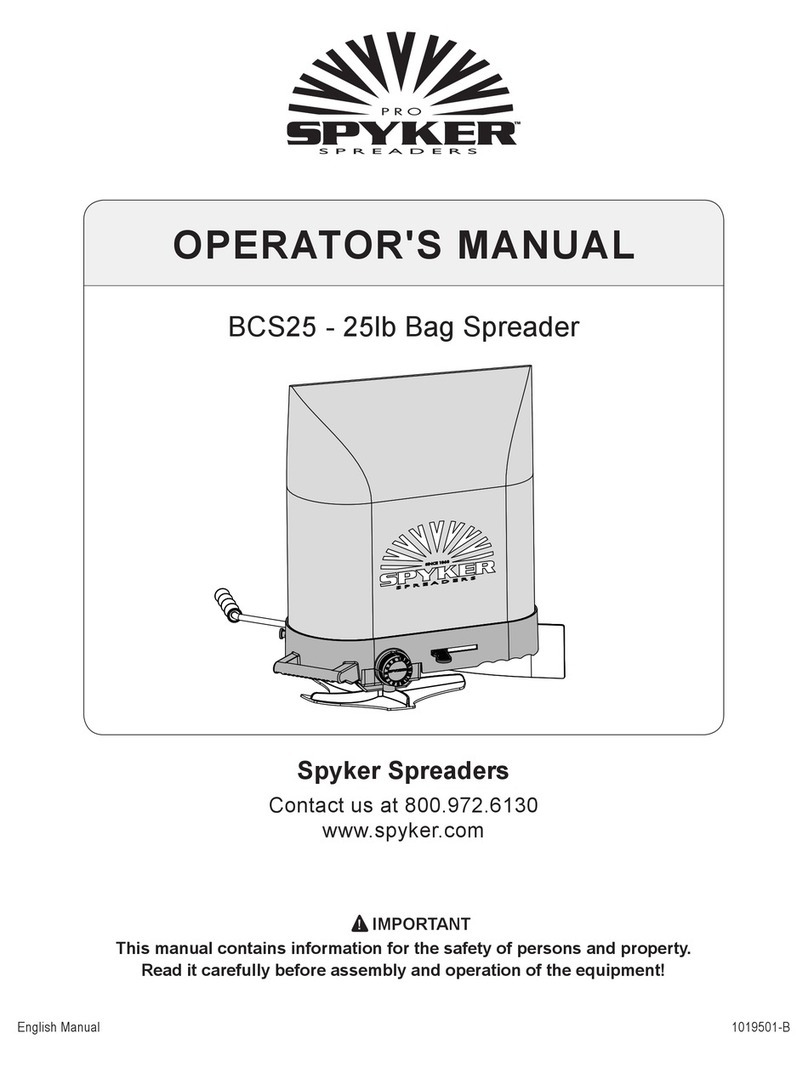
SPYKER BCS25 Operator's manual

SPYKER

SPYKER BCS25 Operator's manual

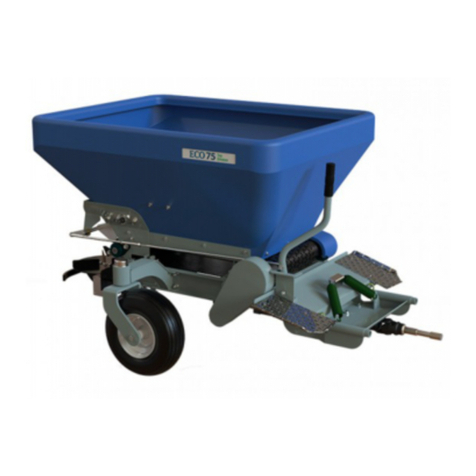
Ecolawn ECO 75 Operator's manual

Ecolawn

Ecolawn ECO 75 Operator's manual

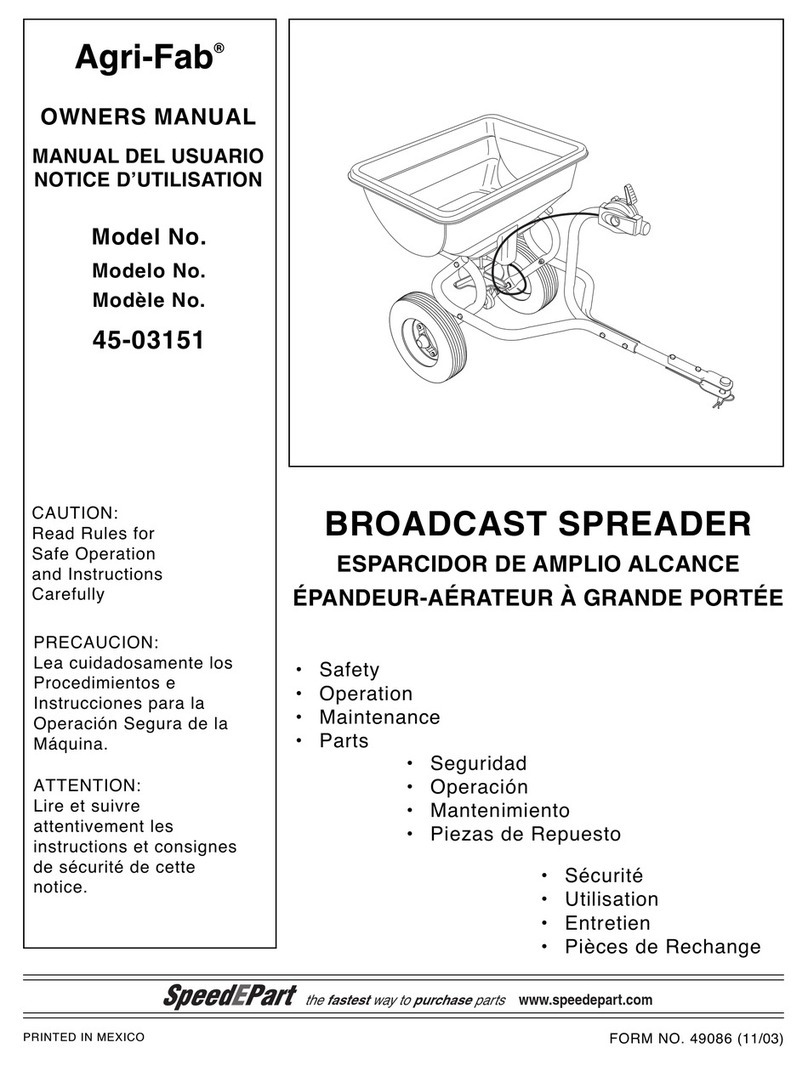
Agri-Fab 45-03151 owner's manual

Agri-Fab

Agri-Fab 45-03151 owner's manual

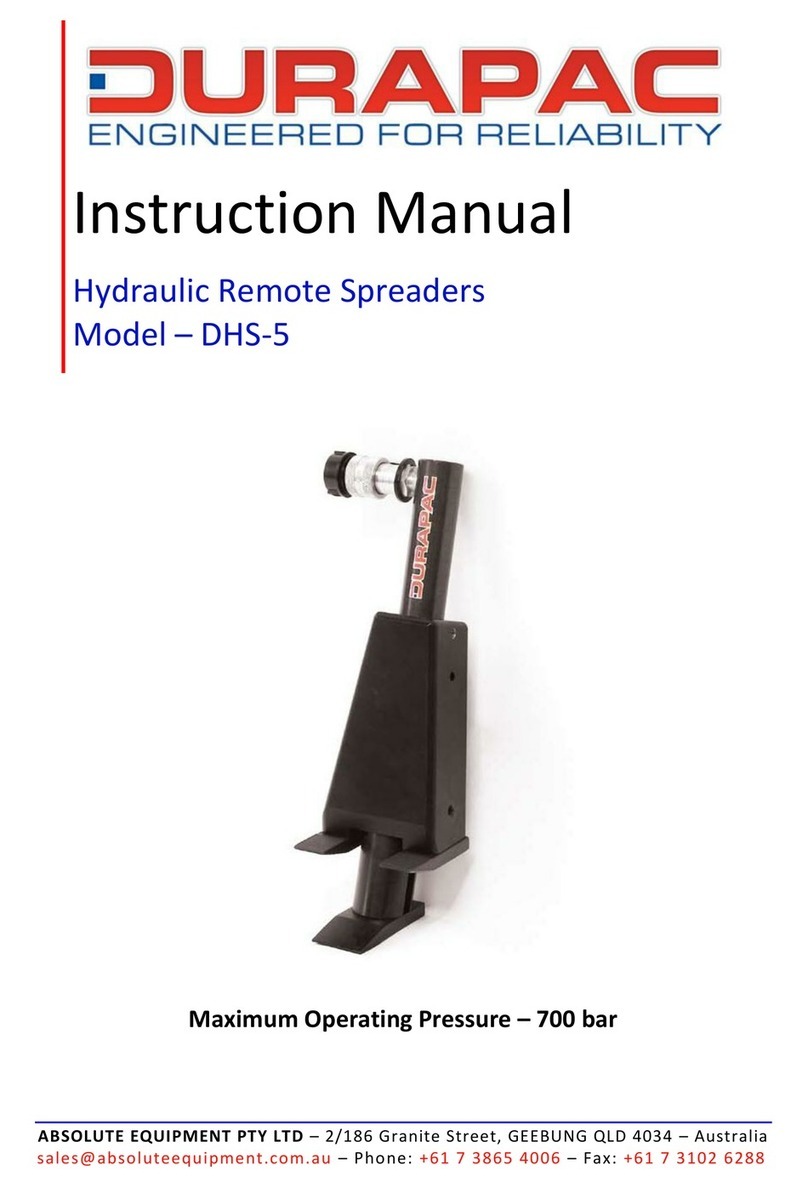
Durapac DHS-5 instruction manual

Durapac

Durapac DHS-5 instruction manual

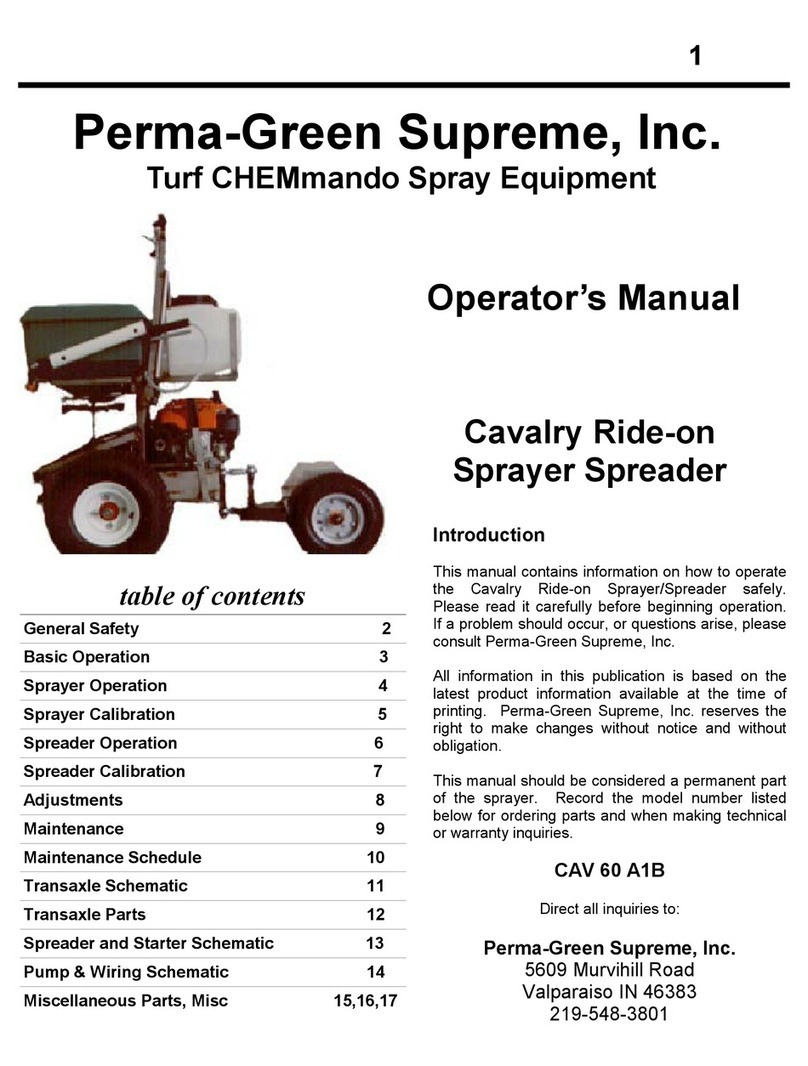
PermaGreen Supreme CHEMmando Cavalry 60 A1B Operator's manual

PermaGreen Supreme

PermaGreen Supreme CHEMmando Cavalry 60 A1B Operator's manual

Agri-Fab 45-02141 owner's manual

Agri-Fab

Agri-Fab 45-02141 owner's manual

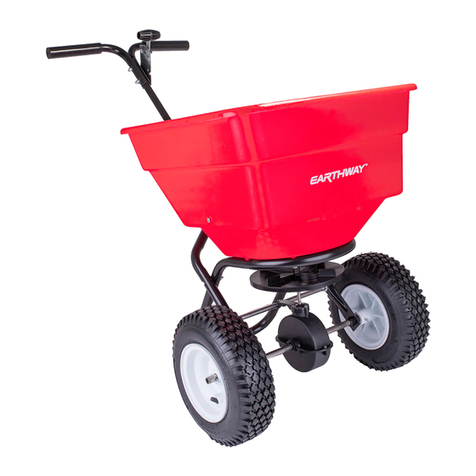
Earth Way 2050TP quick start guide

Earth Way

Earth Way 2050TP quick start guide

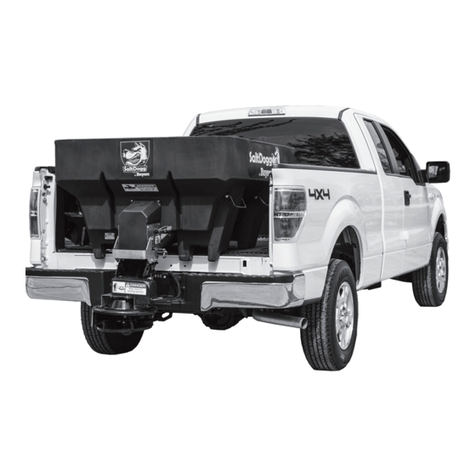
Salt Dogg SHPE0750 Series installation instructions

Salt Dogg

Salt Dogg SHPE0750 Series installation instructions

Earth Way 2170 Assembly and operating instructions

Earth Way

Earth Way 2170 Assembly and operating instructions

Earth Way 2050SU Assembly instructions

Earth Way

Earth Way 2050SU Assembly instructions

Avantco A458004 Operator's manual

Avantco

Avantco A458004 Operator's manual

Tube-Line Nitro 315RS Operator's manual

Tube-Line

Tube-Line Nitro 315RS Operator's manual

manuals.online logo
manuals.online logoBrands
  • About & Mission
  • Contact us
  • Privacy Policy
  • Terms and Conditions

Copyright 2025 Manuals.Online. All Rights Reserved.