manuals.online logo
Brands
  1. Home
  2. •
  3. Brands
  4. •
  5. Child Craft
  6. •
  7. Indoor Furnishing
  8. •
  9. Child Craft F01116 User manual

Child Craft F01116 User manual

Division of Foundations®Worldwide, Inc.
•7001 Wooster Pike, Medina, OH 44256 USA •PH: 1 877.716.2757 (U.S. Only) or +1 330.722.5033 •FAX: +1 330.722.5037
•www.childcraftbaby.com
Directions for maintenance, cleaning, storage and use of your Changing Table are also included.
BEFORE STARTING THE ASSEMBLY PROCEDURE, READ ALL DIRECTIONS WITH CARE.
YOU WILL NEED THE FOLLOWING FOR THE ASSEMBLY OF YOUR CHANGING TABLE:
#2 PHILLIPS SCREWDRIVER - FLAT TIPPED SCREWDRIVER
F01116
A(1) Allen Wrench
1
B
(16) Allenhead Bolts C
(2) Allenhead Bolts D
(2) Hex Nut
E
(2) Nylon Washer F(1) Dressing Pad G
(1) Belt
H
(1) End Assembly-Right I(1) End Assembly-Left J(1) Top Back Assembly
K(1) Top Front Rail
L(1) Top Shelf Front Rail
M(4) Lower Front Back Rail
No groove in face
Note wide groove
Note narrow groove
N(1) Top Shelf Holes in face
O(2) Lower Shelf
P
(1) Tip Kit
Assembly Directions and Parts List
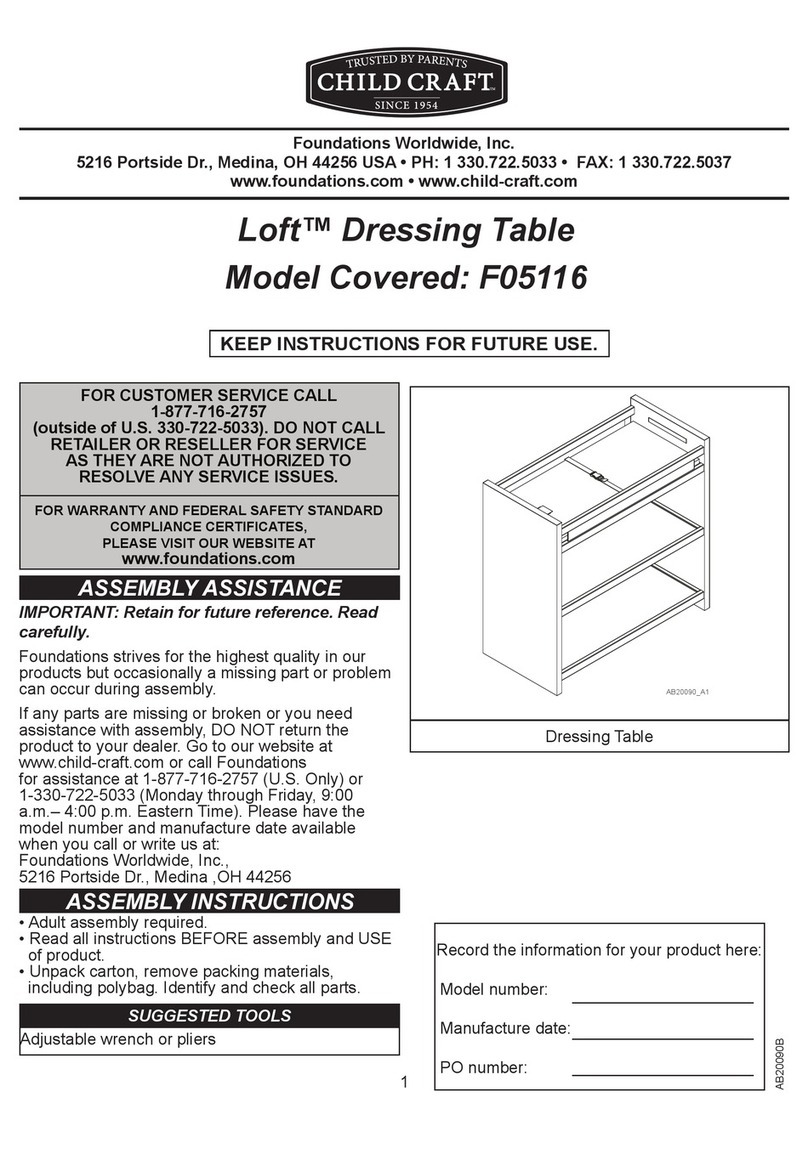
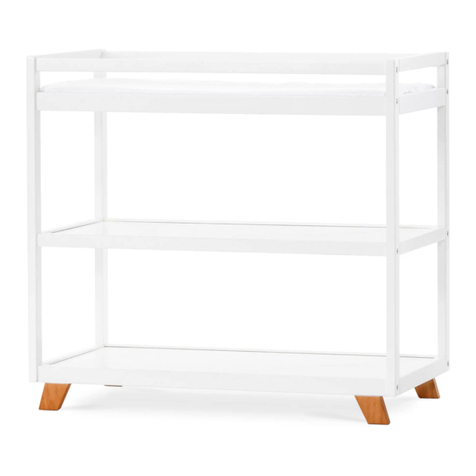
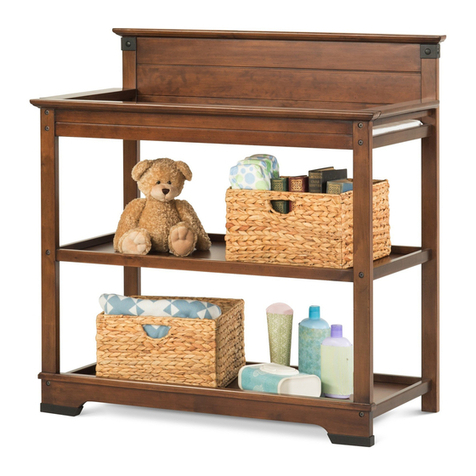
Dressing Table
Parts packed in carton and hardware bag
Parts packed in carton
AB20313A
PrePArAtion
Carefully remove and lay out all hardware and parts. Check quantities and match the Hardware List and the Parts List. NOTE: During
the assembly process, when using screws or bolts, check each with the PArts encloseD in HArDwAre bAg list by letter and size
identication. Place each screw or bolt on the diagram of the item which is sketched actual size. Be sure to use the proper
size specied in the assembly directions. If any parts are missing or broken or you need assistance with assembly, DO NOT return
the product to your dealer. Call Foundations®for assistance at 1 877.716.2757 (U.S. Only) or +1 330.722.5033 (Monday through Friday,
9:00 a.m.– 4:00 p.m. Eastern Time). Before making this contact identify your Changing Table by the model identication number stamped
on the label attached to underside of Top Shelf N. Make note of all identication numbers and include this information with your request.
DO NOT SUBSTITUTE PARTS! Record your model identication number here for future identication:
Model #_________________________________________
Parts J, K, L and M will be attached to End Assembly - Right Has shown. Parts J, K, L and M each have metal threaded inserts which
will accept installation of Allenhead Bolt B. Align parts together and insert locator dowels on parts K and Linto receiving holes in End
Assemby - Right H. Insert Bolts Bthrough assembly holes in part Hand thread into metal inserts in each of parts J, K, L and M. Once
bolts are installed, tighten securely using Allenwrench A. A total of eight (8) Bolts Bare installed during this step.
steP 1 - DiAgrAm 1: enD Assembly
2
NOTE: Grooves in
face of part Mare
closer to top edge
during installation.
Grooves on all parts
should be positioned
toward inside.
J
B
M
M
M
M
L
K
Allenhead Bolts Binstalled from outside
face of End Assembly - Right Hinto
receiving holes and into threaded inserts.
Threaded holes will
receive dowel pins.
3
Slide Shelves Oand Ninto receiving grooves as shown.
steP 2 - DiAgrAm 2: sHelf Assembly
Attach End Assembly - Left I following the same process as complete during Step 1. Also guide shelves Oand Ninto the receiving grooves
in End Assembly - Left I. Once all dowels and shelves are seated into their proper location install eight (8) Allenhead Bolts Bthrough End
Assembly - Left Iand thread into metal threaded inserts. Tighten all bolts securely using Allen Wrench A.
steP 3 - DiAgrAm 3: AttAcHing enD Assembly-left toAssembleD enD Assembly-rigHt
B
N
Note holes through
face in this part.
O
O
Slide into grooves.
Slide shelf into groove
in End Assembly - Right
Assembly from Step 2
(Typical)
Step 4 Diagram 4: RECOMMENDED LOCATION OF ATTACHMENT OF TIP RESTRAINT BRACKETS
4
3/8”
9.5mm
5/64”
2mm
C
L
ZZ
WW
WW
0”
0 mm
Determine location of 2 wall studs if possible. If not possible, purchase an appropriate anchor system as
explained in Step 2 of the WALL STUD SAFETY BRACKET INSTRUCTIONS.
Brackets mounted on Dressing Table must be equal distant from the center (C) of Dressing Table.
=
=
L
Align the holes in each end of Restraint Belt G with the holes in the Top Shelf N. Attach by inserting Washer E on Bolt C then through
the hole in the Top Shelf N. Secure using a Hex Nut D threaded onto Allenhead Bolt C from the underside as shown. Tighten securley.
Press in with thumb
and index nger to
release belt.
Insert the buckle until
a “Click” is heard and
ends become locked
together.
Gently pull the free
end of the belt strap to
adjust a snug t around
the infant.
G
G
C
C
D
E
Place the Foam Dressing Pad Fon Top Shelf as shown
before using. Read all WARNINGS before use.
USE OF RESTRAINT BELT
* Lay infant on Foam Dressing Pad.
* Retraint Belt will be placed over
the infant’s torso.
* Insert the buckle ends of each belt
into each other until a “CLICK” is
heard and ends become locked
together.
* Gently pull the free end of the Belt
strap to adjust a snug t around the infant.
F
NOTE: Style of Dressing Table may vary.
5
steP 5- DiAgrAm 5: AttAcHing AnD Using restraint belt
•MAINTENANCE OF YOUR CHANGING TABLE: Upon completion of assembly be sure all screws, bolts and fastening devices have
been tightened securely. A frequent check should be made of all screws, bolts and fastening devices and tightened if needed. Before
each usage or assembly, inspect for damaged hardware, loose joints, missing parts or sharp edges. DO NOT use if parts are missing or
broken. Contact Foundations®for assistance at 1 877.716.2757 (U.S. Only) or +1 330.722.5033 (Monday through Friday, 9:00 a.m.– 4:00
p.m. Eastern Time). DO
NOT SUBSTITUTE PARTS. DO NOT MAKE ANY ALTERATIONS NOT DESCRIBED IN THESE ASSEMBLY DIRECTIONS.
•CLEANING INSTRUCTIONS FOR CHANGING TABLE: Mix together a mild solution
of gentle dishwashing liquid and water, apply to surface using a soft clean cloth lightly
dampened in the solution. Rinse with clear water again using a soft clean cloth, then
dry all surfaces thoroughly with a soft dry cloth. NO ABRASIVE CLEANERS,
SCOURING PADS, STEEL WOOL, OR COARSE RAGS SHOULD BE USED
TO CLEAN THIS FINE FURNITURE.
•STORAGE AND USE OF CHANGING TABLE: After completing the assembly
process you are advised to read and be aware of all WARNINGS, CAUTIONS,
CLEANING, STORAGE, USE AND MAINTENANCE notices contained in this
set of directions. When storing the Changing Table use CAUTION as extreme
temperature or humidity changes could be harmful. Use CAUTION when
a vaporizer is in use, always aim vapor stream away from the Changing Table
as well as away from any wood furniture item.
Division of Foundations Worldwide, Inc.
5216 Portside Dr.
Medina, OH 44256 USA
Telephone: 1 877.716.2757 (U.S. Only)
or +1 330.722.5033
Fax: +1 330.722.5037
www.childcraftbaby.com
WARNING
● Read all instructions before use of the changing table.
● Failure to follow these warnings and assembly instructions could result in serious injury or death.
● FALL HAZARD: Children have suffered serious injuries after falling from changing tables.
Falls can happen quickly.
● STAY within arm’s reach.
● Do not use this changing table as a changing area if the rails are loose, broken or missing.
● Do not use the changing table if it is damaged or broken.
● Do not allow the child or children to climb on this changing table.
● Upon completion of assembly be sure all screws, bolts and fastening devices have been tightened
securely. A frequent check should be made of all screws, bolts and fastening devices and tighten if
needed.
● Do not use this changing table as a changing area when the security belts are missing or not properly
secured.
● Do not use the changing area of this changing table when the child reaches 30 pounds.
● Keep instructions for future use.
●This product is not intended to be used as a changing table without the dressing pad and securing belt
provided. Use of this product without this may result in death or serious injury to your child from falling.
Follow all instructions on attaching and using the securing belt.

Other Child Craft Indoor Furnishing manuals
Child Craft Glider Rocker F09470 Series User manual

Child Craft

Child Craft Glider Rocker F09470 Series User manual

Child Craft Forever Eclectic Cirque F09202 User manual

Child Craft

Child Craft Forever Eclectic Cirque F09202 User manual

Child Craft Surrey Hill F07009 User manual

Child Craft

Child Craft Surrey Hill F07009 User manual

Child Craft Abbott F01916 User manual

Child Craft

Child Craft Abbott F01916 User manual

Child Craft Cranbrook Chest F03302 User manual

Child Craft

Child Craft Cranbrook Chest F03302 User manual

Child Craft Forever Eclectic Halo Accent F09303 User manual

Child Craft

Child Craft Forever Eclectic Halo Accent F09303 User manual

Child Craft F50001 User manual

Child Craft

Child Craft F50001 User manual

Child Craft Soho F04026 User manual

Child Craft

Child Craft Soho F04026 User manual

Child Craft Atwood F01809 User manual

Child Craft

Child Craft Atwood F01809 User manual
Child Craft Jordyn F05438 User manual

Child Craft

Child Craft Jordyn F05438 User manual

Child Craft F02902 User manual

Child Craft

Child Craft F02902 User manual

Child Craft Penelope F06916 User manual

Child Craft

Child Craft Penelope F06916 User manual

Child Craft Wynwood F01509 User manual

Child Craft

Child Craft Wynwood F01509 User manual

Child Craft Soho F03909 User manual

Child Craft

Child Craft Soho F03909 User manual

Child Craft Redmond F02838 User manual

Child Craft

Child Craft Redmond F02838 User manual

Child Craft FOREVER Eclectic F09028 User manual

Child Craft

Child Craft FOREVER Eclectic F09028 User manual

Child Craft CRIB’N’DOUBLE User manual

Child Craft

Child Craft CRIB’N’DOUBLE User manual

Child Craft Denman F03609 User manual

Child Craft

Child Craft Denman F03609 User manual

Child Craft Universal Select F09402 User manual

Child Craft

Child Craft Universal Select F09402 User manual

Child Craft FOREVER Eclectic F09301 User manual

Child Craft

Child Craft FOREVER Eclectic F09301 User manual

Child Craft Redmond F02819 User manual
Child Craft

Child Craft Redmond F02819 User manual

Child Craft Redmond F02819 User manual

Child Craft

Child Craft Redmond F02819 User manual

Child Craft Forever Eclectic Mod F09302 User manual

Child Craft

Child Craft Forever Eclectic Mod F09302 User manual

Child Craft FOREVER Eclectic F09201 User manual

Child Craft

Child Craft FOREVER Eclectic F09201 User manual

Popular Indoor Furnishing manuals by other brands

American Standard 3636.LCW Specifications

American Standard

American Standard 3636.LCW Specifications

Kvik OU818 manual

Kvik

Kvik OU818 manual

Kvik MO943 manual

Kvik

Kvik MO943 manual

Onespace JNFF 50-JN16DSKES Assembly instructions

Onespace

Onespace JNFF 50-JN16DSKES Assembly instructions

Birlea Highgate HIG2WCRO Assembly instructions

Birlea

Birlea Highgate HIG2WCRO Assembly instructions

Next MODE 857326 manual

Next

Next MODE 857326 manual

Better Homes and Gardens Granary BHW-10024 manual

Better Homes and Gardens

Better Homes and Gardens Granary BHW-10024 manual

NOMA 93729 manual

NOMA

NOMA 93729 manual

Sonorous STB-45 Assembly instructions

Sonorous

Sonorous STB-45 Assembly instructions

Canvas DANVILLE CTCDAN30VNY Assembly instructions

Canvas

Canvas DANVILLE CTCDAN30VNY Assembly instructions

Hanover Wicker ACCENT3PC-NVY Assembly instructions

Hanover

Hanover Wicker ACCENT3PC-NVY Assembly instructions

Finori MX6R/018 Assembly instructions

Finori

Finori MX6R/018 Assembly instructions

CareCo Lavenham Usage and maintenance instructions

CareCo

CareCo Lavenham Usage and maintenance instructions

Seconique Furniture Carlow 3 Assembly instructions

Seconique Furniture

Seconique Furniture Carlow 3 Assembly instructions

BLACK RED WHITE ALVEO B24-KOM4S/11 manual

BLACK RED WHITE

BLACK RED WHITE ALVEO B24-KOM4S/11 manual

Pinnacle Design TV48101 parts list

Pinnacle Design

Pinnacle Design TV48101 parts list

Ilva JOVIK 1071034 Assembly instruction

Ilva

Ilva JOVIK 1071034 Assembly instruction

Safavieh Furniture Calliope CNS9701 manual

Safavieh Furniture

Safavieh Furniture Calliope CNS9701 manual

manuals.online logo
manuals.online logoBrands
  • About & Mission
  • Contact us
  • Privacy Policy
  • Terms and Conditions

Copyright 2025 Manuals.Online. All Rights Reserved.