. 1 Introduction
l.l Acknowledgement
Thmks for you puchase ofour product. The product is MID (Mobile Intemet
Device), it is a high end product, with with a rouch scr;en which resolutiotr of800x480
pixel. It is designed with TTC8923 high speed processor ad 512RAM, md 4cB flah.
The operating system is Android 4.0.
The product is built in WIFI module, frotrt md rear camera, it is easy to complish
inlernel fimction. it can be viewed high definition video md photos. ir cari also suppon
cmera shooting and video shooting fmction. Besides, it is-availa6le for mmv olfice
and entertnaimnet applications. Brand new operation interface will provide you with
diferent enjoyment.
The manual systemically intoduces the functions. use techniques and
amouncemenrs. please read rhis manml carelllly before your operation.
1,2 Announcemetrts
Preveotiye maintainance
a Please always keep the MID dry. To avoid the device shofi trouble, conosion fault
and electric shon, please prevent the device, battery and cheger from water and
moisture, and don't operate the device or chager by wet hmd.
To avoid failure ofdevice. battery and charger, please prevetrt the device, battery,
charger liom violent shock or shake.
To avoid failure ofdevice, battery atrd charger, please prevent the device, battery,
charger ofall over heating or too cold circumstance
Never shock. throw, prod the MID, or drop. extrude, bend the MID.
Never disassemble the device md accessories a$itrarily, othevise the device and
accessories are not in our compan) wananty scope.
1.3 Safety Instructiotr
Before the operation of the MID, please read this chapter md teach your kids about these
infomtion. For firther details, please refer ro the safery instrucrion. und u*or.c"-"nt.
a Never use the MID when driving cu, in order to ensure safe driving.
a In the redical area, please abide by related rules atrd regulations. please shut
dom the MID when it is trear to the medical area.
o To avoid the wireless signal to intempt the plme- conholled signal, please shut
down the MID or usitrg airplme mode whetyou ae boarding a-fligiu,
To avoid electronic equipment failue, please shut down the MID in the vicinage
of high-accuacy electrooic equipments.
Please don't disassemble the MID and accessories. Only authorized agent has
access to setrice the MlD.
Please keep the MID fa away ftom magnetic equipments, the radiation ofMlD
may erase the data stored in the magtretic equipments.
Never use the MID in the vicinage ofhigh temperature, inflammable gas ( gas
station).
Protect the MID md accessories from kids reach scope, and avoid the kids to
use the MID without pdents' supetrision.
Please comply with rclated rules md regulatiotr, md respect others' privacy
md legat rights while using the MID.
Please strictly adhere to related instructions in the manual when using USB
cable to ensure the safety ofthe MID or PC.
Never use the MID in bathroom or other hmid envircnment, and please protect
the MID from liquid wash or wet.
a
a
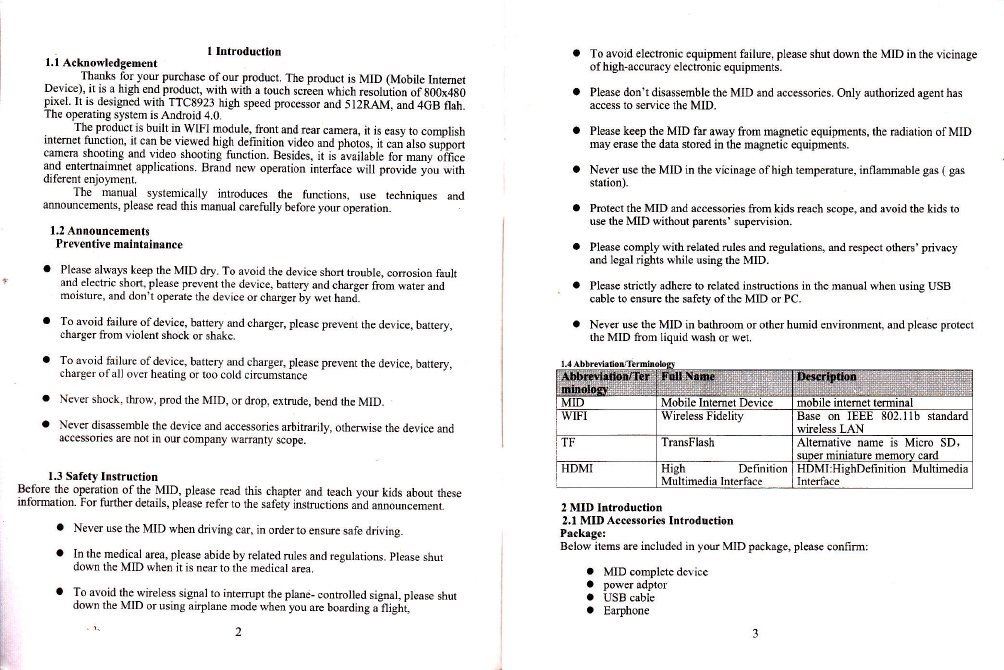
2 MID Introduction
2.1 MID Accessorie$ Irtroductlon
Package:
Below items are included in you MID package, please confiml
a MID complete device
a powqadptor
a USB cabie
a Earphooe
Base on IEEE 802.llb stmddd
wireless LAN