manuals.online logo
Brands
  1. Home
  2. •
  3. Brands
  4. •
  5. Cisco
  6. •
  7. IP Phone
  8. •
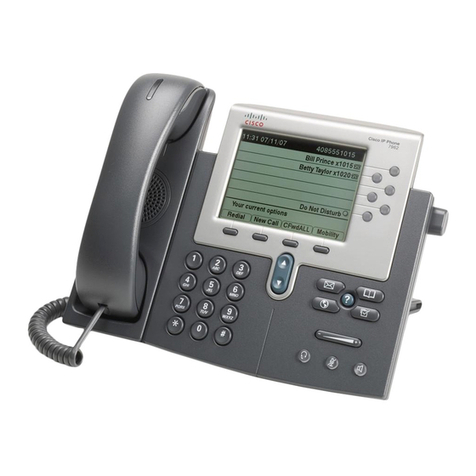
  9. Cisco DATAVOX 7941 Reference guide

Cisco DATAVOX 7941 Reference guide

Other manuals for DATAVOX 7941

18

This manual suits for next models

1

Other Cisco IP Phone manuals

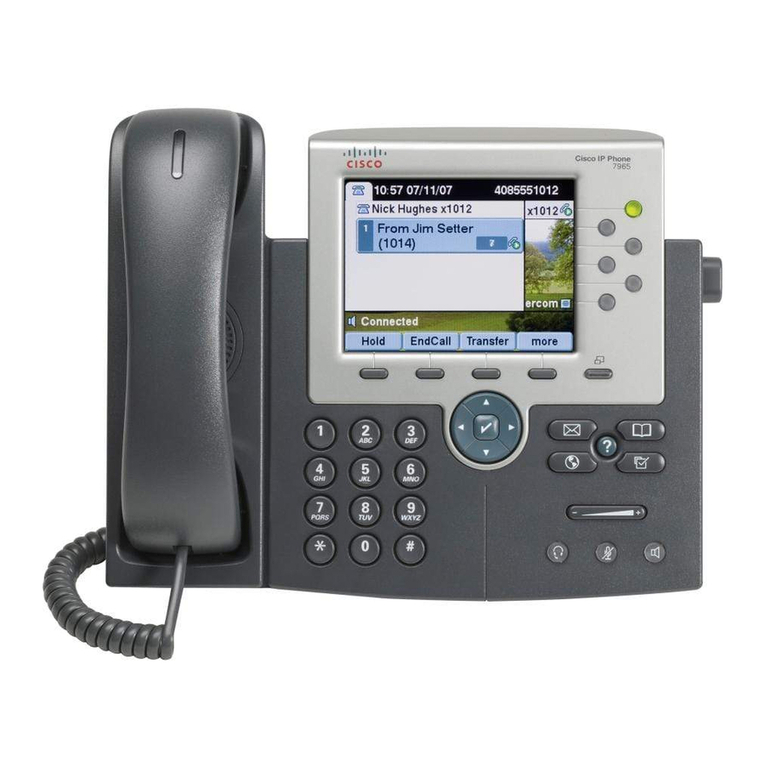
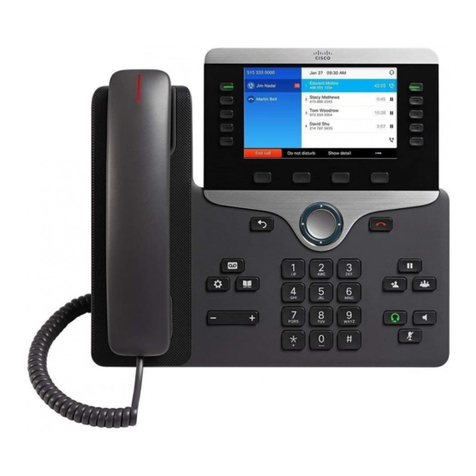
Cisco 8800 Series User manual

Cisco

Cisco 8800 Series User manual

Cisco Cisco 7940 User manual

Cisco

Cisco Cisco 7940 User manual

Cisco 7961G - IP Phone VoIP Instruction Manual

Cisco

Cisco 7961G - IP Phone VoIP Instruction Manual

Cisco 6961 - Unified IP Phone Standard VoIP Reference guide

Cisco

Cisco 6961 - Unified IP Phone Standard VoIP Reference guide

Cisco CP-7921G-A-K9 User manual

Cisco

Cisco CP-7921G-A-K9 User manual

Cisco 7811 User manual

Cisco

Cisco 7811 User manual

Cisco DX650 Instruction Manual

Cisco

Cisco DX650 Instruction Manual

Cisco Cisco 7940 User manual

Cisco

Cisco Cisco 7940 User manual

Cisco 7911G - IP Phone VoIP User manual

Cisco

Cisco 7911G - IP Phone VoIP User manual

Cisco 7962G - Unified IP Phone VoIP User manual

Cisco

Cisco 7962G - Unified IP Phone VoIP User manual

Cisco SPA 303 Series User manual

Cisco

Cisco SPA 303 Series User manual

Cisco 7970G - IP Phone VoIP Instruction Manual

Cisco

Cisco 7970G - IP Phone VoIP Instruction Manual

Cisco Nexus 7000 Series User manual

Cisco

Cisco Nexus 7000 Series User manual

Cisco 7970G - IP Phone VoIP Instruction Manual

Cisco

Cisco 7970G - IP Phone VoIP Instruction Manual

Cisco Unified 8961 User manual

Cisco

Cisco Unified 8961 User manual

Cisco IP Phone 7800 Series User manual

Cisco

Cisco IP Phone 7800 Series User manual

Cisco Small Business Pro SPA 502G User manual

Cisco

Cisco Small Business Pro SPA 502G User manual

Cisco 7911 User manual

Cisco

Cisco 7911 User manual

Cisco WIP310 - iPhone Wireless VoIP Phone User manual

Cisco

Cisco WIP310 - iPhone Wireless VoIP Phone User manual

Cisco Small Business Pro SPA 509G User manual

Cisco

Cisco Small Business Pro SPA 509G User manual

Cisco 8811 User manual

Cisco

Cisco 8811 User manual

Cisco 6800 Series User manual

Cisco

Cisco 6800 Series User manual

Cisco 7925G (SCCP) User manual

Cisco

Cisco 7925G (SCCP) User manual

Cisco WIP320 User manual

Cisco

Cisco WIP320 User manual

Popular IP Phone manuals by other brands

Cortelco C62 VoIP Phone user guide

Cortelco

Cortelco C62 VoIP Phone user guide

VanillaIP Polycom IP300 user manual

VanillaIP

VanillaIP Polycom IP300 user manual

Yealink Yealink SIP-T22P Quick installation guide

Yealink

Yealink Yealink SIP-T22P Quick installation guide

Viking SR-IP product manual

Viking

Viking SR-IP product manual

Yealink VP59 Teams user guide

Yealink

Yealink VP59 Teams user guide

Panasonic KX-UT133-B Administrator's guide

Panasonic

Panasonic KX-UT133-B Administrator's guide

Avaya one-X 9600 Series overview

Avaya

Avaya one-X 9600 Series overview

AVA Enterprises B179 Installation and administration guide

AVA Enterprises

AVA Enterprises B179 Installation and administration guide

Polycom SoundPoint IP 450 datasheet

Polycom

Polycom SoundPoint IP 450 datasheet

IPitomy IP290 user manual

IPitomy

IPitomy IP290 user manual

Polycom SoundPoint IP 650 user guide

Polycom

Polycom SoundPoint IP 650 user guide

Proximus Maestro 3016 IP quick start guide

Proximus

Proximus Maestro 3016 IP quick start guide

Polycom IP 450 user guide

Polycom

Polycom IP 450 user guide

Fanvil X4 user manual

Fanvil

Fanvil X4 user manual

Snom 320 quick start guide

Snom

Snom 320 quick start guide

Avaya Integral 5 R3.0 user guide

Avaya

Avaya Integral 5 R3.0 user guide

Yealink Yealink SIP-T46G Guide

Yealink

Yealink Yealink SIP-T46G Guide

Yealink SIP-T52S quick start guide

Yealink

Yealink SIP-T52S quick start guide

manuals.online logo
manuals.online logoBrands
  • About & Mission
  • Contact us
  • Privacy Policy
  • Terms and Conditions

Copyright 2025 Manuals.Online. All Rights Reserved.

4
Need to Move Your IP Phone?
One advantage of IP phones is that they are usually simple to move.
You should select a location near a network outlet (and near an AC
electrical outlet if your phone has an AC adapter). You may or may not
need assistance to move your IP phone (see below).
If you do NOT have a black AC power adapter connected to your IP
phone then your phone is receiving power from the network closet and
you should submit a Technology Work Request (TWR) to have a
technician assist you. The TWR should clearly identify (1) the telephone
to be moved, (2) its current location, and (3) the intended destination
(room & location within the room).
If you have a black AC power adapter connected to your IP phone
then you have the option to relocate your phone without the assistance
of a technician. You will need to move (1) your IP phone, (2) your AC
power adapter & power cord, and (3) your network patch cable. Use the
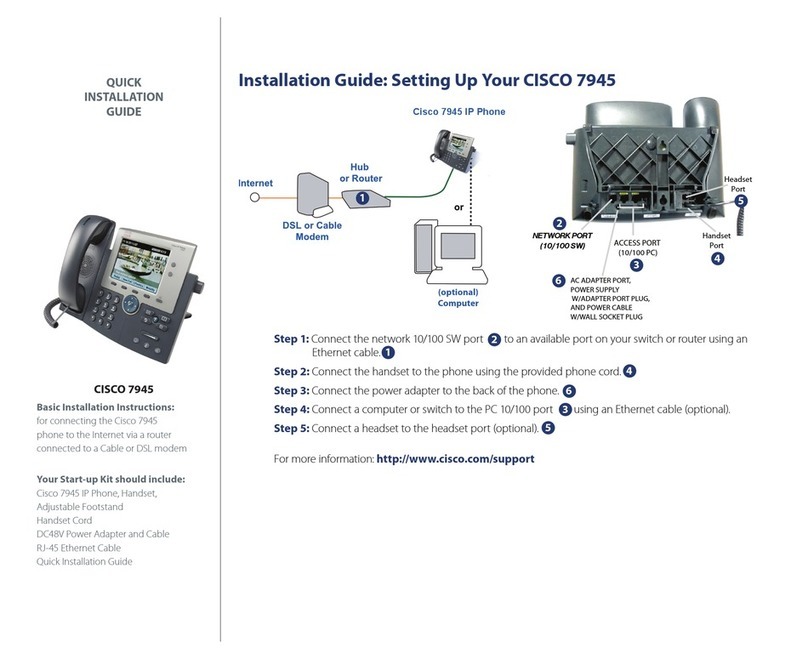
patch cable to connect the 10/100 SW outlet on the back of your IP
phone to an orange network wall outlet. In addition, you may also
connect a computer to the 10/100 PC outlet on your IP phone. Note: To
avoid problems computers should be logged off or shut down before
network cables are disconnected.
Cisco 7941/7961 IP Phone Connections
Want to Know More?
For additional information on these and other features of your new phone
see the complete listing of NPS IP phone documentation online at:
www.norman.k12.ok.us/002/phones/
This is the 9-15-2008 version of the Phone Brief for the Cisco 7941/7961 IP Phones.
Current documentation for these models is available at the web site shown above.
1
IP Phone Brief – 7941
For Cisco Model 7941 & 7961 Multi-Line IP Phones
Answering Calls
When your phone rings and the red Handset Light is blinking you are
receiving a call. To answer the call, lift the handset (for privacy) or press
the [Answer] softkey or the speaker key (for speakerphone). If
necessary, press the flashing Line button of the incoming call to select
that line. If a second call comes in, press the Navigation button ()
down, then press the [Answer] softkey. This automatically places the
first call on hold and answers the second call.
Placing Calls
To place a call, lift the handset then dial the number. Alternatively you
may press an unlit Line button, the [New Call] softkey, or the Speaker
key before dialing. You may also dial the number first then press the
[Dial] softkey to place a call.
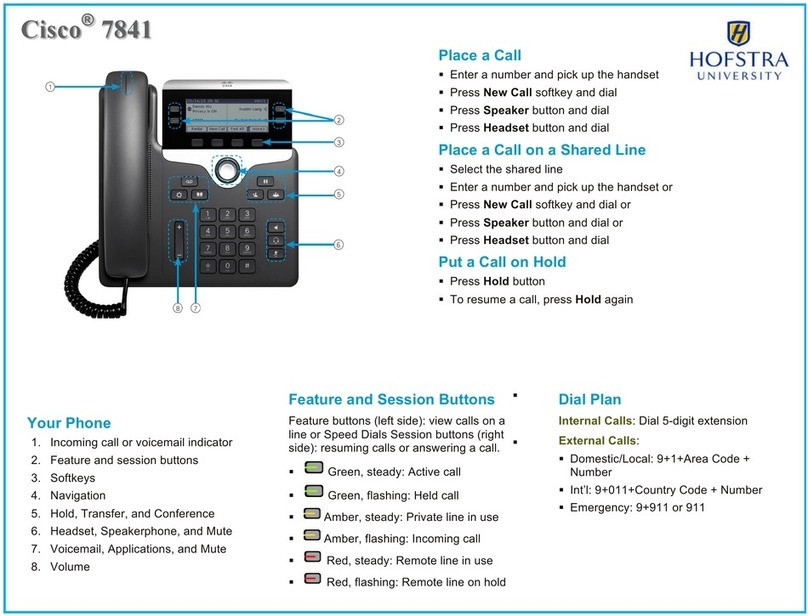
 Internal Calls: Dial the NPS 4-digit extension
 External Calls: Dial 9 + phone number
 Long Distance: Dial 9 + 1 + (area code) + phone number
 Redial: Press the [Redial] softkey to redial the last number direct
dialed from your phone.
Ending Calls
If you are using the handset then you can simply hang up the phone to
end a non-speakerphone call. If you are using the speakerphone then
you can press the Speaker button to end the call. Pressing the [EndCall]
softkey will end either type of call.
Selected Phone Features
Hold: To place a caller on hold, press the [Hold] softkey.
 To return to the caller press the [Resume] softkey.
 If multiple calls are on hold, then use the Navigation button () to
select the desired call before you press [Resume].
 If multiple calls on multiple lines are on hold, then first press the
line button for the desired line, next use the Navigation button () to
select the desired call, and finally press [Resume].
2
Call Transfer: Sends a caller to another party. While on an active call,
press the [Transfer] softkey. This places the first caller on hold while you
dial the next party. Announce the call to the second party and press
[Transfer] a second time to complete the transfer. To cancel a call
transfer, wait for second party to hang up or press [End Call] softkey.
Call Forward: Press the [CFwdALL] softkey to automatically forward
all calls for that line to another number. Enter the 4-digit NPS extension
number or the 9+ telephone number where you wish to direct the calls.
Press the [CFwdALL] softkey a second time to disable call forwarding.
Calls cannot be forwarded to a long distance number.
Call Park: While on an active call press the [More] softkey then the
[Park] softkey to park the call (place it on hold). Note the 3-digit Call
Park number shown on the phone. Dial the 3-digit Call Park number
from any NPS IP phone to retrieve the call on that (other) phone. If the
parked call is not retrieved it will ring back to the first party.
Conference Calling: Connect up to 6 separate parties into one call.
Dial and connect with your first party. While on an active call, press
[Confrn] softkey. This places the first caller on hold while you dial next
party. Press [Confrn] to connect all parties. Repeat these steps until all
parties are connected. Callers stay connected if/when the moderator
hangs up and leaves the call.
Voice Mail
(NOTE: Not all IP phones have voicemail)
A tutorial will step users through initial voicemail set up. Separate
messages can be recorded for no answer, busy, and out of office. Find a
quiet time and place to avoid unwanted noise in your messages.
Your Greeting: It’s a good idea to write and practice your greeting
before recording it. Information you may want to include in your greeting:
 Your Name (Department or position optional)
 Your regular business hours (availability)
 Instructions for leaving a message
 An alternate contact for urgent business
Initial Voicemail Setup: Press the Messages key to get started. The
default voicemail password is 12345 which you will be required to
change. Follow the prompts to complete setup.
 Record your name
 Record personal greeting
 Enter and verify new password
Listen to confirm: “You have finished enrollment.”
3
Voicemail Retrieval From Your Phone: When the red Handset Light
is lit (not blinking) you have a voicemail message. To retrieve your
voicemail messages from your phone, press the Messages key, then
follow the prompts.
Remote Voicemail Retrieval From Other Phones: To retrieve
messages when away from your phone, dial into the NPS central
voicemail number (801-3800). (If you are using another NPS IP phone
you can dial extension 3800.) When the messaging system answers,
press the [*] key. You will be prompted to enter your ID (your 4-digit
NPS extension number) followed by the [#] key and your password
followed by the [#] key. Follow the prompts to retrieve your messages.
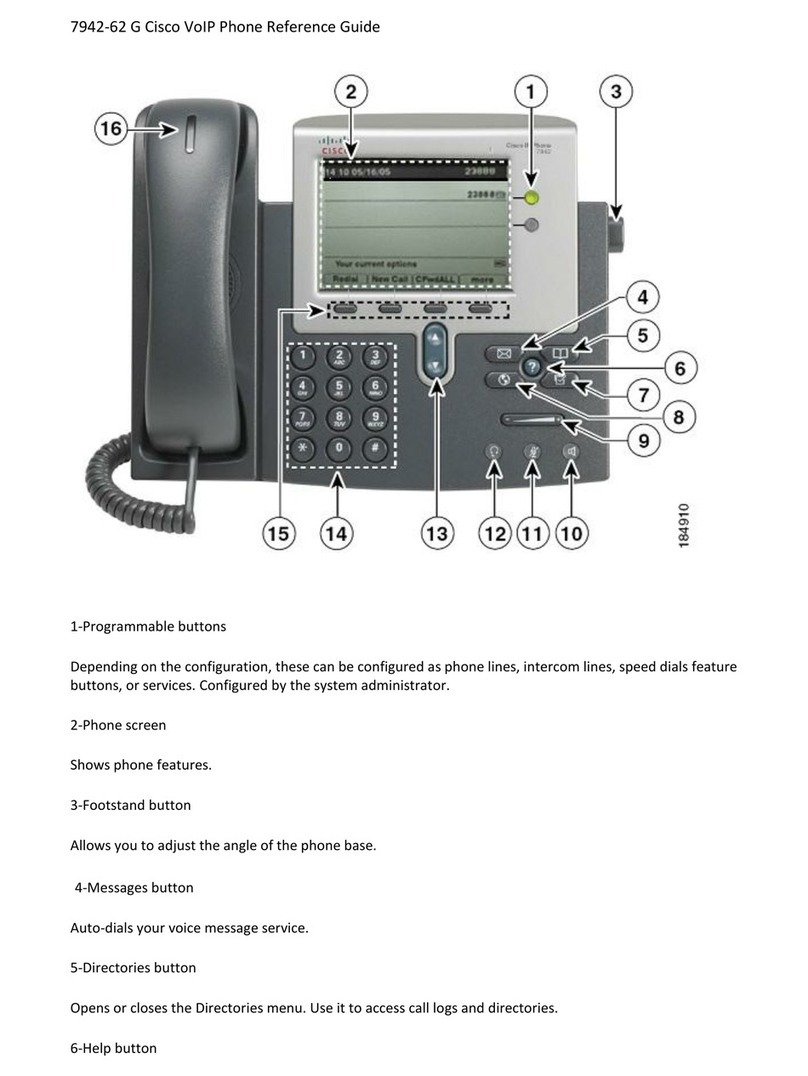
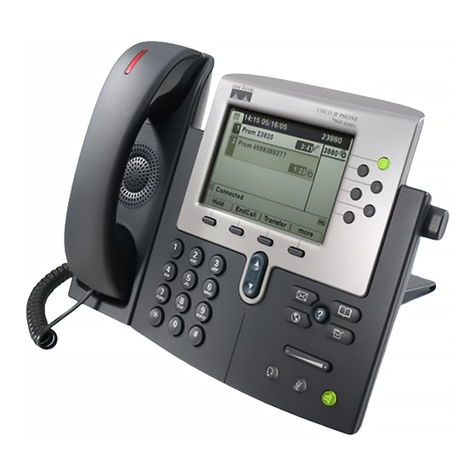
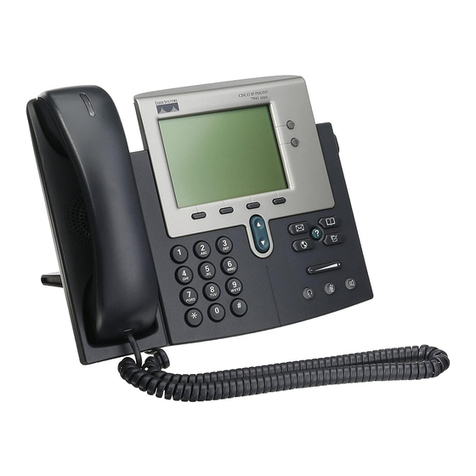
Get to Know Your IP Phone
(Model 7941 Shown Below)
1. Line Buttons • 2. Phone Screen • 3. Adjust Footstand • 4. Messages •
5. Directories • 6. Help • 7. Settings • 8. Services • 9. Volume •
10. Speaker • 11. Mute • 12. Headset • 13. Navigation • 14. Keypad •
15. Softkeys • 16. Handset Light (blinking = ringing; solid = voicemail)