manuals.online logo
Brands
  1. Home
  2. •
  3. Brands
  4. •
  5. Clear-Com
  6. •
  7. Intercom System
  8. •
  9. Clear-Com RS-700 Series User manual

Clear-Com RS-700 Series User manual

NOTES:
RS-702
Dual-Channel Beltpack
Top view
Bottom view
RS-702 & RS-703
BELTPACKS
QUICK
REFERENCE
GUIDE
www.clearcom.com
HME# 399G054
Rev C 1/29/14
RS-703
TW Dual-Channel Beltpack
Top view
Bottom view
1 Ch-A volume control –adjusts channel A volume level
2 Ch-A talk button –
talk to all on intercom channel A
Press and hold while talking, or tap to latch on
3 Ch-A talk LED –
lights when intercom channel A talk is active
4 Ch-A call LED –
lights when channel A call is active
5 Ch-A call button –
activates call on intercom channel A
6 Power LED –
lit when beltpack power is on
7 Ch-B call button –
activates call on intercom channel B
8 Ch-B call LED –
lights when channel B call is active
9 Ch-B talk LED –
lights when intercom channel B talk is active
10 Ch-B talk button –
talk to all on intercom channel B
Press and hold while talking, or tap to latch on
11 Ch-B volume control –
adjusts channel B volume level
12 Intercom cable receptacle –
3-pin XLR female
13 Intercom cable loop-thru –
3-pin XLR male
14 Program audio level control –
adjusts program audio input level
15 Program audio input –
3.5mm balanced input jack
Note: Does not work with stereo audio
16 Headset cable receptacle –
4-pin XLR male
1
2 3 4 5 6 7 8 910
11
12 13 14 15 16
11
2 3 4 5 6 7 8 9 10
12 13 14 15
1
1 Ch-A volume control –adjusts channel A volume level
2 Ch-A talk button –talk to all on intercom channel A
Press and hold while talking, or tap to latch on
3 Ch-A talk LED –lights when intercom channel A talk is active
4 Ch-A call LED –lights when channel A call is active
5 Ch-A call button –activates call on intercom channel A
6 Power LED –lit when beltpack power is on
7 Ch-B call button –activates call on intercom channel B
8 Ch-B call LED –lights when channel B call is active
9 Ch-B talk LED –lights when intercom channel B talk is active
10 Ch-B talk button –talk to all on intercom channel B
Press and hold while talking, or tap to latch on
11 Ch-B volume control –adjusts channel B volume level
12 Intercom cable receptacle –6-pin XLR female
13 Intercom cable loop-thru –6-pin XLR male
14 Program audio level control –adjusts program audio input level
15 Headset cable receptacle –4-pin XLR male
RS-703 Controls, LEDs and Connectors
RS-702 Controls, LEDs and Connectors
The Clear-Com product that you have purchased is covered by the Clear-Com Standard Limited Warranty, the terms and conditions of which can be found at
www.clearcom.com/support/warranty-support-policies.
We encourage you to review the Standard Limited Warranty to determine its coverage, exclusions from coverage and duration.
EXCEPT AS SET FORTH IN THE STANDARD LIMITED WARRANTY, CLEAR-COM MAKES NO WARRANTIES REGARDING THE
PRODUCT, EXPRESS, IMPLIED OR STATUTORY, INCLUDING WITHOUT LIMITATION ANY WARRANTIES OF
MERCHANTABILITY, NONINFRINGEMENT OF THIRD PARTY RIGHTS, OR FITNESS FOR A PARTICULAR PURPOSE, ALL OF
WHICH ARE EXPRESSLY DISCLAIMED.
For your own records, complete the following information:
_____________________________________________________________________________________________________________
Serial number Purchase date Reseller
FCC Notice:
This device complies with Part 15 of the FCC rules. Operation is subject to the following two conditions: (1) This device may not cause hrmful interference, and
(2) This device must accept any interference received, including interference that may cause undesired operation.
Note: This equipment has been tested and found to comply with the limits for a Class B digital device, pursuant to part 15 of the FCC Rules. These limits are
designed to provide reasonable protection against harmful interference in a residential installation. This equipment generates, uses and can radiate radio
frequency energy and, if not installed and used in accordance with the instructions, may cause harmful interference to radio communications. However, there is
no guarantee that interference will not occur in a particular installation. If this equipment does cause harmful interference to radio or television reception, which
can be determined by turning the equipment off and on, the user is encouraged to try to correct the interference by one or more of the following measures:
—Reorient or relocate the receiving antenna.
—Increase the separation between the equipment and receiver.
—Connect the equipment into an outlet on a circuit different from that to which the receiver is connected.
—Consult the dealer or an experienced radio/TV technician for help.
Changes or modifications not expressly approved by the party responsible for compliance could void the user's authority to operate the equipment.
Industry Canada Compliance Statement
This Class B digital apparatus complies with Canadian ICES-003.
Avis de conformité à la réglementation d'Industrie Canada
Cet appareil numérique de la classe B est conforme à la norme NMB-003 du Canada.
Korean Notice:
B급기기 (가정용 방송통신기자재) 이기기는 가정용(B급)으로 전자파적합기기로
서주로 가정에서 사용하는 것을 목적으로 하며, 모든 지역에서 사용할 수있습니다.
Waste Electrical and Electronic Equipment (WEEE)
The European Union (EU) WEEE Directive (2002/96/EC) places an obligation on producers (manufacturers, distributors and/or retailers) to
take-back electronic products at the end of their useful life. TheWEEE Directive coversmost HME products being sold into the EU as of August 13,
2005. Manufacturers, distributors and retailers are obliged to finance the costs of recovery from municipal collection points, reuse, and recycling
of specified percentages per the WEEE requirements.
Instructions for Disposal of WEEE by Users in the European Union
The symbol shown below is on the product or on its packaging which indicates that this product was put on the market after August 13, 2005 and must not be
disposed of with other waste. Instead, it is the user’s responsibility to dispose of the user’s waste equipment by handing it over to a designated collection point
for the recycling of WEEE. The separate collection and recycling of waste equipment at the time of disposal will help to conserve natural resources and ensure
that it is recycled in a manner that protects human health and the environment. For more information about where you can drop off your waste equipment for
recycling, please contact your local authority, your household waste disposal service or the seller from whom you purchased the product.
1Mic Type * = defaults
* ON = Dynamic
OFF = Electret
2Headset Output Level
ON = High
* OFF = Low
3Min Volume, Ch-A
* ON = Mute at min level
OFF = Not silent at min level
4LEDs On/Off
* ON = LEDs normal operation
OFF = All LEDs dark
5Call-on Talk Enable, Ch-A
ON = Call occurs when talk on
* OFF = No call when talk on
6Talk Latch Enable, Ch-A
* ON = Latch enabled
OFF = Latch disabled
7Min Volume, Ch-B
* ON = Silent at min level
OFF = Not silent at min level
8RTS/Clear-Com Select (RS-703 only)
ON = RTS compatible
(use if connecting to a standard RTS line)
* OFF = Clear-Com compatible
NOTE: When changing #8, power must
be cycled to activate change.
9Call-on Talk Enable, Ch-B
ON = Call occurs when talk on
* OFF = No call when talk on
10 Talk Latch Enable, Ch-B
* ON = Latch enabled
OFF = Latch disabled
DIP Switch Settings
DIP Switch and Side-Tone adjustments
Loosen slotted screw inside keyhole in belt clip, on
back of beltpack.
NOTE
:
It is not necessary to completely remove
the belt clip to change DIP switch settings.
Swivel belt clip and slide it up and down to expose
DIP switch and sidetone adjustment.
DIP Switch
Side-Tone A and Side-Tone B
Use small, flat-blade screwdriver to
adjust screws inside holes.
Headset connector pins
1
Mic−/ DC−
2
Mic+
3
Spkr−
4Spkr+ / DC+ (15V nom 20mA)
Connector Pins
RS-702 RS-703
Intercom connector pins
1
Common
2
Power
(
15V-30V)
+Ch-A Audio
3
Ch-B Audio
Headset connector pins
1
Mic−/ DC−
2
Mic+
3
Spkr−
4Spkr+ / DC+ (15V nom 20mA)
Intercom connector pins
1
Common
2
Power
(
15V-30V)
3
Ch-B Audio
4
Ch-A Audio
5
& 6Program Audio (balanced)
Note: Does not work with stereo audio
Tip
Ring
Sleeve
TRS Jack
Tip and Ring =
Program Audio
(balanced)
Sleeve = Ground
NOTE: Does not work
with stereo audio

This manual suits for next models

2

Other Clear-Com Intercom System manuals

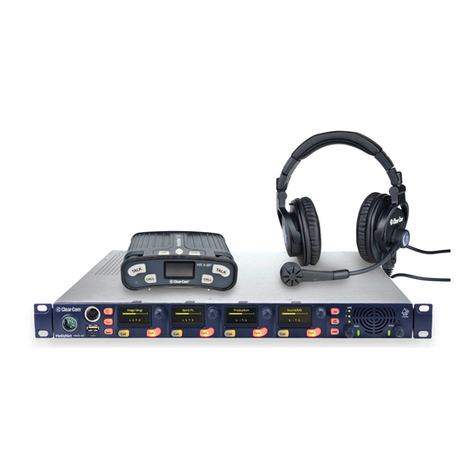
Clear-Com HelixNet How to use

Clear-Com

Clear-Com HelixNet How to use

Clear-Com FreeSpeak II User manual

Clear-Com

Clear-Com FreeSpeak II User manual

Clear-Com FreeSpeak II FSII-TCVR-24 User manual

Clear-Com

Clear-Com FreeSpeak II FSII-TCVR-24 User manual

Clear-Com SB-704 User manual

Clear-Com

Clear-Com SB-704 User manual

Clear-Com ICS-102 User manual

Clear-Com

Clear-Com ICS-102 User manual

Clear-Com ENCORE MS-702 User manual

Clear-Com

Clear-Com ENCORE MS-702 User manual

Clear-Com FreeSpeak II User manual

Clear-Com

Clear-Com FreeSpeak II User manual

Clear-Com WBS-670 User manual

Clear-Com

Clear-Com WBS-670 User manual

Clear-Com Eclipse HX-Median User manual

Clear-Com

Clear-Com Eclipse HX-Median User manual

Clear-Com SB-440 User manual

Clear-Com

Clear-Com SB-440 User manual

Clear-Com HelixNet Partyline User manual

Clear-Com

Clear-Com HelixNet Partyline User manual

Clear-Com Matrix Plus 3 User manual

Clear-Com

Clear-Com Matrix Plus 3 User manual

Clear-Com ECLIPSE-32 MATRIX User manual

Clear-Com

Clear-Com ECLIPSE-32 MATRIX User manual

Clear-Com KB-702GM User manual

Clear-Com

Clear-Com KB-702GM User manual

Clear-Com DX410 User manual

Clear-Com

Clear-Com DX410 User manual

Clear-Com ENCORE EF-701M User manual

Clear-Com

Clear-Com ENCORE EF-701M User manual

Clear-Com WBS User manual

Clear-Com

Clear-Com WBS User manual

Clear-Com TEMPEST 2400 User manual

Clear-Com

Clear-Com TEMPEST 2400 User manual

Clear-Com ECLIPSE MATRIX User manual

Clear-Com

Clear-Com ECLIPSE MATRIX User manual

Clear-Com FreeSpeak Edge User manual

Clear-Com

Clear-Com FreeSpeak Edge User manual

Clear-Com HelixNet Partyline User manual

Clear-Com

Clear-Com HelixNet Partyline User manual

Clear-Com TEMPEST 2400 User manual

Clear-Com

Clear-Com TEMPEST 2400 User manual

Clear-Com LQ-2W2 User manual

Clear-Com

Clear-Com LQ-2W2 User manual

Clear-Com LQ-2W2 User manual

Clear-Com

Clear-Com LQ-2W2 User manual

Popular Intercom System manuals by other brands

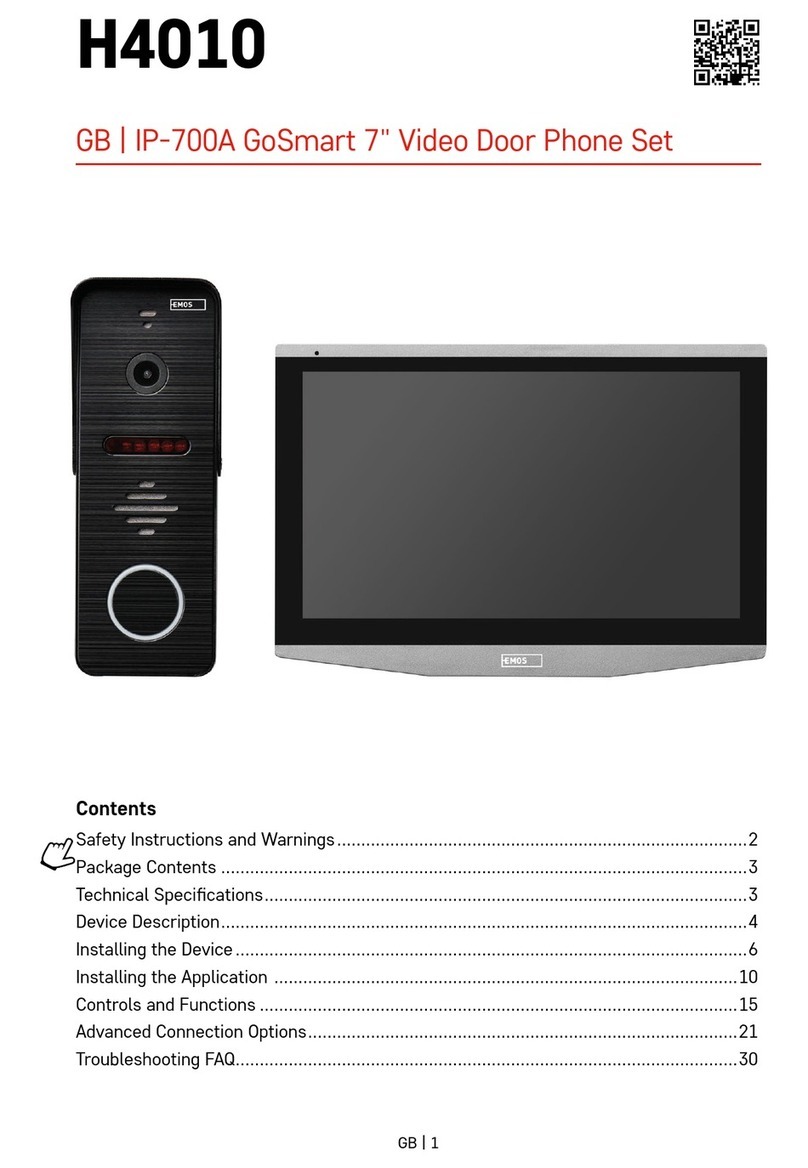
Emos GoSmart IP-700A manual

Emos

Emos GoSmart IP-700A manual

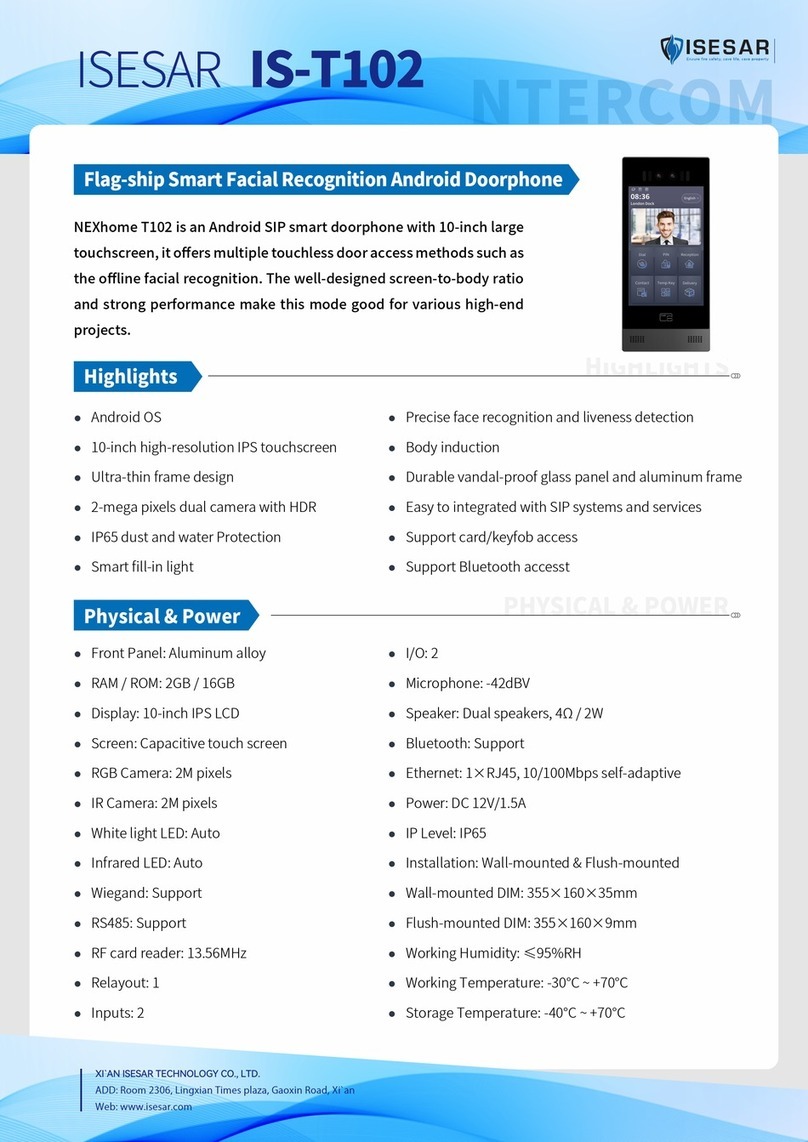
NEXhome IS-T102 quick start guide

NEXhome

NEXhome IS-T102 quick start guide

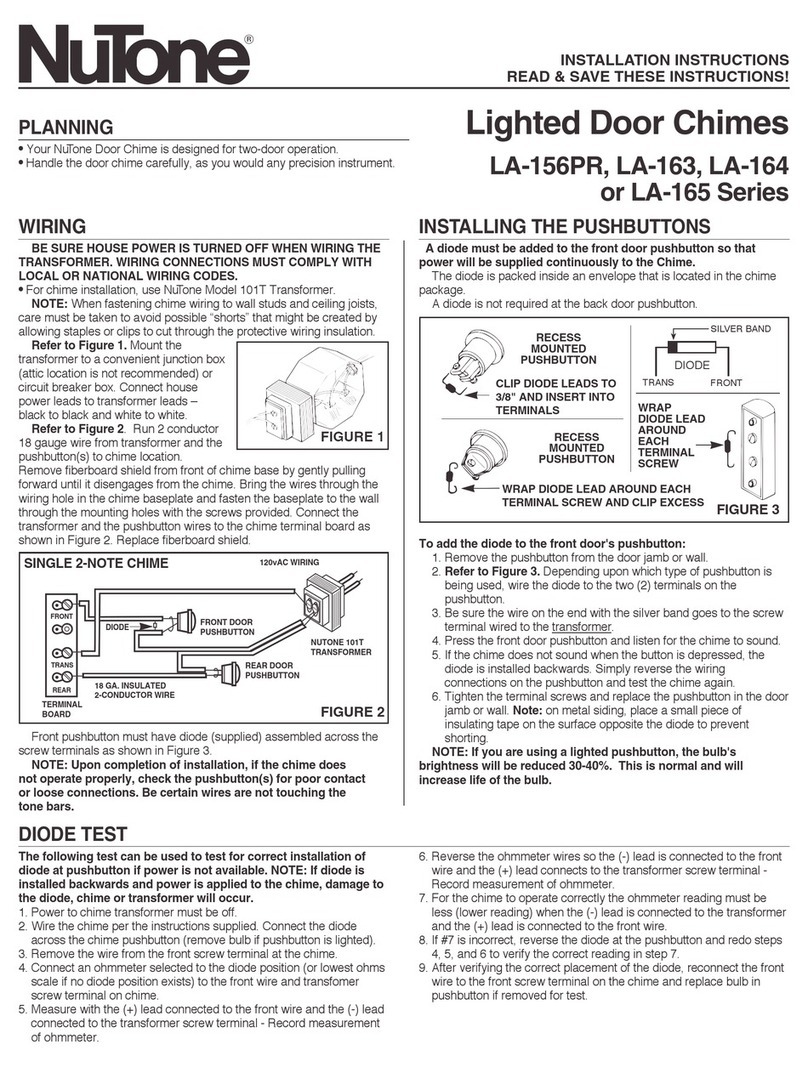
NuTone LA-156PR Series installation instructions

NuTone

NuTone LA-156PR Series installation instructions

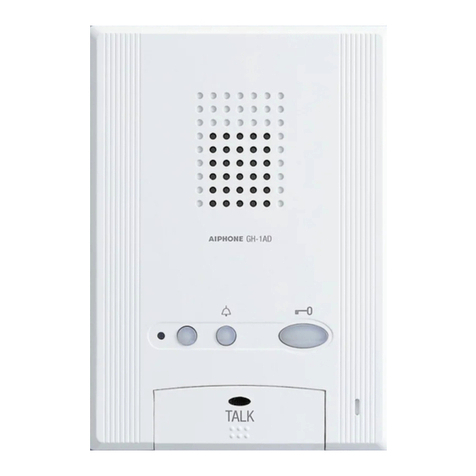
Aiphone GH-1AD specification

Aiphone

Aiphone GH-1AD specification

Messtechnik dAV-TRX manual

Messtechnik

Messtechnik dAV-TRX manual

Toa N-8000MS installation manual

Toa

Toa N-8000MS installation manual

Toa IC-100 Series Installation handbook

Toa

Toa IC-100 Series Installation handbook

Netatmo NDB01 user guide

Netatmo

Netatmo NDB01 user guide

Safety 1st Grow-With-Me 49240 owner's guide

Safety 1st

Safety 1st Grow-With-Me 49240 owner's guide

Commax CMP-2BAS user manual

Commax

Commax CMP-2BAS user manual

RTS Zeus II Specifications

RTS

RTS Zeus II Specifications

DoorBird D1102KV installation manual

DoorBird

DoorBird D1102KV installation manual

Vimar ELVOX 41018 manual

Vimar

Vimar ELVOX 41018 manual

Carus CAI2300-015X instruction manual

Carus

Carus CAI2300-015X instruction manual

Bogen PI35A Specifications

Bogen

Bogen PI35A Specifications

Tracon Electric BELLW1-1V1 user manual

Tracon Electric

Tracon Electric BELLW1-1V1 user manual

AES AB Installation & user manual

AES

AES AB Installation & user manual

AES global 705 DECT manual

AES global

AES global 705 DECT manual

manuals.online logo
manuals.online logoBrands
  • About & Mission
  • Contact us
  • Privacy Policy
  • Terms and Conditions

Copyright 2025 Manuals.Online. All Rights Reserved.