Clearaudio Magnify User manual

User manual
Bedienungsanleitung
© clearaudio electronic GmbH, 2022-04 Made in Germany
Magnify
Pic. similar /
Abb. ähnlich

User manual / Bedienungsanleitung
Page / Seite 2 © clearaudio electronic GmbH, 2022-04
User manual.......................................................2 - 16
Bedienungsanleitung.........................................17 - 31
Dear Clearaudio customer,
thank you for your purchase of Clearaudio‘s
Magnify
tonearm, one of the best radial tonearm`s
available in the world of high-end audio.
The
Magnify
tonearm is manufactured with the highest degree of tolerance and quality.
This innovative radial tonearm features the from Clearaudio developed unique ball bearing magnet
hybrid technology. This enhances a high quality sound reproduction and in addition many options of
ne adjustments like vertical tracking force (VTF), vertical tracking adjustment (VTA optional) and
the azimuth.
To achieve the full performance and to avoid any damages to this product, please take your time to
get familiar with your Clearaudio
Magnify
tonearm.
Please enjoy listening to music with the
Magnify
tonearm!
Your Clearaudio - team

User manual / Bedienungsanleitung
Made in Germany Page / Seite 3
Safety instructions
1. Maintenance
If you don’t use your
Magnify
tonearm for a while (eg. two weeks or more), we recommend to raise
and lower the arm‘s cueing lever/arm lifter a few times over that time period to avoid it sticking in
the raised position.
Before using it for the rst time or after a long period of inactivity, the lift should be operated
approximately 4-5 times so that the grease in the tonarm lift can be loosened and the lift bar is able
to evenly lower again.
2. Transportation
Should further transportation of the
Magnify
tonearm be necessary, please always use the original
packing material. Otherwise serious damage could occur.
When repackaging the tonearm, please follow in reverse the steps indicated in this
manual for installation and setup.
3. Service
If any servicing or repair of a Clearaudio product is necessary, please rst contact your dealer or
distributor. Alternatively contact Clearaudio directly and we will inform you about your nearest
service location.
PLEASE RETAIN ALL ORIGINAL PACKAGING.
You will need it if this product has to be transported and/or shipped.
Any further questions you may have about this product should be directed to your local dealer.
4. Safety instructions
Disposal
This product is not allowed to be disposed with household waste.
WEEE Reg.No.: DE26004446
Contains swallowable parts, not for small children.
Do not expose the equipment to rain or moisture.
Do not handle the mains lead with wet hands.
No naked ame sources, such as lighted candles, should be placed on the equipment.
Only for use on turntables.
User manual / Bedienungsanleitung
Page / Seite 4 © clearaudio electronic GmbH, 2022-04
Contents
1. List of components .......................................................5
2. Mounting the tonearmbase
2.1 on the Clearaudio Performance DC / Ovation turntable: ............................... 6
2.2 on a Clearaudio Innovation series turntable.................................................. 7
2.3 Mounting the clamping ring on a other manufacturer’s turntable................. 8
2.4 Mounting the VTA-Lifter on a other manufacturer‘s turntable ...................... 9
3. Mounting the
Magnify
tonearm without VTA-Lifter ....10
4. Adjustment of the distance ..........................................10
5. Adjustment of the
Magnify
tonearm.............................11
5.1 Adjustment of the VTA.................................................................................... 11
5.2 Alignment of the tonearm............................................................................... 12
5.3 Adjustment of the tracking force.................................................................... 13
5.4 Adjustment of the azimuth............................................................................. 14
5.5 Adjustment of the
Magnify
damping.............................................................. 15
5.6 Adjustment of the anti-skating ...................................................................... 15
6. Technical details...........................................................16
Warranty...........................................................................32 - 33

User manual / Bedienungsanleitung
Made in Germany Page / Seite 5
1. List of components
The Clearaudio
Magnify
tonearm is delivered in a customized packing to ensure its safe transport.
Please retain the original packaging for any future potential transportation and shipping.
Please see the list below to check the contents of your Clearaudio
Magnify
tonearm.
1.
Magnify
tonearm
Magnify
installation base (not shown)
6. Paper alignment gauge
2. 3 x Hex wrencch
(# 1,5 , # 2 , # 3) 7. Not shown:
User manual
3. 1 pcs. additional counterweight (36g)
2 pcs. at head screw 3 x 8 8. Not shown: Warranty card, Clearaudio
quality card, sales return paper
4. Screw driver 9. Not shown:
Stainless steel shim
5.
Magnify
tonearm base an screws:
3x M4 x 10
Recommended tools for most precise adjustment:
• Clearaudio
Cartridge alignment gauge
(Art. No: AC005 / IEC)
• Clearaudio
Weight Watcher touch
(Art. No.: AC163)
• Clearaudio
Mini Level Gauge
(Art. No.: AK001)
These items and more accessories are available through your dealer or at www.analogshop.de.
Pic. 1: List of components
13
4
2
5 6

User manual / Bedienungsanleitung
Page / Seite 6 © clearaudio electronic GmbH, 2022-04
2. Mounting the tonearm base
2.1 Mounting the tonearm base on the Clearaudio Performance DC or Ovation turntable
Please check that the correct tonearm base is mounted on your turntable (Pic. 2).
Please note that you will need an dierent tonearm base, if you want to mount the
Magnify
tonearm
in combination with the VTA-Lifter (Pic. 3).
If the wrong tonearm base is mounted, place the turntable on the edge of a table or similar surface,
so you have access to the tonearm base from below.
Remove the previous tonearm base by loosening the six M4 x 35mm screws with a hex wrench on
the bottom side of the clamping ring.
Exchange the tonearm base for the correct one and loosely tighten it, so the tonearm base is still
rotatable. Please make sure that the base sits perfect on the turntable.
Without VTA-Lifter
To mount the tonearm without VTA-Lifter, you need the tonearm
base AC031-4 (Pic. 2)
With VTA-Lifter
To mount the tonearm in combination with VTA-Lifter, you need
the tonearm base AC031-8 (Pic.3).
Pic. 2: Tonearm base for Performance DC
& Ovation (Art. No. AC031-4)
Pic. 3: Tonearm base for Performance DC
& Ovation (Art. No. AC031-8)

User manual / Bedienungsanleitung
Made in Germany Page / Seite 7
Pic. 4: Tonarme base for Innovation Serie
(Art. No. AC030-4)
2.2 Mounting the tonearm base on a Clearaudio Innovation series turntable
If the tonearm base is already pre-assembled, it is in a position which is optimized for the packaging.
The position of the tonearm base will be correct during the adjustment of the tonearm.
Please check that the correct tonearm base is mounted on your turntable (Pic. 4).
Please note that you will need an dierent tonearm base, if you want to mount the
Magnify
tonearm
in combination with the VTA-Lifter (Pic. 5).
If not, remove the previous tonearm base by loosening the screw of the aluminium base with a 7mm
hex wrench.
Exchange the tonearm base against the correct one and place it as seen in picture 6.
Now you can loosely tighten it, so that the tonearm base is still rotatable.
Without VTA-Lifter
To mount the tonearm without VTA-Lifter, you need the
tonearm base AC030-4 (Pic. 4).
With VTA-Lifter
To mount the tonearm in combination with VTA-Lifter, you
need the tonearm base AC030-10 (Pic. 5).
Pic. 5: Tonarm base for Innovation Serie
(Art. No. AC030-10)
Pic. 6: Rough alignment of the tonearm base

User manual / Bedienungsanleitung
Page / Seite 8 © clearaudio electronic GmbH, 2022-04
2.3 Mounting the clamping ring on a other manufacturers’ turntables
In order to mount the aluminium clamping ring on the turntable chassis, please rst drill three holes
into the turntable chassis.
To ensure the correct position of the three holes, please use the measurements given in the drawing
template below (Pic. 7).
For this step, use a 3.3mm drill. After you have drilled the three holes, thread the holes using an
appropriate tap cutter. If the material of the turntable chassis is not suitable for threading, please
use a 4.5mm drill for the holes. In this case you will need longer screws with nuts to t the tonearm
base.
Now you can mount the clamping base on the clean and dry surface of the turntable chassis.
Please note that this image is not true to scale.
Pic. 7: Drilling template for mounting the tonearm base on a other manufacturers‘ turntable

User manual / Bedienungsanleitung
Made in Germany Page / Seite 9
2.4 Mounting the VTA-Lifter on a other manufacturers’ turntables
In order to mount the VTA-Lifter on the turntable chassis, please rst drill the holes into the turntable
chassis.
To ensure the correct position of the holes, please use the measurements given in the drawing
template below (Pic. 8).
Please note that this image is not true to scale.
Pic. 8: Drilling template for mounting the VTA-Lifter on a other manufacturers‘ turntable

User manual / Bedienungsanleitung
Page / Seite 10 © clearaudio electronic GmbH, 2022-04
3. Mounting the
Magnify
tonearm without VTA-Lifter
To assemble the
Magnify
tonearm with VTA-Lifter, please follow the separate user manual for the
VTA-Lifter.
Take the clamping ring and place it on the recess in the
tonearm base.
Now you can attach the clamping ring to the tonearm
base with the 3 supplied M4 x 10 screws.
Make sure that the side hole of the clamping ring
(see Pic. 9) remains accessible.
Insert the tonearm cable rst and then the tonearm foot
of the
Magnify
tonearm into the hole of the clamping
ring.
The tonearm remains loose in the clamping
ring and is not screwed tight.
Pic. 9: Mounting the clamping ring without VTA-Lifter
4. Adjustment of the distance between spindle and pivot point
For the exact setting of the tonearm pivot point, we recommend to use the Clearaudio alignment
gauge (Art. No. AC005/IEC, also available from www.analogshop.de).
Make sure that the distance between spindle and the pivot point of the tonearm is exactly 222mm
(Pic. 10). You can adjust the distance by rotating the tonearm base.
Please tighten the tonearm base and check the measurement again.
Pic. 10: Distance between spindle and tonearm pivot point
222 mm

User manual / Bedienungsanleitung
Made in Germany Page / Seite 11
5. Adjustment of the
Magnify
tonearm
The following settings require to mount the cartridge on the headshell.
Always follow the cartridge manufacturer’s instructions.
Leave the stylus protector on your cartridge to avoid any damages!
Now you can connect the respective signal cable with the matching color pins of the cartridge.
Please note the following colour coding:
Red: right channel / R+
Green: right channel / R-
White: left channel / L+
Blue: left channel / L-
Connect the pins of your cartridge to the jacks of the headshell or tonearm cable, taking care not
to use too much force. If necessary, you can use suitable precision pliers or tweezers for assistance.
5.1 Adjustment of the VTA
The tonearm remains loose in the clamping ring and is not
screwed tight. Now place a record or the Clearaudio alignment
gauge (Art. No. AC005/IEC) on the turntable and remove the
stylus protector from your cartridge.
Make sure that the tracking force is roughly adjusted in order
not to damage the cartridge.
Please be extremely careful during the following steps!
Never move the cartridge in the alignment gauge while it is lowered.
Use the lift to lower the tonearm and check if the tonearm tube is parallel to the platter.
The tonearm tube should not touch the lift bracket, but the needle must rest on the record or the
alignment gauge.
If the tonearm tube is not parallel, but shows a slight incline, put the tonearm tube back in the rest
position. Now carefully lower/raise the entire tonearm in the clamping ring so that the tonearm tube
is parallel to the platter.
While the tonearm is in this position you can hand-tight the clamping ring.
If the position is still correct, you can put the tonearm back in the rest position holder and put the
stylus protector back on.
Pic. 11: Adjustment of the VTA

User manual / Bedienungsanleitung
Page / Seite 12 © clearaudio electronic GmbH, 2022-04
5.2 Alignment of the tonearm
For the nal tonearm and cartridge adjustment you will need the adjustment template, which is also
included in the scope of the delivery. Place it directly on the turntable (without record) and align it
so that the arrow points to the tonearm pivot point (Pic. 12).
Take the tonearm out of the rest position and align it in
the area of the cross lines.
Lower the tonearm and check the alignment.
The cartridge body must be aligned in the template grid
so that the needle tip is in the cross lines.
Also the side and front edges of the housing have to be
parallel to the grid lines.
To correct the adjustment, you have to loosen the screws
of the cartridge a little so that the cartridge can be moved
in the headshell.
Re-check the setting again after you have tightened the
screws.
Pic. 12: Placing the adjustment template
Pic. 13: Alignment of the cartridge

User manual / Bedienungsanleitung
Made in Germany Page / Seite 13
Counterweight in g Cartridge weight
90g (pre-mounted) Approx. 4.7g Approx. 13.5g
90g + 36g (additional weight) Approx. 11g Approx. 22g
Pic. 14: Adjustment of the tracking force
5.3 Adjustment of the tracking force
To increase or lower the tracking force, you have to turn the adjustment screw at the end of the
tonearm.
Use the chart below to check whether the correct weight is installed for your cartridge.
Please follow the instructions of the respective cartridge manufacturer.
If an exchange is necessary, you can loosen the screw on the underside of the counterweight using
an hex wrench (#1.5).
For the correct setting we recommend using the Clearaudio Weight Watcher touch digital cartridge
scale (Art. No. AC163, also available at www.analogshop.de).
Green arrow = higher tracking force
Red arrow = lower tracking force

User manual / Bedienungsanleitung
Page / Seite 14 © clearaudio electronic GmbH, 2022-04
Pic. 15: Adjustment of the azimuth
5.4 Adjustment of the azimuth
Please note:
The azimuth is already set at the factory.
The azimuth is the angle of the cartridge stylus to the record surface. Viewed from the front, the
cartridge needle have to be vertical to the record.
If you still want to optimize the azimuth, lower the cartridge onto the record surface and check the
position of the needle.
To change the azimuth, please proceed as following:
Loosen the screw (hex wrench #2) on the bottom side of the tonearm tube near the headshell.
Now you can adjust the azimuth by turning the headshell in the tonearm tube.
After you have found the correct position, carefully tighten the small hex screw again without
changing the previously selected position.
To check this adjustment, we recommend the Clearaudio „Mini Level Gauge“
(Art. No. AK001, available at www.analogshop.de).

User manual / Bedienungsanleitung
Made in Germany Page / Seite 15
Turning clockwise = weaker
Anti-skating
Turning counter clockwise = stronger
Antiskating
Outer/bigger wheel for anti-skating adjustment
5.5 Adjustment of the
Magnify
damping
For dierent sound eects, you can adjust the damping (the distance of the magnets) by turning
the smaller wheel on the top side of the
Magnify
tonearm.
Pic. 17: Adjustment of the anti-skating
Inner/smaller wheel for damping adjustment
Pic. 16: Adjustment of the damping
Turning clockwise = stronger damping
Turning counter clockwise = weaker damping
5.6 Adjustment of the anti-skating
On the top side of your
Magnify
tonearm there are two wheels.
By turning the bigger wheel you can adjust the anti-skating.
The adjustment also depends on the tracking force of the cartridge.
The tonearm adjustment is now complete.
Before connecting the tonearm to your phono pre-amplier, we recommend to re-check all settings
again and correct them if necessary.
We hope you enjoy your new
Magnify
tonearm.
Your Clearaudio team
The smaller wheel must turn automatically, as
soon the outer whell is turned.

User manual / Bedienungsanleitung
Page / Seite 16 © clearaudio electronic GmbH, 2022-04
5. Technical details
Construction details: Radial tonearm
Hybrid magnetic-ball bearing tonearm
Material: Aluminium (silver), stainless steel,
carbon tonearm tube (silver)
Cartridge balance range: 4.7g - 22.0g
Overhang: 17.48mm
Total length: 330.00mm
Eective length: 239.48mm
Mounting distance
(tonearm pivot to spindle): 222.00mm
Oset angle: 25.45°
Wiring: 1.1m Clearaudio Super Sixstream terminated with RCA
Weight: Approx. 600g (incl. counterweight)
Manufacturer’s warranty: 5 years*
* Provided that the warranty card is correctly completed and returned to Clearaudio, or your product is registered
online at https://clearaudio.de/en/service/registration.php, within 14 days of purchase.

User manual / Bedienungsanleitung
Made in Germany Page / Seite 17
Sehr verehrte clearaudio-Kundin, sehr geehrter clearaudio-Kunde,
Sie haben mit dem
Magnify
Tonarm einen der besten Drehtonarme der High-End Welt erworben.
Dieser innovative Drehtonarm verfügt über eine, von clearaudio entwickelte, einzigartige
Kugellager-Magnet-Hybridlagerung. Dies ermöglicht Ihnen eine höchst qualitative Musikwiedergabe
und weitere ranierte Optionen für die Feinjustage des Headshells, des Azimuths sowie des VTAs
(optional), sogar während des Abspielens.
Um den vollen Klang-Genuss des
Magnify
Tonarmes nutzen zu können, lesen Sie bitte die
Bedienungsanleitung aufmerksam durch.
Alle Hinweise dienen dazu, Ihnen viele Jahre ungetrübten Musik-Genuss zu bereiten sowie
Fehlbedienung zu vermeiden.
Wir bedanken uns bei Ihnen für Ihr Vertrauen und wünschen Ihnen viel Freude mit Ihrem neuen
clearaudio
Magnify
Tonarm.
Ihr clearaudio Team

User manual / Bedienungsanleitung
Page / Seite 18 © clearaudio electronic GmbH, 2022-04
Sicherheitshinweise
1. Wartung
Falls Sie Ihren clearaudio
Magnify
Tonarm längere Zeit nicht benutzen, empfehlen wir Ihnen den
Tonarmlift in regelmäßigen Abständen zu bewegen, um das Lagerfett geschmeidig zu halten und ein
mögliches Haken des Tonarms beim Abspielen zu vermeiden.
Vor dem erstmaligen Benutzen oder nach längerem Stillstand muss der Lift ca. 4-5 betätigt werden,
damit sich das Fett im Tonarmlift lösen kann und der Liftbügel somit wieder gleichmäßig abgesenkt
wird.
2. Transport
Sollte ein weiterer Transport des
Magnify
erforderlich sein, verwenden Sie immer nur die
Originalverpackung. Andernfalls könnte Ihr Tonarm ernsthafte Schäden davon tragen.
Verfahren Sie beim Verpacken des Tonarms in umgekehrter Reihenfolge wie in dieser
Anleitung beschrieben.
3. Pege
Wenn eine Wartung oder Reparatur an einem clearaudio Produkt erforderlich ist, wenden Sie sich
bitte zuerst immer an Ihren Händler oder Vertriebspartner. Alternativ können Sie clearaudio direkt
kontaktieren und wir werden Sie von Ihrer nächstgelegenen Servicestelle beraten.
Bewahren Sie die vollständige Originalverpackung auf. Sie benötigen diese, wenn das Produkt
transportiert und / oder verschickt werden soll. Alle weiteren Fragen zu diesem Produkt können Sie
an ihren örtlichen Fachhändler richten.
4. Sicherheitshinweise
Entsorgung
Dieses Produkt darf nicht zusammen mit Restmüll entsorgt werden.
WEEE Reg.Nr.: DE26004446
Lieferumfang enthält verschluckbare Kleinteile.
Das Gerät nicht Regen oder Feuchtigkeit aussetzen.
Das Netzkabel nicht mit feuchten oder nassen Händen anfassen.
Es dürfen keine Gegenstände mit oener Flamme, wie etwa brennende Kerzen, auf dem
Gerät aufgestellt werden.
Zur ausschließlichen Verwendung auf Plattenspielern.

User manual / Bedienungsanleitung
Made in Germany Page / Seite 19
Inhaltsverzeichnis
1. Lieferumfang...........................................................................20
2. Befestigung der Tonarmbasis
2.1 auf einem clearaudio Performance DC / Ovation Laufwerk .........................................21
2.2 auf einem clearaudio Innovation series Laufwerk........................................................22
2.3 Montage des Aluminium-Klemmrings auf einem Laufwerk anderer Hersteller............23
2.4. Montage des VTA-Lifters auf einem Laufwerk anderer Herstelelr...............................24
3. Montage des
Magnify
Tonarm ohne VTA Lifter .......................25
4. Einstellung des Achsabstands.................................................25
5. Einstellung des Tonarms .........................................................26
5.1 Einstellung des VTA.......................................................................................................26
5.2 Korrekte Ausrichtung und Einstellung des Tonabnehmers........................................... 27
5.3 Einstellen des Auagegewichts ....................................................................................28
5.4 Einstellung des Azimuth................................................................................................29
5.5 Einstellung der
Magnify
Dämpfung...............................................................................30
5.6 Einstellung des Antiskating...........................................................................................30
6. Technische Daten....................................................................29
Garantiehinweise ........................................................................32-33

User manual / Bedienungsanleitung
Page / Seite 20 © clearaudio electronic GmbH, 2022-04
1.
Magnify
Tonarm
Magnify
Montagebasis
(ohne Abbildung)
6. Einstellschablone
2. 3 x Inbusschlüssel
(# 1,5 , # 2 , # 3) 7. Ohne Abbildung:
Bedienungsanleitung
3. - zusätzliches Gegengewicht 36 g
- 2x Senkkopfschraube 3 x 8 8. Ohne Abbildung:
Garantiekarte, clearaudio Quality Card,
Rücklieferschein
4. Schraubendreher 9. Ohne Abbildung:
Edelstahl Distanzplättchen
5.
Magnify
Tonarmbasis und Schrauben:
- 3 x M4 x 10
1. Lieferumfang
Der clearaudio
Magnify
Tonarm wird in einer speziellen Verpackung geliefert, die einen sicheren
Transport gewährleistet. Bitte heben Sie die Verpackung für Transportzwecke unbedingt auf.
Bitte kontrollieren Sie anhand der unten aufgeführten Liste den Lieferumfang Ihres neu erworbenen
Tonarms. Dieser besteht aus:
Abb. 1: Verpackungsinhalt (Abbildungen ähnlich)
13
4
2
5 6
Empfohlenes Zubehör:
• clearaudio
Cartridge alignment gauge
(Art. Nr. AC005/IEC)
• clearaudio
Weight Watcher touch
(Art. Nr. AC163)
• clearaudio
Mini Level Gauge
(Art. Nr. AK001)
Diese Produkte und viele weitere Zubehörartikel sind erhältlich über unseren Fachhandel oder unter
www.analogshop.de.
Other manuals for Magnify
1
Table of contents
Languages:
Other Clearaudio Test Equipment manuals

Clearaudio
Clearaudio AC039 User manual

Clearaudio
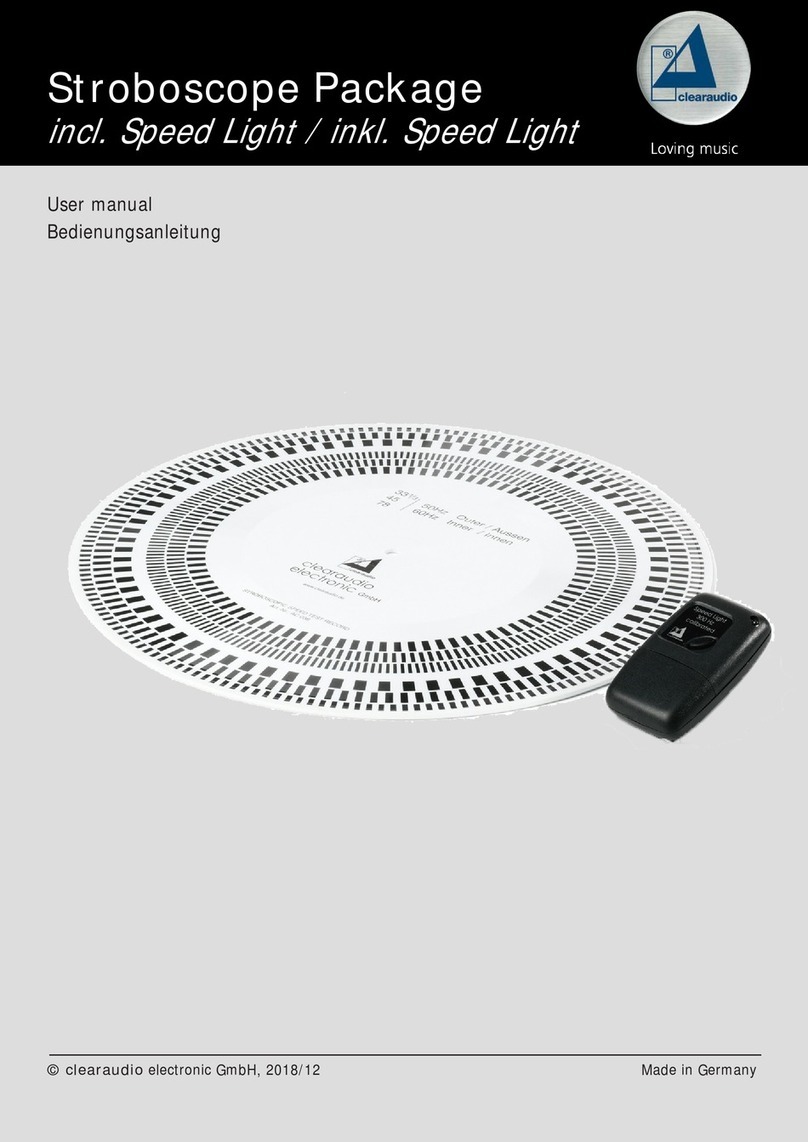
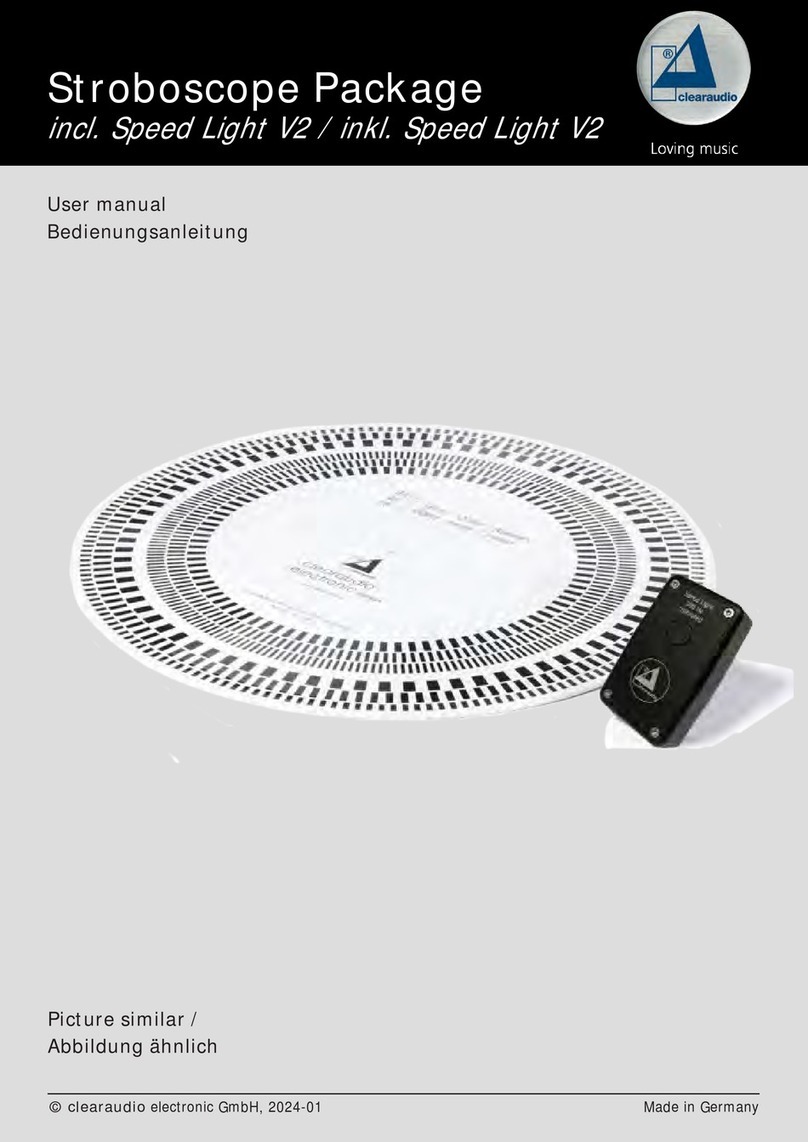
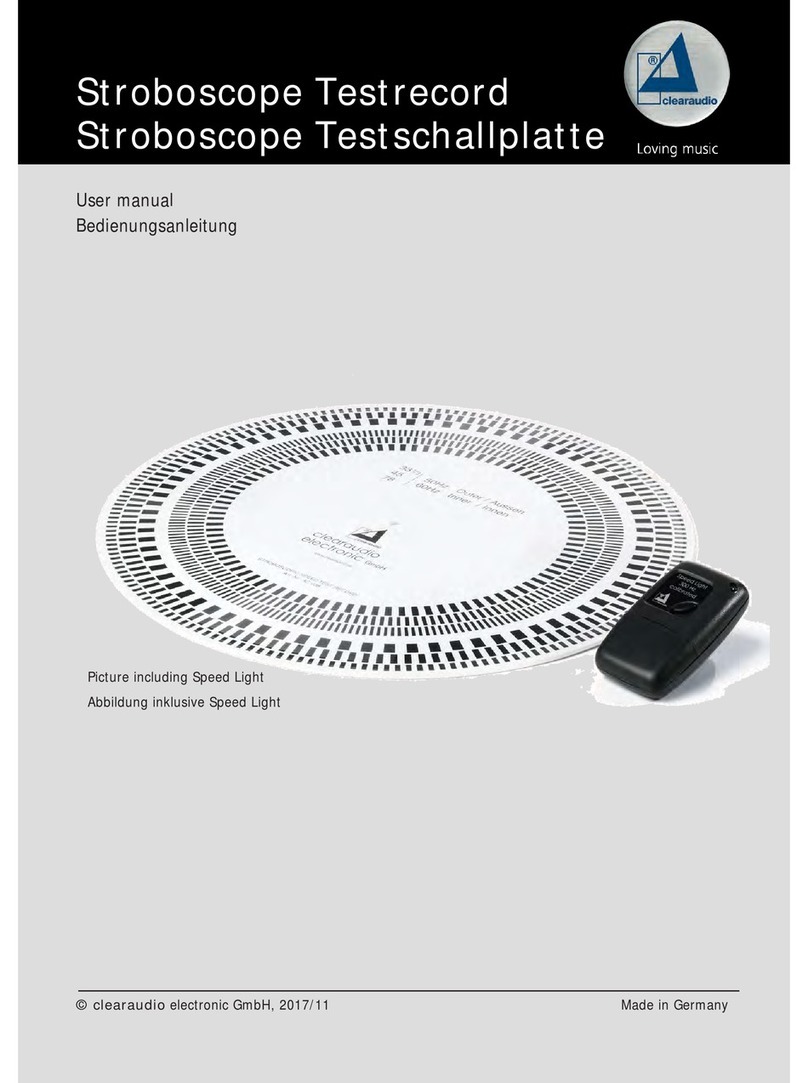
Clearaudio Stroboscope Testrecord User manual

Clearaudio
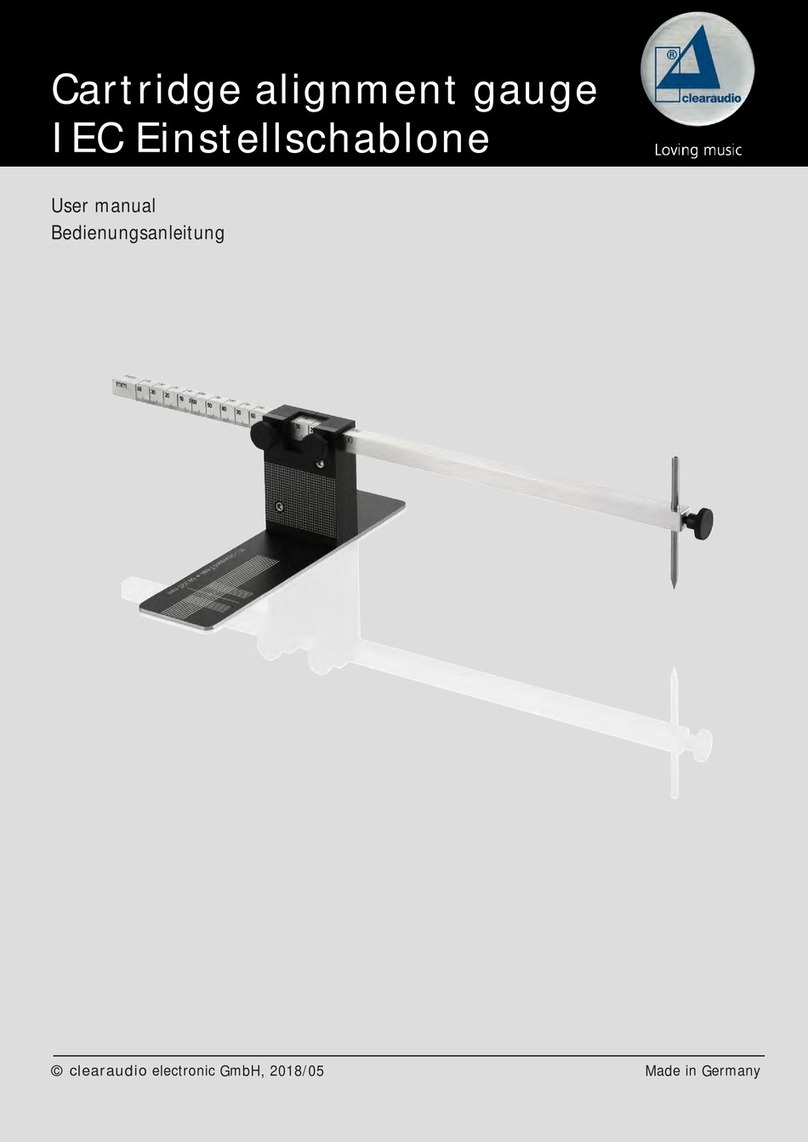
Clearaudio IEC cartridge alignment gauge User manual

Clearaudio
Clearaudio Speed Light V2 User manual

Clearaudio
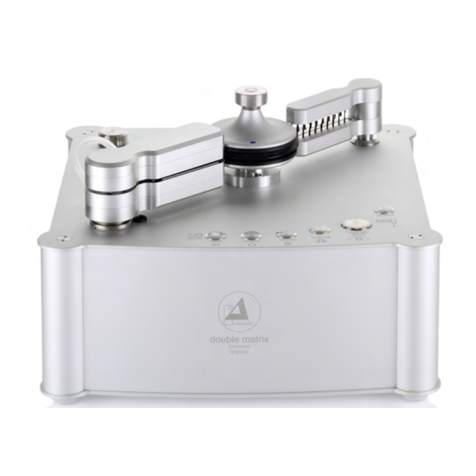
Clearaudio double matrix professional SONIC User manual

Clearaudio
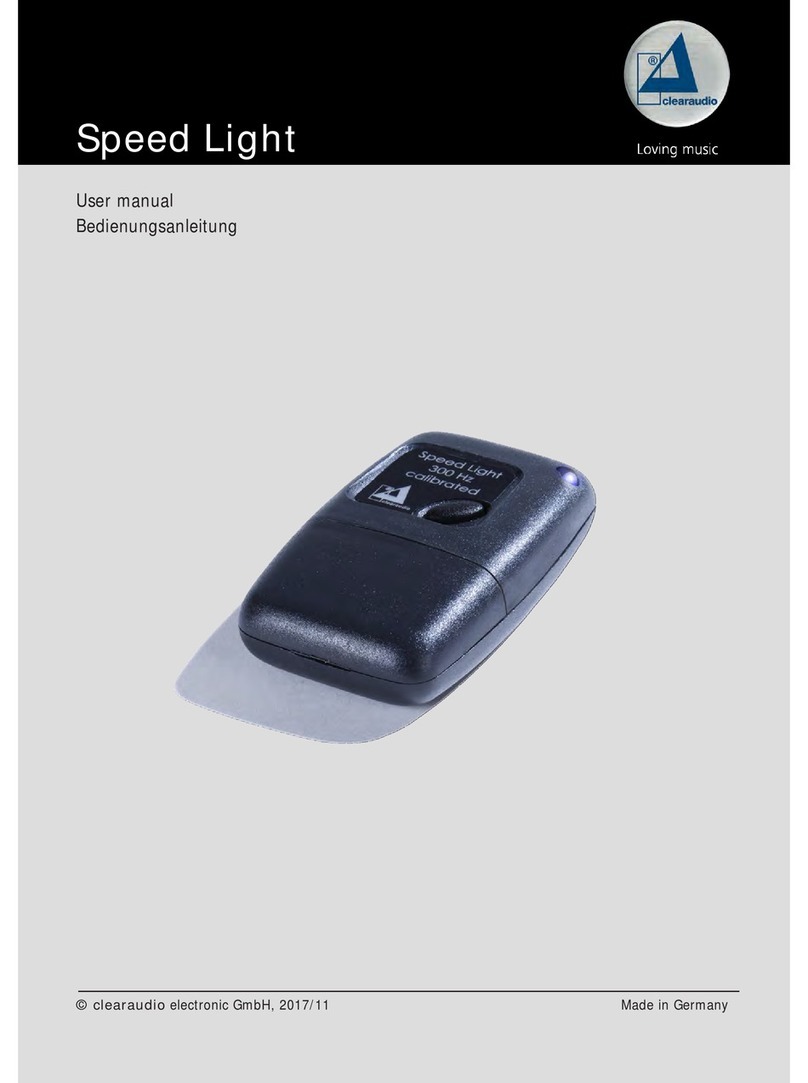
Clearaudio Speed Light User manual