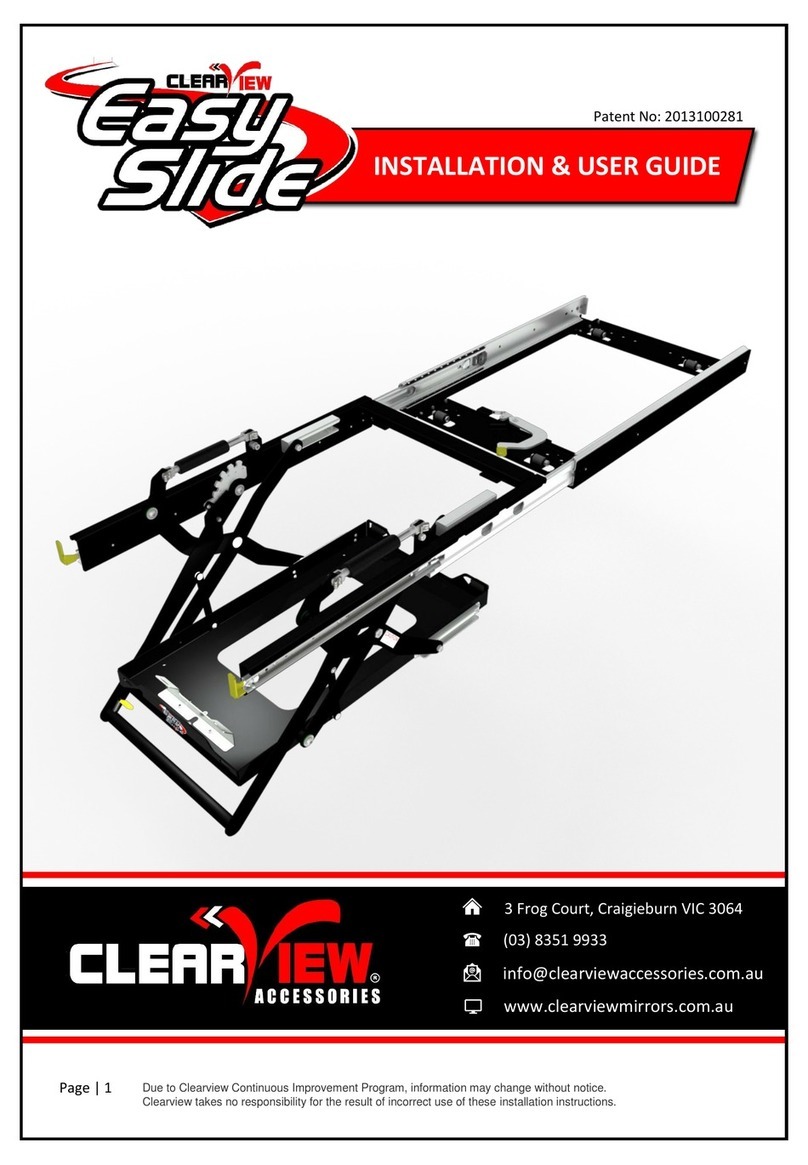
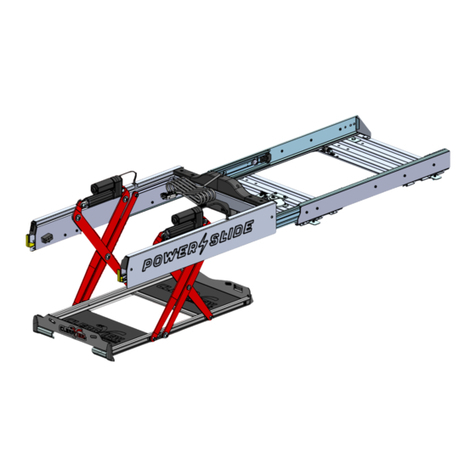
ClearView Easy Slide User manual

VERSION 1.1
ASSEMBLY INSTRUCTIONS

2
2
Our Range
clearviewaccessories.com.au
Towing Mirrors Power Boards
Rock Tamers Tyre Spider
Easy Slides
Cable SaverClip on Trays
Cutlery SetPantry
Power Slides
Fridge Cage
Expanda Slide

3
Introduction
clearviewaccessories.com.au
Clearview Accessories began in 2006, as a family run business owned by
entrepreneur, Mike Cowan and his son-in-law, Jay Praag. In the years that followed,
Mike and Jay turned their small family business with three full-time employees, into
one of Australia’s most respected 4WD and Touring Brands.
With a strong passion for the automotive industry, quality design and discipline in
professional workmanship, our trust is built within our values of creating high quality
ADR compliant designs.
Since our inception, our unrelenting commitment to creating solutions found
nowhere else, has helped us establish our position as a leader in manufacturing
unique 4wd and touring accessories. With an entrenched enterprising spirit, we are
dedicated to creating value for, and delighting our customers.
From humble beginnings, Clearview Accessories has grown and today manufactures
a range of unique, quality products for your next off-road adventure!
Contact us:
Clearview Accessories
3 Frog Court, Craigieburn VIC 3064
Phone: (03) 8351 9933
Email: [email protected]
Website: clearviewaccessories.com.au
Due to Clearview's Continuous Improvement Program, information may change
without notice. Clearview takes no responsibility for the result of incorrect use of
these installation instructions.
Thank you
for choosing
Clearview Accessories®
facebook.com/clearviewaccessories
instagram.com/clearviewaccessories
youtube.com/clearviewaccessories
Find us on social media
Contents
4clearviewaccessories.com.au
Introduction
Installing your Fridge
Getting Started
Before You Start
Assembly Instructions
Maintaining Your Easy Slide® 7
3
Our Range 2
5
6
8-10
Safe Usage
FAQs
Positioning the Slide
Warranty
11
12
13
14
15

Getting Started
Philips Head Screwdriver
Side cutter
Tools Required:
FOR TECHNICAL SUPPORT CALL 03 8351 9933
What's in the box
5
Easy access to cold food and drinks no matter where you’re going.
The Clearview Easy Slide® is designed to be installed internally within a canopy,
vehicle or trailer. Constant exposure to the elements can cause rust.
If anything is missing, or damaged, please do not install your new Easy Slide® and
contact us on 03 8351 9933 or via: [email protected]
1 x The Clearview Easy Slide®
4x Timber Screw
2x Easy Slide Plastic Chock
1x 6mm Hex Key
4x Fridge Strap
4 x M8 x 32 Mounting Plate
4x M8 Flat Washer
4x M8 Nyloc Nut
2x M10 x 16 Button Head Bolt
2x M10 Flat Washer

Cautions | warnings
CAUTION WARNING
Before you Start
SCAN THE QR CODE
AND VIEW OUR VIDEO
DEMONSTRATING
FOR TECHNICAL SUPPORT CALL 03 8351 9933
6
Read through the fitting instructions before installation of Clearview Accessories.
Always install the accessory following the fitting instructions. Failure to do so may
cause damage to the vehicle or the accessory.
Ensure all recyclable discarded vehicle accessory components and packaging are
recycled following local recycling regulations.
Safely store and protect any removed vehicle components.
Remove all metal swarf and dust from all vehicle surfaces if the surface is used for
accessory installation.
Release the latch and push your slide in gently. If you’re slamming the slide in, it will
cause damage, resulting in the latches not working correctly, this may not be
covered by warranty.
The Assembly Guide
for the Easy Slide®
SCAN ME
Want to watch the video instead?
The Clearview Easy Slide® is designed to be installed internally within a canopy,
vehicle or trailer. Constant exposure to the elements can cause rust.

How do I maintain my Easy Slide®?
Maintaining your Easy Slide
FOR TECHNICAL SUPPORT CALL 03 8351 9933 7
The Clearview Easy Slide® is designed to be installed internally within a canopy,
vehicle or trailer. Constant exposure to the elements can cause rust, and may void
your product warranty.
Regular routine maintenance will also help to ensure continued smooth operation of
your Clearview Easy Slide®!
Keep the slide runners, tray and bearings free from dirt and grit
Clean your slide regularly, wiping it down with a clean, damp cloth to remove any dirt
or grit.
Avoid any waxy lubricants and WD-40 as they can attract dirt and grit.

Assembly Instructions
Place the Easy Slide® on the vehicle drawer system, positioned roughly in place.
Release the Easy Slide® Transit Lock by pushing the centered yellow lever towards the
right.
Free the fridge tray assembly for movement by simultaneously pressing down both
yellow levers on bearing runner, at the same time slide the tray assembly forward slightly
to reveal rear fixing holes on Easy Slide® base plate.
1.
2.
3.
clearviewaccessories.com.au
The Clearview Easy Slide® should only be mounted to a solid, fixed, flat
timber/metal surface. Do not attempt to fit the Easy Slide® to an existing
inbuilt fridge slide, warranty on the Easy Slide® will be void if attempted.
8
4. Using timber screws provided, temporarily fix the rear of the Easy Slide® to the top of
your drawers.
5. Once the Easy Slide® is secured, bring the tray assembly to full extension. An audible
“click” can be heard when rail lock out mechanism is engaged.
12
123
4a 4b 5

Assembly Instructions
9
clearviewaccessories.com.au
6. Place plastic chocks on the back edge of the fridge tray. This will be required to hold
the tray in a lowered position.
7. Manoeuvre the handle arms so that notches at the base of arms lines up with pivot
bolt found on strut fixing plate. This bolt will act as a temporary pivot point for lowering
the fridge tray.
6 7a 7b
8. Lower the fridge tray by pushing down on the handle, until top groove of plastic
chocks slips under the back edge of the tray assembly frame. A moderate amount of
downward force is required when the Easy Slide® is empty. The plastics chocks will
prevent fridge tray from lifting back up.
9. Release handle and manoeuvre the arms until bolt holes on arms align with threaded
fixing points. Secure the arms with M10 bolts and washers, using 6mm Hex Key.
8a 8b 9a

Assembly Instructions
10 clearviewaccessories.com.au
10. Cut cable tie around handle trigger to enable cog lock mechanism. Squeeze trigger
and push down on handle to lower fridge tray assembly and release plastic chocks.
Remove plastic chocks and release handle trigger to engage the cog lock.
11. Test your Easy Slide® to ensure cog lock mechanism works correctly and engages in
every available position. If all working correctly, return the Easy Slide® to the stowed
position and re-engage the Easy Slide® Transit Lock.
9b 10 11

Positioning the Slide
11
clearviewaccessories.com.au
Place your fridge into the Easy Slide® and return the slide into stowed position. Test the
position of the Easy Slide® to ensure it remains clear of vehicle side trims and rear door in all
possible configurations, including closing the vehicle rear door with the Easy Slide® in its
secured stowed position. Take care when testing whether the vehicle rear door can be closed
without contacting the Easy Slide® handle or fridge.
If the Easy Slide® needs to be repositioned, simply remove temporary fixing screws and move
the Easy Slide® into desired location. Ensure the Easy Slide® does not extend further than the
drawer front panels.
Once the position has been finalised, drill through drawer timber top using an 8.5mm drill bit
through rear fixing holes on the Easy Slide® base plate.
Feed the supplied M8 mounting plate through the drilled holes from the underside of the
drawer top and tighten using M8 Nyloc nut and washer. With the rear of the Easy Slide®
secured, fully extend the tray assembly and repeat the mounting process at front fixing holes
on the Easy Slide® base plate.
Vacuum all swarf and the Easy Slide® is now ready for use.
IMPORTANT When fitting a fridge to the Easy Slide®, always use quality tie-
down straps and never travel with the fridge unrestrained.

Installing your fridge
12 clearviewaccessories.com.au
Lower the Easy Slide® and place your fridge into the Easy Slide® tray, ensuring best access
to controls, power socket and lid.
The Easy Slide® has provisions for four tie-down straps, one in each corner of the fridge tray.
An additional strap bracket is included on the tray, should you choose to use this as a tie
down point instead.
To secure fridge, hold the strap by the buckle above the Easy Slide® and feed the loose end
of the strap down through the fridge handle/tie down point and through the Easy Slide®
strap provision from inside to out. Then thread the loose end of the strap through the cam
buckle from behind, keep pulling the strap through and in a downward direction while
holding cam buckle to tighten strap. Repeat this process on remaining tie down straps.
For rear tie down straps, ensure the buckles are facing inwards (towards the fridge) to avoid
creating a “catch point” that may inhibit vertical movement of the Easy Slide®.

Safe Usage
Potential Pinch Hazard
13
clearviewaccessories.com.au
IMPORTANT When fitting a fridge to the Easy Slide®, always use quality tie-
down straps and never travel with the fridge unrestrained.
WARNING
Due to the nature of the scissor arm mechanism, the Easy Slide® has some
pinch points to be aware of. Do not place hands, fingers or objects in the
areas shown below as they are pinch hazards.
The Clearview Easy Slide® has a maximum weight capacity of 180Kg on the fridge tray at
the maximum extension of slide.
Do not overload or use the slide in a manner contrary to its intended operation as you
may damage your equipment and void warranty.
When stowing the Easy Slide®, ensure the slide lock and transit lock are engaged for
safety.
Gas struts are utilised to assist with the lifting and lowering of the slide at maximum
capacity. Therefore, when slide is empty, it is normal for a moderate amount of force to
be applied to the handle to lower the slide.

FAQS:
Can I install my Easy Slide® in my ute
tray?
The Clearview Easy Slide® is designed
to be installed internally within a
canopy, vehicle or trailer. Constant
exposure to the elements can cause
rust.
What is the assembly time?
Depending on the complexity of the
assembly, a dealer should be able to
assemble the Easy Slide® in
approximately 40 minutes to an hour.
To assemble the Easy Slide® at home,
this may take anywhere between 1
hour to 1.5 hours.
How far does the Easy Slide® drop
down?
The Clearview Easy Slide® smoothly
lowers the fridge up to 290mm.
Keep the slide runners, tray and
bearings free from dirt and grit
Clean your slide regularly, wiping it
down with a clean, damp cloth to
remove any dirt or grit.
Avoid any waxy lubricants and WD-
40 as they can attract dirt and grit.
How do I maintain my Easy Slide®?
Regular routine maintenance will also
help to ensure continued smooth
operation of your Clearview Easy
Slide®!
Are spare parts available?
Yes. We have spare parts for all our
products on our website. Our dealers
also have a list of all our spare parts. If
you cannot find the parts that you
require, please contact us or any of our
dealers to assist you with your inquiry.
14 clearviewaccessories.com.au
Please note that our Clearview Easy Slide® is not designed for safe operation in an
outdoor environment or to withstand the elements. Constant exposure to the
elements such as rain and moisture can cause damage to the electrical
components.

clearviewaccessories.com.au
Warranty
Clearview Easy Slides® and Power Slides™ are designed and manufactured to the highest
quality standards. We stand behind our Easy Slides® and Power Slides™ with a 3-year
Manufacturer’s Warranty.
Clearview Accessories® warranty applies to the original purchaser only. Please ensure that
your receipt is kept in a safe place. A receipt will be required to make a warranty claim on
any Clearview® product. If we determine that a Clearview Easy Slide® or Clearview Power
Slide® is defective in materials or workmanship during the Warranty, we will either repair
or replace the product. Repair or replacement is solely at the discretion of Clearview
Accessories®.
Please ensure that you fit the Clearview® products in accordance with the product
information provided and all relevant vehicle safety and compliance laws; and use the
Clearview® product for the purpose for which it was originally designed. This warranty
does not apply to failure or damage caused by incorrect or faulty fitment, accidental or
intentional damage, alteration, acts of nature, vandalism, collision, road hazards or adverse
conditions, misuse, abuse or neglect of the Clearview® product, including improper repair
or maintenance or failing to repair and maintain the product, failure of other products,
operation of the product outside of its environmental or technical specifications, or repair
or modification carried out by anyone other than Clearview Accessories®. No charges will
be accepted for external labour or materials without the prior advice or clearance from
Clearview® claims team. Clearview Accessories® warranty does not cover any scratches or
chips.
Clearview Easy Slides® and Clearview Power Slides® are not designed to be modified for
convenient use in alternative applications. Alteration, modification, or manipulation of our
products will void all warranty with Clearview Accessories®.
All claims under this warranty should lodged through our website warranty section
https://www.clearviewaccessories.com.au/about/warranty/ with the detail of the fault,
proof of purchase, proof of identification and vehicle fitment details where relevant. If your
claim is accepted for defects in material or workmanship Clearview® will, at its discretion,
offer to repair, replace parts, or return and refund.
Our goods come with guarantees that cannot be excluded under the Australian
Consumer Law. You are entitled to a replacement or refund for a major failure and for
compensation for any other reasonably foreseeable loss or damage. You are also entitled
to have the goods repaired or replaced if the goods fail to be of acceptable quality and the
failure does not amount to a major failure. In the event of a minor failure, the company
reserves the right to choose to repair or replace the product.
Clearview Accessories | ABN: 59 140 145 393 | 3 Frog Court, Craigieburn VIC 3064
Phone: (03) 8351 9933 | Email: [email protected]
15

Clearview Accessories
3 Frog Court, Craigieburn VIC 3064
(03) 8351 9933
clearviewaccessories.com.au
Other manuals for Easy Slide
1
Table of contents
Other ClearView Automobile Accessories manuals

ClearView
ClearView CV-JP-GC-IEB Instruction sheet

ClearView
ClearView RT-RT108 User manual

ClearView
ClearView PowerBoards PB-DG-001 Operation manual

ClearView
ClearView PowerBoards PB-TA-006 User manual

ClearView
ClearView Easy Slide Operation manual

ClearView
ClearView EXPANDA EXP-02 User manual

ClearView
ClearView FRIDGE CAGE CAGE-01 User manual

ClearView
ClearView POWER SLIDE User manual

ClearView
ClearView PowerBoards PB-NN-003 User manual

ClearView
ClearView CV-LR-D34-EB Guide