ClearView EXPANDA EXP-01 User manual

VERSION 3
ASSEMBLY INSTRUCTIONS
EXP-01

2
Introduction
clearviewaccessories.com.au
Due to Clearview's Continuous Improvement Program, information may change without
notice. Clearview takes no responsibility for the result of incorrect use of these installation
instructions.
Thank you
for choosing
Clearview Accessories®
facebook.com/clearviewaccessories
instagram.com/clearviewaccessories
youtube.com/clearviewaccessories
Find us on social media
Clearview Accessories began in 2006, as a family run business owned by entrepreneur,
Mike Cowan and his son-in-law, Jay Praag. In the years that followed, Mike and Jay
turned their small family business with three full-time employees, into one of Australia’s
most respected 4WD and Touring Brands.
With a strong passion for the automotive industry, quality design and discipline in
professional workmanship, our trust is built within our values of creating high quality
ADR compliant designs.
Since our inception, our unrelenting commitment to creating solutions found nowhere
else, has helped us establish our position as a leader in manufacturing unique 4wd and
touring accessories. With an entrenched enterprising spirit, we are dedicated to
creating value for, and delighting our customers.
From humble beginnings, Clearview Accessories has grown and today manufactures a
range of unique, quality products for your next off-road adventure!
Contact us:
Clearview Accessories
3 Frog Court, Craigieburn VIC 3064
Phone: (03) 8351 9933
Email: [email protected]
Website: clearviewaccessories.com.au

Contents
3clearviewaccessories.com.au
Introduction
Getting Started
Before You Start
Bill of Materials
Assembly Instructions
15
FAQS
Warranty
2
14
4
5
6
7-13

Getting Started
FOR TECHNICAL SUPPORT CALL 03 8351 9933
4
G Clamp
Tools Required:
What's in the box
The straight fridge slide that fully adjusts to fit most portable fridges.
If anything is missing, or damaged, please do not install your new Expanda Slide
and contact us on 03 8351 9933 or via: [email protected]
1 x 3mm T-Handle Hex Allen Key
1 x 5mm Hex Allen Key
4 x Tie Down Straps
Whilst our Expanda can be assembled by one person, the process is quicker and
easier when an additional person is available to also help assemble the
components.

Before you Start
FOR TECHNICAL SUPPORT CALL 03 8351 9933 5
Cautions | warnings
CAUTION WARNING
SCAN THE QR CODE AND
VIEW OUR VIDEO
DEMONSTRATING THE
ASSEMBLY GUIDE
SCAN ME
Want to watch the video instead?
ASSEMBLY INSTRUCTIONS
Read through the fitting instructions before installation of Clearview
Accessories.
Always install the accessory following the fitting instructions. Failure to do so
may cause damage to the vehicle or the accessory.
Ensure all recyclable discarded vehicle accessory components and packaging
are recycled following local recycling regulations.
Safely store and protect any removed vehicle components.
Remove all metal swarf and dust from all vehicle surfaces if the surface is used
for accessory installation.
Release the latch and push your slide in gently. If you’re slamming the slide in, it
will cause damage, resulting in the latches not releasing properly.

Bills of Materials
FOR TECHNICAL SUPPORT CALL 03 8351 9933
6
The Expanda Tray Size adjusts every
20mm from 380mm to 540mm.
EXP-01

Assembly Instructions
A
7
clearviewaccessories.com.au
Begin by preparing the pieces from your kit.
Lay out each panel, as per the bill of materials on page 6.
B
C
BB
C
A
E
F
D
E
F
D

Assembly Instructions
8clearviewaccessories.com.au
Insert and slide plate A (LHS) and plate C (RHS) into both sides of plate BB (Middle).
Adjust your sizing widths to suit your fridge application.
Begin with Part A, BB and C, which will make up the front tray assembly.
(BB is for the front tray assembly which has the 'Expanda' Logo)
Adjust your sizing widths to match your front tray assembly to suit your fridge application.
Repeat this process for the rear tray assembly using Plates A, B and C as shown above.

Assembly Instructions
Using the Metric 3mm Hex Allen
Key, and the M5 x8 Soc CSK screws
to secure plates together as shown.
x4 into Part A (LHS) and C (RHS)
front tray assembly
Repeat above for rear tray
assembly (Plates A, B and C).
Locate the bag of screws including in
your Expanda Box.
9
clearviewaccessories.com.au
Using the 3mm Metric Hex Allen Key, and M5 x8 Sok CSK screws to secure the front
mounting brackets together.
Repeat above for the rear mounting bracket.
Turn the front and rear mounting brackets upside down as shown
Note: Your screw locations may differ from the above examples depending on your fridge sizing.
Slide plate D (LHS) and F (RHS) into each side of plate E
Ensure that Part E matches the distance of part BB (Front tray) and B (Rear tray).
Locate Plates D, E and F to complete the mounting bracket assemblies.
Note: The front and rear mounting brackets will be longer than both tray assemblies,
however the distance in the middle gap should be the same as shown in the image
examples.

Assembly Instructions
Align your plates to the bearing runners and locate the holes in the front of the bearing
runners. Screw the bolts from the second hole. Then repeat to the other side.
10 clearviewaccessories.com.au
Use the 5mm Hex Allen Key to secure the x2 M6 Cap screws provided, screw them into the
legs of the front mounting bracket.
Using x3 M5 Soc CSK screws, secure in the ends.
Attach Part D, E, and F to the bearing runners, starting from the rear end to the front end.
Open your bearing runner slides up, from the second hole, screw a bolt in place for both
sides.
Locate the third hole in your bearing runner, and screw the bolt in place. Repeat on the other
side.
123
12
3

Assembly Instructions
11
clearviewaccessories.com.au
We will now fit the A, BB and C into place. Pull your bearing runners out, and align the holes
to the front of the bearing runners. Locate the third furthest hole, and align it to the button
head screw. Locate the hole on the outer side, and tighten.
Followed by the last one.
Now, with the back plates for Part A, BB and C, align and slide to the compatible size.
Screw in your button head screw to the furthest point again, then follow by the rest of the six
screws, three on each side.
Ensure all your screws are tightened.
Ensure that your slide is clamped down, and
extend the slide out as much as possible
123
1
2
3

Assembly Instructions
Place your fridge into the extended slide. Use your remaining plate to find the back of your
fridge, and place the plate under the fridge.
12 clearviewaccessories.com.au
Remove the fridge, but do not move the plate.
Then, with your screws, find the holes to align your plate into position, followed by the
other side.
Once you apply one screw in each slide, slide the runner until you can find the next position,
then apply another screw in each side
Slide the expanda along again, until you find another locking place, and screw a button head
screw in again.
Once complete, you can tighten each screw.
12
3
3

Assembly Instructions
13
clearviewaccessories.com.au
Place your fridge back into the base, and ensure that the fridge base is flush with the fridge.
If your fridge slides freely, remove the g-clamp and lock the fridge into position
Secure the fridge with your tie-down straps.
Keep the slide runners, tray and bearings free from dirt and grit
Clean your slide regularly, wiping it down with a clean, damp cloth to
remove any dirt or grit.
Avoid any waxy lubricants and WD-40 as they can attract dirt and grit.
Release the latch and push your slide in gently. If you’re slamming the
slide in, it will cause damage, resulting in the latches not releasing
properly.
How do I maintain my Expanda Slide?
Regular routine maintenance will help to ensure continued smooth operation
of your Clearview Expanda!

FAQS:
14 clearviewaccessories.com.au
Can I install my Expanda slide myself?
Yes! The Clearview Expanda slide is
easy to install into your vehicle.
Instructional videos are also available
on our website
(clearviewaccessories.com.au) in the
“HOW TO” section.
What is the assembly time?
Depending on the complexity of the
assembly, a dealer should be able to
assemble the Expanda in
approximately 40 minutes to an hour.
To assemble the Expanda at home, this
may take anywhere between 1 hour to
1.5 hours.
Does the Expanda Slide drop down?
No. The Expanda Slide is a straight
fridge slide. If you require a fridge slide
that drops down, then the Clearview
Easy Slide is the slide for you!
What size Expanda Slide do I need?
The Expanda slide is the straight fridge
slide that fully adjusts to fit most
portable fridges.
With 81 different tray dimensions
possible, the Clearview Expanda Slide
is designed to fit your travel fridge
perfectly!
The Expanda Tray Size adjusts every
20mm from 380mm to 540mm, and
the Expanda XL Adjusts every 20mm
from 490mm to 650mm.
The Expanda Slide’s patented Aussie
design is also great for hard-to-access
items such as toolboxes, generators
and barbecues.
Are spare parts available?
Yes. We have spare parts for all our
products on our website. Our dealers
also have a list of all our spare parts. If
you cannot find the parts that you
require, please contact us or any of our
dealers to assist you with your inquiry

clearviewaccessories.com.au
Warranty
15
The Clearview Expanda Slide® is designed and manufactured to the highest quality
standards. We stand behind our Products with a 12-Month Manufacturer’s Warranty.
Clearview Accessories® warranty applies to the original purchaser only. Please ensure
that your receipt is kept in a safe place. A receipt will be required to make a warranty
claim on any Clearview® product. If we determine that a Clearview® Product is
defective in materials or workmanship during the Warranty, we will either repair or
replace the product. Repair or replacement is solely at the discretion of Clearview
Accessories®.
Please ensure that you fit the Clearview® products in accordance with the product
information provided and all relevant vehicle safety and compliance laws; and use
the Clearview® product for the purpose for which it was originally designed. This
warranty does not apply to failure or damage caused by incorrect or faulty fitment,
accidental or intentional damage, alteration, acts of nature, vandalism, collision, road
hazards or adverse conditions, misuse, abuse or neglect of the Clearview® product,
including improper repair or maintenance or failing to repair and maintain the
product, failure of other products, operation of the product outside of its
environmental or technical specifications, or repair or modification carried out by
anyone other than Clearview Accessories®. No charges will be accepted for external
labour or materials without the prior advice or clearance from Clearview® claims
team. Clearview Accessories warranty does not cover any scratches or chips.
Clearview® Products are not designed to be modified for convenient use in
alternative applications. Alteration, modification, or manipulation of our products will
void all warranty with Clearview Accessories®.
All claims under this warranty should lodged through our website warranty section
https://www.clearviewaccessories.com.au/about/warranty/ with the detail of the fault,
proof of purchase, proof of identification and vehicle fitment details where relevant. If
your claim is accepted for defects in material or workmanship Clearview® will, at its
discretion, offer to repair, replace parts, or return and refund.
Our goods come with guarantees that cannot be excluded under the Australian
Consumer Law. You are entitled to a replacement or refund for a major failure and for
compensation for any other reasonably foreseeable loss or damage. You are also
entitled to have the goods repaired or replaced if the goods fail to be of acceptable
quality and the failure does not amount to a major failure. In the event of a minor
failure, the company reserves the right to choose to repair or replace the product.
Clearview Accessories, ABN: 59 140 145 393, 3 Frog Court, Craigieburn VIC 3064
Ph: (03) 8351 9933 Email: [email protected]

Clearview Accessories
3 Frog Court, Craigieburn VIC 3064
(03) 8351 9933
clearviewaccessories.com.au
Table of contents
Other ClearView Automobile Accessories manuals

ClearView
ClearView RT-RT108 User manual

ClearView
ClearView FRIDGE CAGE CAGE-01 User manual

ClearView
ClearView Easy Slide Operation manual

ClearView
ClearView PowerBoards PB -TA-004 User manual

ClearView
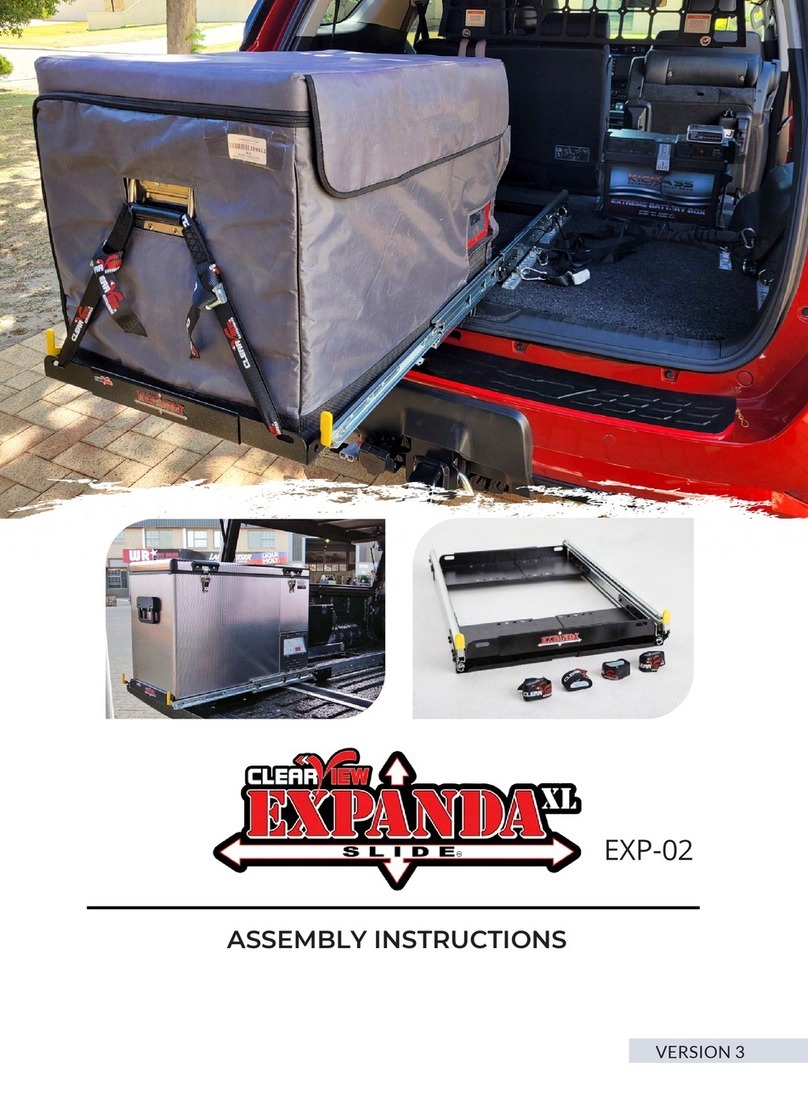
ClearView EXPANDA EXP-02 User manual

ClearView
ClearView PowerBoards PB-TA-006 User manual

ClearView
ClearView PowerBoards PB-DG-001 Operation manual

ClearView
ClearView CV-LR-D34-EB Guide

ClearView
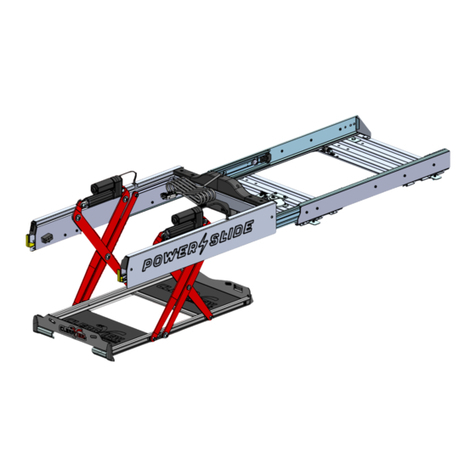
ClearView POWER SLIDE User manual

ClearView
ClearView CV-JP-GC-IEB Instruction sheet