Heating Solutions Ltd
10
3. Critical Considerations
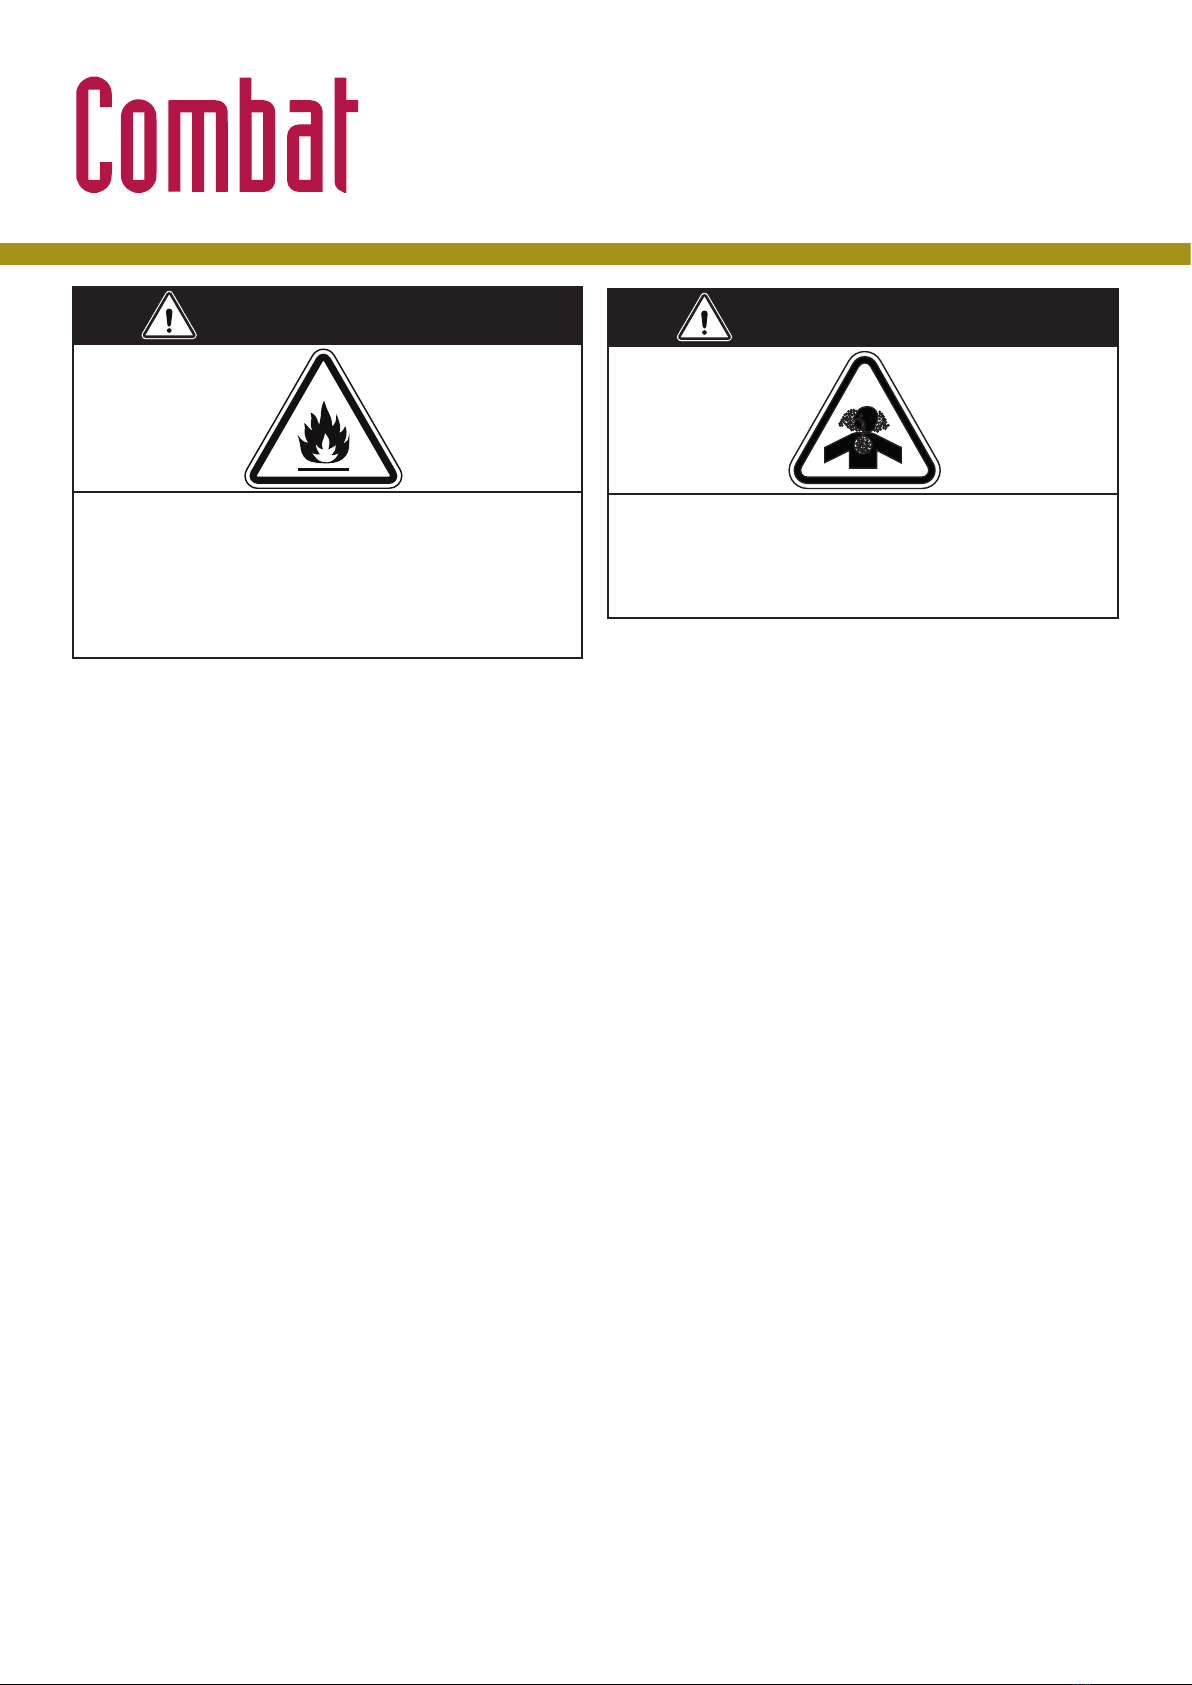
WARNING
Carbon Monoxide Hazard
Heater flues must be installed to outside in accordance with local
and national codes.
Failure to follow these instructions can result in injury or even
death.
WARNING
Fire Hazard
Keep all flammable objects, liquids and vapours the minimum
required clearances to combustibles away from heater.
Some objects will catch fire of explode when placed close to
heater.
Failure to follow these instructions can result in death, injury, or
property damage.
3.1 Basic Information
Cabinet heaters are supplied with burners suitable for
modulation in Gas versions as standard.
3.2 Location and Suspension
All Models:
• Must be installed indoors within the heated space.
• Must be installed for floor standing vertical
installation as supplied as standard.
• Must be installed in a manner which allows all the
upper panels and either of the lower side panels
to be removed to provide access to all serviceable
components.
• Must be placed on a firm, level, non-combustible
surface that can support its own weight. (See Page
12, Section 4.1) for weight details
• Special versions of the heater are available and
may be mounted horizontally. When installed
horizontally, the heater will normally lie on its left-
hand side when viewed from the burner. The same
clearances and comments on panel must be used,
except for the side the heater lies on.
3.3 Required Clearances to Combustibles.
• Clearances are the required distances that a
combustible object must be away from the heater
to prevent fire hazards. Caution should be used
when running the system near combustibles.
Some examples of combustible materials which may
catch fire include common items such as wood, paper,
rubber, fabric, etc.
Maintain clearances to combustibles at all times for
safety.
Clearances around the heater and flue must be as
indicated on (Page 11 Figure 2) to ensure access
for servicing, and correct operation. If clearances
to combustibles are not indicated, then installation
clearances apply.
Check the clearances on each heater for the installed
heater model to ensure the product is suitable for the
application and that the clearances are maintained.
Read and follow the safety guidelines below:
• Keep petrol or other combustible materials including
flammable objects, liquids, dust, or vapours away
from the heater or any other appliance
• Do not spray aerosols in the vicinity of this appliance.
• The stated clearances to combustibles represent
a surface temperature of 50°C (90°F) above room
temperature. Building materials with a low heat
tolerance (such as plastics, vinyl siding, canvas, tri-
ply, etc.) may degraded at lower temperatures. The
installers’ are responsible for ensuring that adjacent
materials are protected from any such degradation
and thereafter the end user’s responsibility upon
handover
• Products of size and weight that could possibly
draw into the distribution and combustion air
intakes must not be stored in close proximity to the
heater to prevent any such potential ingress.
3.4 Ventilation
It is important to ensure that there is adequate
air circulation around the heater to supply air for
combustion, ventilation, and distribution in accordance
with local and national codes