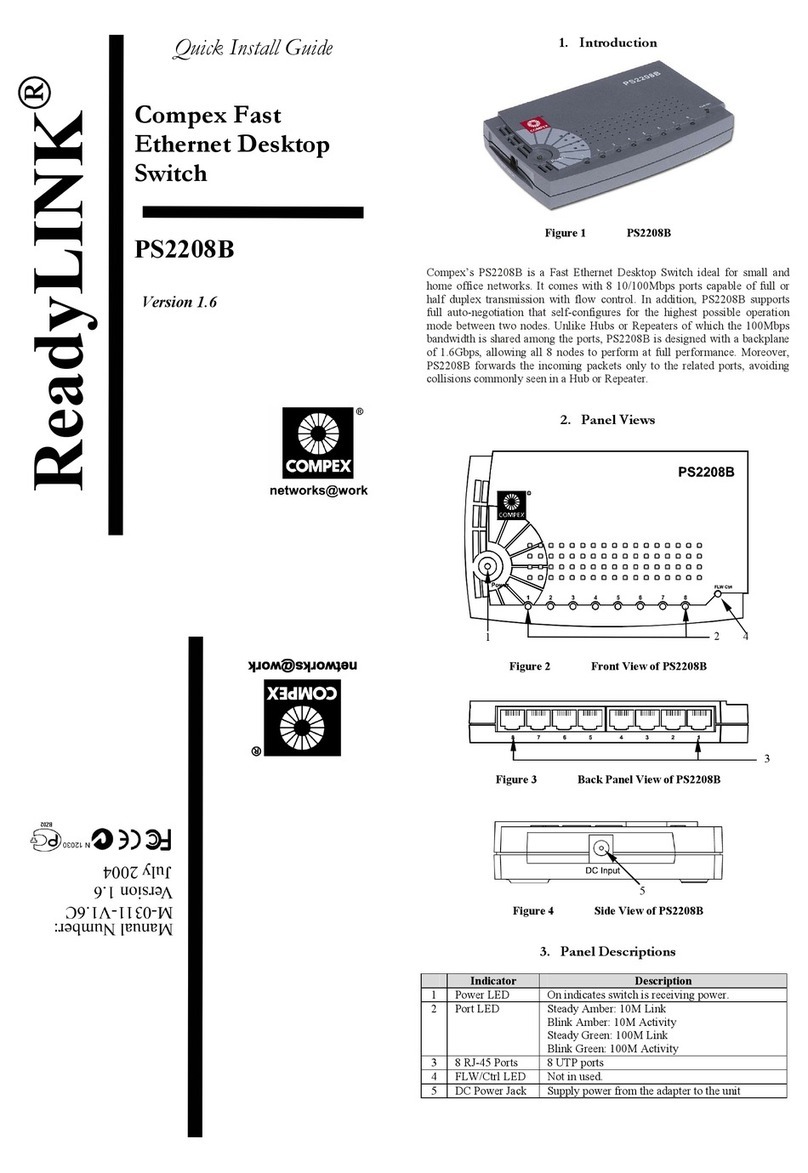
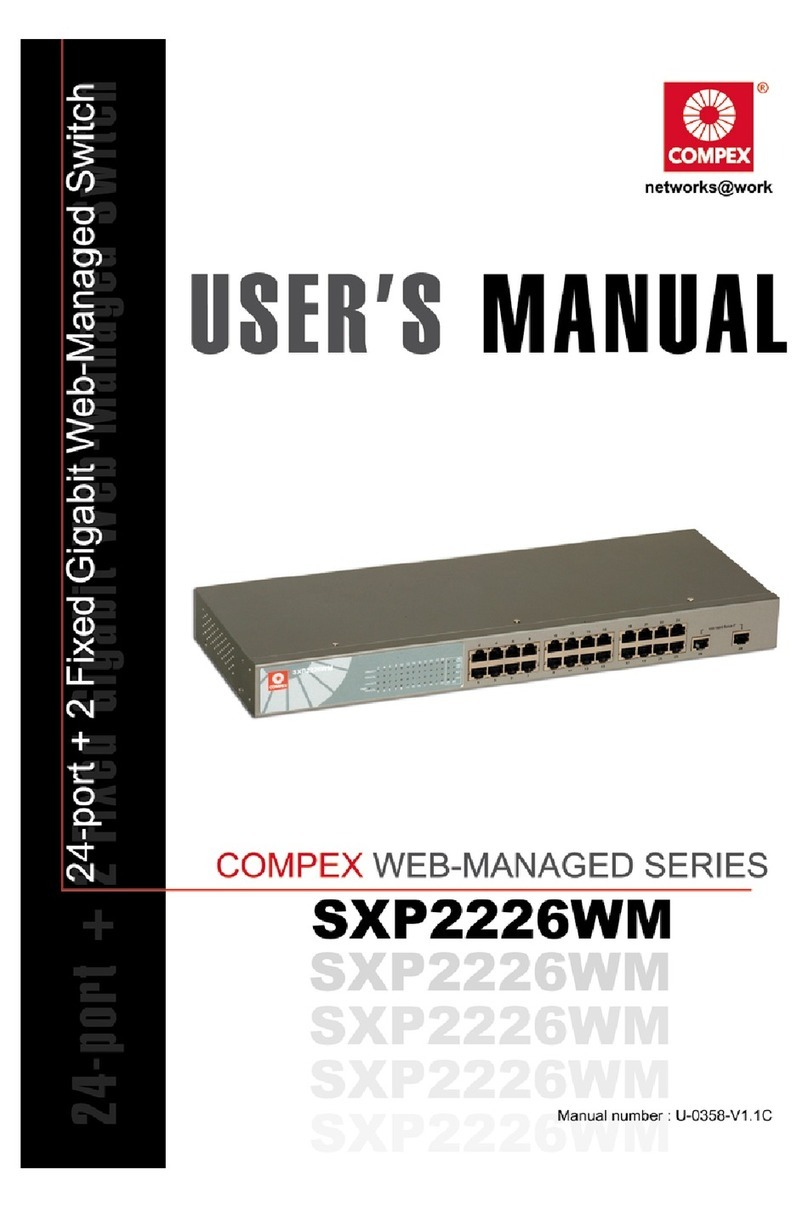
Compex ReadyLINK DS2216 User manual

“Quick Install Guide”
Compex
16-Port All 10/100
Switch
DS2216
Version 1.2
ReadyLINK

1
6 9 10 11 12 13
14 15 1610 1191213
Set /Act
Mode 21
Speed
FDX
/Col
34 5678 Uplink
Power
DefaultTrunking100M
Link Half Priority
9 101112 13141516 DS2216 R
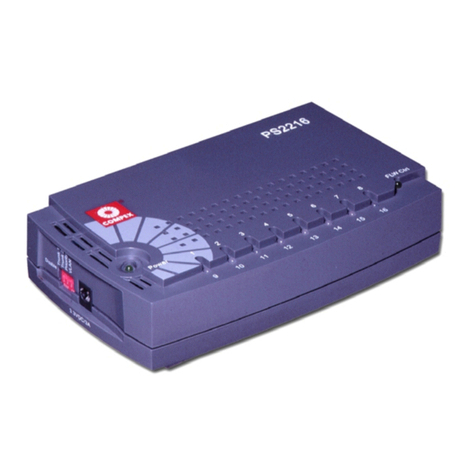
Figure 1: Front Panel View of DS2216
/Act
Speed
FDX
/Col
Link
Set
Mode
Power
Priority
10 11912
21 34
Trunking100M Half
14 15 1613
5678
Default
1291011
7 8
Figure 2: Front Panel View of DS2216 (Section)
100-250VAC 0.5A 47-63Hz
This device complies with
Part 15 of the FCC Rules.
Figure 3: Back Panel View of DS2216
14
2 3
5
4

CONTENT
1. Introduction....................................................................................... 1
2. Package Contents .............................................................................. 1
3. Panel Features ................................................................................... 2
4. Specifications ..................................................................................... 4
5. Installation of Compex DS2216........................................................ 5
6. Implementation ................................................................................. 6
7. Buttons and LEDs Feature Description .......................................... 6
• How to view all active ports Link/Act status......................................... 8
• How to view the connection speed of those active port......................... 8
• How to view which active ports are connected at Full or Half
Duplex mode ............................................................................................ 8
8. Advanced Configuration on Compex DS2216 ................................ 9
• How to force a certain port to 100Mbps speed and Half or Full-
duplex mode............................................................................................. 9
• How to force a certain port to 10Mbps speed and Half-duplex
mode ....................................................................................................... 10
• How to set up and connect Compex DS2216 for trunking ................. 12
• How to enable and select trunking ports ............................................. 13
• How to enable priority mode for a port............................................... 14
• How to set Default Mode ......................................................................15
• How to check which ports have been pre-configured for what
modes...................................................................................................... 15
9. Troubleshooting .............................................................................. 16
German Language ................................................................................ 17
Russian Language................................................................................. 34
French Language .................................................................................. 52
Warranty Card for English Version ......................................................I
Warranty Card for German Version................................................... II
Warranty Card for Russian Version...................................................III
Warranty Card for French Version.................................................... IV
Technical Support for English Version........................................... TS-1
Technical Support for German Version ......................................... TS-2
Technical Support for Russian Version .......................................... TS-3
Technical Support for French Version ........................................... TS-4

English Compex 16-Port All 10/100 Switch
DS2216
1
“Quick Install Guide”
Compex 16-Port All 10/100 Fast Ethernet Switch
DS2216
1. Introduction
The key features of the Compex 16-Port All 10/100 Fast Ethernet Switch
DS2216 are as follows
• Each port supports 10Base-T and 100Base-TX connection through
auto-negotiation
• Implementing store-and-forward switching scheme
• Supports 10Base-T to 100Base-TX connectivity, allowing for
progressive migration
• Support Full Duplex and Half Duplex for both 10Base-T and 100Base-
TX connection at each port
• Highly optimized flow control for full and half duplex, evolved traffic
priority services, flexible trunking capabilities
• Provides a dynamic memory sharing in/out buffer to ensure fast free
packet storage and transmission, which greatly improves your network
performance
• Easy to use and configurable without cable
• Port-trunking and priority support capability
2. Package Contents
• 1 Compex DS2216 Switch Unit
• 1 Power Cord
• 1 Quick Install Guide with warranty card

2 Compex 16-Port All 10/100 Switch
DS2216
English
3. Panel Features
(Refer diagrams on inner cover)
Features Status and Indication
1 Power LED Green: Light up when the power supply is ON.
2 Mode Button Button to view port status and select option
mode.
3 Set Button Button to configure port mode.
4 16 RJ-45 Ports
• RJ-45, 100Base-TX/10Base-T ports; Auto-
negotiation.
• Configure as 16 UTP Ports or 15 UTP Ports
plus 1 Uplink Port.
5 Uplink Button • Uplink mode when button is pushed IN.
• Normal mode when button is released OUT.
6 LINK/ACT LED Select to view active ports link and activity
status.
7 Speed LED Select to view active ports connection speed.
8 FDX/Col LED Select to view active ports duplex mode and
collision status.
9 100M LED Select to configure port speed.
10 Half LED Select to configure port duplex mode.
11 Trunking LED Select to enable/disable and select trunking ports
12 Priority LED Select to set/reset/port priority.
13 Default LED Select to reset switch to factory default setting.
14 Power Socket Flexible power input (range 100-250VAC, 0.5A,
47-63Hz)

English Compex 16-Port All 10/100 Switch
DS2216
3
• 10/100 N-Way Auto-Negotiation or Forced Mode
By default, Compex DS2216 is configured to auto-negotiate for a
highest possible operation mode between two nodes. Alternatively, the
users are able to manually configure the speed (10/100Mbps) and the
transmission mode (full/half duplex) of the ports.
• 10/100 Mbps Switching Function
A cost-effective 100Mbps and 10Mbps switching function in single
unit. Divides a network into smaller shared network groups,
eliminating unnecessary traffic, multiplying available bandwidth, and
relieving congestion on server paths.
• 10/100 Mbps Integration
16 high-speed ports permit Ethernet workgroups to communicate with
Fast Ethernet users in a single integrated network, and share servers
connected to the dedicated 100Mbps ports. Port expansion is easy by
connecting several switches and hubs together through dedicated
uplink port.
• Linking Up 10Base-T and 100Base-TX Technology
One-time migration from 10Base-T to 100Base-TX technology can be
very costly. The Compex DS2216 addresses this problem by allowing
existing 10Base-T networks to communicate with 100Base-TX
networks. Performance does not degrade the switch as each 10Base-
T/100Base-TX segment continues to operate at its own speed.
Enterprise networks can be progressively upgraded, thus gradually
phasing out older segments of the network without sacrificing
interconnectivity or performance.

4 Compex 16-Port All 10/100 Switch
DS2216
English
4. Specifications
• Industry Standards Complies with IEEE802.3 10Base-T standard,
IEEE802.3u 100Base-TX standard, FCC Class A,
CE Mark.
• Interface Supports 16 10/100 Mbps ports (RJ-45, UTP):
Half/Full Duplex modes at 10 Mbps and 100
Mbps.
• LED Indicators LED indicators for system Power, Link, Speed
(10/100Mbps), Duplex status, priority, trunking
and Port (Transmit/ Receive) traffic.
• Speed Selection N-way Auto-negotiation or Forced Mode.
• Link Distance • 100Base-TX: Requires data grade (Category
5) UTP cable. Segment length can be up to a
maximum of 100 meters on every port.
• 10Base-T: Requires (Category 3, 4 and 5)
UTP cable. Segment length can be up to a
maximum of 100 meters on every port.
• Forwarding Method Store-and-Forward.
• Dynamic Address
Learning/ Filtering
Yes.
• Power Supply Internal power supply is provided with voltage
ratings of 100VAC to 250VAC, 47~63 Hz.
Operating Temperature:
Storage Temperature:
Operating Humidity:
Storage Humidity:
0°C to 50°C
-20°C to 70°C
10% to 80% RH
5% to 90% RH
• Environment
Requirements
[RH = Relative Humidity]
• MAC Address
Table
16K

English Compex 16-Port All 10/100 Switch
DS2216
5
• Memory Buffer 4M bits
• Flow Control IEEE 802.3x for full duplex mode.
Back pressure for half duplex mode.
• Physical Dimension 302mm x 123mm x 53mm (L x D x H)
5. Installation of Compex DS2216
Compex DS2216 can be installed as a desktop unit. Below list the
installation steps.
1. Unpack the unit.
2. Choose a location near the devices to be connected and close to an
electrical outlet. Put the unit at a clean, smooth, level and sturdy place.
Make sure there is enough clearance around the switch to allow
attachment of cables, power cord and adequate air circulation.
3. Plug the power cord into the back of the unit and power on the unit.
Check that the power LED indicator on the unit is lighted up.
4. The unit is now ready to operate.

6 Compex 16-Port All 10/100 Switch
DS2216
English
6. Implementation
Compex DS2216 can be expanded easily by connecting several switches
and hubs together through Uplink port. See Figure A.
FDX
Mode
/Col
15432876
Half
10
Set
Lin k 10 0 M
Power
Speed
/Act 9
Priority
13
Tr u n ki n g
1211
Defaul t
161514
910
Upli nk
151211 13 14 16
DS2216
R
UPLINK
PWR
R
100M:Green
13
45123
10M : Or ang e
1291011
DS1216
678
1
9
14 15 16
LINK
FUL L
FUL L
ACT/
ACT/
LINK
324
1110 12 13 16
867
15
5
Figure A
7. Buttons and LEDs Feature Description
• Button operations
There are two buttons on Compex DS2216 panel, “Set” and “Mode”.
They are for setting and resetting enhanced functions.
Two function groups, namely Status LED group and Option Mode
LED group, can be selected from the Mode button:
Status LED group: to select general port operation status
Option Mode LED group: to configure the ports and set trunking/
VLAN operation
Mode Button - This button let you do the following:
- Select an option mode to configure for a port.
- View all ports pre-set status for a particular mode.
- Display Link/Act, Speed and FDX/Col status of all active ports.
Press once the LED will light up at the first Option LED.
Press again will jump to the next option.
Press several times to cycle through all the modes.

English Compex 16-Port All 10/100 Switch
DS2216
7
Set Button - This button let you do the following:
- Select a port to set/reset an option mode.
- For trunking mode, select/deselect trunk group ports.
- Save and update changes.
After Mode button points to the desired option, press Set button once to
go to port selection mode.
To select a port number, press Set button several times till it jump to
the desired port. To set and save the mode to that port, press the Set
button and hold it down for about 3 seconds until the port LEDs flash
once.
• LEDs
Status LEDs
- Link/Act: Display all active ports link and activity status.
- Speed: Display all active ports speed.
ON for 100Mbps, OFF for 10Mbps.
- FDX/Col: Display all active ports Duplex mode and collision
status.
ON for Full-Duplex mode, OFF for Half-Duplex mode.
Blinks indicate collision active only when port is
operating in Half-Duplex mode.
Option Mode LEDs
- 100M: Set/reset/view pre-set speed for all ports.
- Half: Set/reset/view pre-set duplex mode for all ports.
- Trunking: Set/reset/view pre-set port trunking group(s).
- Priority: Set/reset/view pre-set priority mode for all ports.
- Default: Reset all ports configuration to factory defaults.

8 Compex 16-Port All 10/100 Switch
DS2216
English
• How to view all active ports Link/Act status
To view the currently active ports Link and Activity status, press the
Mode button several times until the Link/Act LED lights up.
All ports LEDs that light up and/or blinking are the link and activity
status of these active ports.
• How to view the connection speed of those active port
To view this, press Mode button several times until the Speed LED
lights up. Those ports LEDs that light up indicate that they are connect
at 100Mbps speed. Those that did not light up are either inactive or not
connected.
If there are active ports but their LEDs did not light up, this indicates
that they are connected at 10Mbps speed.
• How to view which active ports are connected at Full or Half
Duplex mode
To view this, press the Mode button several times until the FDX/Col
LED lights up. Those ports LEDs that light indicate they are connected
at Full-Duplex mode. Those port LEDs not lighted up are either
inactive or not connected.
If there are active ports but their LEDs did not light up, then they are
connected at Half-Duplex mode.

English Compex 16-Port All 10/100 Switch
DS2216
9
8. Advanced Configuration on Compex DS2216
• How to force a certain port to 100Mbps speed and Half or Full-
duplex mode
This is a 2 steps operation.
Note
To configure a port to auto-negotiation mode, turn OFF that port LED
in both 100M and Half mode setup.
1a.
Press the Mode button several times until the 100M LED lights up.
Check the LED for that port number you want to set.
If the port LED lights up it is already forced to 100Mbps mode. Skip
and goto step (2a). Otherwise, proceed to (1b).
1b.
Now press the Set button once will jump to port select. Port #1 LEDs
lights up first. Press the Set button again to jump to next port #2.
Continue to press several times until the desired port LED lights up.
To set this port, press the Set button and hold it down for about 3
seconds until all ports LEDs flash once. When successful, this port
LED will remain lighted up.
2a.
Next press the Mode button until the Half LED lights up. Check the
LED for the port number you want to set.
If it is not lighted up it is in Full-Duplex mode. Do nothing if this is the
mode you want to operate. Setup is completed.
If you want Half-Duplex mode goto to (2b).
If it is lighted up, it is already in Half-Duplex mode. Do nothing if this
is the mode you want to operate. Setup is completed.
If you want Full-Duplex mode goto (2b).

10 Compex 16-Port All 10/100 Switch
DS2216
English
2b.
Now press the Set button once and it will cycle to the next port. Port #1
LED lights up first. Press the Set button again to jump to next port #2.
Continue to press several times until the desired port LED lights up.
To set this port, press the Set button and hold it down for about 3
seconds until all ports LEDs flash once. When successful this port LED
will remain lighted up for Half-Duplex mode and if Full Duplex mode
setup the LED will turn OFF.
• How to force a certain port to 10Mbps speed and Half-duplex
mode
Note
10Mbps and Full-Duplex combination is not supported.
1a.
Press the Mode button several times until the Half LED lights up.
Check the LED for that port number you want to set.
If the port LED lights up it is already forced to Half-Duplex mode.
Skip and go to step (2a). Otherwise, proceed to (1b).
1b.
Now press the Set button once, it will cycle to the next port. Port #1
LED lights up first. Press the Set button again to jump to the next port.
Continue to press several times until the desired port LED lights up.
To set this port, press the Set button and hold it down for about 3
seconds until all ports LEDs flash once. When successful, this port
LED will remain lighted up.
2a.
Next press the Mode button until the 100M LEDs lights up. Check the
LED for that port number you want to set.
If it is not lighted up it is already in 10Mbps mode. Do nothing.
Setup is completed.
If it lights up, go to (2b) to toggle to 10Mbps mode.

English Compex 16-Port All 10/100 Switch
DS2216
11
2b.
Press the Set button once and it will cycle to the next port. Port #1 will
light up first. Press the Set button again will jump to next port #2. Press
several times until the desired port LED lights up.
To set this port, press the Set button and hold it down for about 3
seconds until all ports LEDs flash once. When successful, this port
LED will turn OFF.
Setup complete.
100M LED Half LED Port Status
ON ON Forced to 100Mbps speed and Half-Duplex
mode
OFF ON Forced to 10Mbps speed and Half-Duplex
mode
ON OFF Forced to 100Mbps speed and Full-Duplex
mode
OFF OFF Reset to normal auto-negotiation mode
Table 1: Force Port Speed and Duplex mode

12 Compex 16-Port All 10/100 Switch
DS2216
English
• How to set up and connect Compex DS2216 for trunking
1. First decide how many trunk ports you plan to setup. You can
choose to use ports from any trunk group, but the two units to
trunk must be Compex DS2216.
2. Next, prepare the network cables to connect between these two
Compex DS2216 switches. The network cables must be category 5
and cross-connect (MDIX). Ensure the proper twisted wire pairs
are connected to the correct RJ45 connector pins. See the
Appendix for correct wiring details. Each cable can be up to a
maximum of 100 meters long.
3. Connect them up as shown below. Assuming 4 ports group
trunking is selected. Compex DS2216 unit one uses ports from
Group 1 and Compex DS2216 unit two uses ports from Group 2.
4. Goto "How to enable and select trunking ports" to enable and
select these trunking ports.
5. Power ON both units. Compex DS2216 is now ready to operate.
Compex DS2216
Unit One
Compex DS2216
U
nit T
wo
#1 #2 #9 #10
#7 #8 #15 #16

English Compex 16-Port All 10/100 Switch
DS2216
13
• How to enable and select trunking ports
This Switch supports 2 trunking groups. For each trunking group, you
can select 2, 3 or 4 pre-desired ports groups.
Group 1 selectable port groups are [2,10], [2,9,10], [1,2,9,10], group 2
selectable port groups are] [7,15]; [7,8,15]; [7,8,15,16].
1. Press the Mode button several times until the Trunking LED lights
up. Check the LEDs for that port group you want to set.
If the ports LED lights up it is already forced to Trunking mode.
Do nothing. Otherwise, proceed to step 2.
2. Now press the Set button once will jump to port select. Continue to
press Set button several times until the desired ports group LEDs
lights up.
To set this ports group, press the Set button and hold it down for
about 3 seconds until all ports LEDs flash once. When successful,
the port LEDs in this group will remain lighted up.
The default operation modes for all trunking ports are 100M, Full Duplex.
Refer to the table shown below:
See [Table2 – Single Trunk Grouping] and [Table 3 – Dual trunks
combinations] below.
Trunking
Group Trunk Ports Speed Active Ports
2 400Mbps 2,10
3 600Mbps 2,9,10
Group 1
4 800Mbps 1,2,9,10
2 400Mbps 7,15
3 600Mbps 7,8,15
Group 2
4 800Mbps 7,8,15,16
Table 2: Single Trunk Grouping

14 Compex 16-Port All 10/100 Switch
DS2216
English
Group 1 Group 2
Number of trunk ports
Middle Compex
DS2216[B] possible trunk
combinations 2 3 4 2 3 4
A X X
B X X
C X X
D X X
E X X
F X X
G X X
H X X
I X X
Table 3: Dual Trunks Combinations
• How to enable priority mode for a port
Compex DS2216 supports advanced traffic priority features. It
provides two levels of priority: normal and high priority. Packets in
high priority mode will arrive sooner at the destination MAC address.
1. Press the Mode button several times until the Priority LED lights
up. Check the LED for that port number you want to set. If the port
is lighted up it is already enabled. Do nothing. Otherwise, proceed
to step 2.
2. Now press the Set button once. Port #1 LEDs lights up. Press the
Set button again to jump to next port #2. Continue to press several
times until the desired port LED lights up.
To enable this port, press the Set button and hold it down for about 3
seconds until all ports LEDs flash once.
When successful, this port LED will remain lighted up.

English Compex 16-Port All 10/100 Switch
DS2216
15
• How to set Default Mode
1. Press the Mode button several times until the Default LED lights
up.
2. Now press the Set button and hold it down for about 3 seconds
until all ports LEDs flash once.
Now the switch is restore to Factory Default Setting.
The factory default setting of Compex DS2216 is No trunking, Normal
Priority, each port runs in Auto-Negotiation mode.
• How to check which ports have been pre-configured for what
modes
To view this, do the following.
1. Press the Mode button several times till the desired option LED
lights up.
2. View all the port LEDs. Any port that lights up indicates that port
is setup or enabled for that mode.
3. For trunking mode, the group port LEDs will be displayed.

16 Compex 16-Port All 10/100 Switch
DS2216
English
9. Troubleshooting
LED Indicators
The LEDs of Compex DS2216 can function as useful troubleshooting aids.
If Power LED does not light up, check that:
• Plug/cord is properly inserted into the socket.
• The ON/OFF switch is turned ON.
If LINK/ACT LED does not light up, check that:
• Wire pairs connected to RJ-45 plug are correct.
• RJ-45 plug is fully inserted until hear a click sound.
The PC is powered-up.
If FDX/Col LED does not light up for Full Duplex mode, check that:
• The device is configured as Full Duplex mode.
Table of contents
Other Compex Switch manuals

Compex
Compex ReadyLink PS2208B User manual

Compex
Compex SGX3224 User manual

Compex
Compex readylink CGX3224 User manual

Compex
Compex readylink CGX3224 User manual

Compex
Compex SAS2224B 1A User manual

Compex
Compex PS2216 User manual

Compex
Compex SXP2224WM User manual

Compex
Compex SGX3226 User manual

Compex
Compex SXP2224WM User manual

Compex
Compex PS2208A User manual
Popular Switch manuals by other brands

StarTech.com
StarTech.com SV431DPUA2 user manual

Extreme Networks
Extreme Networks VSP 4450GSX-PWR+ installation guide

Lutron Electronics
Lutron Electronics Aviena AN-1PS manual

steute
steute Ex HS 98 Mounting and wiring instructions

Barksdale
Barksdale Dynalco SST7200 Installation and operation manual

TRENDnet
TRENDnet TE100-DX4PCI user guide