2
About This Guide
This manual tells you how to install and use your VideoMate Action USB 2.0
TV Tuner Box. For more information on using applications, please see the
User’s Guides in the programs, on the CDs, or at our website for the latest
manuals http://www.comprousa.com/download.
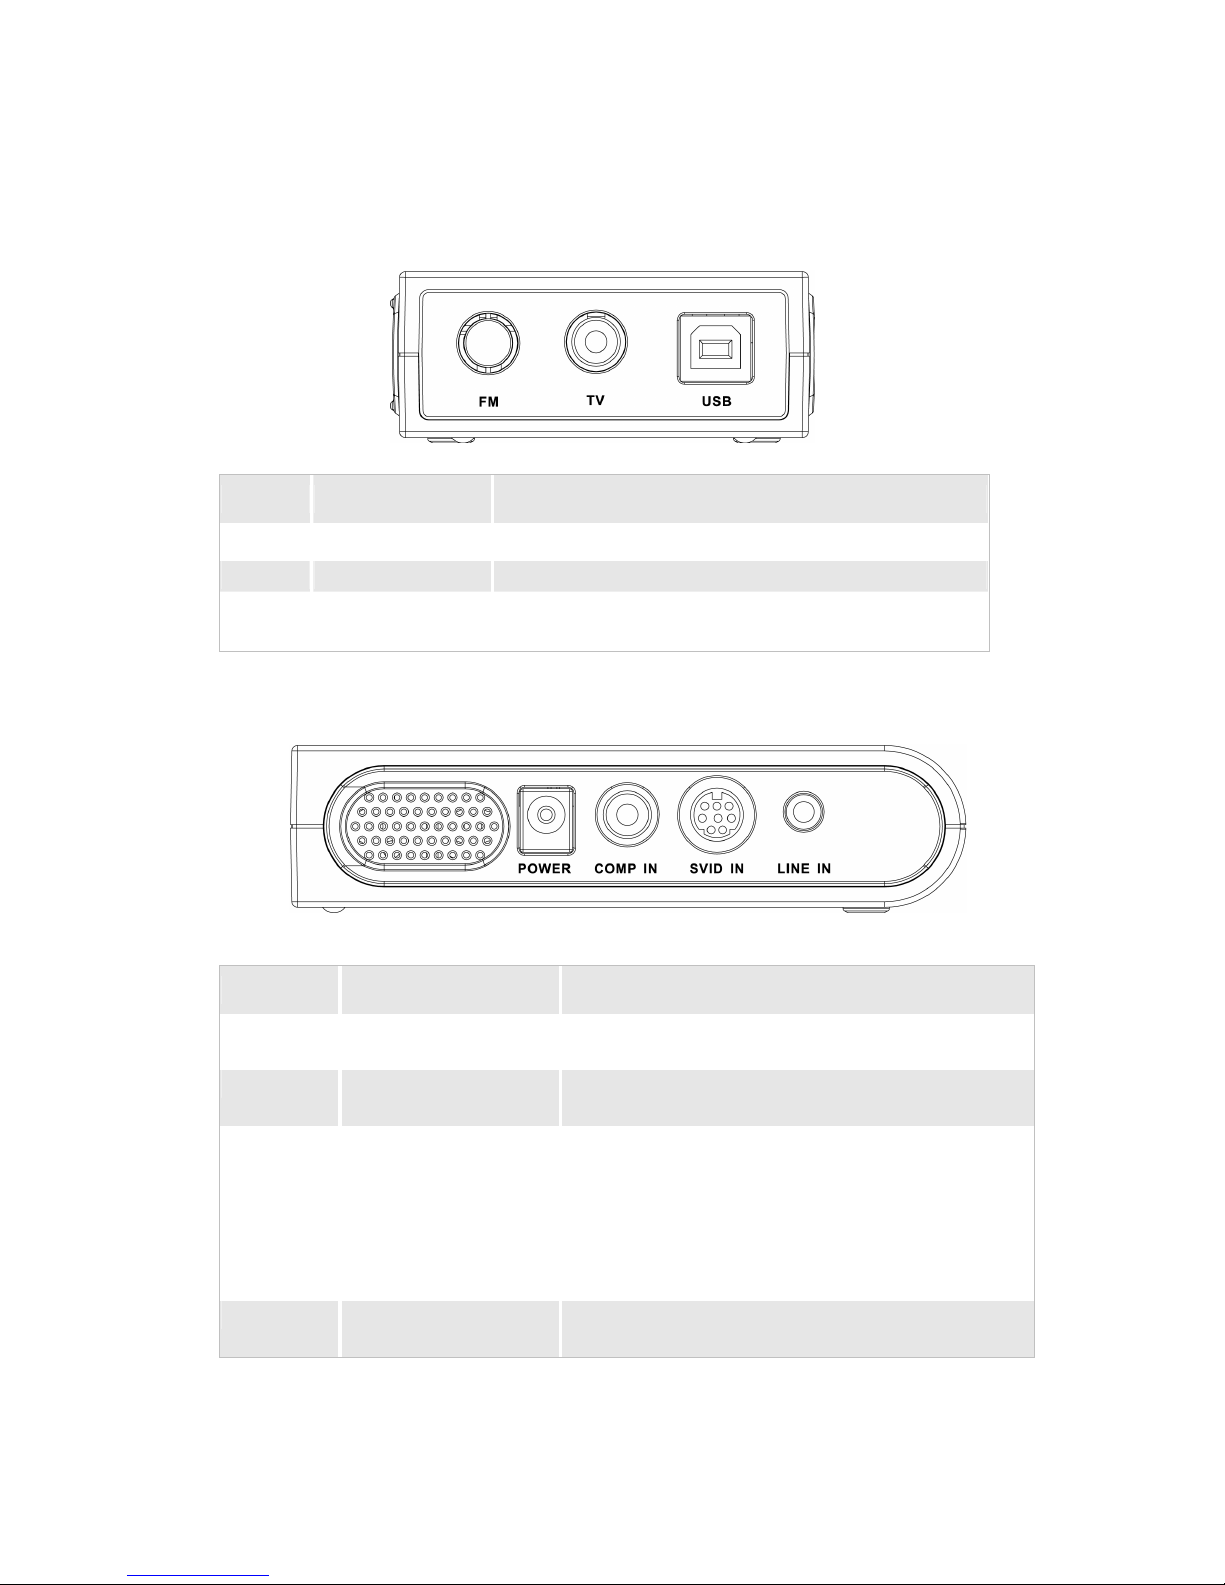
About VideoMate Action
VideoMate Action lets you watch and record TV on your PC. Depending on
which model you have, your VideoMate Action tuner card features a TV tuner,
FM Tuner, 3D Y/C Separation. All versions support: Digital Video Recording
(DVR) functions, scheduled recording at anytime, crystal video quality,
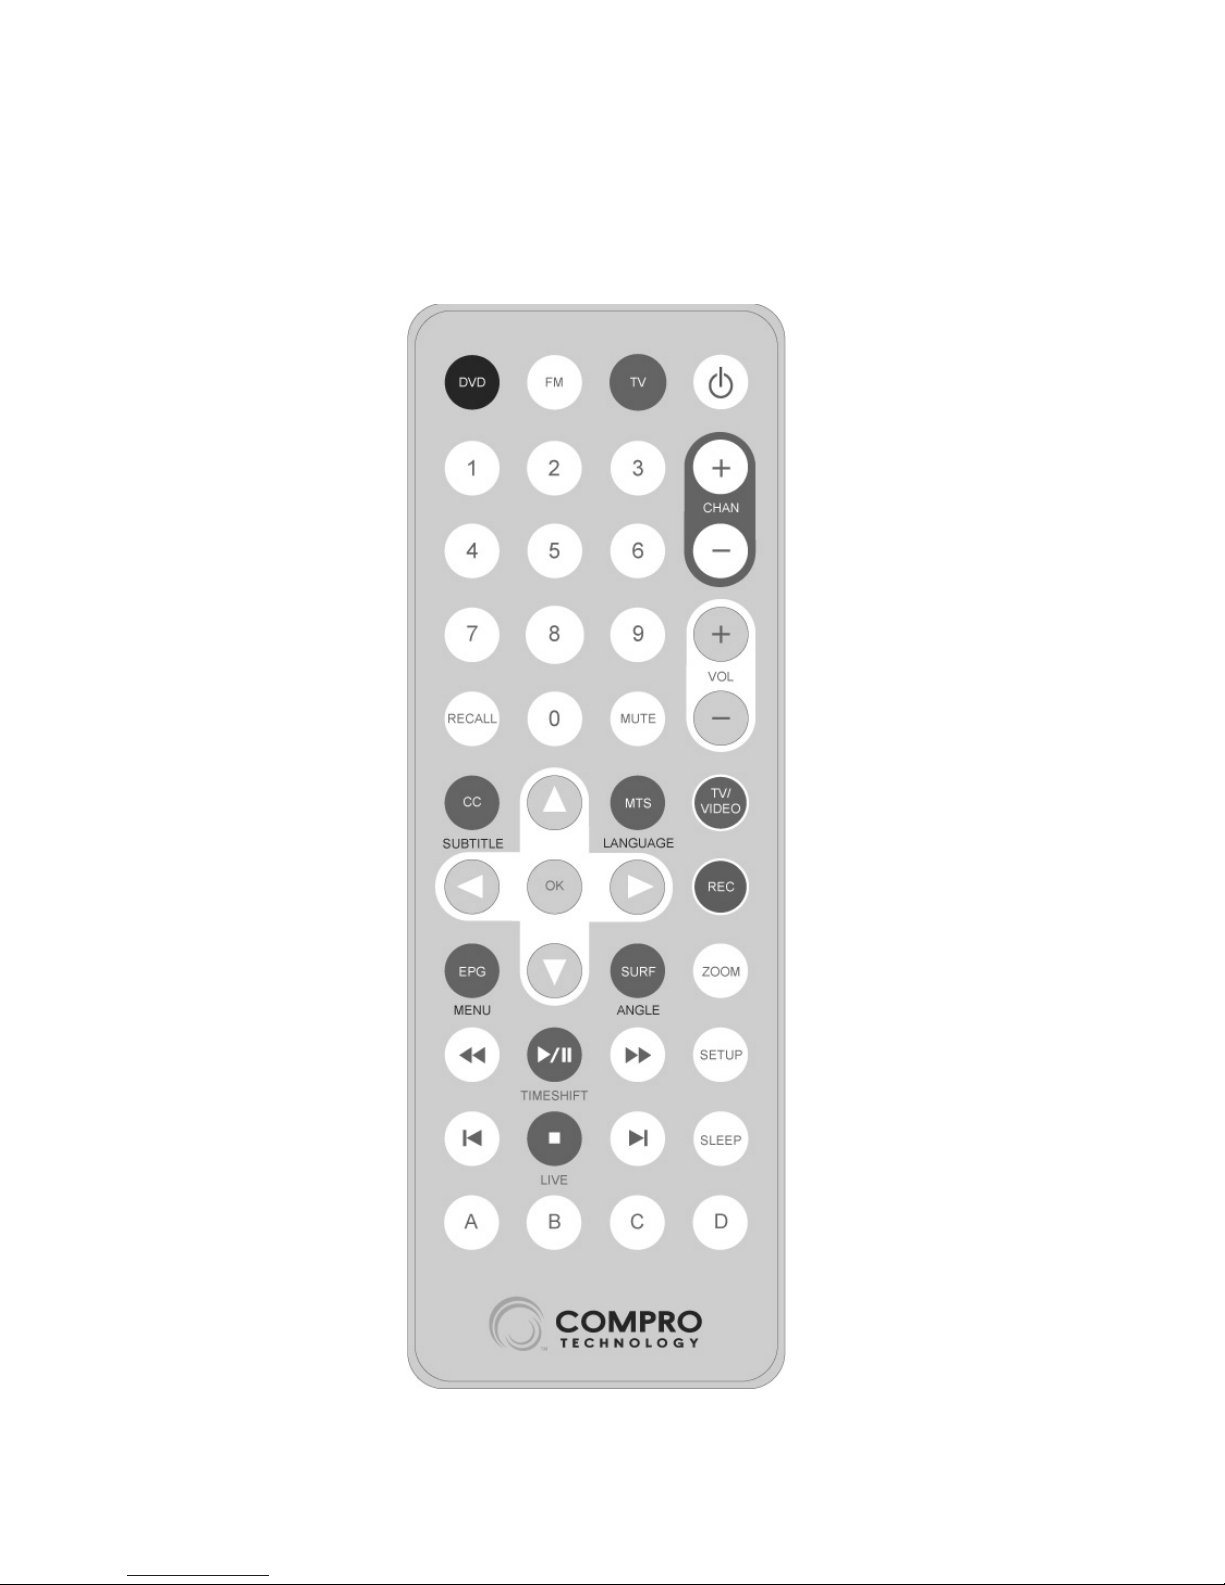
intelligent TV viewing, and Multi-function Remote Control. Additionally,
VideoMate Action also provides a Video capture function so that you can
transfer videos from video devices, such as video cameras, to your PC.
MINIMUM SYSTEM REQUIREMENTS
Your system must meet the following requirements to watch TV.
•800 MHz Pentium III or equivalent CPU
•128 MB RAM
•Sound card
•Open USB 2.0 port
•CD-ROM drive for software installation
•Windows XP SP1, Windows 2000 SP4 or above
•50 MB free disk space for basic software installation.
•600 MB (VCD-quality) to 3 GB (DVD-quality) per hour of recorded video.
RECOMMENDED SYSTEM REQUIREMENTS
To use all the features of VideoMate Action, including recording at DVD quality,
your system should meet the following requirements.
•2.4 GHz CPU
•256 MB RAM
•Sound card
•Open USB 2.0 ports
•Windows XP SP2