Comrex Access NX User manual

Product Manual

ACCESS NX Rack July 2019
ACCESS NX RACK MANUAL


Comrex has been building reliable, high quality broadcast equipment since 1961. Our products are used daily in
over many years of use. Each unit we ship has been individually and thoroughly tested.
Comrex stands behind its products. We promise that if you call us for technical assistance, you will talk directly with
someone who knows about the equipment and will do everything possible to help you.
You can contact Comrex by phone at 978-784-1776. Our toll free number in North America is 1-800-237-1776.
com. Our email address is info@comrex.com.
1776 or fax 978-784-1717.
This Warranty does not apply if the product has been damaged by accident or misuse or as the result of service or

INTRODUCTION
with very low delay.
The NX Rack is simple to use, and may be used over several IP links while maintaining superior audio performance
robustness of the BRIC Normal technology (Broadcast Reliable Internet Codec) used in the NX Rack allows the
system to perform well in public Internet reliant environments as well (using AAC or Opus compression modes).
Rack also implements Opus audio compression, along with VoIP standard G.722.
transmission is not required, the reverse channel may be disabled. The BRIC Normal technology incorporated
30mS. AAC modes incorporate around 100mS total end-to-end delay while HE-AAC modes deliver around 220mS.

dependent.
Switchboard
traversal server. Switchboard
otherwise.
Dual Network support (Bonding and Redundancy modes)
CrossLock
CrossLockSwitchboard
CrossLock
CrossLock when using very data-intensive algorithms
HotSwap, which is a feature of CrossLock that
allows users to designate one network in a CrossLockprimary and the other network as secondary in

NX RACK DIAGRAMS AND INSTALLATION
1 AC Input - An IEC connector for the main power. NX Rack works on worldwide AC power at 110-240VAC
2 Analog/AES3 Input Switch
used for analog or AES3 digital audio input.
3 Analog Audio Input
+20dBu.
4 Analog Audio Input Right -
6 Analog Audio Output Right
7 AES3 Digital Audio Output
rate and clock signal of the Input.
8 POTS/PSTN
9 USB Ports
10 Ethernet Ports
11 HDMI Port
12 Display Port
13 General Purpose Input/Output - Provides four sets of contact closure inputs and outputs, which can be
14 Serial Port – RS-232 serial port for ancillary data access.
1
3 & 4 5 & 6 7811
12
14
2
910
13

Send
16 Receive
17 Reset
required to reboot when this is pressed.
18
Red = Network unavailable
= Ready to connect to a remote
Green = Connected to remote
Yellow
XLR Pinouts AES3 Pinouts
15 16 17
18
Pin 1 Ground
Pin 2 Audio +
Pin 3 Audio –
Pin 1 Ground
Pin 2 Data +
Pin 3 Data –

Contact Closures are available via the male 9-pin GPIO port on the back of the NX Rack. Inputs are triggered by
of sinking up to 200mA at a voltage up to 12V. Do not switch AC mains power using these contacts.
Contact Closure Pinouts
Pin 1 Input #1
Pin 2 Input #2
Pin 3 Input #3
Pin 4 Input #4
Ground
Pin 6 Output #1
Pin 7 Output #2
Pin 8 Output #3
Pin 9 Output #4
The Serial Port
is pinned on a RS-232, 9-pin D female in DCE-style pinning. The port is designed to connect to a 9-pin PC serial port
Serial Port Pinouts
Pin #
1 CD
2 RX Data
3 TX Data To NX Rack
4DTR To NX Rack
Ground
6 DSR
7RTS To NX Rack
8CTS
9 RI

without use of the Switchboard server will be covered.
Refer to Page 31
Using The Console
Logging In
FIGURE 3 HTML5 LOGIN SCREEN

FIGURE 4
FIGURE 5

USING THE DEVICE MANAGER PROGRAM
Device Manager
OS-executable program that can be downloaded from the Comrex website. Device Manager can also be used for
Device Manager
as the unit itself.
As shown in Figure 6, running the Device ManagerScan
Device Manager
default password has changed, Device Manager
Figure 6 Device Manager has logged in. The fourth
tab is labeled Toolbox. The
ToolboxToolbox with a
user name (any) and password (default = comrex) to enter the Toolbox.
Once logged into Toolbox, choose the Network/Admin/CrossLockSet up Ethernet. Choose
the Ethernet port that appears in the list, which will look like Figure 7.

access to the
DHCP by default. This means that it tries to
,
IP Type. The system will prompt a
Figure 8 (on the following page).
As can be seen in Figure 8, the stac IP address, the Netmask, the Gateway Address, and at least one DNS Server
Address
backApply Changes
Toolbox
ScanDevice Manager to resync with the new IP address.
Other manuals for Access NX
1
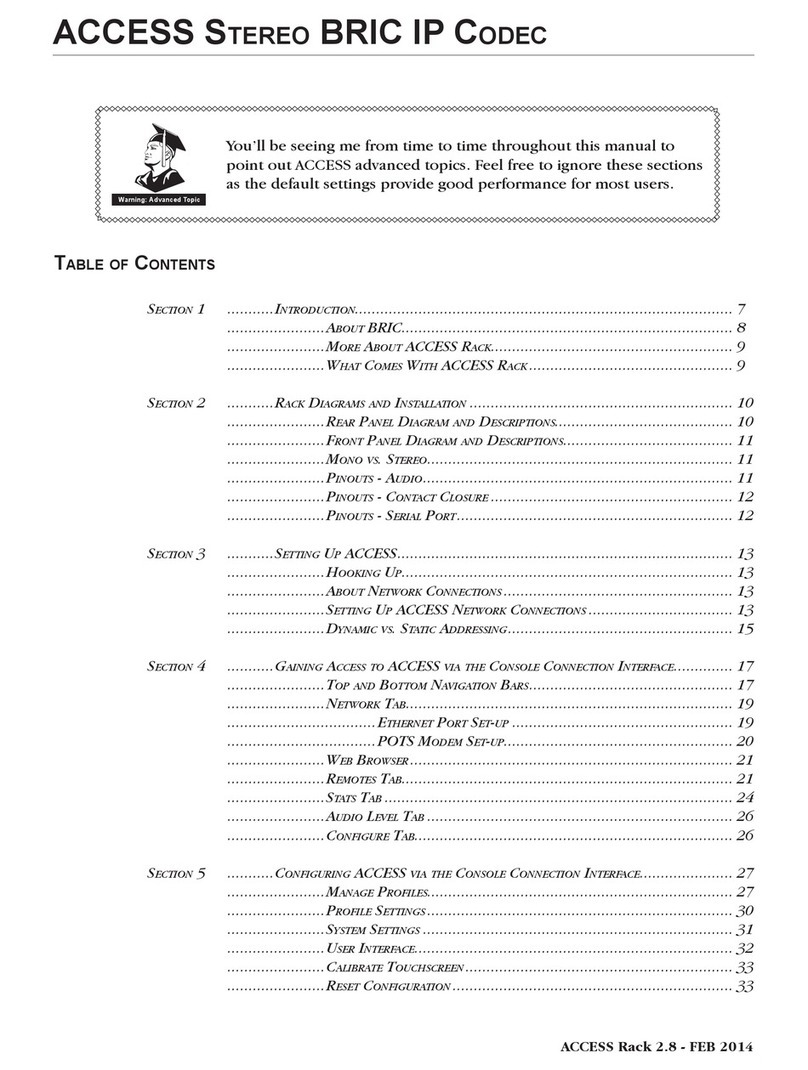
Table of contents
Other Comrex Conference System manuals
Comrex
Comrex LiveShot Portable User manual

Comrex
Comrex ACCESS STEREO BRIC IP User manual

Comrex
Comrex BRIC-Link User manual

Comrex
Comrex LiveShot Portable User manual

Comrex
Comrex BRIC-Link User manual

Comrex
Comrex Bluebox User manual

Comrex
Comrex KKFI User manual

Comrex
Comrex ACCESS Rackmount Installation guide
Comrex
Comrex ACCESS MultiRack User manual