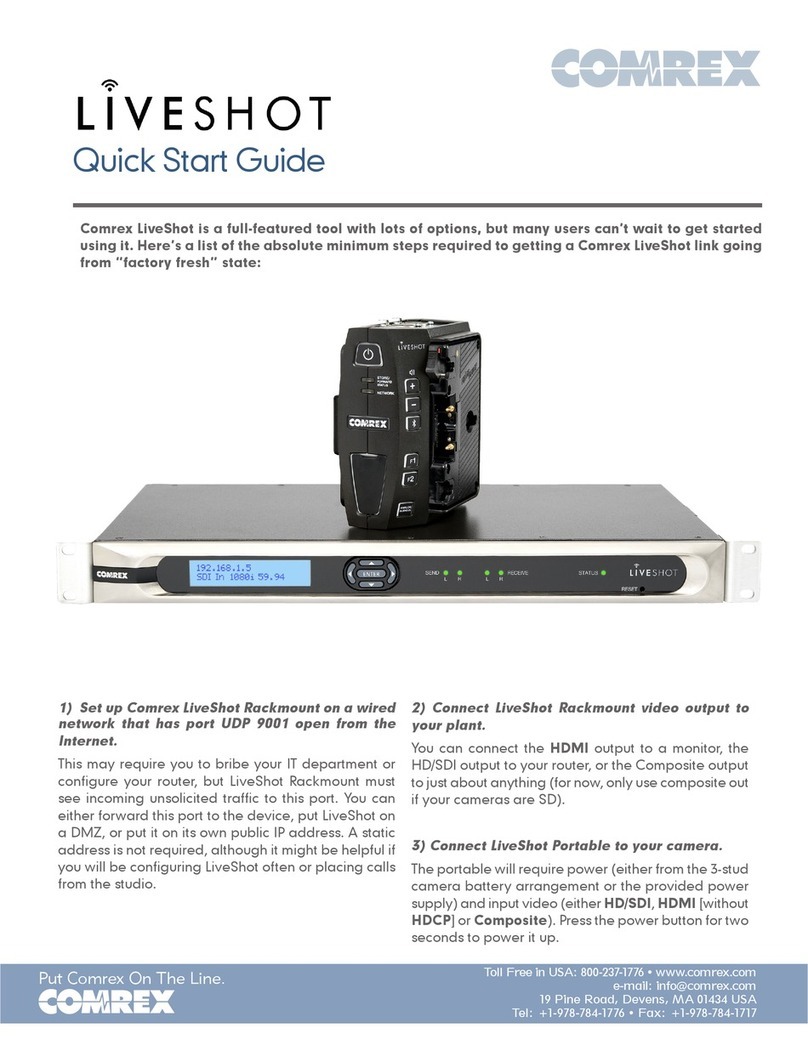
Comrex LiveShot Portable User manual
Other Comrex Conference System manuals
Comrex
Comrex LiveShot Portable User manual
Comrex
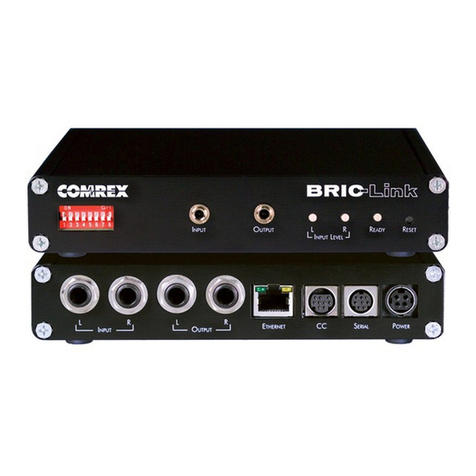
Comrex BRIC-Link User manual

Comrex
Comrex BRIC-Link User manual
Comrex
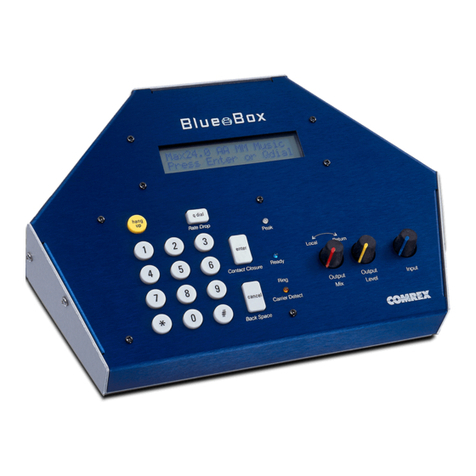
Comrex Bluebox User manual
Comrex
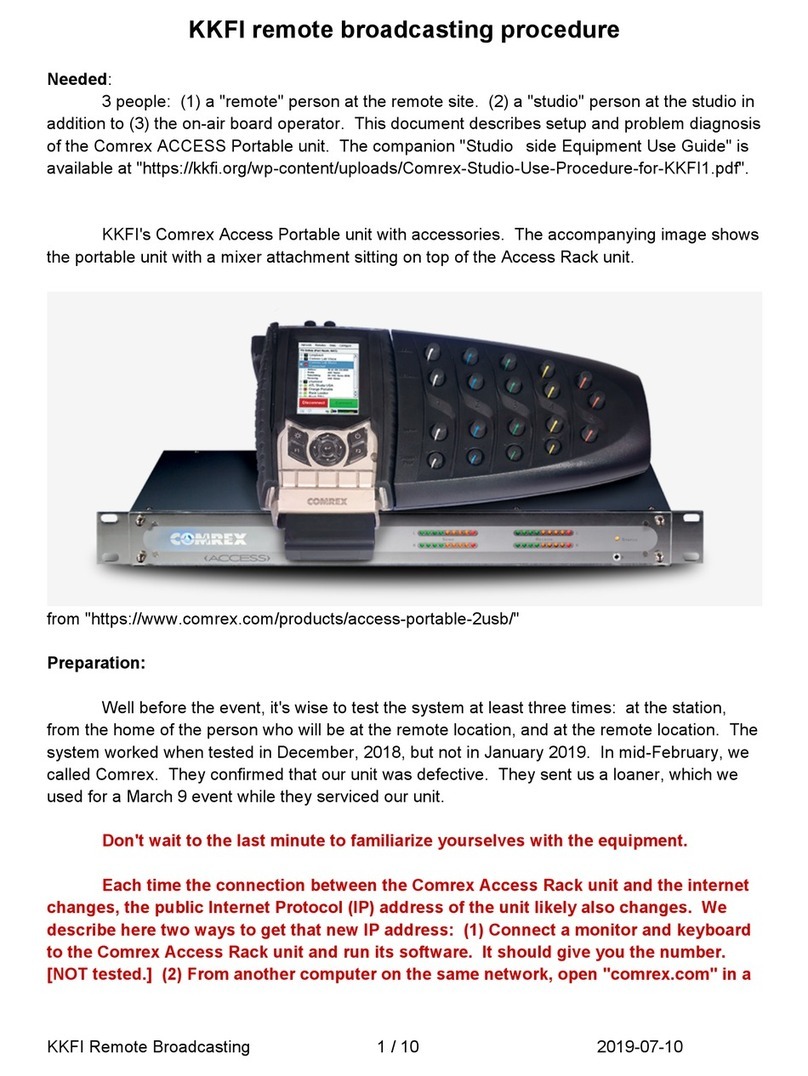
Comrex KKFI User manual

Comrex
Comrex ACCESS STEREO BRIC IP User manual

Comrex
Comrex ACCESS MultiRack User manual

Comrex
Comrex Access NX User manual
Comrex
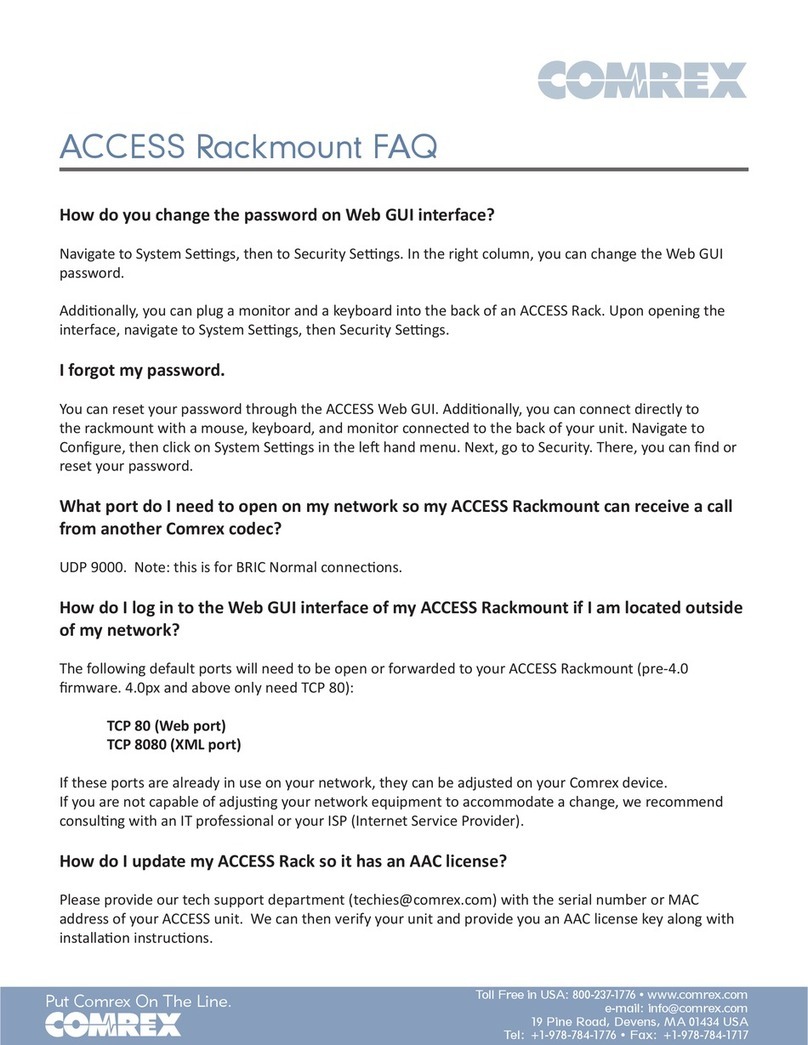
Comrex ACCESS Rackmount Installation guide
Popular Conference System manuals by other brands

Jabbla
Jabbla Tellus 6 operating instructions

LY International Electronics
LY International Electronics H-9500 Series Installation and operating manual

RADVision
RADVision Scopia XT1000 user guide

AT&T
AT&T MERLIN LEGEND Reference

Polycom
Polycom RealPresence Group Series setup sheet

ProSoft Technology
ProSoft Technology AN-X4-AB-DHRIO user manual

Sony
Sony PCS-I150 Operation guide

Middle Atlantic Products
Middle Atlantic Products VTC Series instruction sheet

AVT
AVT MAGIC AC1 Go Configuration guide

Prentke Romich Company
Prentke Romich Company Vanguard Plus Setting up and using

Speakerbus
Speakerbus iD 712 user guide

Trelleborg
Trelleborg SafePilot CAT PRO user guide


