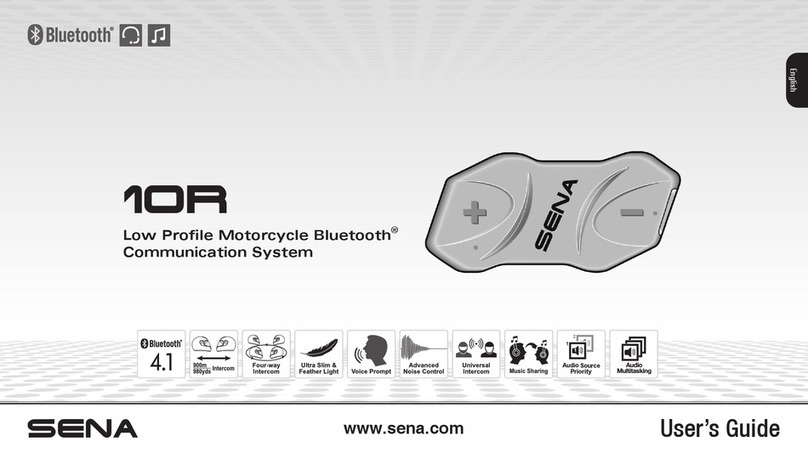
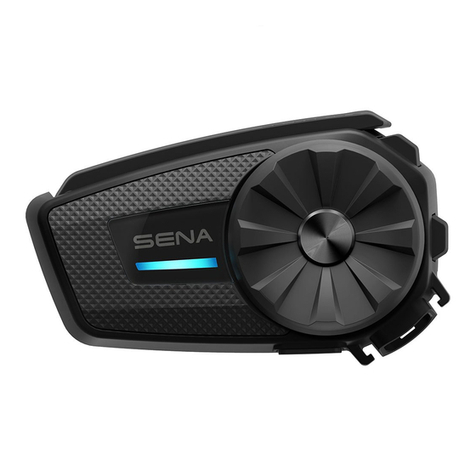
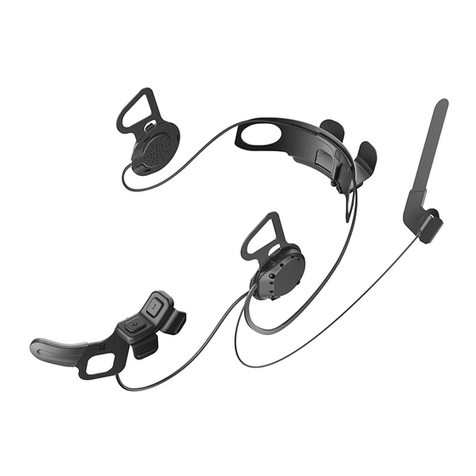
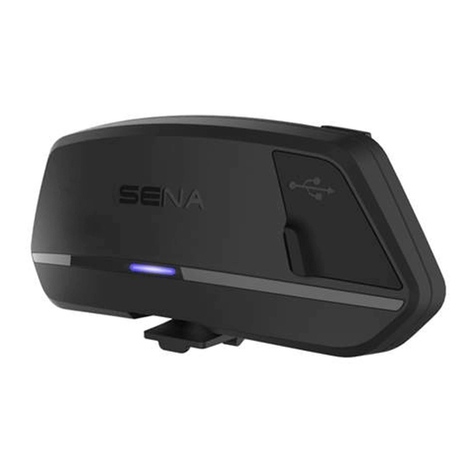
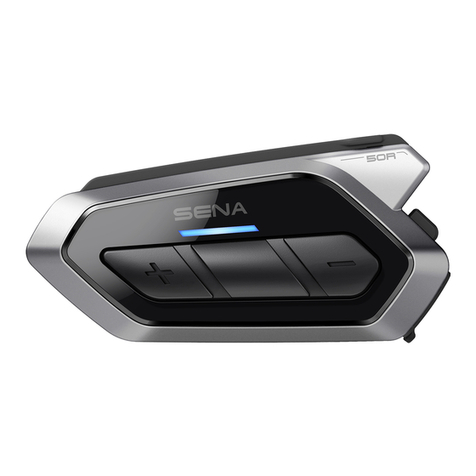
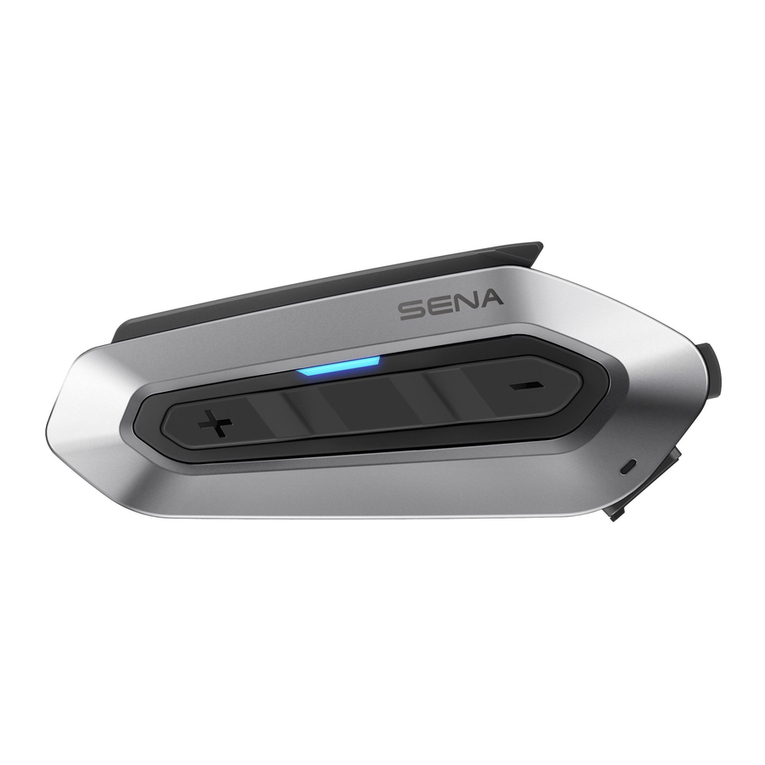
Sena 10R User manual

User's Guide
www.sena.com
)KS-NKłHA*KPKN?U?HAHQAPKKPD®
KIIQJE?=PEKJ0UOPAI
English

10R
© 1998-2015 Sena Technologies, Inc. All rights reserved.
Sena Technologies, Inc reserves the right to make any changes and improvements to its product without providing prior notice.
Sena™ is a trademark of Sena Technologies, Inc. or its subsidiaries in the USA and other countries. 10R™, 10U™, 10C™, Prism™, 20S™,
Snowtalk™, 3S™, SMH10™, SMH5™, SMH5-FM™, SPH10™, SPH10H™, SPH10H-FM™, SMH10R™, SPH10S™, SPH10H™, SR10™, SR10i™,
SM10™, EXPAND™, Bluetooth Pack for GoPro®are trademarks of Sena Technologies, Inc. or its subsidiaries. These trademarks may not be used
without the express permission of Sena.
GoPro®ISAREGISTEREDTRADEMARKOF7OODMAN,ABSOF3AN-ATEO#ALIFORNIA3ENA4ECHNOLOGIES)NCh3ENAvISNOTAFlLIATEDWITH7OODMAN
Labs. The Sena Bluetooth Pack for GoPro®is an after-market accessory specially designed and manufactured by Sena Technologies, Inc. for the
GoPro®Hero3 and Hero4 allowing for Bluetooth capabilities.
The Bluetooth®word mark and logos are owned by the Bluetooth SIG, Inc. and any use of such marks by Sena is under license. iPhone, iPod
touch are registered trademarks of Apple Inc. Zumo™ is a trademark of Garmin Ltd. or its subsidiaries. TomTom™ is the trademark or registered
trademark owned by TomTom International B.V. Other trademarks and tradenames are those of their respective owners.

10R
English
CONTENTS
1 INTRODUCTION .......................................................................................................5
2 PACKAGE CONTENTS ............................................................................................6
3 INSTALLING THE 10R ON YOUR HELMET............................................................9
3.1 Installing the Main Unit............................................................................................................9
3.2 Installing the Speakers..........................................................................................................11
3.3 Installing the Microphones....................................................................................................12
3.4 Installing the Battery Pack ....................................................................................................15
3.5 Installing the Handlebar Remote ..........................................................................................16
4 GETTING STARTED.............................................................................................. 17
4.1 Button Operation...................................................................................................................17
4.2 Powering On and Off.............................................................................................................18
4.3 Charging................................................................................................................................18
4.4 Checking the Battery Level...................................................................................................19
4.5 Volume Adjustment ...............................................................................................................19
4.6 Sena Softwares .....................................................................................................................20
5 PAIRING THE 10R WITH BLUETOOTH DEVICES .............................................. 20
5.1 Mobile Phone Pairing - Mobile Phone, Bluetooth Stereo Device .........................................21
5.2 Second Mobile Phone Pairing - Second Mobile Phone, GPS, and SR10............................21
5.3 Advanced Selective Pairing - A2DP Stereo or Handsfree ...................................................22
5.4 Intercom Pairing ....................................................................................................................23
6 MOBILE PHONE, GPS, SR10 ............................................................................... 26
6.1 Mobile Phone Call Making and Answering...........................................................................26
6.2 Speed Dialing........................................................................................................................27
6.3 GPS Navigation.....................................................................................................................28
6.4 Sena SR10, Two-Way Radio Adapter ...................................................................................28
7 STEREO MUSIC .................................................................................................... 29
7.1 Bluetooth Stereo Music .........................................................................................................29
7.2 Music Sharing .......................................................................................................................29
8 INTERCOM............................................................................................................. 30
8.1 Two-way Intercom .................................................................................................................30
8.2 Three-way Intercom ..............................................................................................................31
8.3 Four-way Intercom.................................................................................................................33
9 THREE-WAY CONFERENCE PHONE CALL WITH
INTERCOM PARTICIPANT ................................................................................... 35
10 UNIVERSAL INTERCOM....................................................................................... 36
10.1 Universal Intercom Pairing....................................................................................................37
10.2 Two-way Universal Intercom.................................................................................................38
10.3 Three-way Universal Intercom ..............................................................................................38
10.4 Four-way Universal Intercom ................................................................................................40
11 FM RADIO .............................................................................................................. 42
11.1 FM Radio On and Off ............................................................................................................42
11.2 Preset Stations.......................................................................................................................42
11.3 Seek and Save ......................................................................................................................42
11.4 Scan and Save ......................................................................................................................43
11.5 Temporary Preset ..................................................................................................................43
11.6 Region Selection ...................................................................................................................44
12 FUNCTION PRIORITY ........................................................................................... 45

10R
13 CONFIGURATION SETTING ................................................................................ 45
13.1 Mobile Phone Pairing ............................................................................................................47
13.2 Second Mobile Phone Pairing ..............................................................................................47
13.3 Phone selective pairing.........................................................................................................47
13.4 Media Selective Pairing ........................................................................................................48
13.5 Assigning Speed Dial ...........................................................................................................48
13.6 Enabling/Disabling Audio Boost ...........................................................................................49
13.7 Enabling/Disabling Voice Activated Phone Answering........................................................50
13.8 Enabling/Disabling Voice Activated Intercom ......................................................................50
13.9 Setting Intercom Vox Sensitivity............................................................................................51
13.10 Enabling/Disabling Voice Prompts....................................................................................51
13.11 Enabling/Disabling RDS AF ..............................................................................................52
13.12 Enabling/Disabling Sidetone.............................................................................................52
13.13 Enabling/Disabling Advanced Noise Control™ ...............................................................52
13.14 Delete All Bluetooth Pairing Information ...........................................................................53
13.15 Remote Control Pairing .....................................................................................................53
13.16 Factory Reset ....................................................................................................................53
%XIT6OICE#ONlGURATION-ENU ..........................................................................................53
14 FIRMWARE UPGRADE ......................................................................................... 55
15 TROUBLESHOOTING ........................................................................................... 56
15.1 Intercom Failure.....................................................................................................................56
15.2 Intercom Reconnection.........................................................................................................56
15.3 Fault Reset.............................................................................................................................56
15.4 Factory Reset ........................................................................................................................56
15.5 Handlebar Remote Disconnection........................................................................................57
16 QUICK OPERATION REFERENCE ...................................................................... 57
16.1 Using the Handlebar Remote ...............................................................................................57
16.2 Using the Headset ................................................................................................................59
CERTIFICATION AND SAFETY APPROVALS ........................................................... 60
s FCC Compliance Statement......................................................................................................60
s FCC RF Exposure Statement.....................................................................................................60
s FCC Caution ..............................................................................................................................60
s CE Declaration of Conformity ....................................................................................................61
s Industry Canada Statement ......................................................................................................61
s Bluetooth License .....................................................................................................................61
s WEEE (Waste Electrical and Electronic Equipment).................................................................61
SAFETY INFORMATION.............................................................................................. 62
s Product Storage and Management...........................................................................................62
s Product Use ...............................................................................................................................62
s Battery........................................................................................................................................63
PRODUCT WARRANTY AND DISCLAIMER .............................................................. 64
s Limited Warranty........................................................................................................................64
s Warranty Exclusions ..................................................................................................................66
s Warranty Service........................................................................................................................67
s Return for Full Refund................................................................................................................67

10R
5
English
1 INTRODUCTION
4HANK YOU FOR CHOOSING THE 3ENA 2 ,OW 0ROlLE "LUETOOTH 3TEREO
Headset and Intercom. With the 10R, you can call handsfree on your
Bluetooth mobile phone, listen to stereo music or voice instructions of
GPS navigations wirelessly, and have intercom conversations in full
duplex with a passenger or other motorcycle riders.
The 10R is compliant with the Bluetooth 4.1 supporting the following
PROlLES(EADSET0ROlLE(ANDS&REE0ROlLE(&0 !DVANCED!UDIO
$ISTRIBUTION 0ROlLE !$0 AND !UDIO 6IDEO 2EMOTE #ONTROL 0ROlLE
(AVRCP). Please check with the manufacturers of other device to
determine their compatibility with this headset.
Please read this User’s Guide carefully before using the headset. Also
check www.sena.com for the latest version of the User’s Guide and
additional information related to Sena Bluetooth products.
4HE2FEATURES
s,IGHTWEIGHTANDULTRASLIMPROlLE
sSafe and easy operations by Bluetooth Low Energy Handlebar
Remote
sBluetooth intercom up to 900 meters (980 yards)*
sFour-way intercom
sThree-way conference phone call with intercom participant
sUniversal Intercom™
sVoice prompts
sSmartphone App for iPhone and Android
sBuilt-in FM radio tuner with a station scan and save function
sMusic Sharing
sAdvanced Noise Control™
sSidetone
sSpeed Dialing
sFirmware upgradeable
* in open terrain

10R
6
+EY3PECIlCATIONS
sBluetooth 4.1
s3UPPORTING PROlLES (EADSET 0ROlLE (ANDS&REE 0ROlLE (&0
!DVANCED !UDIO $ISTRIBUTION 0ROlLE !$0 AND !UDIO 6IDEO
2EMOTE#ONTROL0ROlLE!62#0
2 PACKAGE CONTENTS
+HDGVHW0DLQ8QLW
+RRNDQG/RRS)DVWHQHUVIRU0DLQ8QLW
'RXEOH6LGHG$GKHVLYH7DSHVIRU0DLQ8QLW

10R
7
English
Wired Boom Microphone
:LUHG%RRP0LFURSKRQH
+RRNDQG/RRS)DVWHQHUIRU:LUHG%RRP0LFURSKRQH
0LFURSKRQH6SRQJHV
%RRP0LFURSKRQH+ROGHU
+RRNDQG/RRS)DVWHQHUIRU%RRP0LFURSKRQH+ROGHU
Speaker
6SHDNHUV
+RRNDQG/RRS)DVWHQHUVIRU6SHDNHUV
)RDP6SHDNHU&RYHUV
6SHDNHU3DGV7KLFN
6SHDNHU3DGV7KLQ

10R
8
Wired Microphone
:LUHG0LFURSKRQH
+RRNDQG/RRS)DVWHQHUIRU:LUHG0LFURSKRQH
Battery Pack
5%DWWHU\3DFN
%DWWHU\3DFN+ROGHU
'RXEOH6LGHG$GKHVLYH7DSHVIRU%DWWHU\3DFN+ROGHU
Handlebar Remote
+DQGOHEDU5HPRWH
+DQGOHEDU5XEEHU%DQGV
Others
86%3RZHU'DWD&DEOH
&LJDUHWWH&KDUJHU

10R
9
English
3 INSTALLING THE 10R ON YOUR HELMET
Battery Pack Connector
Microphone Connector
DC Power Charging &
Firmware Upgrade Port
Speaker Connectors
Micro
p
hone Connector
Spea
ker Connector
s
10R Headset Main Unit
3.1 Installing the Main Unit
3.1.1 Using the Hook and Loop Fasteners for Main Unit
1. Clean the area on the left side of the helmet where you will attach
the hook and loop fasteners for main unit with a moistened towel
and dry thoroughly.
2. Peel off the cover of the adhesive tape of the loop fastener for
main unit and attach it to the helmet.

10R
10
3. Peel off the cover of the adhesive tape of the hook fastener for
main unit and attach it to the back plate of the main unit.
4. Attach the main unit using the hook and loop fasteners that you
lTTED-AKESURETHATTHEMAINUNITISlRMLYATTACHEDTOTHEHELMET
3.1.2 Using the Double Sided Adhesive Tapes for Main Unit
If you cannot attach the hook and loop fasteners to the helmet, you
can use double sided adhesive tape.
1. Clean the area on the left side of the helmet where you will attach
the double sided adhesive tapes with moistened towel and dry
thoroughly.
2. Peel off the cover from one side of the double sided adhesive
tapes for main unit and attach it to the back plate of the main unit.

10R
11
English
3.2 Installing the Speakers
1. Peel off each cover of the hook and loop fasteners for speakers
to expose the adhesive surface. Then, attach the fasteners to the
ear pockets inside the helmet.
2. Attach the speakers to the hook and loop fasteners for speakers
inside the helmet.
3. Peel off the cover from the other side of the double sided adhesive
tapes and attach the main unit on the left side of your helmet.
4. -AKESURETHATTHEMAINUNITSTICKSONTHEHELMETlRMLY-AXIMUM
adhesion occurs after 24 hours.
CAUTION:
Sena recommends using the hook and loop fasteners for main unit. The
double sided adhesive tape is provided for convenience, but is not the
recommended mounting method. Sena is not responsible for its use.

10R
12
3. Align the arrows on the main unit and speaker cables and insert
speaker cables into each speaker connector.
Note:
1. Three cables connect to the main unit. The longest is the cable for the
speakers. The second longest cable has a male connector and is for the
battery pack. The shortest cable is for the microphone.
2. The cable for the speakers has two leads. The longer lead is for the right
speaker and the shorter lead is for the left speaker.
3. If the helmet has deep ear pockets, you can use the speaker pads to
bring the speakers closer to your ears.
3.3 Installing the Microphones
3.3.1 Using the Wired Boom Microphone
1. Peel off the cover of the hook and loop fastener for wired boom
microphone to expose the adhesive tape. Then, attach the hook
and loop fastener on the inside surface of the left external shell.

10R
13
English
2. Attach the wired boom microphone’s mounting plate to the hook
and loop fastener.
Note:
1. After you install the wired boom microphone, make sure you reinstall the
helmet’s internal padding.
2. You can use the boom microphone holder after attaching the hook and
loop fastener for boom microphone holder on it to ensure secure
installation.
3. Make sure that the microphone’s receiver is located near your
mouth.
4. Adjust the head of the microphone so that the tab is facing away
from your mouth.
Tab
5. Align the arrows on the main unit and microphone cables and
insert the microphone cable into the microphone connector.
Note:
Three cables connect to the main unit. The longest is the cable for the
speakers. The second longest cable has a male connector and is for the
battery pack. The shortest cable is for the microphone.

10R
14
3.3.2 Using the Wired Microphone
If you have a full face helmet, you can use the wired microphone.
1. Peel off the cover of the hook and loop fastener for wired
microphone to expose the adhesive tape. Then, attach the hook
and loop fastener on the inside of the helmet’s chin guard.
2. Attach the wired microphone to the hook and loop fastener for
wired microphone.
3. Align the arrows on the main unit and microphone cables and
insert the microphone cable into the microphone connector.
Note:
Three cables connect to the main unit. The longest is the cable for the
speakers. The second longest cable has a male connector and is for the
battery pack. The shortest cable is for the microphone.

10R
15
English
3.4 Installing the Battery Pack
1. Clean the area on the back side of the helmet where you will
attach the double sided adhesive tapes with moistened towel and
dry thoroughly.
2. Peel off the cover from one side of the double sided adhesive
tapes for battery pack holder and attach it to the back plate of the
battery pack holder.
3. Peel off the cover from the other side of the double sided adhesive
tapes and attach the battery pack holder on the back side of your
helmet.
4. Make sure that the double sided adhesive tapes sticks on the
HELMETlRMLY-AXIMUMADHESIONOCCURSAFTERHOURS
5. To secure the battery pack, slide the battery pack into the battery
pack holder until you hear it click.

10R
16
6. Align the arrows on the main unit and battery pack cables and
insert the battery pack cable into the battery pack connector.
Note:
1. Three cables connect to the main unit. The longest is the cable for the
speakers. The second longest cable has a male connector and is for the
battery pack. The shortest cable is for the microphone.
2. To remove the battery pack from the battery pack holder, slide the battery
pack upward.
3. After connecting all the cables, store any excess cable behind the
internal padding of the helmet to prevent wires from becoming damaged.
3.5 Installing the Handlebar Remote
1. Separate the two ends of the Handlebar Remote carefully.
2. Clip the Handlebar Remote on the left handlebar of your
motorcycle. Make sure you can comfortably control the Joystick
with your left thumb.
Note:
If the handlebar requires better grip for holding the Handlebar Remote in
place, apply a single or double rubber band around the handlebar.

10R
17
English
4 GETTING STARTED
4.1 Button Operation
The 10R is mainly controlled by the Bluetooth Handlebar Remote. The
two are paired from the factory and are ready for immediate use. If the
Handlebar Remote runs out of battery, you can use the headset
buttons on the headset to operate all functions. The headset button
operation guide is explained in tables at the end of each section.
(+) Buttons
Center Buttons
(-) Buttons
10R Headset Buttons
Status LED
Front Button
Enter into intercom pairing mode
Start and end an intercom conversation
Answer and end a mobile phone call
Reject an incoming mobile phone call
Enter into voice configuration setting
Joystick
Enter into mobile phone pairing mode
Volume adjustment
Play and pause Bluetooth stereo device
Track forward and track back music
Navigate through configuration menu
Seek FM radio station
Rear Button
Answer and end a mobile phone call
Speed Dial
Turn on/off FM tuner
DC Power Charging Port
Handlebar Remote Buttons

10R
18
4.2 Powering On and Off
4.2.1 Headset
To power on the headset, press the Center Button and the (+) Button
at the same time while hearing ascending beeps and a voice prompt,
“Hello”. To power off the headset, press the Center Button and the (+)
Button at the same time while hearing descending beeps and a voice
prompt, “Goodbye”.
4.2.2 Handlebar Remote
To power on the device, tap the Front Button and the blue LED will
appear. To power off the device, press and hold the Front Button and
the Joystick for two seconds until red LED blinks.
4.3 Charging
You can charge the headset and the Handlebar Remote by connecting
the supplied USB power & data cable into a computer’s USB port or
USB wall charger. You can use any standard micro USB cable to
charge the units. You can also charge them on the road using the
cigarette charger. The charging LED turns red while charging and
turns blue when fully charged. It takes about 2.5 hours to be completely
charged.
or
$&$GDSWHU

10R
19
English
4.4 Checking the Battery Level
4.4.1 LED Indicator
When the headset or the Handlebar Remote is powering on, their red
,%$mASHESRAPIDLYINDICATINGTHEBATTERYLEVEL
mASHES(IGH^
mASHES-EDIUM^
mASHES,OW^
4.4.2 Voice Prompt Indicator
When you power on the headset, keep pressing the Center Button and
the (+) Button simultaneously for about 3 seconds until you hear three,
high toned beeps. Then you will hear a voice prompt indicating the
battery level. However, if you release the buttons as soon as the
headset turns on, you will not hear a voice prompt for the battery level
indication.
4.5 Volume Adjustment
You can easily adjust the volume by moving the Joystick up or down.
You will hear a beep when the volume reaches the maximum or
minimum level. The volume is set and maintained independently at
different levels for each audio source even when you reboot the
headset. For example, once you set the volume for mobile phone
handsfree, it will not change even if you adjust the volume for your
Bluetooth MP3 music. However, if you adjust the volume during stand-
by mode, it will affect volume levels of every audio source.
Function Handlebar Remote Headset
Volume up Move the Joystick up Tap the (+) Button
Volume down Move the Joystick down Tap the (-) Button
Button Operation Table for Volume Adjustment

10R
20
4.6 Sena Softwares
4.6.1 Sena Device Manager
4HE 3ENA $EVICE -ANAGER ALLOWS YOU TO UPGRADE THE lRMWARE AND
CONlGURE THE DEVICE SETTINGS DIRECTLY FROM YOUR 0# 5SING THIS
software, you can assign speed dial presets, FM radio frequency
presets and more. It is available for both Windows and Mac. For more
information on downloading the Device Manager, please visit www.
sena.com.
4.6.2 Sena Smartphone App
4HE 3ENA 3MARTPHONE !PP ALLOWS YOU TO CONlGURE DEVICE SETTINGS
and read the User’s Guide and the Quick Start Guide. Pair your phone
with your 10R headset (please refer to
section 5.1, “Mobile Phone
Pairing - Mobile Phone, Bluetooth Stereo Device”
). Run the Sena
3MARTPHONE!PPANDYOUCANCONlGUREITSSETTINGSDIRECTLYFROMYOUR
smartphone. You can download the Sena Smartphone App for Android
or iPhone from www.sena.com/app.
5 PAIRING THE 10R WITH BLUETOOTH
DEVICES
Before using the 10R Bluetooth headset with any other Bluetooth
DEVICESFORTHElRSTTIMEYOUWILLNEEDTOPAIRTHEMTOGETHER9OUCAN
pair the 10R with Bluetooth mobile phones, Bluetooth stereo devices
SUCHAS-0PLAYERSORMOTORCYCLESPECIlC"LUETOOTH'03NAVIGATION
and with other Sena Bluetooth headsets. The pairing operation is
required only once for each Bluetooth device. The headset remains
paired with the devices and automatically reconnects to them when
they are within range. You will hear a high toned single beep and a
VOICEPROMPTWHENEVERTHEHEADSETRECONNECTSTOTHEPAIREDDEVICE
“Phone connected” to a mobile phone, “Media connected” to a
Bluetooth stereo device.
Other manuals for 10R
7
Table of contents
Other Sena Conference System manuals
Popular Conference System manuals by other brands

Mitsubishi Electric
Mitsubishi Electric MODBUS TCP user manual

Steelcase
Steelcase RoomWizard II quick start guide

Grandstream Networks
Grandstream Networks GVC3210 RMT Quick installation guide

Huawei
Huawei AirPresence Key manual

Lucent Technologies
Lucent Technologies Merlin 1030 Planning guide

Yealink
Yealink MeetingBar A20 Deployment guide