manuals.online logo
Brands
  1. Home
  2. •
  3. Brands
  4. •
  5. Conceptronic
  6. •
  7. Media Player
  8. •
  9. Conceptronic CM3PVR Quick start guide

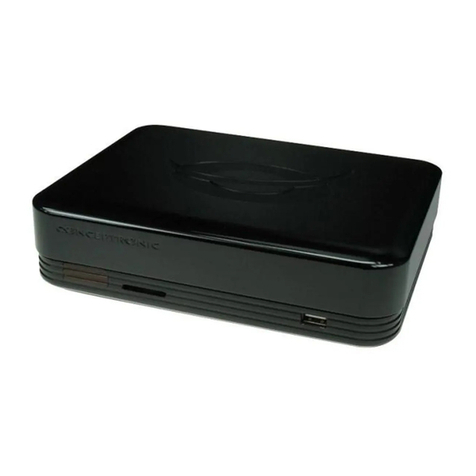
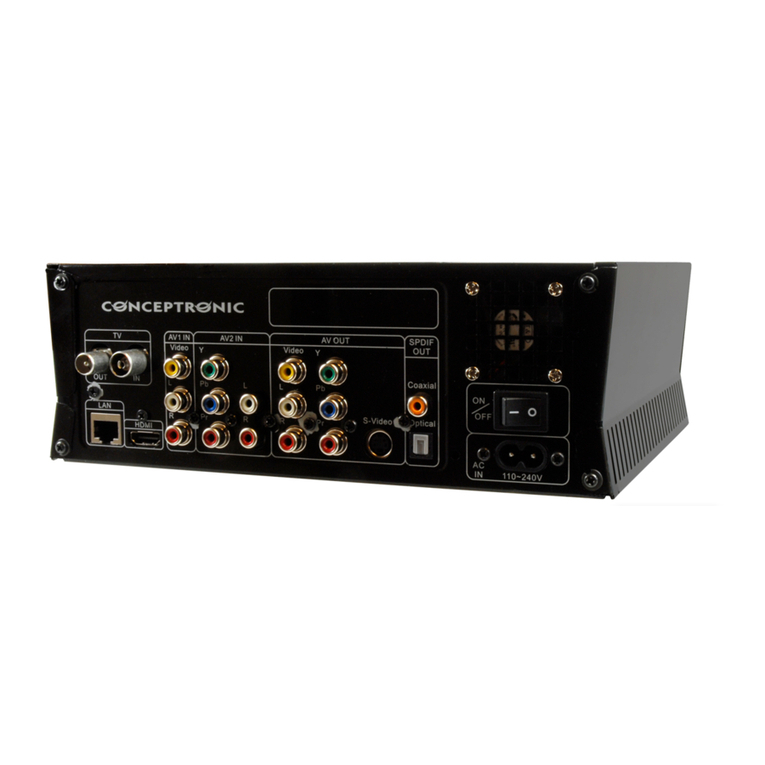
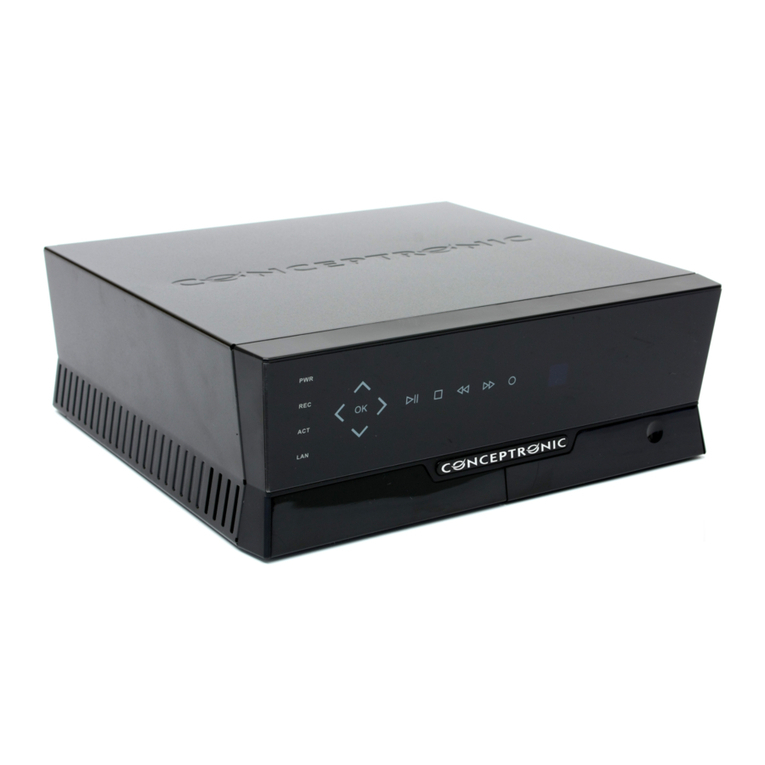
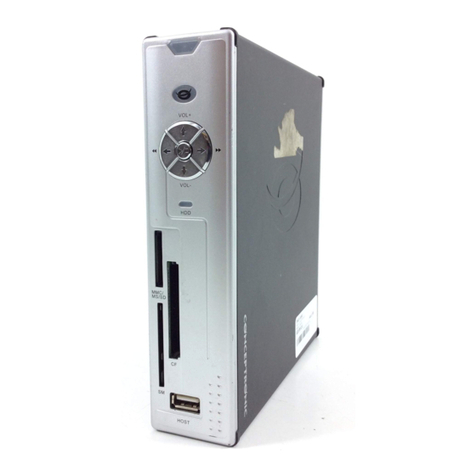
Conceptronic CM3PVR Quick start guide

Copyright®2008 by Conceptronic – All rights reserved
www.conceptronic.net
Page 1 of 10
Conceptronic CM3PVR Firmware Upgrade Instructions
A. Suitable firmware ersions
This firmware upgrade is only suitable for Conceptronic CM3PVR.
Note: This firmware upgrade is not suitable for the Conceptronic CM3PVRD, CM3PVR and CM3PVRN.
Copyright®2008 by Conceptronic – All rights reserved
www.conceptronic.net
Page 2 of 10
B. Upgrade information
A firmware upgrade can improve the performance of your Conceptronic device and can sometimes add new
features.
Periodically firmware updates will be available via the official Conceptronic ebsite.
Conceptronic is not liable for any damages caused by an unofficial, not by Conceptronic approved firmware
for this specific Conceptronic device. Firmware upgrades, even while using official approved firmware, are
always at your own risk.
Installing new firmware without taking the following precautions into account will seriously harm the life
span of your Conceptronic device.
hile installing new firmware, make sure the installation procedure is ne er interrupted.
Interruptions can, amongst others, be caused by:
- turning off the device;
- disconnecting the external USB device or memory card from where the uprade process was started;
- disconnecting the power supply;
- pressing one or more buttons on the remote control or the device;
- a general power shutdown.
The Conceptronic CM3PVR can be upgraded in three different ways:
-Through a USB Storage device (for example: a USB Stick)
-Through a Memory Card (for example: a SD Card)
-Through the internal hard disk
Copyright®2008 by Conceptronic – All rights reserved
www.conceptronic.net
Page 3 of 10
C. Upgrade procedure from a USB stick or memory card
1. Copying the firmware file to a USB stick or a memory card
1.1 If you have downloaded the firmware upgrade from www.conceptronic.net, you have a ZIP file
containing a folder named ‘Firmware’ and two documentation files for each language.
1.2 Connect the USB stick or memory card to your computer.
1.3 Copy the file ‘TVBOXROM.BIN’ from the folder ‘Firmware’ to the USB stick or memory card (for
example: ‘F:\TVBOXROM.BIN’ where F:\ is your USB stick or memory card).
Note: Do NOT put the firmware file in a folder on your USB stick or memory card. The CM3PVR must
‘see’ the firmware file directly on the USB stick or memory card.
(for example: ‘F:\TVBOXROM.BIN’).
1.4 Remove the USB stick or memory card from your computer with the ‘Safely remo e hardware’
option in the system tray.
1.5 Disconnect the USB stick or memory card from your computer.
2. Updating the firmware
2.1 Connect the CM3PVR to your TV and set the power switch on the backside of the CM3PVR to the ‘I’
position.
2.2 Turn the CM3PVR on (with the remote control).
2.3 Open the latch on the front of the CM3PVR.
2.4 Connect the USB stick to the USB host port of the CM3PVR or slide the memory card in the memory
card slot of the CM3PVR.
2.5 Select the option ‘Mo ies’ in the main menu of the CM3PVR.
2.6 The CM3PVR will show the Movie Browser on your screen, with the ‘RECORDS’ folder opened.
2.7 Press the ‘STORAGE’ button on the remote control to switch to ‘USB MODE’ or ‘CARD MODE’
(depends on what you have inserted, a USB Stick or a memory card).
2.8 Select the file ‘TVBOXROM.BIN’ and press the ‘ENTER’ button on the remote control.
2.9 The CM3PVR will show a ‘Smart Upgrade’ pop-up on your screen. Select ‘OK’ and press the
‘ENTER’ button on the remote control to start the firmware upgrade of your CM3PVR.
Note: The CM3PVR must not be turned off during the upgrade process. Doing so will result in an
unusable product. The same applies for removing the USB stick or memory card.
As soon as the upgrade process is completed, the CM3PVR will reboot and return to the main menu.
Now you can remove the USB stick or memory card from the device.
Copyright®2008 by Conceptronic – All rights reserved
www.conceptronic.net
Page 4 of 10
D. Upgrade procedure from the internal hard disk of the CM3PVR
1. Copying the firmware files to the CM3PVR
1.1 If you have downloaded the firmware upgrade from www.conceptronic.net, you have a ZIP file
containing a folder named ‘Firmware’ and two documentation files for each language.
1.2 Connect the CM3PVR to your computer with the USB cable.
1.3 Copy the file ‘TVBOXROM.BIN’ from the folder ‘Firmware’ to the hard disk (for example:
‘F:\TVBOXROM.BIN’ where F:\ is your CM3PVR).
1.4 Remove the CM3PVR from your computer with the ‘Safely remo e hardware’ option in the system
tray.
1.5 Disconnect the USB cable of the CM3PVR and turn the CM3PVR off with the switch on the back side.
2. Updating the firmware
2.1 Connect the CM3PVR to your TV and set the power switch on the backside of the CM3PVR to the ‘I’
position.
2.2 Turn the CM3PVR on (with the remote control).
2.3 Select the option ‘Mo ies’ in the main menu of the CM3PVR.
The CM3PVR will show the Movie Browser on your screen, with the ‘RECORDS’ folder opened.
2.4 Select ‘C:/’ in the top of the Movie Browser.
2.5 Select the file ‘TVBOXROM.BIN’ and press the ‘ENTER’ button on the remote control.
2.6 The CM3PVR will show a ‘Smart Upgrade’ pop-up on your screen. Select ‘OK’ and press the
‘ENTER’ button on the remote control to start the firmware upgrade of your CM3PVR.
Note: The CM3PVR must not be turned off during the upgrade process. Doing so will result in an
unusable product. The same applies for removing the USB stick or memory card.
As soon as the upgrade process is completed, the CM3PVR will reboot and return to the main menu.
3. Remo ing the firmware file from your hard disk
3.1 Turn the CM3PVR on with the remote control.
3.2 Select the option ‘Mo ies’ in the main menu of the CM3PVR.
The CM3PVR will show the Movie Browser on your screen, with the ‘RECORDS’ folder opened.
3.3 Select ‘C:/’ on top of the Movie Browser.
3.4 Select the file ‘TVBOXROM.BIN’ and press the ‘EDIT’ button on the remote control.
3.5 Select ‘DELETE’ in the onscreen menu and press the ‘ENTER’ button on the remote control.
3.6 The CM3PVR will ask if you are sure to delete the file. Select ‘Yes’ and press the ‘ENTER’ button
on the remote control. The firmware file will now be erased from your hard disk.
Copyright®2008 by Conceptronic – All rights reserved
www.conceptronic.net
Page 5 of 10
E. Checking the firmware ersion of the CM3PVR
1.1 Connect the CM3PVR to your TV and set the power switch on the backside of the CM3PVR to the ‘I’
position.
1.2 Turn the CM3PVR on (with the remote control).
1.3 hen the CM3PVR is in the main menu, press ‘RECORD’ – ‘0’ – ‘0’ – ‘0’ (zero) on the remote
control.
The CM3PVR will show the Device Information screen where you can see the current firmware version of
the CM3PVR.
1.4 Press the ‘ENTER’ button on the remote control to return to the CM3PVR main menu.
Copyright®2008 by Conceptronic – All rights reserved
www.conceptronic.net
Page 6 of 10
F. Release notes
CM3PVR Version 065:
Fixed:
•
••
•Fixed record issues:
oAfter record, when entering standby mode, the blue LED stays lighted and the device cannot be
turned on with the remote control.
oAfter record, the blue LED stays on while there is no image on the display. The CM3PVR cannot be
turned off.
oAfter record, the blue LED stays on and the HDD keeps spinning.
•
••
•The time will change when the device is turned off with the remote control.
Modified:
•
••
•Storage path on the HDD can now contain up to 10 subfolders.
Added:
•Add checksum support. hen upgrading with this firmware, it is not possible anymore to load the
firmware of another device in the CM3PVR by accident.
CM3PVR Version 060:
Fixed:
•
••
•Internal clock issue.
•
••
•hen selecting a HD MPG file the device freezes.
CM3PVR Version 056:
Modified:
•Playback resume option removed from "Tools" due to functionality changes.
hen playback of an *.AVI file has been stopped, you will now get a question to resume playback at
the position it has been stopped or play from the beginning.
The resume function will not be available once the CM3PVR has been turned off.
•Slide show timer functionality changed and option added to "Tools" within the "Setup" menu.
You can now set a time delay for your slide show within the "Tools" option.
Press the timer button on the remote control during a slide show to switch between the
following delays: 1, 2, 5, 20, 30 and 60 seconds.
Fixed:
•
••
•Hickups during MP3 playback.
Copyright®2008 by Conceptronic – All rights reserved
www.conceptronic.net
Page 7 of 10
Improved:
•
••
•Lip sync issue with recordings and movies.
CM3PVR Version 055:
Fixed:
•Overlap issue for recordings. hen multiple recordings overlap each other in time, but have a
different day, you will still get an overlap error message.
CM3PVR Version 053:
Fixed:
•MP3 files showing a total time of 00.
•Changed the way the date is shown with the CM3PVR.
It was MM-DD-YYYY it now is DD-MM-YYYY.
•Files are correctly sorted.
File creation time and use of capital letters no longer have effect on the sorting.
•After you exited a folder the cursor will now be on this exited folder instead of the folder at the top
of the list.
•Sort feature now shown in Spanish (Ordenar, only for the Spanish language)
•It is possible to get a weekly recording from Monday to Friday and a weekly recording from Saturday
to Sunday without getting a overlap error message.
Added:
•Resume function for videos.
In the setup menu: Setup  Tools  Resume Playback  Enable.
If enabled this function will start a movie where you have last stopped playing it by using the Stop
button.
•GoTo feature
Access to an exact point in the movie (specific in seconds) instead of fast forward or rewind.
hen playing a movie you can press the Timer button on the remote to activate the GoTo function.
You will be able to select the time in order of the hours, the minutes and then the seconds.
•Quick browsing
Using the numbers on the remote control you will be able to jump to the corresponding file number.
If you want to go to for example file 78 press 078 and you will jump to file 78 right away.
•Change slideshow time during a slideshow.
hile playing a slideshow enter a number, for example 10, the slideshow will then change picture
every 10 seconds. Please do notice that the actual time is 10 seconds + decoding time.
Note: It is only possible to change the slideshow time once in each slideshow. To change the
slideshow time again, restart the slideshow playback
Copyright®2008 by Conceptronic – All rights reserved
www.conceptronic.net
Page 8 of 10
CM3PVR Version 050 BETA:
Added:
•“Sort” option added to Setup menu.
Note: The sort option is not 100% functional yet. (Files with capitals are sorted first, then files
with small letters.)
•“Overwrite?” message added to copy mode. Displays an overwrite message if the file already exists
on the target.
Note: Both messages are still in English only and will be translated to the correct languages
in a final firmware release.
CM3PVR Version 047:
Fixed:
•Folders that include ‘AUDIO_TS’ and ‘VIDEO_TS’ files/folders cannot be deleted.
•Loading time between two video files is now shortened and the screen goes black in stead of showing
the Conceptronic logo.
Note: This is specifically fixed for recordings that are split into 55 minute video files.
Added:
•OTR information is now visible when pressing the ‘DISPLAY’ button during OTR recording.
•hen in Browser mode, you can now press the ‘RETURN’ button to return to the main menu.
CM3PVR Version 046:
Fixed:
•DVDs ripped with DVD Shrink or DVD Decrypter do not play.
•The following special characters in file and/or folder names are not shown correctly: é, è, ê , ñ.
CM3PVR Version 045:
Added:
•Support for photos up to 2800x2800 pixels.
Fixed:
•Glitches during recordings, making the image of the recording appear distorted for a couple of
seconds.
•Some AVI files cause the CM3PVR to freeze or crash when being selected in the Media Browser.
Copyright®2008 by Conceptronic – All rights reserved
www.conceptronic.net
Page 9 of 10
CM3PVR Version 044:
Added:
•4:3 Pan & Scan / 4:3 Letterbox / 16:9 option in the Setup menu.
Note: This setting is for playback only.
•Set DVD playback region to region 2.
Fixed:
•Lip sync issue.
Note: Old recordings can still show lip sync issues.
•ith recordings longer than 55 minutes (multiple files), only the last file ends correctly.
•OTR recording does not stop when OTR time is reached.
•“ & “ in file and folder names does not show correctly.
CM3PVR Version 040 BETA2:
Fixed:
•Fixed Lipsync Issue (3rd).
CM3PVR Version 040 BETA:
Fixed:
•Fixed Lipsync Issue (2nd).
CM3PVR Version 039 BETA:
Added:
•Scrolling filenames in Movie/Music/Photo browser when the filename is too long.
Fixed:
•Fixed Lipsync Issue (1st).
Copyright®2008 by Conceptronic – All rights reserved
www.conceptronic.net
Page 10 of 10
CM3PVR Version 038:
Added:
•DVD Playback Functionality. (See the document ‘CM3PVR - DVD & Subtitle Instructions’)
•Subtitle Support. (See the document ‘CM3PVR - DVD & Subtitle Instructions’)
•Add Standby pop-up after 'REC+OTRxx'.
Fixed:
•Small characters in channel name are now displayed correctly.
•Some language issues in the menu are solved.
•Auto-hide the word 'REC' after a few seconds when recording.
•Auto-hide the word 'REC+OTRxx' after a few seconds when recording in OTR mode.
•Remember Channel Location & Name after new upgrade.
•Improved boot-time. Boot time is now less than 15 seconds, instead of 45 seconds.
Note: hen you have copied data from your PC to the CM3PVR, the CM3PVR needs to rebuild the
database. This will cause a longer boot-time (+/- 40 seconds). This occurs once after each PC
connection.
CM3PVR Version 031:
•Initial release.

Other manuals for CM3PVR

3

Other Conceptronic Media Player manuals

Conceptronic CFULLHDMA User manual

Conceptronic

Conceptronic CFULLHDMA User manual

Conceptronic CMED3PLAY User manual

Conceptronic

Conceptronic CMED3PLAY User manual

Conceptronic Media Giant User manual

Conceptronic

Conceptronic Media Giant User manual

Conceptronic Grab'n'Go MediaGiantPlus CM3GP User manual

Conceptronic

Conceptronic Grab'n'Go MediaGiantPlus CM3GP User manual

Conceptronic CM3H User manual

Conceptronic

Conceptronic CM3H User manual

Conceptronic CSM3PL Quick start guide

Conceptronic

Conceptronic CSM3PL Quick start guide

Conceptronic Media Giant User guide

Conceptronic

Conceptronic Media Giant User guide

Conceptronic CM2H User manual

Conceptronic

Conceptronic CM2H User manual

Conceptronic CM3S Quick start guide

Conceptronic

Conceptronic CM3S Quick start guide

Conceptronic CM3PVR User manual

Conceptronic

Conceptronic CM3PVR User manual

Conceptronic CSM3PL Quick start guide

Conceptronic

Conceptronic CSM3PL Quick start guide

Conceptronic CMED3PRO User manual

Conceptronic

Conceptronic CMED3PRO User manual

Conceptronic CM3HD User manual

Conceptronic

Conceptronic CM3HD User manual

Conceptronic cm3pvrd Installation and user guide

Conceptronic

Conceptronic cm3pvrd Installation and user guide

Conceptronic Media Giant CM3G Series Use and care manual

Conceptronic

Conceptronic Media Giant CM3G Series Use and care manual

Conceptronic CSM3PL User manual

Conceptronic

Conceptronic CSM3PL User manual

Conceptronic CFULLHDMAi User manual

Conceptronic

Conceptronic CFULLHDMAi User manual

Conceptronic CSM3NET User manual

Conceptronic

Conceptronic CSM3NET User manual

Conceptronic CM3PVRL User manual

Conceptronic

Conceptronic CM3PVRL User manual

Conceptronic cm3pvrd Quick start guide

Conceptronic

Conceptronic cm3pvrd Quick start guide

Conceptronic Grab'n'GO 3,5" User manual

Conceptronic

Conceptronic Grab'n'GO 3,5" User manual

Conceptronic CMED2PLAY User manual

Conceptronic

Conceptronic CMED2PLAY User manual

Conceptronic CMED3PLUS Quick start guide

Conceptronic

Conceptronic CMED3PLUS Quick start guide

Conceptronic cm3pvrd User manual

Conceptronic

Conceptronic cm3pvrd User manual

Popular Media Player manuals by other brands

Cocos Alabama user manual

Cocos

Cocos Alabama user manual

Mede8er Med1000X3D user manual

Mede8er

Mede8er Med1000X3D user manual

Sony NW-E393 Help guide

Sony

Sony NW-E393 Help guide

Arec KL-3W user manual

Arec

Arec KL-3W user manual

Zidoo X9 Settings guide

Zidoo

Zidoo X9 Settings guide

LAZER MMC-P20 Quick user manual

LAZER

LAZER MMC-P20 Quick user manual

Sony DSX-A40UI operating instructions

Sony

Sony DSX-A40UI operating instructions

SoundMax SM-CCR3037 instruction manual

SoundMax

SoundMax SM-CCR3037 instruction manual

Visual Circuits MC Specifications

Visual Circuits

Visual Circuits MC Specifications

Volumio Primo user manual

Volumio

Volumio Primo user manual

ifi ZEN Blue manual

ifi

ifi ZEN Blue manual

Jazwares R2-D2 Preloaded user guide

Jazwares

Jazwares R2-D2 Preloaded user guide

Visual Land V-Core user manual

Visual Land

Visual Land V-Core user manual

Icy Box IB-MP3010HW user manual

Icy Box

Icy Box IB-MP3010HW user manual

Mede8er Med1000X3D quick start guide

Mede8er

Mede8er Med1000X3D quick start guide

Coby DVD-427 user manual

Coby

Coby DVD-427 user manual

Grace Digital Audio GDI-IRD4400M user guide

Grace Digital Audio

Grace Digital Audio GDI-IRD4400M user guide

Philips HMP3000 user manual

Philips

Philips HMP3000 user manual

manuals.online logo
manuals.online logoBrands
  • About & Mission
  • Contact us
  • Privacy Policy
  • Terms and Conditions

Copyright 2025 Manuals.Online. All Rights Reserved.