Copyright®2007 by Conceptronic – All rights reserved
www.conceptronic.net
Page 4 of 6
4. Checking the current firmware version
4.1 M ke sure the CSM3PL is connected to TV or monitor.
4.2 Select folder by using the n vig tion buttons on the remote control.
4.3 Press the ‘FUNC’ button on the remote control, select ‘PROPERTIES’ nd press the ‘Enter’
button.
4.4 Now press the ‘Pause’ button ( II ) five (5) times in row.
4.5 Le ve the current screen by pressing the ‘FUNC’ button.
4.6 When the ‘Fast Forward’ button ( >> ) is pressed, the current firmw re version will be shown.
This must be: VER 32-O MP0 ST011208A-2L.
4.7 If the version isn’t shown long enough, you need to press the ‘Fast Forward’ button g in.
4.8 If the displ yed version isn’t the s me s the version described t point 4.6, then you need to
repe t the upgr de procedure s described in ch pter D.
E. Upgrade procedure from a USB stick or memory card
1. Copying the firmware files to a USB stick or a memory card
1.1 If you h ve downlo ded the firmw re upgr de from www.conceptronic.net, you h ve ZIP file
cont ining folder n med ‘FW’ nd three document tion files.
1.2 Connect the USB stick or memory c rd to your computer.
1.3 Copy the ‘FW’ folder including ll its content to the USB stick or memory c rd.
1.4 Remove the USB stick or memory c rd from your computer with the ‘Safely remove hardware’
option.
1.5 Disconnect the USB stick or memory c rd from your computer.
2. Updating the firmware
2.1 M ke sure the CSM3PL is connected to TV or monitor.
2.2 Turn on the CSM3PL with the remote control.
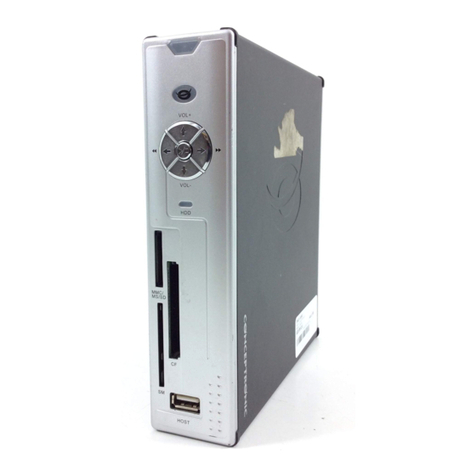
2.3 Connect the USB stick to the CSM3PL or slide the memory c rd in the right c rd slot of the
CSM3PL.
2.4 A screen will be displ yed in which you c n m ke the choice between ‘HARD DISK’ nd ‘USB
DEV’ / ‘<memory card>’, where ‘<memory card>’ is the used memory c rd type (for inst nce
‘COMPACT FLASH’). Choose the option of the USB stick or memory c rd.
2.5 Select the ‘FW’ folder by using the n vig tion buttons on the remote control.
The upgr de process will now st rt. This will be visible in the upper left corner with the terms
‘ERASE’ nd ‘WRITE’.
Note: The CSM3PL must not be turned off during the upgrade process. Doing so will
result in an unusable product which is not covered by the warranty. The same applies
to removing the USB stic or memory card.
