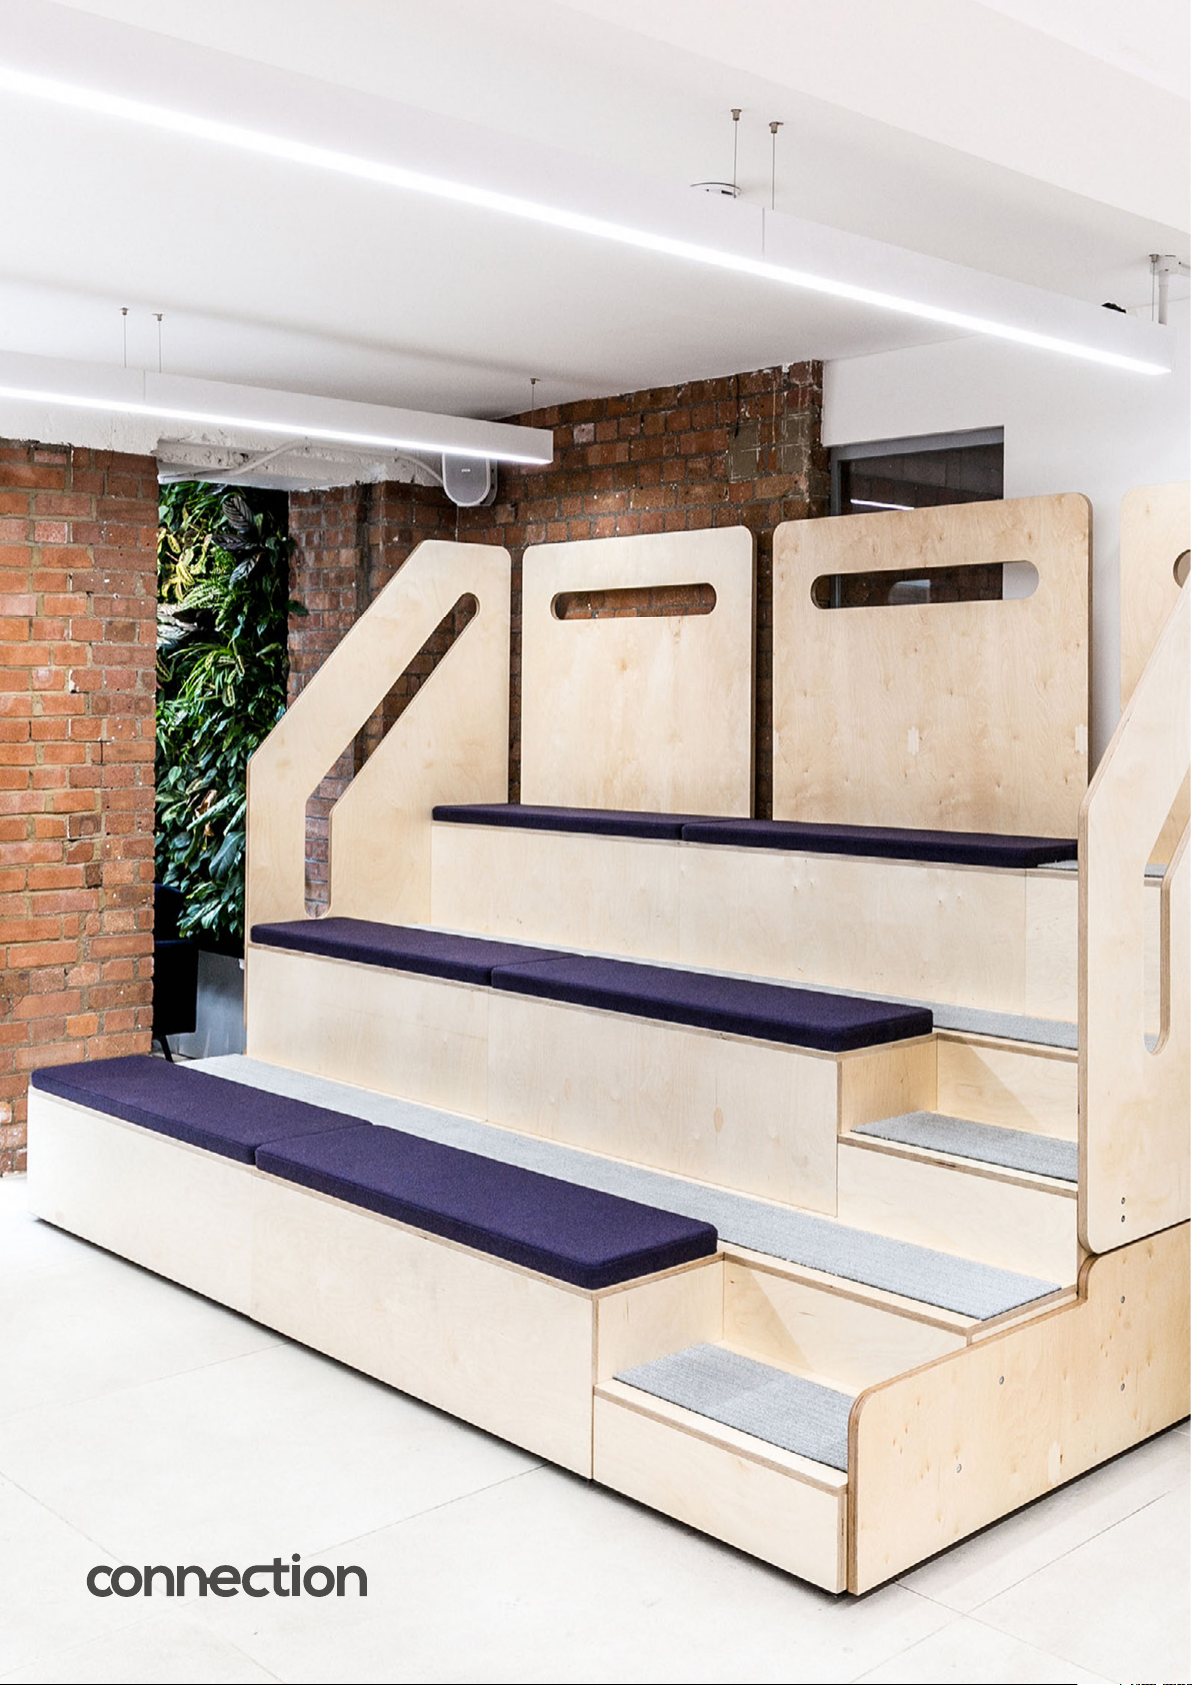
Connection Tier User manual
Other Connection Indoor Furnishing manuals

Connection
Connection Platforms User manual

Connection
Connection Co.Table User manual

Connection
Connection Centro User manual

Connection
Connection Cubbi User manual

Connection
Connection Hive User manual

Connection
Connection Hive User manual

Connection
Connection Centro User manual

Connection
Connection Tubes Series User manual

Connection
Connection Tryst Booth User manual
Popular Indoor Furnishing manuals by other brands

Regency
Regency LWMS3015 Assembly instructions

Furniture of America
Furniture of America CM7751C Assembly instructions

Safavieh Furniture
Safavieh Furniture Estella CNS5731 manual

PLACES OF STYLE
PLACES OF STYLE Ovalfuss Assembly instruction

Trasman
Trasman 1138 Bo1 Assembly manual

Costway
Costway JV10856 manual