manuals.online logo
Brands
  1. Home
  2. •
  3. Brands
  4. •
  5. CORNING
  6. •
  7. Cables And Connectors
  8. •
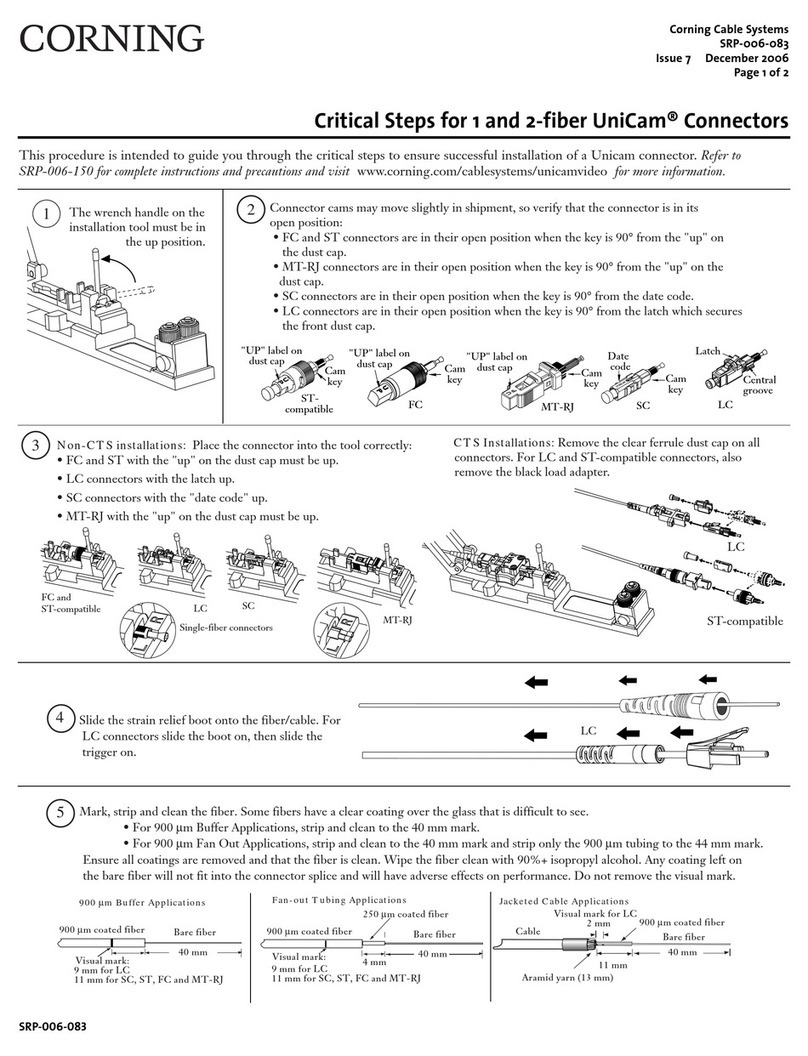
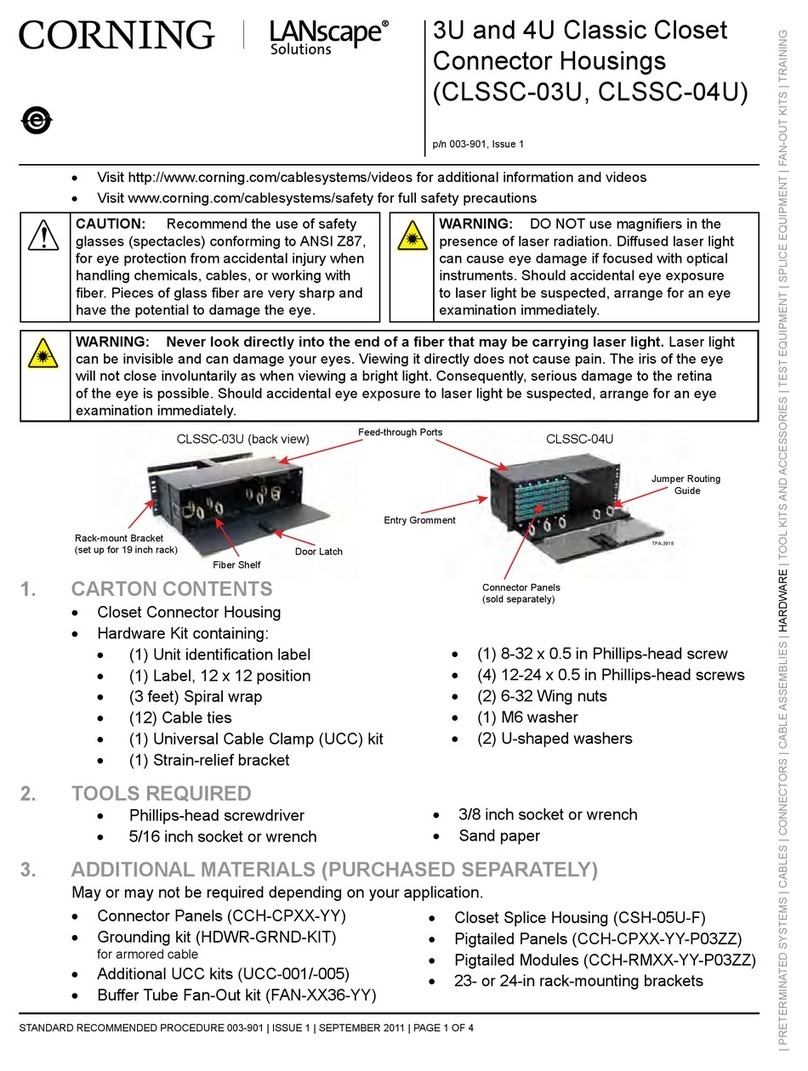
  9. CORNING SST Instruction Manual

CORNING SST Instruction Manual

Figure 1
1. General
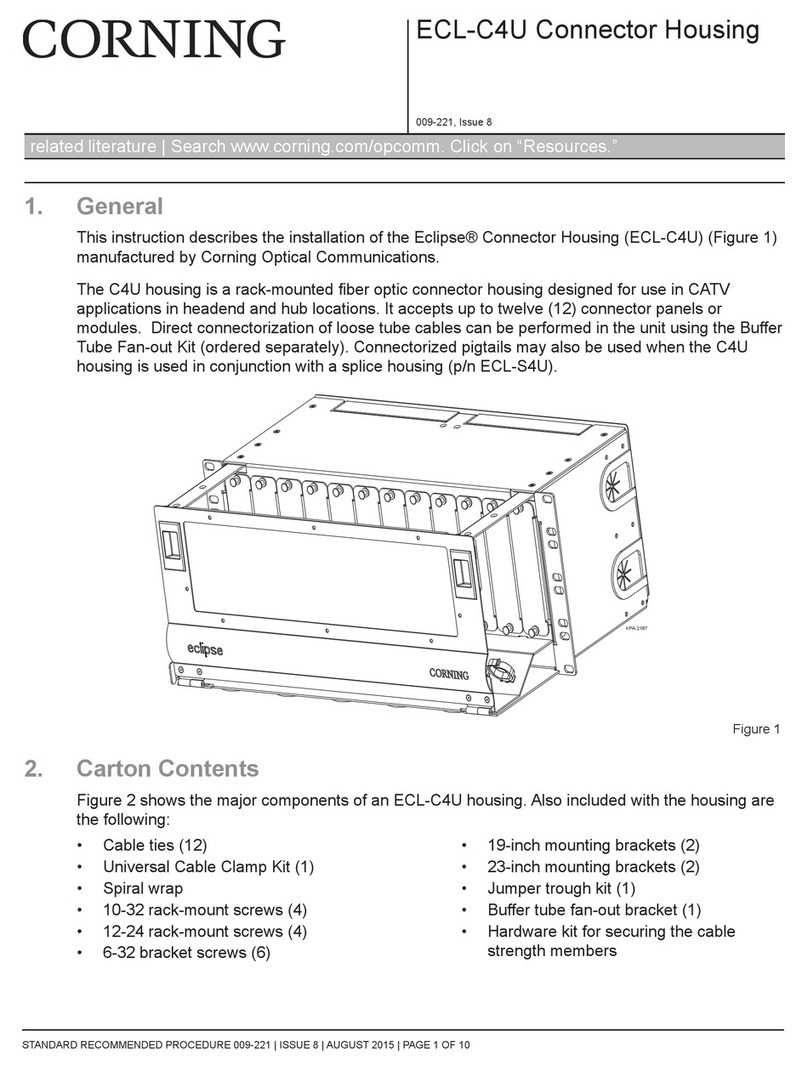
1.1 This procedure provides instructions for installing a
wire mesh pulling grip on Corning Cable Systems SST,
SST-Ribbon™, SST- ltraRibbon™, SST-Ribbon™ Dry-
Lock, ALTOS, and ALTOS Riser fiber optic cables
(Figure 1).
1.2 This procedure describes how to use a pulling grip to
couple the pulling load to a single-tube cable’s jacket.
Please read and understand this procedure completely before
starting the installation of a wire pulling grip.
1.3 This includes ALTOS And ALTOS Riser cables.
2. Precautions
2.1 General Precautions
2.2 Cable Handling Precautions
3. Tools and Materials
3.1 The following tools and materials are required to
complete this procedure:
• Kellems®pulling grip
• Side cutters *
• Measuring tape *
• Vinyl tape, 3/4 in (19.1 mm) *
• Gloves
• Scissors *
• Hex wrench or screwdriver* (to fit swivel)
• Swivel, ball-bearing type
*Items included in the M67-003 Tool it
4. Pulling Grip Installation
4.1 Prior to installation, the proper size grip must be
chosen for the cable to be pulled.
Grip selection is based on cable diameter. Generally
speaking, use the smallest grip which will fit over the cable
sheath without excessive difficulty.
Corning Cable Systems
SRP-005-044
Issue 5 October 2004
Page 1 of 3
Installing a Wire esh Pulling Grip
on SST, SST-Ribbon™, SST-UltraRibbon™, SST-Ribbon™ Dry-Lock,
ALTOS®, and ALTOS® Riser Cables
SRP-005-044
Safety Glasses
WARNING: The wearing of safety glasses to
protect the eyes from accidental injury is strongly recommend-
ed when handling chemicals and cutting fiber. Pieces of glass
fiber are very sharp and can damage the cornea of the eye eas-
ily.
Safety Gloves
The wearing of safety gloves to protect your hands
from accidental injury when using sharp-bladed tools is
strongly recommended.
CAUTION: Fiber optic cable is sensitive to exces-
sive pulling, bending and crushing forces. Consult the cable
specification sheet for the cable you are installing. Do not bend
cable more sharply than the minimum recommended bend
radius. Do not apply more pulling force to the cable than spec-
ified. Do not crush the cable or allow it to kink. Doing so may
cause damage that can alter the transmission characteristics of
the cable- the cable may have to be replaced.
4.2 Measure the cable outside diameter and determine
the proper grip to use based on the supplier’s recommen-
dations
4.3 Once the proper grip is obtained, inspect it for dam-
age, broken wires, bulges due to stress, rust, etc.
Grasp the pulling eye in one hand (gloves recommended)
and smooth out the mesh with the other, tightening the
wires.
Figure 2 illustrates the technique, which is critical when
reusing grips.
Figure 2
4.4 Trim the end of the cable with side cutters
(Figure 3) to remove any protruding tube, strength
member, or armor.
Figure 3
4.5 se a pumping action to “walk” the grip over the
jacket by bringing your hands together and then relaxing
them (Figure 4).
Figure 4
4.6 Position the cable in the grip so that the end of the
cable is 0.25 inches (6 mm) behind the grip’s basket
(Figure 5).
Figure 5
4.7 Compress the basket so that it is no larger than the
combined OD of the grip and cable (Figure 6).
Figure 6
4.8 Smooth the mesh back over the cable, moving from
the pulling eye to the cable jacket.
4.9 Tug on the grip to tighten its grip on the cable.
4.10 Start at least 1.0 inch (2.5 cm) below the mesh on
the cable and wrap vinyl tape TIGHTLY to the top of the
grip.
The mesh’s imprint should show boldly through the tape
(Figure 7). The tape must be tight because it helps com-
press the mesh against the cable. Lightly tug on the grip
to press it against the cable.
Figure 7
4.11 Figure 8 illustrates a completed grip.
Figure 8
Page 2 SRP-005-044 Issue 5
End of cable
Basket
0.25 in.
(6 mm)
Vinyl tape
4.12 Connect the pulling eye to the appropriate ball
bearing swivel and pulling tape or rope (Figure 9). The
grip installation is now ready for the cable pull.
Figure 9
5. Grip Removal
5.1 To remove the pulling grip after completion of the
pull:
a) Cut the cable 3 ft (91 cm) behind the grip.
b) Place a protective cap over the exposed cable end
and tape in place to prevent water intrusion.
c) Store the coiled splicing slack so that it is protected
from damage.
Issue 5 SRP-005-044 Page 3
Corning Cable Systems reserves the right to improve, enhance, and modify
the features and specifications of Corning Cable Systems’ products without
prior notification.
All trademarks are the property of their respective holders.
Corning Cable Systems is ISO 9001 certified.
© 2004 Corning Cable Systems LLC. All rights reserved.
Printed in .S.A.
Corning Cable Systems LLC
PO Box 489
Hickory, NC 28603-0489 SA
For S and Canada 1-800-743-2673
International 828-901-5000
FAX: 828-901-5973
http:www.corning.com/cablesystems
Corning Cable Systems offers comprehensive, integrated training pro-
grams. Courses are structured for: Telephony, CATV, LAN, Intelligent
Transportation Systems and Power Utilities.
For information on Engineering Services Training call: 800-743-2671.
Special Note:
Fiber Optic
Training
Program
Pulling line
Swivel

This manual suits for next models

5

Other CORNING Cables And Connectors manuals

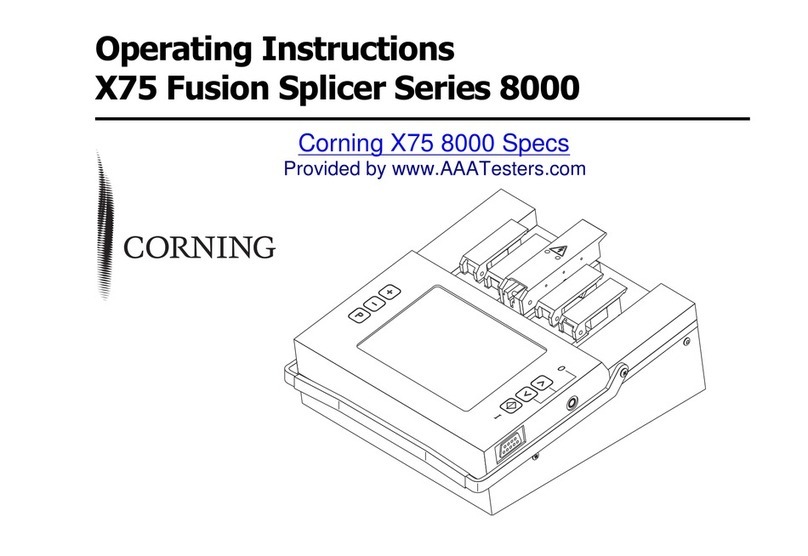
CORNING PCH-02U User manual

CORNING

CORNING PCH-02U User manual

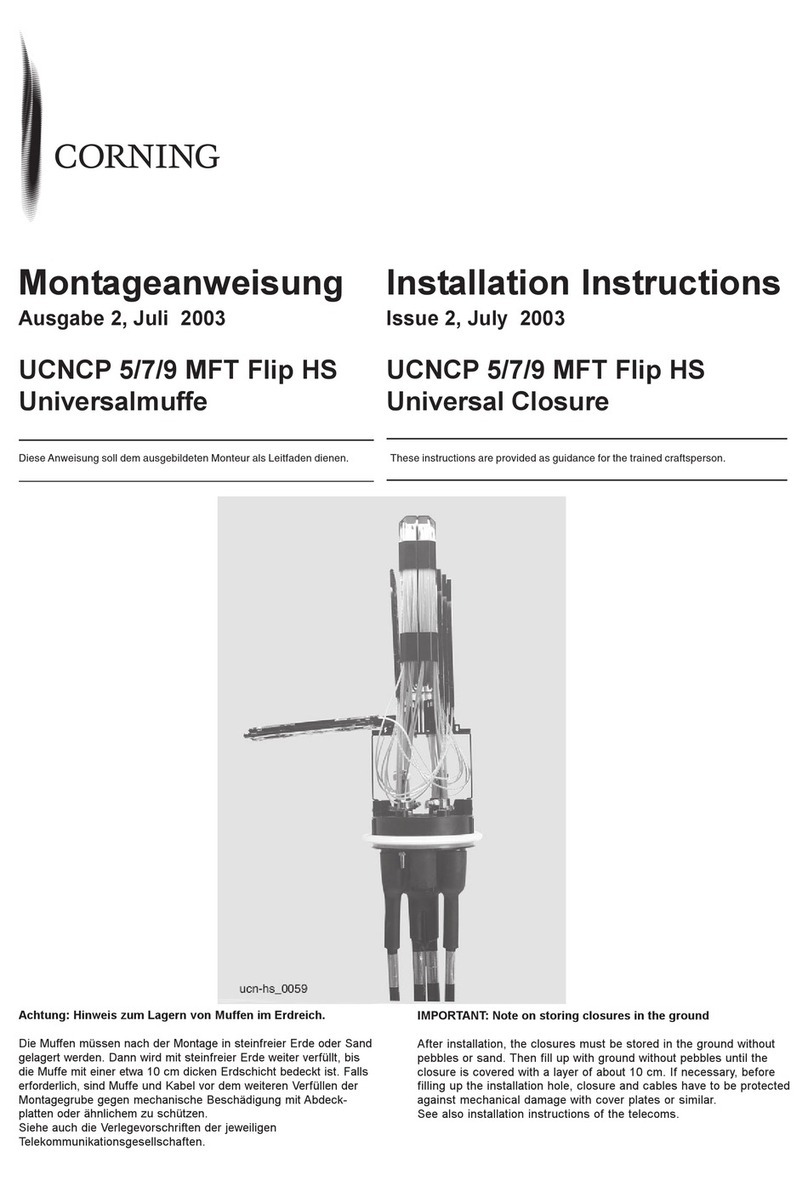
CORNING UCNCP 5 MFT Flip HS Series User manual

CORNING

CORNING UCNCP 5 MFT Flip HS Series User manual

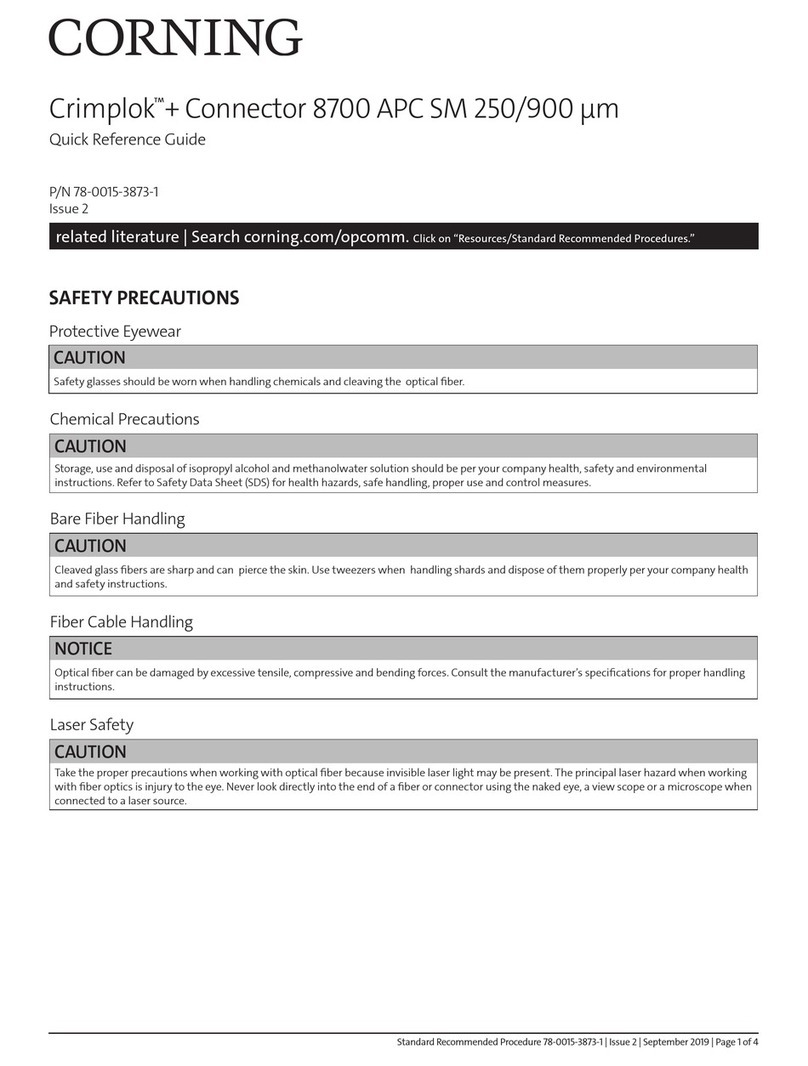
CORNING Crimplok+ Connector 8700 APC SM 250/900 mm User manual

CORNING

CORNING Crimplok+ Connector 8700 APC SM 250/900 mm User manual

CORNING Evolant TKT-OPTISNAP-Cx User manual

CORNING

CORNING Evolant TKT-OPTISNAP-Cx User manual

CORNING UCNCP 5 MFT Flip HS Series User manual

CORNING

CORNING UCNCP 5 MFT Flip HS Series User manual

CORNING UniCam SRP-006-150 User manual

CORNING

CORNING UniCam SRP-006-150 User manual

CORNING Gold 000301T4180002M User manual

CORNING

CORNING Gold 000301T4180002M User manual

CORNING EDGE-01U-SP User manual

CORNING

CORNING EDGE-01U-SP User manual

CORNING SRP-004-067 User manual

CORNING

CORNING SRP-004-067 User manual

CORNING ECL-C4U User manual

CORNING

CORNING ECL-C4U User manual

CORNING EDGE Splice Cassette User manual

CORNING

CORNING EDGE Splice Cassette User manual

CORNING ClearCurve SRP-005-065 User manual

CORNING

CORNING ClearCurve SRP-005-065 User manual

CORNING X75 8000 Series User manual

CORNING

CORNING X75 8000 Series User manual

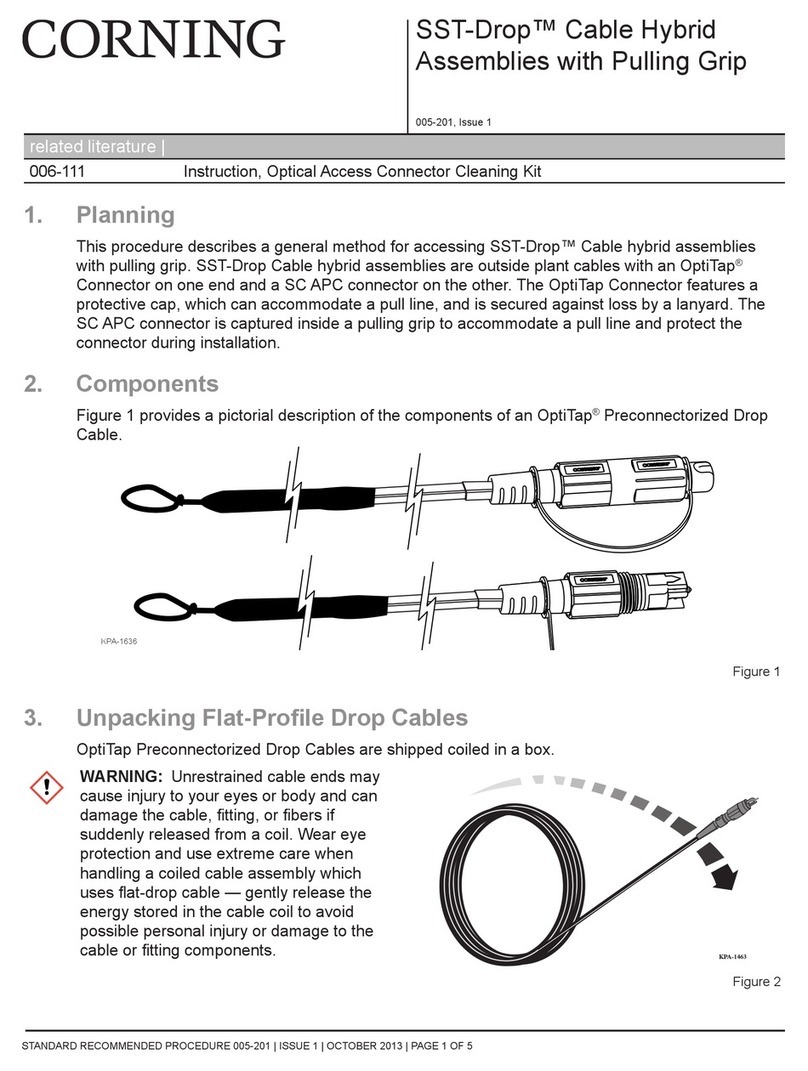
CORNING SST-Drop User manual

CORNING

CORNING SST-Drop User manual

CORNING Lanscape Solutions CLSSC-03U User manual

CORNING

CORNING Lanscape Solutions CLSSC-03U User manual

Popular Cables And Connectors manuals by other brands

Griven AL4750 instruction manual

Griven

Griven AL4750 instruction manual

Meltric DSDC Series operating instructions

Meltric

Meltric DSDC Series operating instructions

Speaka Professional 98 93 44 operating instructions

Speaka Professional

Speaka Professional 98 93 44 operating instructions

LAPP EPIC H-D 7 Assembly instruction

LAPP

LAPP EPIC H-D 7 Assembly instruction

BK TECHNOLOGIES BKR0608 User instructions

BK TECHNOLOGIES

BK TECHNOLOGIES BKR0608 User instructions

Kramer WP-211DS user manual

Kramer

Kramer WP-211DS user manual

MuxLab 500033 Quick installation guide

MuxLab

MuxLab 500033 Quick installation guide

Steren RAD-502 quick start guide

Steren

Steren RAD-502 quick start guide

Lapp Group EPIC POWERLOCK Assembly instruction

Lapp Group

Lapp Group EPIC POWERLOCK Assembly instruction

3M ECAM-20 MM-D instructions

3M

3M ECAM-20 MM-D instructions

Respironics 1001956 manual

Respironics

Respironics 1001956 manual

AVI AVISP4K116 user manual

AVI

AVI AVISP4K116 user manual

NETVIO RX-HT2-40-10 quick start guide

NETVIO

NETVIO RX-HT2-40-10 quick start guide

Panasonic WV-QCA500A operating instructions

Panasonic

Panasonic WV-QCA500A operating instructions

GoMax Electronics SP-5028E user manual

GoMax Electronics

GoMax Electronics SP-5028E user manual

SCHURTER 4795 Series Assembly instruction

SCHURTER

SCHURTER 4795 Series Assembly instruction

Lindy 38054 user manual

Lindy

Lindy 38054 user manual

ATLET 110781 Service manual

ATLET

ATLET 110781 Service manual

manuals.online logo
manuals.online logoBrands
  • About & Mission
  • Contact us
  • Privacy Policy
  • Terms and Conditions

Copyright 2025 Manuals.Online. All Rights Reserved.