ASSEMBLY CONTINUED
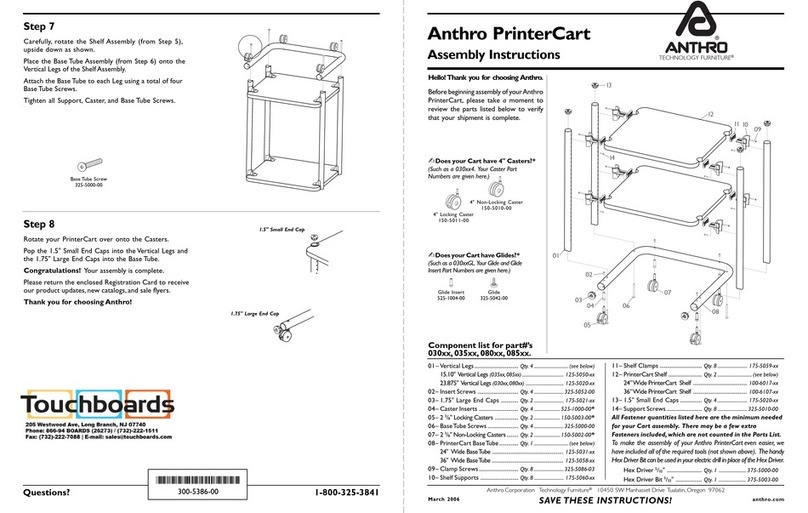
7. Use 4 of the self-tapping screws to secure the bottom shelf to the frame using the pre-drilled
holes in the bottom shelf and frame.
8. Located the pre-drilled holes in the side of the frame supports at the back. Slide the axle
through the pre-drilled holes in the side of the frame supports.
9. Slide a wheel on each side.
10. Secure each wheel with a flat washer and cotter pin.
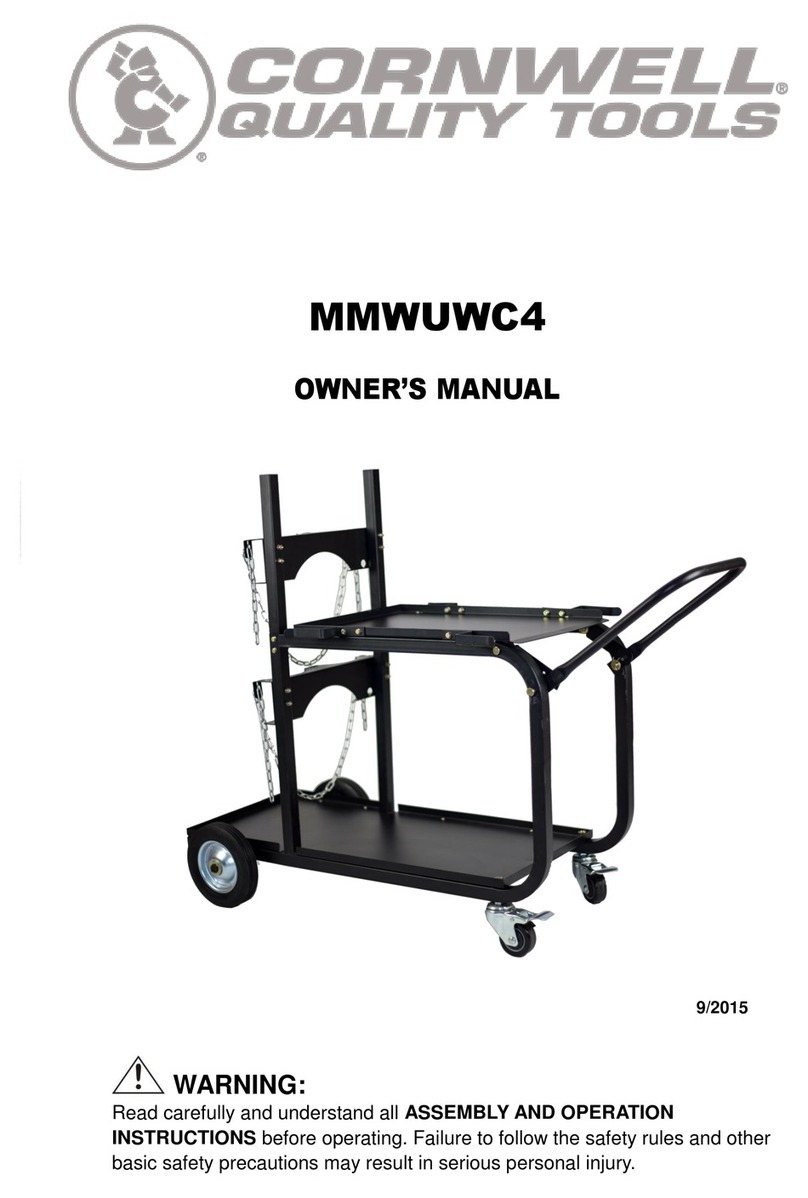
11. The gas cylinder support has a lip at 90 degrees to the support. Insert that lip into the slot in
the bottom shelf, with the lip facing the front of the cart. Pivot the gas cylinder support back
so that it is at a 90-degree angle to the bottom shelf.
12. With the gas cylinder support upright at 90 degrees, place the top shelf onto the upper part
of the frame supports with the lip up and line up the pre-drilled holes in the top shelf with the
pre-drilled holes in the frame
13. Use 4 of the self-tapping screws to secure the top shelf to the frame using the pre-drilled
holes in the top shelf and frame.
14. Using a bolt with the included lock washer and flat washer, insert the bolt through the
pre-drilled holes in the gas cylinder support and thread into the welded nut in the top tray.
Repeat for both pre-drilled holes in the gas cylinder support.
15. Located the top pre-drilled hole on the front left frame just under the top shelf. From the
outside of the frame, insert one of the clevis pins through the pre-drilled hole in the frame.
Slide a latch and then a flat washer onto the open end of the clevis pin. Secure both with a
cotter pin.
16. Repeat the last step for the right-side frame.
17. Locate the lower pre-drilled hole on the front left frame. From the outside of the frame, insert
one of the clevis pins through the pre-drilled hole in the frame. Slide the pre-drilled hole in
one end of the handle onto the clevis pin. Add a flat washer and secure with a cotter pin.
18. Repeat the last step for the right-side frame.
19. Find one of the cable holders. Make note of the threaded mounting holes in the left front lip
of the top shelf. Position the cable holder so the pre-drilled mounting holes in the cable
holder align with the threaded mounting holes in the lip of the top shelf. Position this cable
holder so the opening goes to the front of the cart. Using a hex bolt with the included lock
and flat washer, secure the cable holder to the top shelf. Repeat for the other mounting
hole.
20. Repeat this step to secure all four cable wrap brackets.
21. Using two of the bolts with included washers, secure the slider plate to the top shelf.
22. Put the Gas Cylinder Retaining Chain in the open slots in the Gas Cylinder Support.
