Page of 10
ASSEMBLY
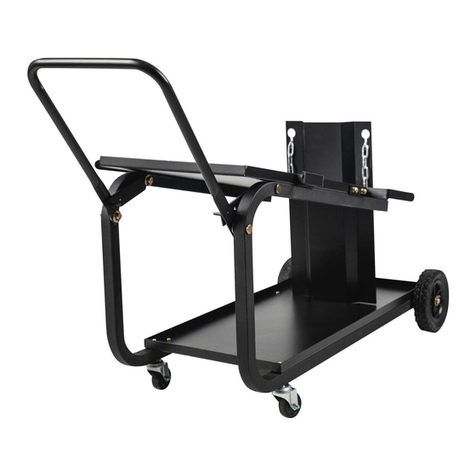
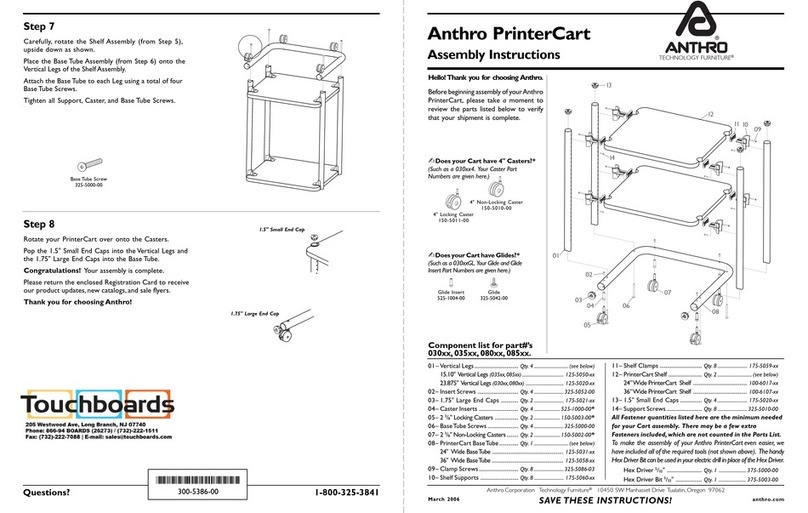
1. On a flat surface, stand the two frame pieces up on their long side.
2. Lay the bottom shelf lip up on top of the two frame pieces.
3. Line up the pre-drilled holes in the bottom shelf with the pre-drilled holes in the long side of
one of the frame pieces.
4. From the bottom of one frame piece, insert the threaded shaft of one caster, through the
pre-drilled hole of the frame, then up through the pre-drilled hole of the bottom shelf.
5. Secure caster with a flat washer, lock washer and nut.
6. Repeat steps 3 through 5 using the other frame piece.
7. Use 8 of the self-tapping screws to secure the bottom shelf to the frame using the pre-drilled
holes in the bottom shelf and frame.
8. Slide the axle through the pre-drilled axle clip on the bottom of the frame.
9. Slide a wheel on each side.
10. Secure each wheel with a flat washer and cotter pin.
11. Find the top shelf.
12. Align the pre-drilled holes in the top shelf with the pre-drilled holes in the frame pieces. Use
4 self-tapping screws to secure the top shelf to the frame.
13. Located the pre-drilled hole on the front left frame just under the top shelf. From the outside
of the frame, insert one of the clevis pins through the pre-drilled hole in the frame. Slide a
latch and then a flat washer onto the open end of the clevis pin. Secure both with a cotter
pin.
14. Repeat the last step for the right side frame.
15. Locate the other pre-drilled hole on the front left frame. From the outside of the frame, insert
one of the clevis pins through the pre-drilled hole in the frame. Slide the pre-drilled hole in
one end of the handle onto the clevis pin. Add a flat washer and secure with a cotter pin.
16. Repeat the last step for the right side frame.
17. Find one of the cable holders. Make note of the two pre-drilled mounting holes in the left
front lip of the top shelf. Position the cable holder so the pre-drilled mounting holes in the
cable holder align with the pre-drilled mounting holes in the lip of the top shelf. Position this
cable holder so the opening goes to the front of the cart. Using a hex bolt, slide on a flat
washer and slide the bolt through the pre-drilled holes in the cable holder and into the
matching pre-drilled holes in the top shelf. Secure with a flat washer, lock washer and Hex
Nut. Repeat for the other mounting hole.
18. Still on the left side of the cart, find the two pre-drilled mounting holes on the left back lip of
the top shelf. Position the cable holder so the pre-drilled mounting holes in the cable holder
align with the pre-drilled mounting holes in the lip of the top shelf. Position this cable holder
so the opening goes to the back of the cart. Using a hex bolt, slide on a flat washer and
slide the bolt through the pre-drilled holes in the cable holder and into the matching
pre-drilled holes in the top shelf. Secure with a flat washer, lock washer and Hex Nut.
Repeat for the other mounting hole.
19. Repeat the last two steps for the right side of the cart.
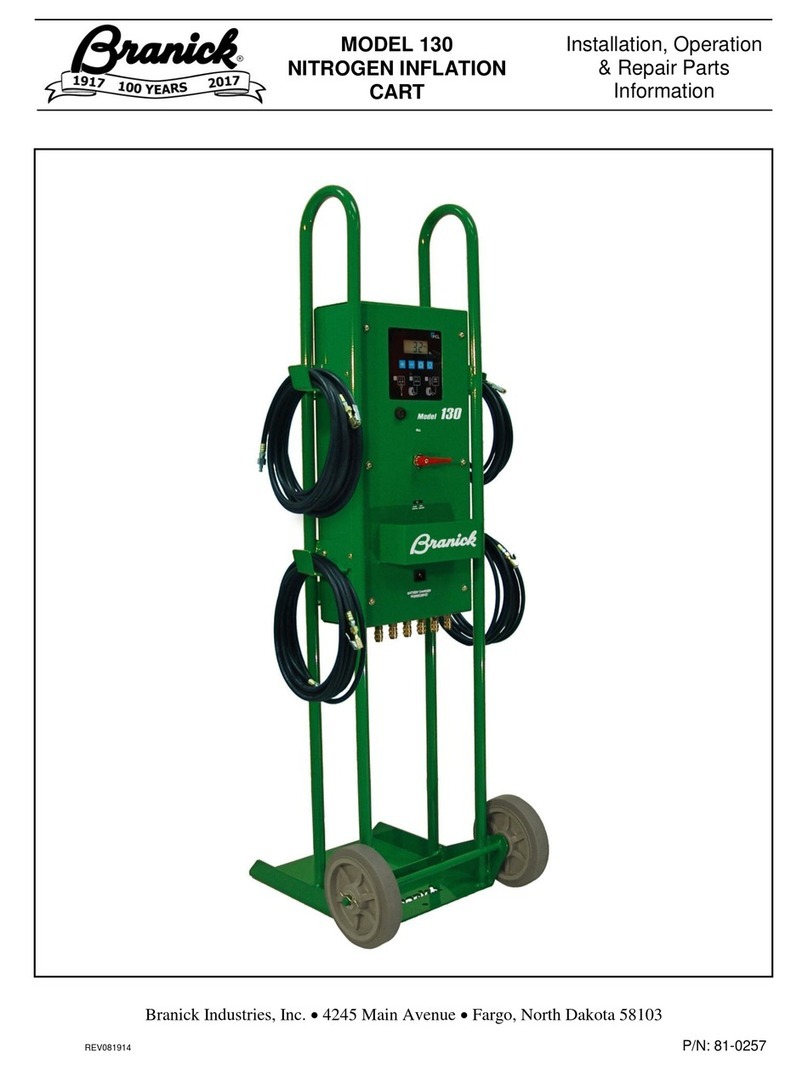
20. Find one of the Cylinder Support Vertical Tubes. On the back left side of the cart frame,
slide the small end of the Cylinder Support Vertical Tube into the square opening in the cart
frame. Make certain the pre-drilled mounting holes in the Cylinder Support Vertical Tube
match up with the pre-drilled mounting holes in the square opening of the cart frame. Using
a long hex bolt, slide on a flat washer and slide the bolt through the pre-drilled holes in the
