PRECAUTIONS
APPLIANCE STAND AND L CO ATION
,QVWDOODWLRQDQGVHUYLFHVVKRXOGRQO\EHPDGHE\D
TXDOLILHGSHUVRQ
'RQRWXVHWKHKHDWHULQDQH[SORVLYHDWPRVSKHUH
%HIRUHRSHUDWLRQLQVSHFWWKHKRVHIRUGDPDJH
'LVFRQQHFW/3*F\OLQGHUEHIRUHPRYLQJWKHKHDWHU
'RQRWDWWHPSWWRDOWHUDQ\SDUWVRIWKHKHDWHU
([DPSOH8VLQJWKHKHDWHUZLWKRXWUHIOHFWRURU
SURWHFWLRQJXDUG
7KHDSSOLDQFHVKDOOQRWEHXVHGLQEDVHPHQWVRU
EHORZJURXQGOHYHO
,WPXVWDOZD\VEHSODFHGRQDVROLGDQGOHYHO
VXUIDFH
1HYHUVXEVWLWXWHWKHUHJXODWRU8VHRQO\RQHWKDWLV
VXLWDEOHIRUERWKDSSOLDQFHFDWHJRU\DQGQRUPDO
SUHVVXUHRIJDV
'RQRWFOHDQWKHKHDWHUZLWKFOHDQHUVWKDWDUH
FRPEXVWLEOHRUFRUURVLYH
'RQRWSDLQWSURWHFWLRQJXDUGFRQWUROER[RUUHIOHFWRU
7KH/3*JDVF\OLQGHUYDOYHVKRXOGEHWXUQHGRII
ZKHQWKHKHDWHULVQRWLQXVH
.HHSFKLOGUHQDZD\IURPWKHKHDWHU
'RQRWPRYHWKHDSSOLDQFHZKHQLQRSHUDWLRQ
$IWHUDORQJEUHDNLQRSHUDWLRQWKHJDVSDUWVLQWKH
FRQWUROER[RIWKHKHDWHUDQGWKHKRVHVKRXOGEH
LQVSHFWHGIRUVSLGHUVVSLGHUZHEVRURWKHULQVHFWV
&KHFNWKHKHDWHULPPHGLDWHO\LIDQ\RIWKHIROORZLQJ
H[LVWV
7KHUHLVVPHOORIJDV
7KHKHDWHULVQRWHIIHFWLYHHQRXJK
7KHEXUQHUPDNHVDSRSSLQJQRLVHGXULQJXVH
DVOLJKWSRSSLQJQRLVHLVQRUPDOZKHQWKHEXUQHULV
H[WLQJXLVKHGDIWHUXVH
,I\RXVPHOOJDVWXUQRIIWKHYDOYHLPPHGLDWHO\
,IVPHOOSHUVLVWVFRQWDFW$QGHUVHQ6WRNNHDW
7KHKRVHZLWKUHJXODWRUDVVHPEO\VKRXOGEHVWRUHG
LQDVDIHSODFHWRDYRLGDFFLGHQWDOGDPDJH
&KLOGUHQDQGDGXOWVVKRXOGEHDZDUHRIWKHKLJK
VXUIDFHWHPSHUDWXUHKD]DUGDQGVKRXOGNHHSDVDIH
GLVWDQFHDZD\WRDYRLGFORWKHVEXUQLQJRULJQLWLQJ
<RXQJFKLOGUHQVKRXOGEHFDUHIXOO\VXSHUYLVHGZKHQ
WKH\DUHLQWKHZRUNLQJDUHDRIWKHKHDWHU
&ORWKLQJRURWKHUIODPPDEOHPDWHULDOVKRXOGQRWEH
KXQJIURPWKHKHDWHURUSODFHGRQRUQHDUWKHKHDWHU
'RQRWREVWUXFWWKHIORZRIFRPEXVWLRQSURGXFWV
.HHSWKHYHQWLODWLRQRSHQLQJRIWKHF\OLQGHUHQFORVXUH
IUHHDQGFOHDURIGHEULV
'RQRWREVWUXFWWKHYHQWLODWLRQKROHVRIWKHF\OLQGHU
KRXVLQJ
6KXWRIIWKHYDOYHWRWKHJDVF\OLQGHURUWKHUHJXODWRU
EHIRUHPRYLQJWKHDSSOLDQFH
7KHWXELQJRUWKHIOH[LEOHKRVHPXVWEHFKDQJHG
ZLWKLQWKHSUHVFULEHGLQWHUYDOV
8VHRQO\WKHW\SHRIJDVDQGWKHW\SHRIF\OLQGHU
VSHFLILHGE\WKHPDQXIDFWXUHU
,QFDVHRIYLROHQWZLQGSDUWLFXODUDWWHQWLRQPXVWEH
WDNHQDJDLQVWWLOWLQJRUIDOOLQJRYHURIWKHDSSOLDQFH
7KHPDQXIDFWXUHULVQRWUHVSRQVLEOHIRUDQ\GDPDJH
FDXVHGE\EDGZHDWKHU
7KHDSSOLDQFHLVIRURXWGRRUXVHRQO\'RQRWXVH
LQGRRUVRULQDQHQFORVHGDUHD
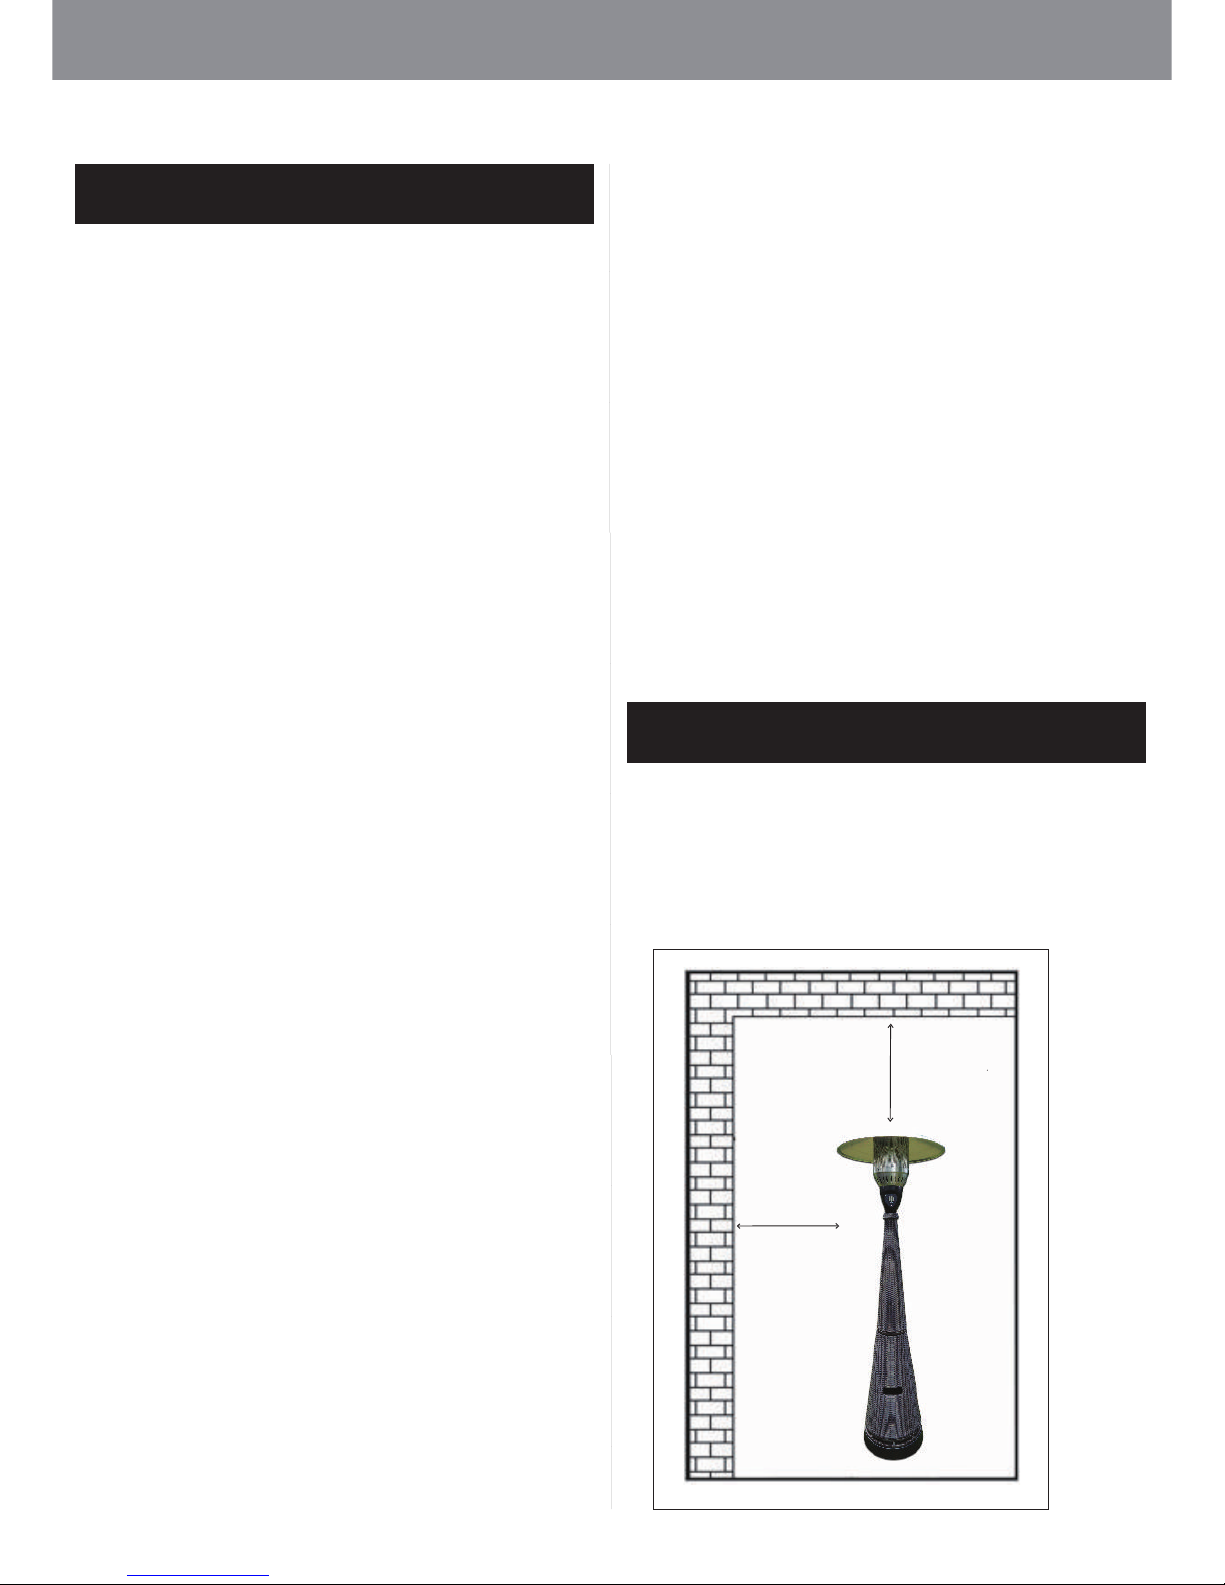
$OZD\VPDLQWDLQDGHTXDWHFOHDUDQFHIURP
FRPEXVWLEOHPDWHULDOVLHWRSLQFPDQG
VLGHVLQFP
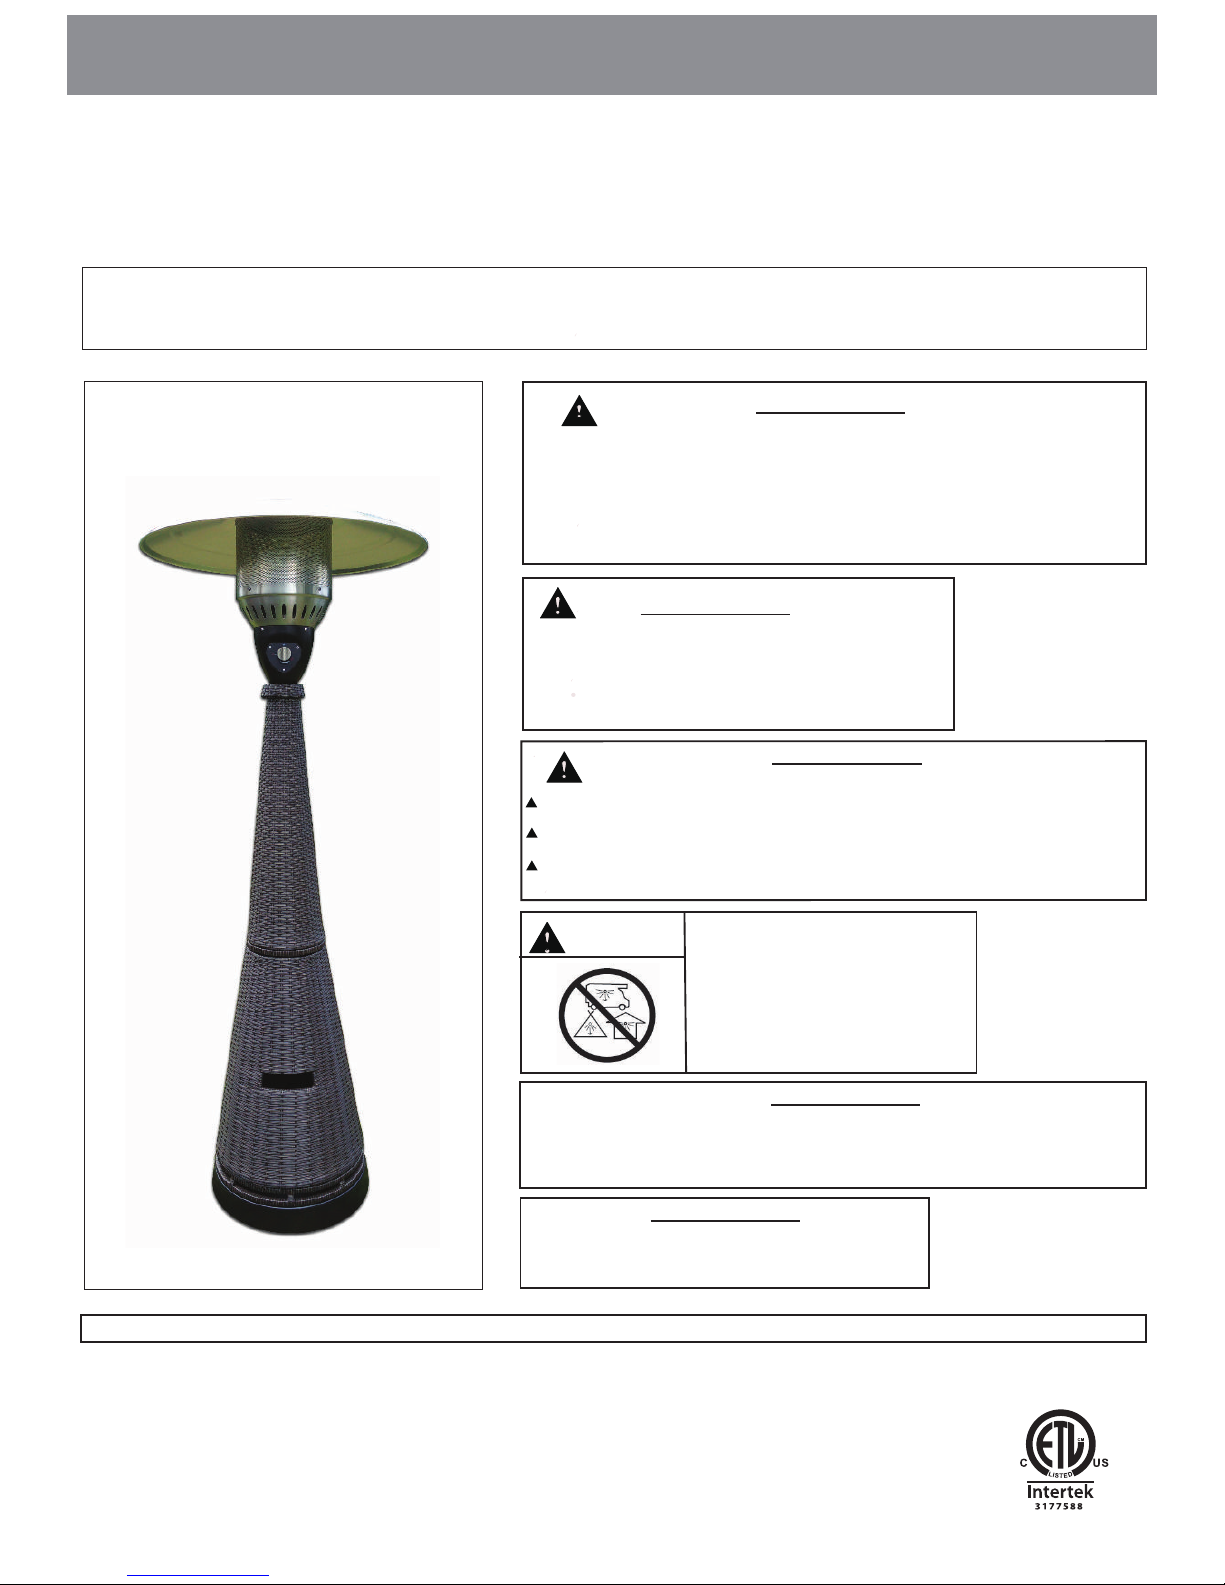
:RYHQ:LFNHU3DWLR+HDWHU,70$57
&RQWDFWRU(PDLO&86720(56(59,&(#$1'(56(1672..(&20
IRUDVVLVWDQFH86(QJOLVKRQO\0RQGD\)ULGD\DPSP(DVWHUQWLPH
LQFP
SDJHQR
LQFP