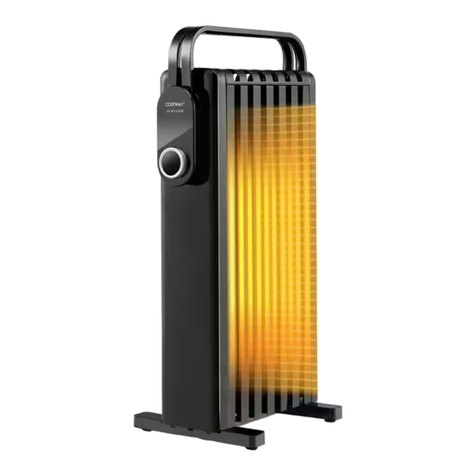
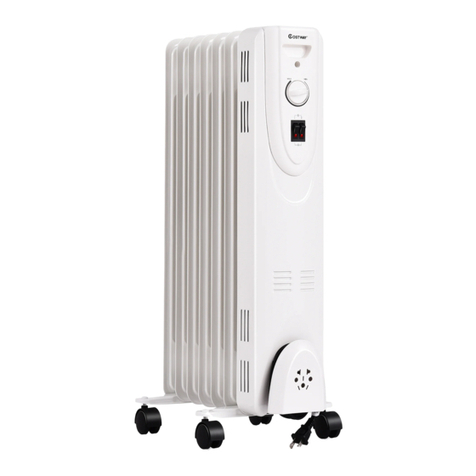
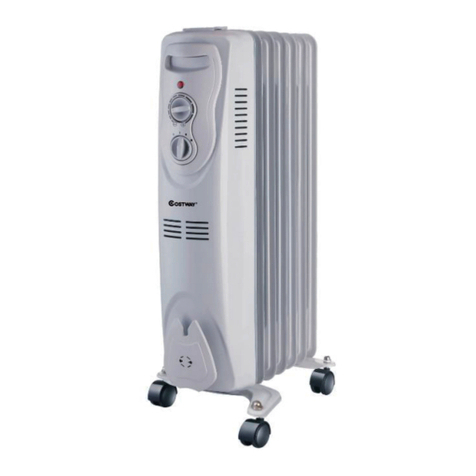
Costway EP22913 User manual

1
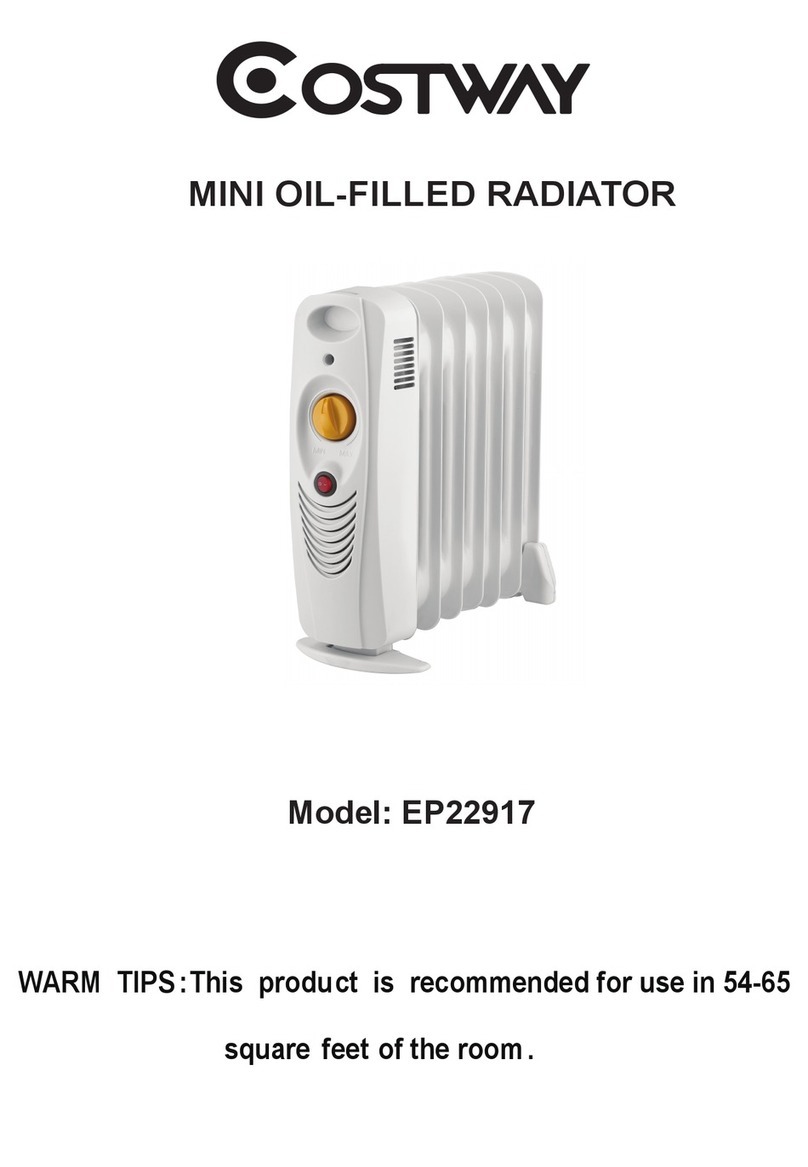
Model:EP22913
WARM TIPS :This product is recommended for use in 108-162
square feet of the room.

2
TABLE OF CONTENTS________________ ____
IMPORTANT INSTRUCTIONS..........................................................
SAFETY SYMBOLS.............................................................................
UNPACKING........................................................................................
PARTS DESCRIPTION........................................................................
ASSEMBLY...........................................................................................
OPERATING INSTRUCTIONS..........................................................
SPECIFICATIONS...............................................................................
CLEANING AND STORAGE………...................................................
TROUBLESHOOTING........................................................................
PARTS LIST..........................................................................................
IMPORTANT INSTRUCTIONS S—
When using this appliance, basic precautions should always be followed to reduce
the risk of fire, electric shock and injury to persons, including the following:
CAUTION- High temperatures - keep electrical cords, drapery, and other furnishings at least 3 feet
(0.9m) from the front of the heater and away from the sides and rear.
1. Read all instructions before using the heater.
2. Remove the unit from its packaging and check to make sure it is in good condition before using.
3. Do not let children play with parts of the packing (such as plastic bags).
4. Check the household voltage to ensure it matches the heater’s rated specification.
5. Check the power cord and plug carefully before use to make sure that they are not damaged.
6. Before unplugging the power cord, be sure to turn off the power. When touching the unit, be
sure your hands are dry to prevent from receiving an electric shock.
7. Do not use near to, or point the heater towards furniture, curtains, or other inflammable objects.
Keep combustible materials, such as furniture pillows, bedding, papers, clothes, and curtains at
least 3 feet (0.9m) from the front of the heater and keep them away from the sides and rear.
8. Do not block air intakes or exhaust in any manner to prevent a possible fire.
9. Extreme caution is necessary when any heater in used by, or near children or invalids, and
whenever the heater is left operating and unattended.
10. Always unplug the heater when not in use.
11. Prevent water from getting into the housing of the heater during operation or in storage. Always
store in a dry area, free from potential moisture.
12. Do not use in places where gasoline, paint, or other inflammable liquids are used or stored.
13. This heater is not intended for use in bathrooms, laundry areas, or similar indoor locations.
Never locate the heater where it may fall into a bath tub or other body of water.
2
4
4
5
5
6
7
7
8
9

3
14. Do not run the cord under carpeting. Do not cover the cord with throw rugs, runners, or the like.
Arrange the cord away from traffic areas and where it will not be tripped over.
15. Do not use on soft surfaces, like a bed, where openings may became blocked. Do not place the
heater near a bed because objects such as pillows or blankets can fall off the bed and be ignited by
the heater.
16. Do not operate any heater with a damaged cord, damaged plug, after the heater malfunctions, or
if it has been dropped or damaged in any manner. Return the heater to an authorized service facility
for examination, electrical or mechanical adjustment, or repair.
17. Do not insert or allow foreign objects to enter any ventilation or exhaust opening as this may
cause an electric shock or exhaust opening as this may causes an electric shock, fire, or damage
the heater.
18. This heater is hot when in use. To avoid burns, do not let bare skin touch the hot surfaces. If
provided, use handles when moving this heater.
19. Use this heater only as described in this manual. Any other uses not recommended by the
manufacturer may cause fire, electric shock, or personal injury and may void the warranty.
20. Always plug heaters directly into a wall outlet/receptacle. Never use with an extension cord or
relocatable power tap (outlet/power strip)
21. Do not use outdoors.
22. To disconnect heater, turn controls to off, then remove plug from outlet.
23. Never clean this heater while it is plugged in. Do not immerse it in water. To disconnect, turn
control to OFF, then remove the plug from the outlet by grasping it and pulling it from the outlet.
Never yank on the cord.
24. This appliance is not intended for use by persons (including children) with reduced physical,
sensory or mental capabilities, or lack of experience and knowledge, unless they have been given
supervision or instructions by a person responsible for their safety.
25. Children should be supervised to ensure that they do not play with the appliance.
26. The heater must not be located immediately below a socket-outlet.
27. This heater is filled with a precise quantity of special oil. Repairs requiring opening of the oil
container are only to be made by the manufacturer or his service agent, who should be contacted if
there is an oil leak.
28. When scrapping the heater, follow the regulations concerning the disposal of oil.

4
SAFETY SYMBOLS__________________________
UNPACKING__ _________________________
Check immediately whether all parts and accessories are present in the box. If anything is
missing or broken, contact our Customer Service at 1-866-206-0888.
PACKAGING INCLUDES:
--Caster brackets (X2)
--U-bolt (with right angle bend) (X2)
--Butterfly bolts (X4)

5
PARTS DESCRIPTION ...... ......... .......................
1. Oil fins (x7)
2. Carry handle
3. Thermostat control
4. Power & setting control
5. Front panel
6. Power cord housing
7. Rolling casters
ASSEMBLY.......................................................
Assembly Instructions:
Unpack the heater and remove all parts from the packaging.
For ease of assembly, place the heater upside down or on its side on a soft surface which will not
scratch the unit. Use one hand to hold it in place.
Place the bowlegged castor-mounting plate in the front and put straight castor-mounting plate in the
end.
1. Unscrew nut and washer and nut. (Fig B-1)
2. Attach casters to metal plates with washer and nut (Fig B-2)
3. Place the bowlegged metal plate and wheel assembly between the last two fins at each end of the
heater as shown in Fig B-3,4,5.
4. Attach the plate and wheel assemblies onto the heater with the U bolts and wiring nuts supplied as
shown in Fig B-3,4,5
5. Remove the wing nut from the U bolt and insert the U bolt through the holes in the plate/wheel
assembly as shown, reattach the wing nut and tighten firmly (Fig B-6). Repeat this procedure on the
opposite side.
Location of the Heater:
1. Turn the heater upright. Ensure legs are correctly installed and level.

6
2. Place heater on a flat and stable surface. Setting the heater on an incline or decline may cause
damage to the unit and create a hazardous situation.
OPERATING INSTRUCTIONS____ _______........
To operate, connect to a properly polarized outlet only. Ensure the unit is in the OFF position.
Match wide blade of plug to wide slot and fully insert. Be sure to plug into a 120V AC, 60Hz
outlet.
NOTE1: When the heater is plugged in, the power indicator will be illuminated until it is turned
off and unplugged.
NOTE2: THE HEATER WILL NOT OPERATE UNLESS IT IS PROPERLY PLUGGED INTO A
POLARIZED OUTLET AND POWERED ON.
NOTE3: IT WILL NORMALLY REQUIRE APPROXIMATELY 15 MINUTES FOR THE
HEATER TO REACH ITS OPERATING TEMPERATURE.
YOUR HEATER IS EQUIPPED WITH 3-CONTROL SETTINGS AND THERMOSTAT.
Thermostat Control : This heater is equipped with a thermostat function to control
the temperature output. To increase the heat output, turn the dial clockwise. To reduce the heat
output, turn the dial counter-clockwise.
Press the both power switches down at I and II for fast warm-up of a room and turn the thermostat to
maximum ( ). Once the room is comfortable, slowly rotate the thermostat counterclockwise until
Heat Setting Control:
Pressing Left
Switch to:
Pressing Right
Switch to: Combination Results
O O
Unit and power light is OFF
No heat is produced.
I O
Unit and power light is ON,
Heater is on LOW setting.
O II
Unit and power light is ON,
Heater is on MEDIUM
setting.
I
II
Unit and power light is ON,
Heater is on HIGH setting.

7
the heater shuts off - you will hear a “click”. The thermostat will now maintain the temperature by
cycling the heater on or off as required. Once the room is comfortable, select a lower power setting
at either [I or O] or [II and O] to reduce electrical consumption and to prevent the room from
becoming too warm. During particularly cold weather, the low setting at I or II power setting(s) may
be insufficient to maintain the temperature set at the thermostat. Select [I and II] for these periods.
To turn off heater, press both switches down to O.
SAFETY FEATURES OF THIS HEATER
Thermal Cut-Off: The heater will automatically shut off when parts of it overheat. If this occurs, turn
the heater OFF and unplug it. Inspect the unit, and remove any objects that are on or adjacent to the
unit that may cause overheating. Wait 15-20 minutes for the unit to cool down. Then plug it back into
the outlet in order to resume normal operation.
SPECIFICATIONS______ _______________.
Model Number EP22913
Power Supply 120 volts AC, 60Hz
Power Consumption
600W (low heat setting)
900W (medium heat setting)
1500W (high heat setting)
CLEANING AND STORAGE_ _______........
Before any cleaning, make sure that the heater is turned off and plugged from the power source.
Regular Cleaning:
1. Prepare a mild detergent-water solution. Do not use cleaning liquid or other chemicals to spray
directly on the unit.
2. Use a clean, soft and lightly damp cloth to gently wipe off the dirt from the surface of the unit
only.
3. Do not attempt to open the heater to clean it. Doing so will damage the unit and void the
warranty.
NOTE: THE FINS ARE PERMANENTLY SEALED AND DO NOT REQUIRE ANY OIL CHANGE.
CAUTION: DO NOT ALLOW WATER TO RUN INTO THE INTERIOR OF THE HEATER AS THIS
COULD CREATE A FIRE OR ELECTRIC SHOCK HAZARD, DAMAGING THE UNIT.
STORAGE
1. Perform the cleaning procedures described above.
2. Wipe all parts to dry.
3. Pack the heater in a plastic bag and store it in a cool, dry place.

8
TROUBLESHOOTING...................................................
If your heater fails to operate, please follow these procedures before contacting Customer service:
Problem Probable Cause Solution
The heater will
not power on.
The thermal cut-off has been
activated
Unplug and turn the heater off; allow it to
cool for 30 minutes. Once the heater has
cooled off, check to make sure that there
are no objects on or adjacent to the unit. To
resume operation, plug the unit back in.
Heater is not plugged into a
120V polarized outlet/receptacle.
Ensure unit is in OFF position. Plug in unit
and attempt to turn on again.
Breaker/Fuse has been tripped.
Check your electrical box to confirm the
breaker has not been blown. This may
occur if the receptacle is shared between
other high consumption appliances.
Ensure unit is in the OFF position. Plug in
unit and attempt to turn on again.
Attempt to plug unit into another receptacle
in the house.
Power light is
on, but no heat
is emitting
from the unit.
Room temperature has warmed
up to thermostat setting.
To increase the room temperature, adjust
thermostat control knob to a higher setting
by turning clockwise.
The heating elements inside the
unit have not warmed up yet.
Allow 15 minutes after the unit has been
turned on for the oil fins to heat.
The heater is
creating a
burning smell.
Check & ensure there are no
combustible materials 3’ (0.9 m)
surrounding the heater.
Remove the combustible units adjacent to
the heater.
The heater feet have not been
properly installed on the unit.
Follow assembly instructions on how to
attach front and hind legs to the unit.
The heater is
making small
crackling
sounds.
It is normal for the heater to emit
small crackling sounds as it
heats the oil inside the fins.
Allow heater to operate for a period of time.
After the heater has warmed up, the
crackling sounds should stop. Do not be
alarmed. It will go away after approximately
15 minutes.
PLEASE DO NOT ATTEMPT TO OPEN OR REPAIR THE HEATER YOURSELF. DOING SO
COULD VOID THE WARRANTY AND CAUSE DAMAGE OR PERSONAL INJURY.

9
PARTS LIST
Please refer to the Schematic Drawing on the next page.
No.
DESCRIPTION Quantity
No.
DESCRIPTION Quantity
1
OIL RADIATOR
BODY 1 13
CORD CLAMP HOLDER 1
2 THERMOSTAT 1 14
CORD CLAMP 1
3 FRONT COVER 1 15
CERAMIC ASSY 1
4 SCREW 2 16
SCREW 2
5 THERMOSTAT KNOB
1 17
SCREW 1
6 CONTROL PANEL 1 18
HEATING TUBE 1
7 SCREW 1 19
PLUG WASHER 1
8 POWER SWITCH 1 20
U-TYPE BOLT 1
9 CORDWRAP 1 21
FEET ASSY 1
10
BUSHING 1 22
FLOWER NUT 4
11
POWER CORD 1 23
MANUAL SETTING THERMAL
CUT-OUT 1
12
SCREW 2 24
RESTORABLE THERMOSTAT 1
25
TIP-OVER SWITCH 1
Table of contents
Other Costway Heater manuals

Costway
Costway EP25150US-SL User manual

Costway
Costway OP3178 User manual

Costway
Costway HW58872 User manual

Costway
Costway EP25437 User manual

Costway
Costway ES10202US User manual

Costway
Costway EP24150 User manual

Costway
Costway ES10159US User manual

Costway
Costway EP25438 User manual

Costway
Costway EP25439 User manual

Costway
Costway EP22916 User manual

Costway
Costway EP24192 User manual

Costway
Costway ES10254 User manual

Costway
Costway EP23749 User manual

Costway
Costway EP24688US User manual

Costway
Costway ES10158US User manual

Costway
Costway EP24687US User manual

Costway
Costway ES10201DE User manual
Costway
Costway EP22618 User manual

Costway
Costway EP23750 User manual

Costway
Costway ES10252 User manual