MP3, OGG, WMA,, ASF, FLAC, WAV, FM Radio listening and recording, and voice recording
High Capacity Internal Flash Memory (512MB/1GB/2GB), File Copy/Delete Capability
High-Speed USB 2.0 Interface
0.9 inch OLED display with 96x96 resolution and 65K colors.
Long Contiunous Playback Time: Up to 12hours (Based on company test result. Play time may be shortened if OLED is
used often.)
Multi-language support
Enhanced Integrated file navigator
Play/Pause during Playback, Record/Pause during Recording
Next Track/Previous Track, Fast Forward/Fast Rewind, Infinite Loop
Resume, Fade In, Auto Play feature support
Search Speed, Skip Speed Setting
Digital Volume Control :40 levels
Various EQ and Sound Effects (JetEffect)
- User adjustable 5-band EQ
- Normal, Rock, Pop, Jazz, Classic, Vocal, User
- BBE, Mach3Bass, MP Enhance, 3D Surround Support
Clock, Alarm, Scheduled Recording, Sleep Timer, Auto Power-Off
Auto display off feature to save battery power and screen burnout
Easy firmware download and upgrade
Title Display with ID3Tag or File Name
Display Product Info (Firmware version, Total capacity, Total usage)
USB Data Transfer Support for MAC OS (9.X, 10.X) and Linux (v2.2 and higher)
1.3. Features and Specifications
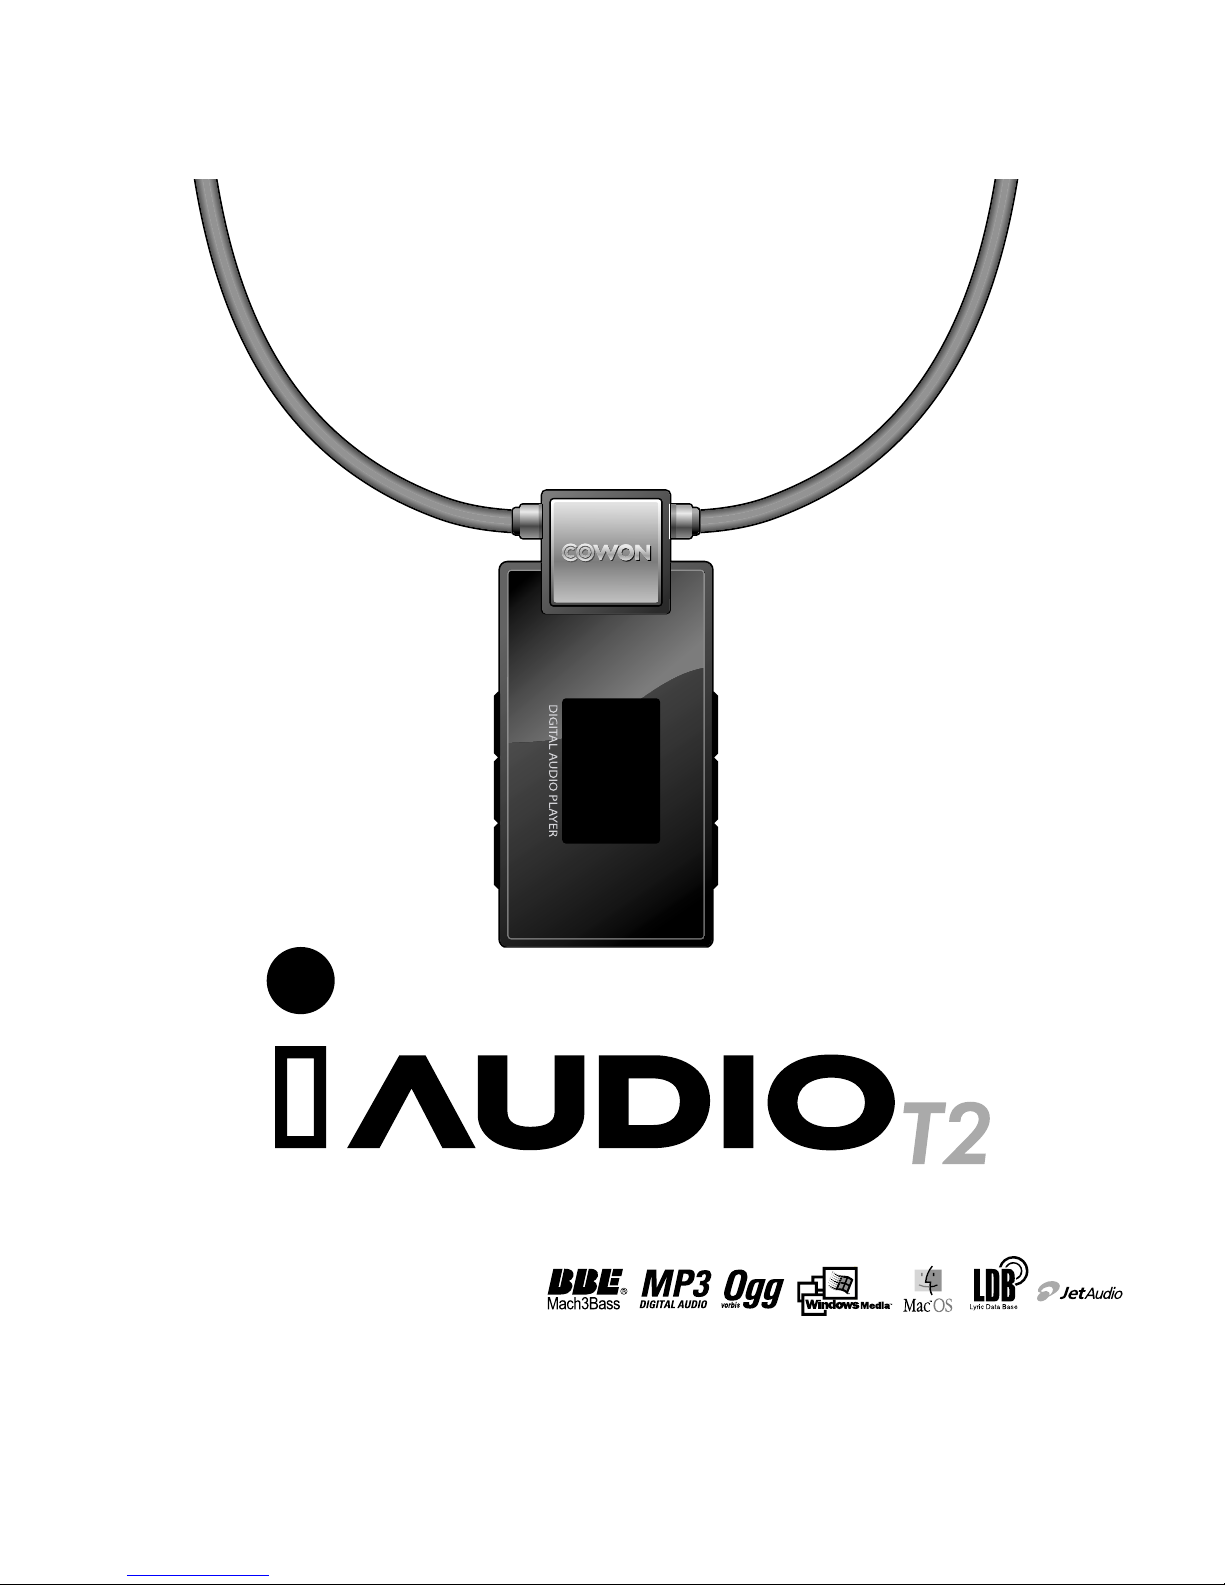
Introducing iAUDIO T2
MP3 : MPEG 1/2/2.5 Layer 3, ~320kbps, ~48khz, mono/stereo
WMA : ~256kbps, ~48khz, mono/stereo
OGG : ~q10, ~44.1khz, mono/stereo
FLAC : compression level 0 ~ 8, ~44.1khz, mono/stereo
WAV : ~48khz, 16bit, mono/stereo
512MB/1GB/2GB
High Speed USB 2.0
Max 35Mbps (Upload Max 40Mbps)
Built-in Rechargeable Lithium Polymer battery(Max. 12 hours of continuous playback based on company test)
About 2 hours (either USB or Adapter)
6 Buttons (REC, PLAY FF, VOL+, VOL-, MENU)
0.9 inch 96x96 dots, 65,000 Color OLED
95dB (A-Weighted)
20Hz~20KHz
16 Ohm earphones : 23mW + 23mW
iAUDIO T2: 1.14 X 2.07 X 0.53 inches (Width x Length x Thickness)
Earphone Module: 0.69 X 0.66 X 0.63 inches (Width x Length x Thickness)
iAUDIO T2: 0.86 Oz. (including lithium polymer battery)
Earphone Module: 0.23 oz.
Supported
File Formats
Memory
USB Interface
File Transfer Rate
Power Supply
Charging Time
Buttons
Display
SNR
Output Frequency
Output
Dimension
Weight
Introducing iAUDIO T2
Software
- JetShell (File Transfer, MP3/WAV/WMA/AUDIO CD Playback)
- JetAudio Basic (Integrated multimedia player software, music conversion feature)