manuals.online logo
Brands
  1. Home
  2. •
  3. Brands
  4. •
  5. Craftsman
  6. •
  7. Power Tools
  8. •
  9. Craftsman MITER BOX User manual

Craftsman MITER BOX User manual

Other Craftsman Power Tools manuals

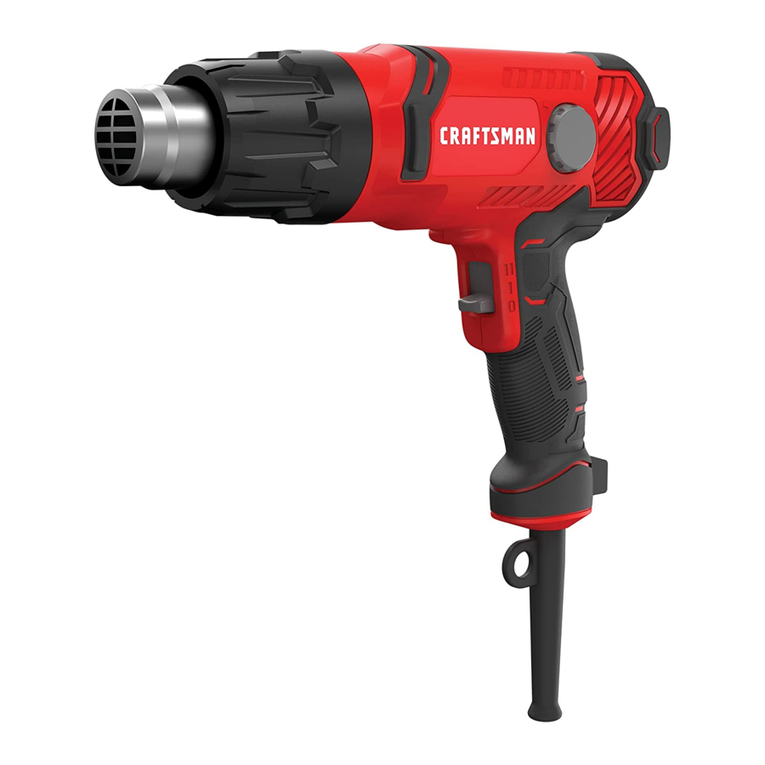
Craftsman 315.115860 User manual

Craftsman

Craftsman 315.115860 User manual

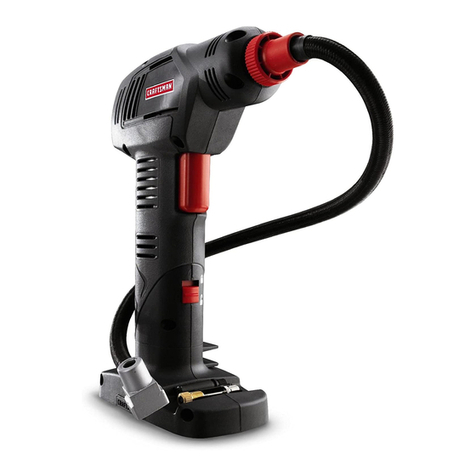
Craftsman 875.191174 User manual

Craftsman

Craftsman 875.191174 User manual

Craftsman 315.175340 User manual

Craftsman

Craftsman 315.175340 User manual

Craftsman 13235 User manual

Craftsman

Craftsman 13235 User manual

Craftsman 315.175310 User manual

Craftsman

Craftsman 315.175310 User manual

Craftsman 572.6112 User manual

Craftsman

Craftsman 572.6112 User manual

Craftsman RATCHET WRENCH 875.19934 User manual

Craftsman

Craftsman RATCHET WRENCH 875.19934 User manual

Craftsman 351.219071 User manual

Craftsman

Craftsman 351.219071 User manual

Craftsman Nextec 320.31224 User manual

Craftsman

Craftsman Nextec 320.31224 User manual

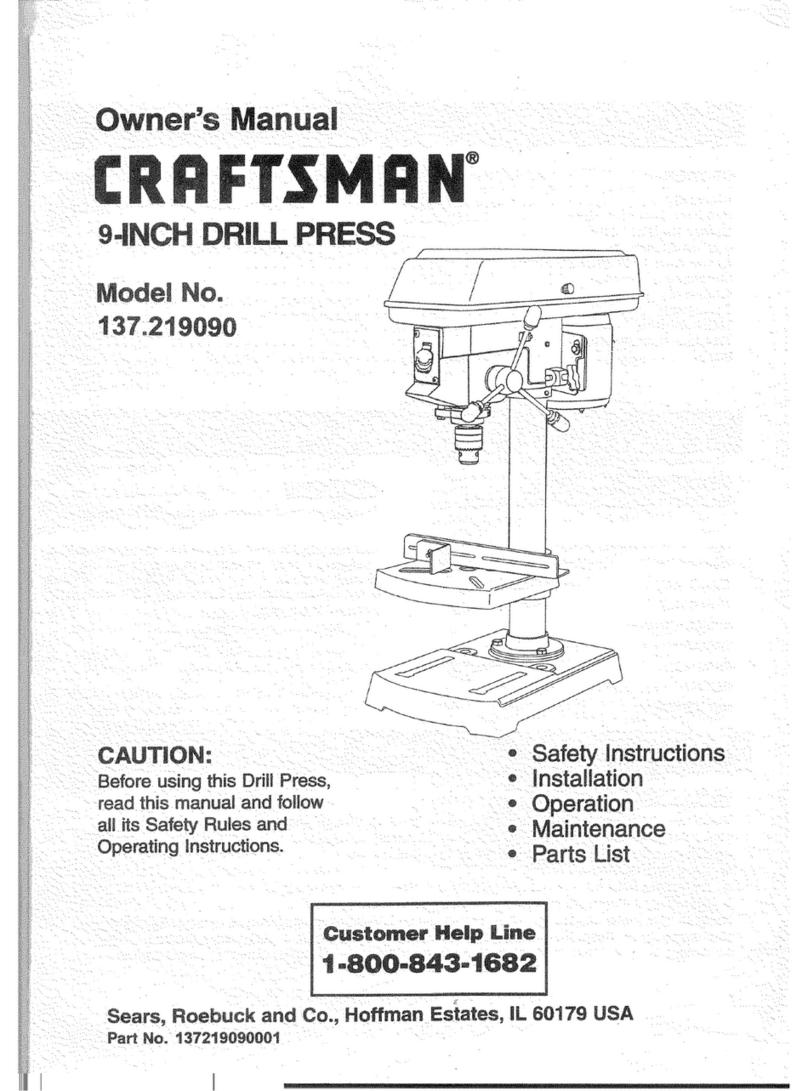
Craftsman 137.219001 User manual

Craftsman

Craftsman 137.219001 User manual

Craftsman 315.115850 User manual

Craftsman

Craftsman 315.115850 User manual

Craftsman 320.17542 User manual

Craftsman

Craftsman 320.17542 User manual

Craftsman NEXTEC 320.33179 User manual

Craftsman

Craftsman NEXTEC 320.33179 User manual

Craftsman 315.26921 User manual

Craftsman

Craftsman 315.26921 User manual

Craftsman CMCE521 User manual

Craftsman

Craftsman CMCE521 User manual

Craftsman 316.859510 User manual

Craftsman

Craftsman 316.859510 User manual

Craftsman 103.20720 User manual

Craftsman

Craftsman 103.20720 User manual

Craftsman 103.0404 User manual

Craftsman

Craftsman 103.0404 User manual

Craftsman CMEW020 User manual

Craftsman

Craftsman CMEW020 User manual

Craftsman 973.113121 User manual

Craftsman

Craftsman 973.113121 User manual

Craftsman 152.219110 User manual

Craftsman

Craftsman 152.219110 User manual

Craftsman 315.175170 User manual

Craftsman

Craftsman 315.175170 User manual

Craftsman 171.917508 User manual

Craftsman

Craftsman 171.917508 User manual

Craftsman 101.03622 User manual

Craftsman

Craftsman 101.03622 User manual

Popular Power Tools manuals by other brands

ISLAND HOPPER Power Egg HT-309 operating instructions

ISLAND HOPPER

ISLAND HOPPER Power Egg HT-309 operating instructions

Sioux Tools SSR6P25 Instructions-parts list

Sioux Tools

Sioux Tools SSR6P25 Instructions-parts list

Makita HM1317C technical information

Makita

Makita HM1317C technical information

ABB Smart Tool + quick start guide

ABB

ABB Smart Tool + quick start guide

Baumr-AG BMJK-24S user manual

Baumr-AG

Baumr-AG BMJK-24S user manual

Bosch Professional GST 18 V-LI S Original instructions

Bosch

Bosch Professional GST 18 V-LI S Original instructions

Ronix RA-2702 quick start guide

Ronix

Ronix RA-2702 quick start guide

Nordson ProBlue user guide

Nordson

Nordson ProBlue user guide

aoyue int6028 instruction manual

aoyue

aoyue int6028 instruction manual

Hitachi CJ 65VA2 Instruction manual and safety instructions

Hitachi

Hitachi CJ 65VA2 Instruction manual and safety instructions

Makita HM1304 instruction manual

Makita

Makita HM1304 instruction manual

Kurtz Ersa Ersa X-TOOL VARIO operating instructions

Kurtz Ersa

Kurtz Ersa Ersa X-TOOL VARIO operating instructions

SCHUNK KSO 65 Installation and operating instruction

SCHUNK

SCHUNK KSO 65 Installation and operating instruction

Harken LokHead 500 user manual

Harken

Harken LokHead 500 user manual

Senco DuraSpin ExTPro installation instructions

Senco

Senco DuraSpin ExTPro installation instructions

Ferm JSM1020 Original instructions

Ferm

Ferm JSM1020 Original instructions

Milwaukee M12 FUEL 2559-20 Operator's manual

Milwaukee

Milwaukee M12 FUEL 2559-20 Operator's manual

EINHELL BT-CD 12/2 operating instructions

EINHELL

EINHELL BT-CD 12/2 operating instructions

manuals.online logo
manuals.online logoBrands
  • About & Mission
  • Contact us
  • Privacy Policy
  • Terms and Conditions

Copyright 2025 Manuals.Online. All Rights Reserved.

30001
ISearsl
owners
manual
MODEL NO.
_<50oL
CRAFTSMAN
MITER BOX
Operating Instructions
Repair Parts
30001 Sears, Roebuck and Co., Chicago, Ill. 60684 U.S.A.
and Simpsons Sears Limited, Toronto,Ontario
Pr;nted in U.S.A.
YOUR NEW CRAFTSMAN MITER BOX HAS
BEENADJUSTEDAND CHECKED AND ISREADY
FOR IMMEDIATE USE
OPERATION
SETTING ANGLES-- Illustration #1
To move saw guides, raise yellow Cam Lock Lever,
pull Indicator Pin and move pivot arm to any desired
angle. Release Indicator Pin and press down on yellow
Cam Lock Lever.
SAW HANGER-- Illustration #2
The Saw Hangers are designed to hold your saw while
you are setting your angles, or placing and removing
work from the cutting surface. To engage Saw Hangers,
raise saw to top of guide rods. To release saw, lift front
and rear saw hangers and saw can be lowered.
DEPTH STOP-- Illustration #3
If saw strikes base, loosen front and rear Thumb Screws
and raise Depth Stop. Tighten Screws. If saw does not
cut through work, lower Depth Stop.
WORK STOP _Illustration #4
Wood pieces of equal lengths can be cut by using the
work stop bracket as illustrated. For multiple cuts
longer than 14-, alonger rod would be required.
WORK CLAMP mIllustration #5
Work can be held by using the cam on the opposite
end of the work stop as illustrated.
IMPORTANT: This Miter Box was adjusted, saw tested,
and carefully checked for accuracy at the factory. Check
carefully before making adjustments.
ADJUSTMENTS:
Problem: Cutting inaccurate angles.
saw hanger _1:_,_,
---'_"" pin ILLUSTRATION #2
cam lock lever
ILLUSTRATION #1
ILLUSTRATION .#4
depth stop
I
ILLUSTRATION #3
ILLUSTRATION .#5
Problem:
Solution: Illustration # 6
Set angle indicator pin in 0° notch. Loosen Screws and
raise cam lock lever. Holding square or right triangle
lightly against the saw, move pivot arm either left or
right until the saw is at right (90 °) angle to the back.
Tighten screws. After tightening screws, check your
setting with square for accuracy. Now your tool is once
again in perfect adjustment.
Saw fits guide too loose or too tight.
Solution: Illustration #7.
Insert saw through the guides with the stiff back of your
saw above top rollers. Loosen slightly four screws and
2 bolts. Turn both saw guide assemblies until saw wob-
ble is eliminated. Hold guide assemblies in this position
while tightening screws and bolts. The saw then should
guide easily and smoothly. Clearance between the saw
and rollers should be about the thickness of one sheet
of newspaper. Adjust depth stops (illustration 3) so saw
teeth do not touch the base.
. _ \ cam lock
guides - '_"
Ibolt
ILLUSTRATION #7
KEY
NO.
1
2
3
4
5
6
7
8
9
10
11
12
13
14
15
16
17
18
19
18
16
t4
9
8
7
6
S4 3 2 1
SEARS
MODEL NUMBER
35
PART
NO.
30001
8036
80461
8041
8047
3005
3006
30071
4006
3009
30101
30111
3012
3013
3014
3015
30161
3017
3018
3019
DESCRIPTION
Instructions & Parts List--Not Illustrated .
Clamp Pin ............................
Cam Support .........................
Cam Lock Lever .......................
Roll Pin--3/16" x 1-1/2". ...............
*Hex Head Bolt--1/4-20 x 3/4". ..........
*Plain Washer--9/32" ID x 5/8" OD. ......
Pivot Arm ............................
Machine Screw Fillister Head 10-32 x 7/16"
Carrier Rod Support ....................
Depth Stop Stamping ..................
Depth Stop Shoe ......................
Special Thumb Screw ..................
Roller Guide Carrier ....................
Roller Carrier Rod ----11-5/8" . .........
Guide Carrier Rod Cap .................
Saw Hanger ..........................
Top Rod Support ......................
"*Saw Guide--Complete Assembly .......
Saw Guide Roller ......................
NO. OF
PARTS
REQ.
1
1
1
1
2
2
1
4
2
2
2
2
2
2
2
1
KEY
NO.
20
21
23
24
25
PART
NO,
3020
3021
8040
3024
3025
26 3026
27 3027
28 3028
29 3029
30 3030
31 3031
32 3032
33 '3033
34 4017
35 4018
2400
DESCRIPTION
Roller Spacer--Upper .................. !
Roller Spacer-- Lower ..................
Compression Spring ...................
Machine Screw Fillister Head Seres-
#10-32 x 3/8': .........................
Indicator Pin Retainer ..................
Indicator Pin ..........................
Pivot Stud ............................
*Flat Washer-l/2" ID x 1" OD ...........
Lock Nut-1/2-20 ........................
Miter Box Base ........................
Base Leg .............................
Tapping Screw--#10-24 x 112". ..........
Special Knurled Thumb Screw ...........
Work Clamp and 141/2'' Stop Assembly ....
4" x 24" Back Saw--Not Illustrated .......
*Standard Hardware Items--May be purchased locally
* *Front &Rear Saw Guide are identical
NO. OF
PARTS
RED.
4
4
1
1
6
1
1
1
1
1
1
2
4
2
1
THE MODEL NUMBER WILL BE FOUND ON THE BASE LEG. ALWAYS MENTION THE MODEL NUMBER
IN ALL CORRESPONDENCE REGARDING YOUR MITER BOX OR WHEN ORDERING REPAIR PARTS.
Sears
owners
manual
SEARS
MODEL NUMBER
SEARS NATIONWIDE
SERVICE
IS AT YOUR SERVICE
_lf_the pa_ilyou _!need are not _stocl_ed :_
_tro61cally transmittedto :!a F
Center for expedited hand{ing, L_-:,::_!:_i:!,.:::_:_ : .,_;;Z_%_:_::_,_--_.
WHEN ORDERING
FOLLOWING INFORMATION SHOWN ON THIS LIST:
1. The PART NUMBER.
2. The PART DESCRIPTION.
3. The QUANTITY DESIRED.
4. The NAME OF ITEM.
5. The MODEL NUMBER
Your Sears merchandise takes on added value
when you discover that Sears has over 2,000
Service Units throughout the country. Each is
staffed by Sears-trained, professional techni-
cians using Sears approved parts and methods.
Sears, Roebuck and Co., Chicago, Ill. 60684 U.S.A.
and Simpsons Sears Limited, Toronto, Ontario
Printed in U.S.A.