5
!
• Should a hydraulic hose ever rupture, burst or
need to be disconnected, immediately shut off the
pump and release all pressure. Never attempt to
grasp a leaking pressurized hose with your
hands.The forceofescaping hydraulic fluidcan
inflict injury.
•Do not subject the hose to potential hazard such
as fire, sharp objects, extreme heat or cold, or
heavyimpact.
•Do not allow the hose to kink, twist, curl, crush,
cut or bend so tightly that the fluid flow within the
hose is blocked or reduced. Periodically inspect
the hose for wear, because any of these
conditions can damage the hose and possibly
result in personal injury.
•Do not pull, position or move setup by the hose.
Doing so can damage the hose and possibly
causepersonal injury.
•Hose material and coupler seals must be
compatible with hydraulic fluid used. Hoses also
must not come in contact with corrosive materials
suchas battery acid,creosote-impregnated
objects and wet paint. Hose deterioration due to
corrosive material can result in personal injury.
Neverpainta coupler or hose.
•Theusermust be a qualified operatorfamiliar with
thecorrect operation, maintenance, anduseof
rams. Lack of knowledge in any of these areas
can lead to personal injury.
•Useonlyapprovedaccessoriesandapproved
hydraulicfluid.
•Do not exceed the rated capacity of the ram.
•Inspect each ram and coupler before each use to
preventunsafeconditions from developing.
•Do not use rams if they are damaged, altered or
inpoor condition.
•Do not use rams with bent or damaged coupler or
damagedthreads.
•Under certain conditions, the use of an extension
with a hydraulic ram may not be advisable and
couldpresent a dangerouscondition.
•Avoid pinch points or crush points that can be
created by the load or parts of ram.
•To help prevent material fatigue if the ram is to
be used in a continuous application, the load
should not exceed 85% of the rated capacity.
•Ram must be on a stable base which is able
to support the load while pushing or lifting.
•Ensure ram is fully engaged into/onto adapters,
extension accessories.
•Tohelp prevent personalinjury, useshims,friction
materialor constraints topreventslippage of the
base or load.
•Do not off-center loads on a ram. The load can tip
or the ram can "kick out" and cause personal
injury.
•As the load is lifted, use blocking and cribbing to
guardagainsta falling load.
•Neverallowpersonnel to work on, underor around
a load before it is properly supported by appropri-
ate mechanical means. Never rely on hydraulic
pressurealoneto support load.
•Allpersonnel must beclearbefore lowering.
•Never try to disassemble a hydraulic cylinder,
Referrepairstoqualified,authorizedpersonnel.
IMPORTANT
•Keep ram clean at all times.
•When the ram is not in use, keep the piston(s)
fullyretracted.
•Useanapproved, high-grade pipe threadsealant
to seal all hydraulic connections. Teflon tape can
be used if only one layer of tape is used and it is
applied carefully (two threads back) to prevent the
tape from being introduced into hydraulic system.
A piece of tape could travel through the system
andobstructthe flow of fluidand adverselyaffect
function.
•Never attach ANY component not authorized by
Sears.
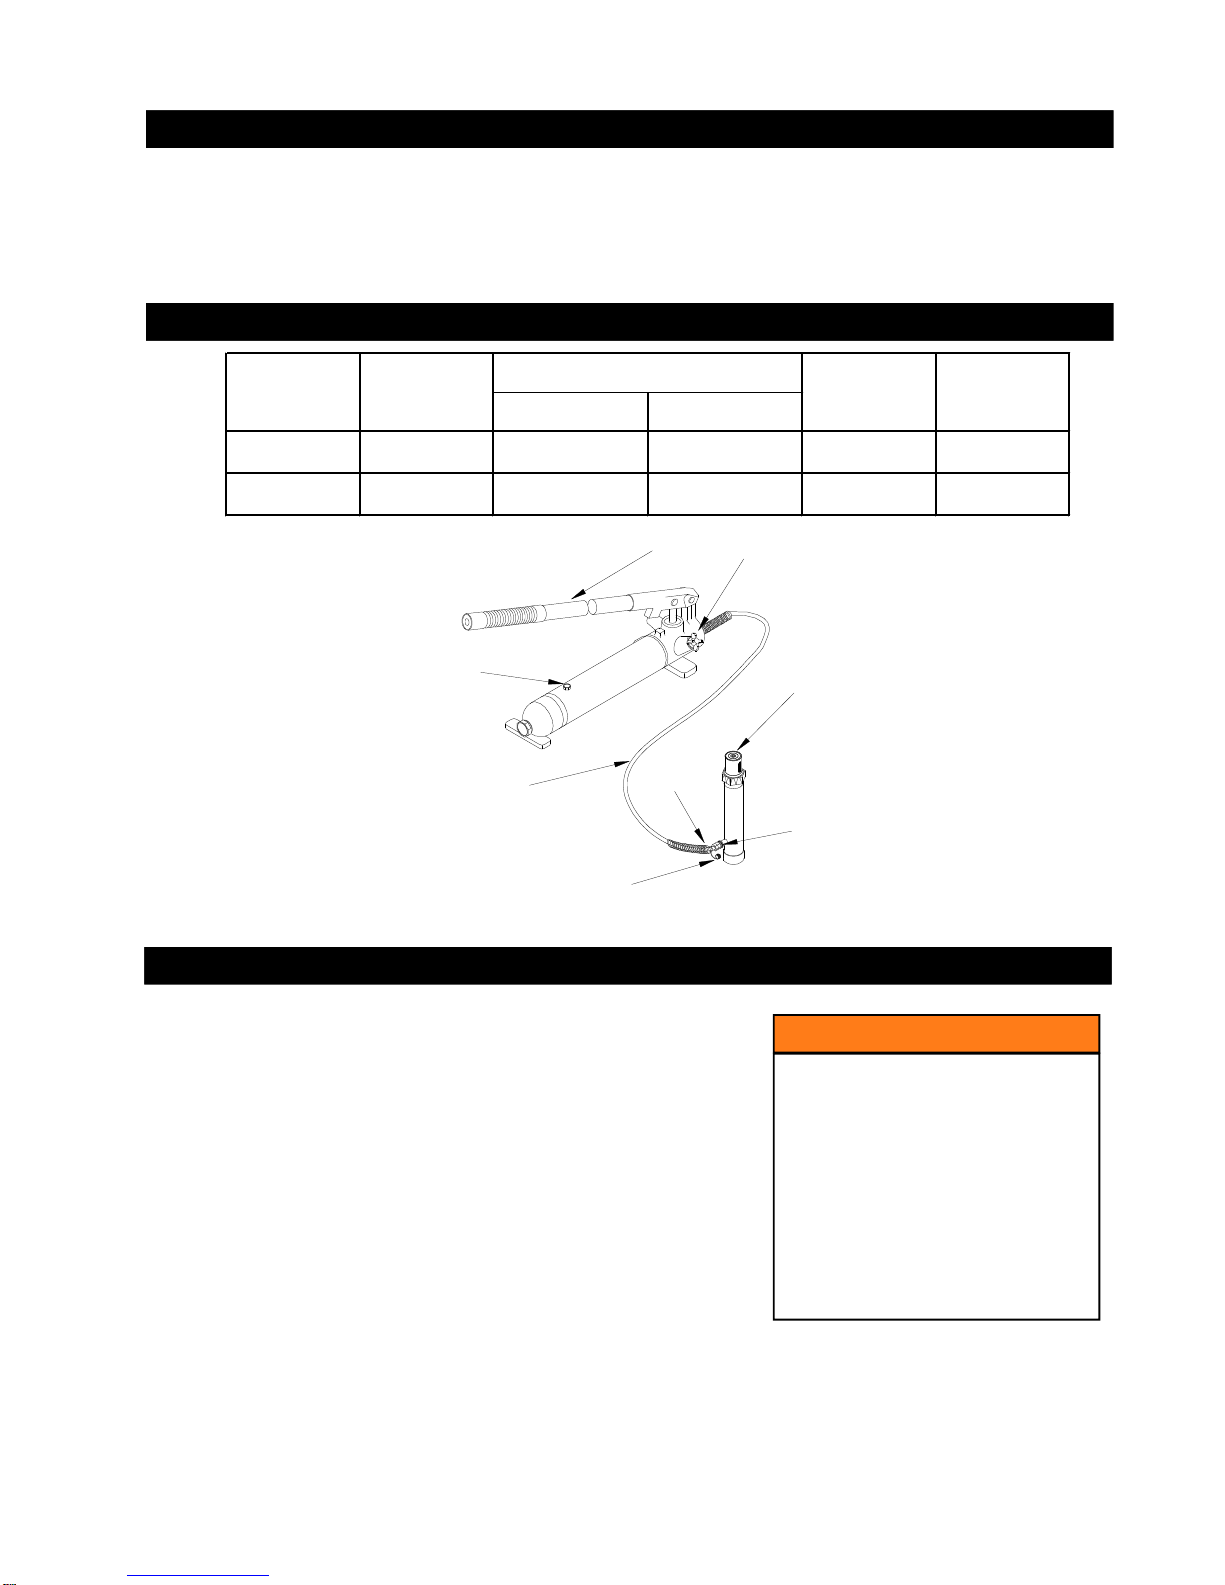
KNOW YOUR SYSTEM
Your ram, hose(s), couplings and pump all must be
ratedforthesame maximum operating pressure,
correctly connected and compatible with the
hydraulic fluid used.An improperly matched system
can cause the system to fail and possibly cause
serious injury. If you are in doubt, consult Sears.
!
Center loads on ram
!WARNING !WARNING
SAFETY INSTRUCTIONS (cont.)
© Sears, Roebuck and Co.