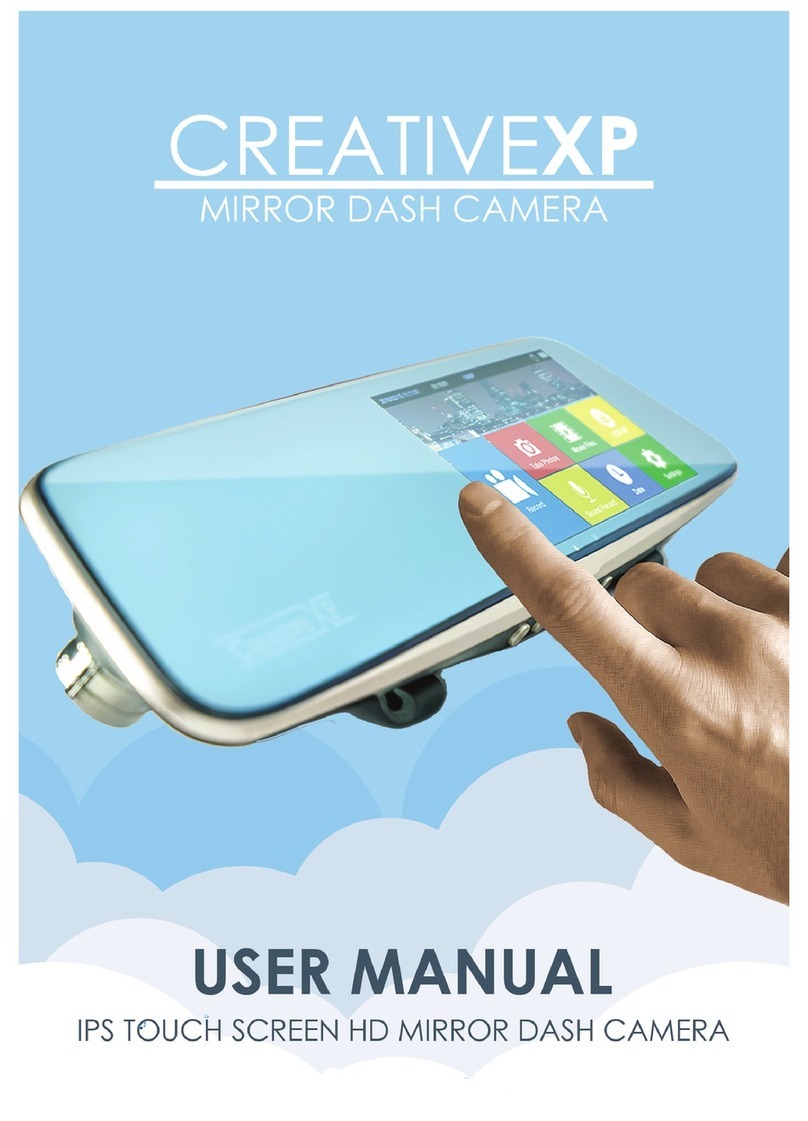
Creative XP PRO1 User manual


!
2!
Hello!
Thank you for choosing the CreativeXP products. Your
recognition & support is our motivation and it is our greatest
pleasure to serve you!
Before using the rearview mirror CAR DVR, please read this
guide carefully. In addition, due to production date, different
batches, instructions may differ from the actual use of the product.
If you have any suggestions or questions don’t hesitate to
contact us at support@creative-xp.com
Please check our YouTube HD Dash Cam Channel for more
tutorials & installation videos.
Finally, we sincerely wish you all the best & quiet moments on the
road!
Kind regards,
CreativeXP Team
!
!
!
!
!
!
!
!
!
!

!
3!
I. Product specifications
MODEL
XP PRO1
LANGUAGE
12 languages
IMAGE
JPEG format; 12M
VIDEO FORMAT
MOV
SCREEN SIZE
5.0 inch
CAMERA LENS
Front and rear
SHOOTING ANGLE
Front 170°/ Rear
140°
LENS APERTURE
F2.0
PROCESSOR
MSC8328P
CORE NUMBER
Dual core
ICON SENSOR
5
million pixel COMS
MEMORY CARD
MEMORY
Maximum support
32G
RAM
Built-in 512M
ADAS
YES
NIGHT VISION
YES
MUSIC PLAY
NO
ORBIT MIGRATION
YES
VMD
YES
REVERSING
IMAGE
YES
LOOP RECORDING
YES
DELAYED
SHUTDOWN
YES
GRAVITATIONAL
INDUCTION
YES
RECORDING
FUNCTION
YES
PARKING
MONITORING
YES
GPS TRAJECTORY
Optional
HDR
YES
POWER SUPPLY
5V/2.0A
WORKING HUMIDITY
15-65%RH
BATTERY
CAPACITY
500mAh
WORKING
TEMPERATURE
-20° to 70°C
!!
!!
!
!
!
!

!
4!
!
II. Product Overview
!
!!
1. Power button
•Hold the power button to turn ON/OFF
•When connected to charger - automatic start
•Disconnect the charger - 8 seconds automatic shutdown
2. Menu button
•It is used to switch between the available mirror dash cam main functions of the
recorder: the video interface, the photo interface, and the file view interface.
*If you long press it, you will enter the menu interface.
3. OK button
•Confirms the setup
•Switches between the controls of the recording

!
5!
4. UP button
•Upward selection
•Adjust the volume of the recorder
5. DOWN button
•Downward selection
•Adjust the volume of the recorder
6. Power USB interface
•A power supply interface inserted into a car or a step-down line
7. Rear view camera port
•Connector of the rear view camera
8. MicroSD Card Slot
•The memory card insert space is elastic and ensures that the card will not pop
up.
9. GPS Port (optional)
•Can be connected to an external GPS module
10. IPS 5” Display
•The video screen of the recorder is IPS Touch Screen and anti-dazzle. You can
navigate the menu without pressing any buttons.
11. Camera lens
•Used to record up to 1296P HD Video and 170 degrees Wide Dynamic Angle -
adjustable
12. Speaker
•An external device for the sound of a recorder, including tone, music, and voice
in the video.
13. Reset Button
•When the recorder needs resetting or crash case, you can press this key with a
needle to reset all selected functions.
** The touchscreen menu shows most of the important features, functions or settings to
navigate the menu without pressing buttons. However, if you like the buttons option
more, you have this choice too.
!!

!
6!
III. A step-by-step Installation Guide
1.Turn off your vehicle engine.
2. Insert the MicroSD card into the slot.
***Please use the high-speed SD card (Class 10 and above), capacity not less than
512M. MicroSD card maximum support 64GB.
3. Fix the mirror to the original car rearview mirror, using the included rubber straps.
4. Insert mirror charger into the car cigarette lighter.
5. Use extension cable to connect car charger and car DVR USB ports.

!
7!
***Charger extension line can lay along the edge of the windshield when wiring or can
be tucked in.
6. The backup camera is installed in the rear of the vehicle. Pay attention to the
direction of installation. Wiring can be positioned along the vehicle roof or through the
car and trunk. After the installation is complete, connect rear camera cable to the car
DVR rear camera interface.
7. Adjust the lens position to ensure that the lens is parallel to the ground.
8.Start the car engine, check if the machine has been installed properly.
***When the machine is properly installed, the system indicator lights turn on, the dash
cam enters the recording state and the recording indicator light flashes.

!
8!
IV. FAQs
!!
1. Does this product come with a Micro SD card or would one need to be
purchased separately and if so what size is it capable?
A: Our HD Dash Cam Pro2 doesn’t come with a MicroSD Card because of most
people like buying their own or already have one. The biggest compatible size is 32GB
but some of our customers formatted first their 64GB cards and had no issues – we
recommend 32GB.
2. How do you install the rear camera?
A: There is more than one way to install it (inside the car or above the license plate -
second option more popular) and you will just need to tuck the rear camera cables
under your car's molding, bring it through the trunk, hook it up to the reverse lights (if
you want parking assistance) and mount the rear view camera above the license
plate. Please check our channel on YouTube for Additional videos!
3. How does this HDR cam compare to WDR? Is it as clear?
A: Our dash cams are WDR because the viewing angles are over 140 degrees for the
front camera and they capture clearly license plates, faces and they even record audio
for road rage etc.
4. Can the rear camera record videos, if yes at what resolution?
A: Yes, the rear-view camera can record, and the recording can be shown on the
dashcam's screen for parking assist (or picture-in-picture mode). The resolution for the
rear-view camera is 1280x720P (30FPS).
5. Does this mount over existing rearview mirror or replace existing mirror?
A: The HD Mirror Dashcam Pro1 will mount over the existing rearview mirror in most
cases and it's much easier this way. Some of our customers who had very big
existing mirrors replaced them with our mirror dashcam but they had it done
professionally.
6. How do you install it?
A: You fix it over the old mirror with the rubber grips included (they are stretchable and
hard to break) and power it from the lighter charger or AC. Please check out YouTube
Channel – CreativeXP HD Dash Cam for more tutorial videos and reviews.

!
9!
7. Will this camera record the license plates ahead during low light
situations? does it have IR lenses?
A: Our current HD Mirror Dashcam Pro1 can record license plates ahead during low
light situations (Low light Night Vision included) but it doesn't feature IR lenses for
complete darkness.
8. How long is the wire for rear camera?
A: The rear camera cable is 5 meters / 16 feet long.
9. Does this dash car camera record speed or have Wi-Fi?
A: Our current Dashcam doesn't have the Wi-Fi Option or record your car speed. This
would allow anyone to know your exact car position at any time because GPS
automatically would be included, and this is the main reason why we chose not
to add this feature.
10.Is a lithium battery included?
A: Yes, it does include a lithium battery (600 mAh / 2.2 Wh) but it's just for short
functionality not for long-term power storage. The dash camera needs to be powered
via lighter charger or hardwired to record long videos.
11.How do I get to “Settings” for the camera?
A: To go to setting press "Ok" or the "Up" button for 2-3 seconds.
12.Can I turn the screen off while driving?
A: Yes, the screen can turn off automatically after 1,2,3 minutes depending on what
option you choose from settings. This allows you to use the mirror dashcam as a regular
rearview mirror but record everything in the same time.
13.Does it record front and rear at the same time or just record when I’m going
forward or reverse it?
A: Our HD Mirror Dashcam Pro1 will record both front and rear at the same time (not
only when you reverse it) but the backup camera appears on the screen when you
reverse if you connected the camera cable to the rear lights.
14.Does the smart assist beep when you come to close to cars while parking?
A: The backup assistance won't beep when you come close to cars or objects, but the
parking lines are colored differently to help anticipate the distance, red means that you
are very close.

!
10!
15.Does the backup screen view pop out automatically in the mirror when
engaging reverse?
A: Yes, it will pop out automatically if you hook up the rear camera cable to the reverse
lights - the power in them will cause the rear camera to automatically pop out on the
screen for parking assistance.
16.Just did installed my camera a few days ago, what should I do if the rear
video isn’t clear?
A: Please make sure the rear camera cables don’t have anything heavy over them.
After, unplug the backup camera cable from the camera and plug it back in. After, do
the same with the backup cable connection (it's towards the end - please see photo
attached).
17.I have only had my HD Camera for several weeks and I am receiving a
message to clear my SD card. It is no longer recording video. What
happened?
A: Normal recording is indeed a continuous loop but the G-sensor & Parking monitoring
videos are not because they are protected, and they need to be deleted by the
customer (if nothing important happened). You can avoid this in the future by
decreasing the G-sensor sensitivity (or turn it off) to save space or format the microSD
card.
18.How do I adjust the brightness of the screen? Can I see what was recorded
in the rear-view mirror or do I have to remove the SIP card and place in
my iMac to see what was recorded?
A: To adjust the brightness of the screen, you need to go to settings and then in
exposure. You can see the saved files on the camera and also, you can remove the
Micro SD and see the videos on a computer.

!
11!
19.What is the highest temperature this camera can handle?
A: The highest temperature our dash camera can handle is around 110 F. We
recommend not letting it on the windshield every day during summer because the
battery will lower its performance over time.
20. Can this be charged? or it only works hardwired?
A: It needs a continuous source of current to function properly, therefore, you can either
use the lighter charger or hardwired it. The hardwire kit is in case you want the dash
camera to be powered 24/7 which allows the motion detection system to work even
when the car is parked.
21.Does it hook to a USB or lighter charger?
A: Yes, our premium package includes a lighter charger and a hardwire kit in case you
want it to hook it to a permanent source of power.
22.Does ac power mean air conditioning or alternating current? If alternating
current what is the voltage & current requirement?
A: AC stands for alternating current, which means the electrical current frequently
reverses direction. Your car’s Fuse Box runs this type of energy and it is a permanent
source of current (opposite to lighter charger). A few basic steps in case you want it to
be powered permanently from the AC:
Step 1 - Choose Dash Cam's positioning!
Step 2 - Locate your vehicle's fusebox!
Step 3 - Begin routing the power cable!
Step 4 - Locate a fuse that is "hot in start"!
Step 5 - Install the installation kit add-a-circuit power cable!
Step 6 - Locate a ground point!
Step 7 - Button up your install!
Step 8 - Test your installation!
!!
!!
Table of contents
Other Creative XP Dashcam manuals

