5925 Heisley Road • Mentor, OH 44060-1833
Holding Cabinet FL-2387
Rev. 1 (07/15) Page 4 of 8
Call Toll-free: 877-CRES COR (273-7267) • Fax: 800-822-0393 • www.crescor.com
INSTALLATION INSTRUCTIONS
HC1-UA-11 FOR PROPANE CYLINDER
INSTALLATION:
This cabinet is
not intended
for use with natural gas. It is not user-
convertible to natural gas.
1. Only use a 1 lb. standard cylinder marked
“PROPANE”. A larger tank can be used with an
adapter (optional accessory part number 0904-026-K
See installation FL-2362).
2. The cylinder must be constructed and marked in
accordance with the specications for propane
cylinders of the U.S. Department of Transportation
(DOT) or CAN/CSA B339.
3. The Cylinder should not be allowed to remain in a
high heat area, such as a car, truck or direct sunlight.
DO NOT store at temperatures above 120°F (49° C)
and in unauthorized storage areas not intended for
cylinder storage.
4. Hold and use the cylinder in an upright position and
only use when temperatures are above 10°F (-12° C).
Do not attach near ames, pilot lights or sparks.
5. Propane Tank Hook-up:
a. Make sure the gas valve is in the “OFF” position.
b. Uncap the cylinder, hold upright and insert it in the
right rear compartment of the cabinet. Hand screw
and tighten the cylinder to the gas regulator. DO
NOT over-tighten.
Check for leaks at the connection: Spray soapy water
onto the connection and look for bubbles. Tighten more if
needed.
6. Disconnect the cylinder when not in use. Replace the
cylinder cap when storing.
GENERAL INSTALLATION:
1. Remove all paper and packing materials from the
inside of the cabinet and install angles into posts.
2. Remove protective paper and vinyl material from
the outside of the cabinet.
3. Place the cabinet in a well-ventilated area on level
oor or ground.
4. DO NOT block the ue vent located at the upper
rear of the cabinet.
5. Lock the two front casters before starting up or
plugging in the cabinet.
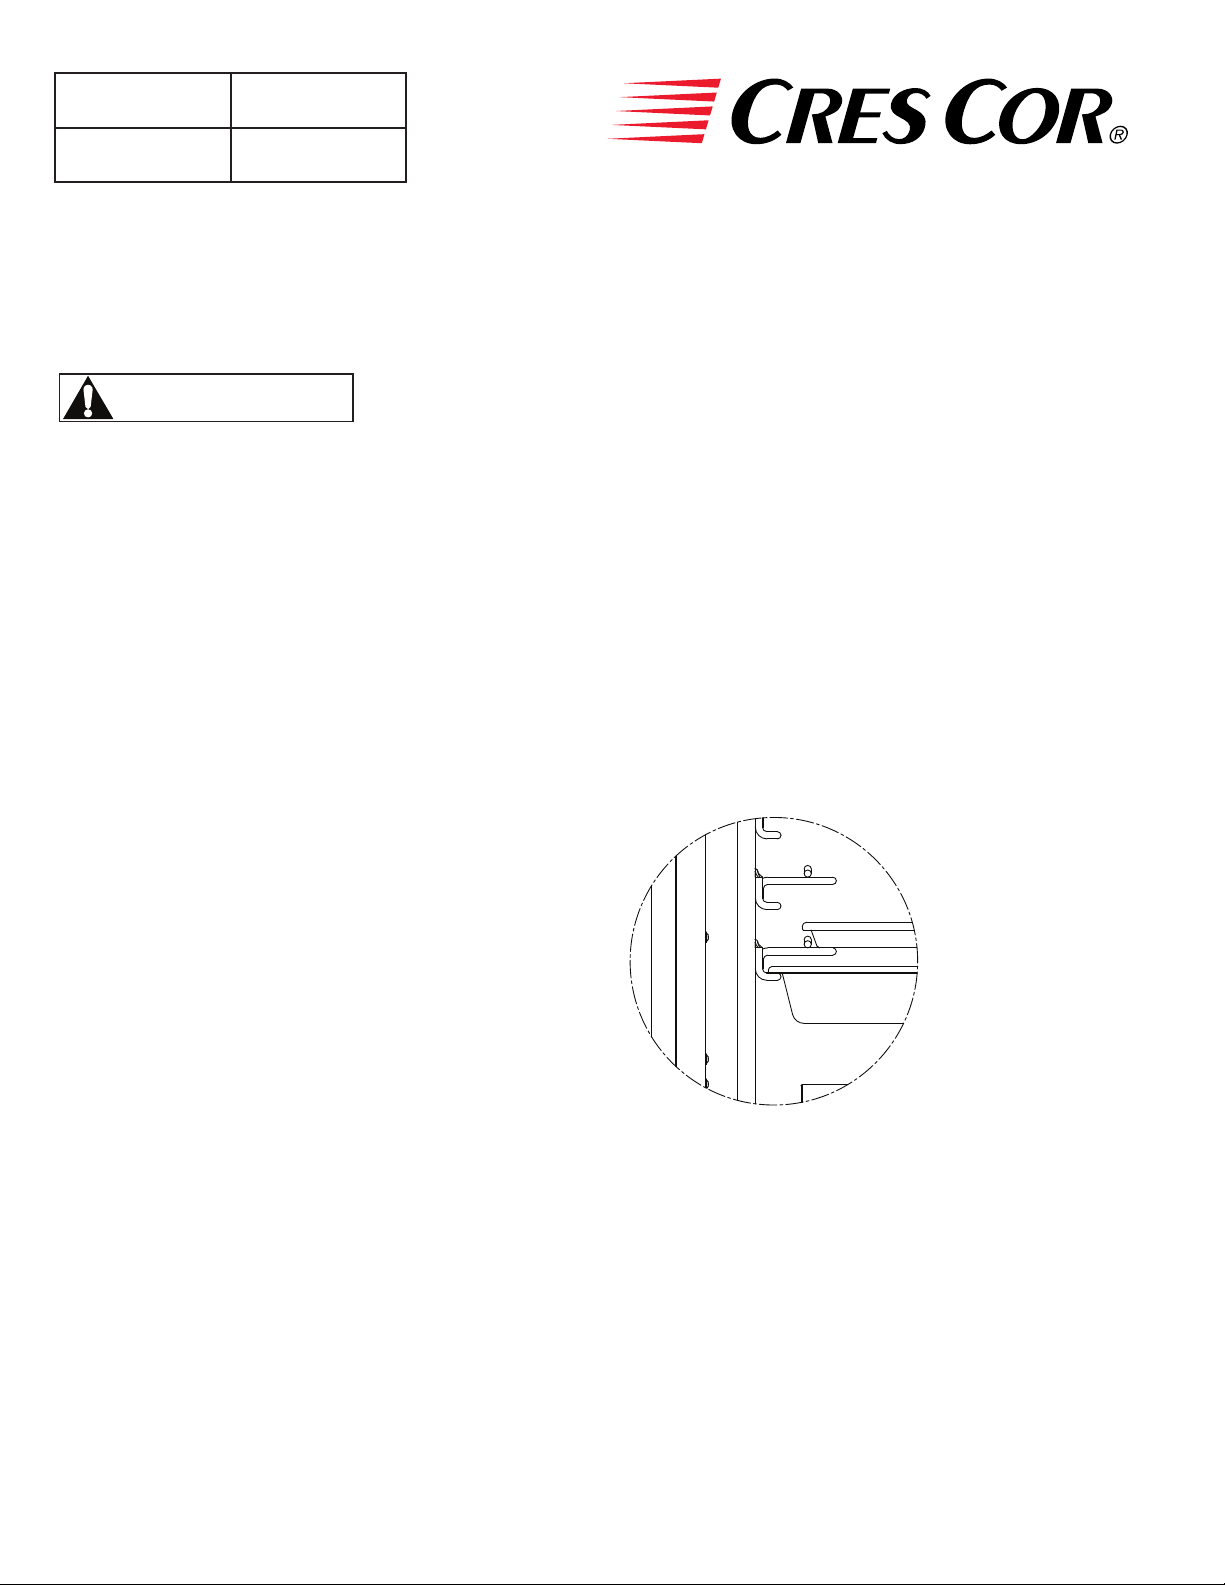
HOW TO INSTALL ANGLES:
1. Insert end tabs of the angles into the post slots
and push down.
2. Note the location shown in the diagram of the
18” x 26” pan slide and the 12” x 20” pan slide
18” X 26” BUN PAN
12” X 20”
STEAM TABLE PAN