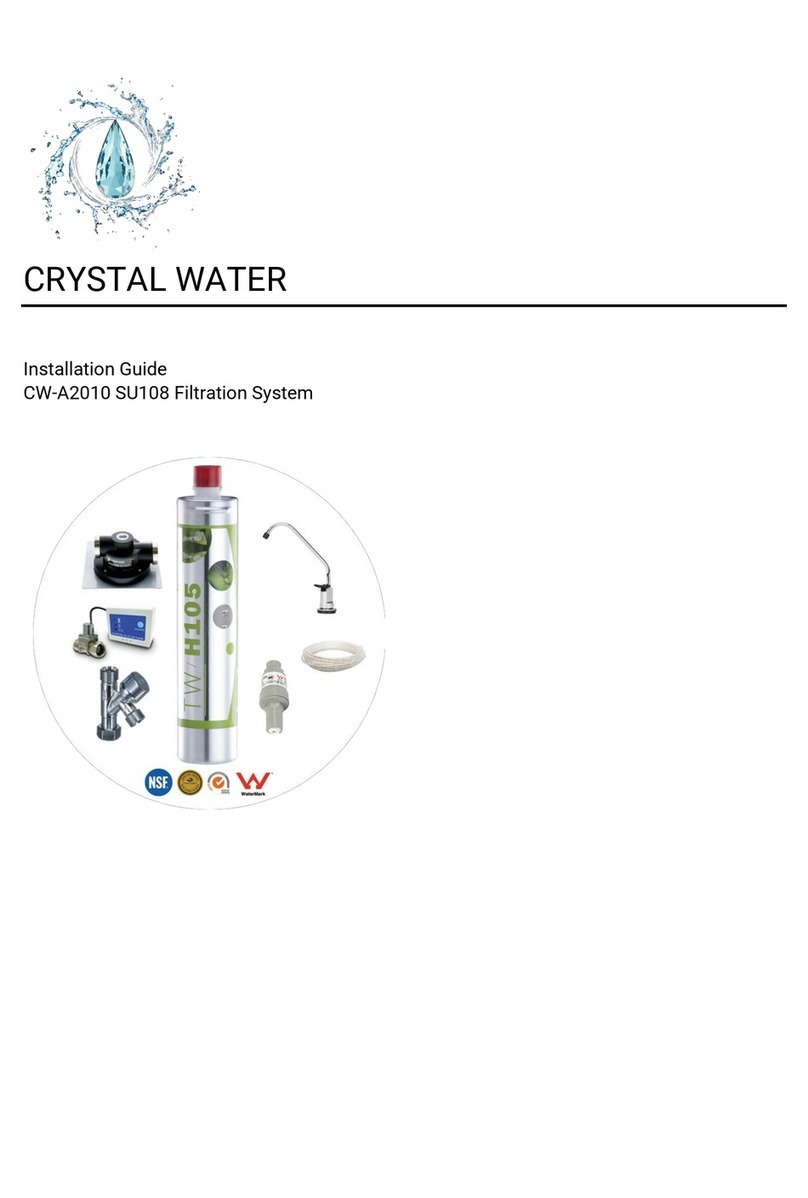
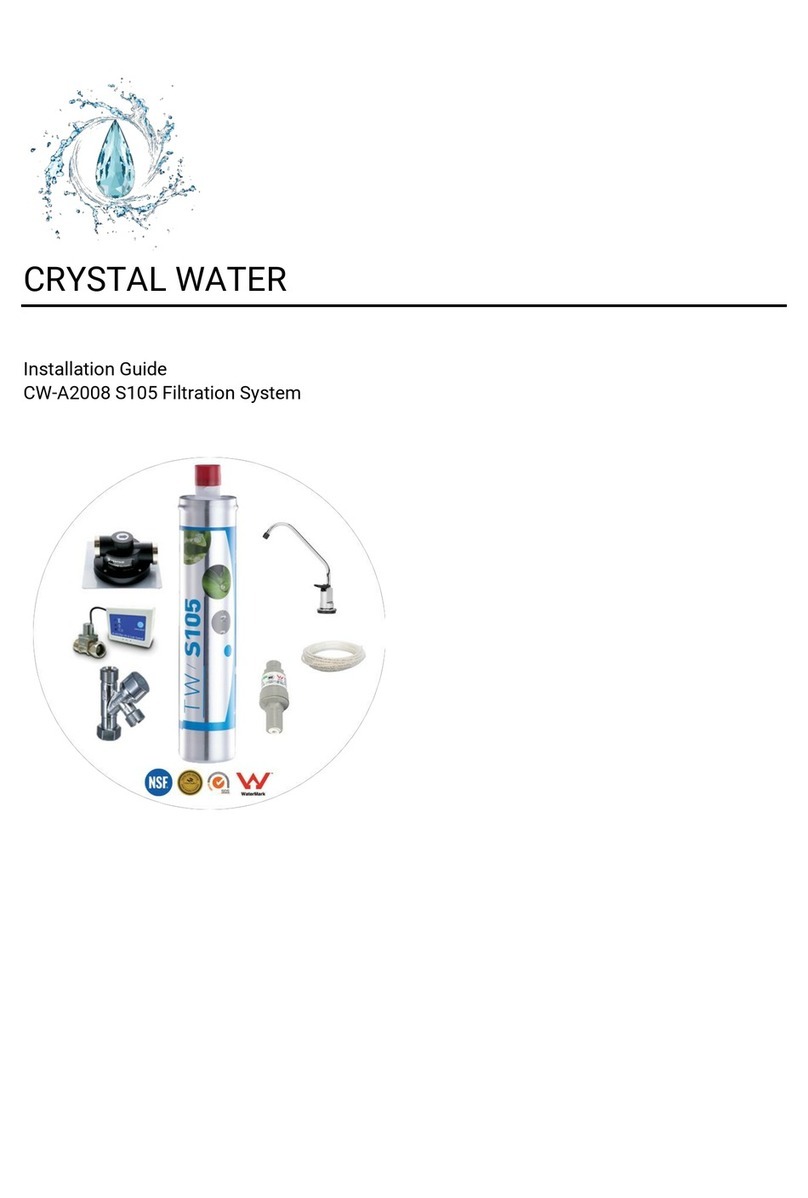
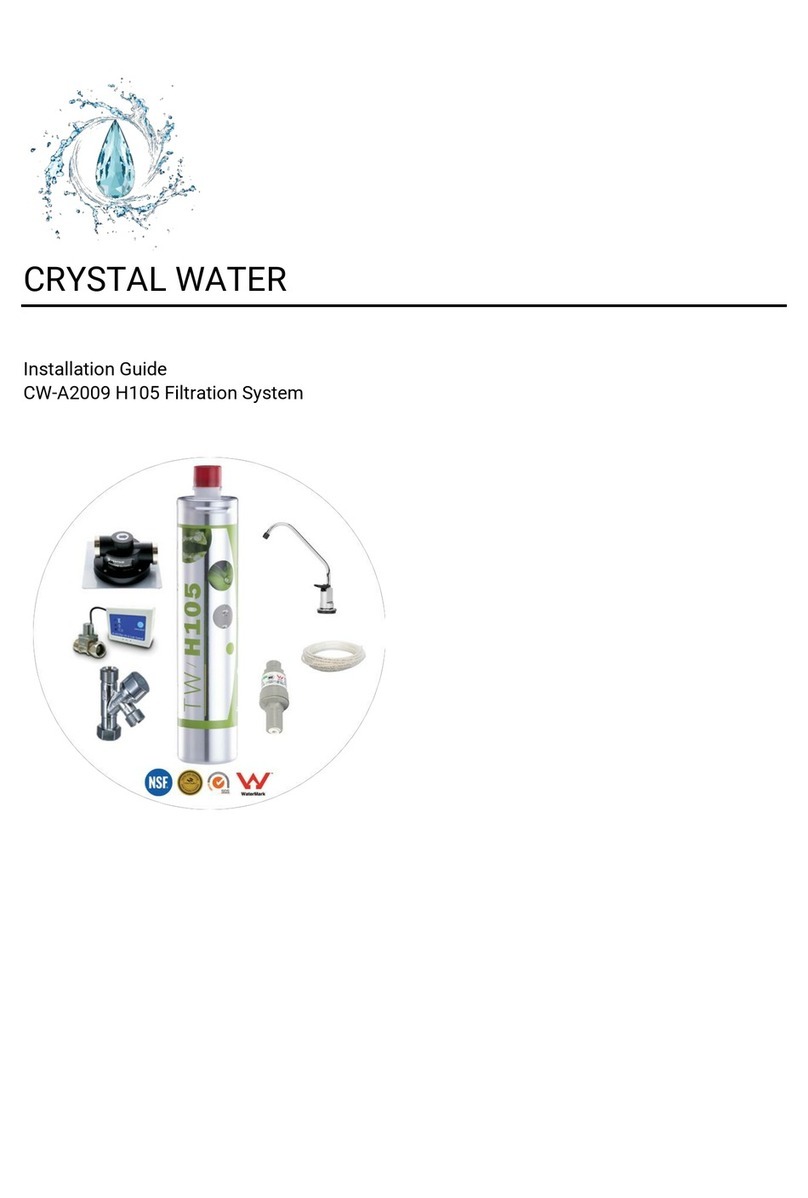
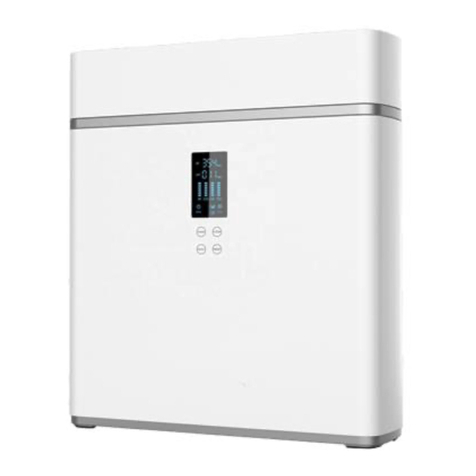
Crystal Water CW-A1001 Operation manual

1
CRYSTAL WATER
Installation/User Guide
CW-A1001 / CW-A1005 Reverse Osmosis Purification System

2
Contents
Guidelines & Warnings
3
The CW-A1000 Series System
4
Specifications
5
Frequently Asked Questions
6
What is Reverse Osmosis
8
Installation Procedure
9
Troubleshooting
12
Maintenance
13
Commissioning Checklist
14
Warnings
15
Notes & Warranty Information
16

3
Guidelines & Warnings
•Where line pressure exceeds recommended max pressure on housing label a
pressure limiting valve must be installed. Protect the housing from water hammer.
•Use on water only up to 42°C. Protect the housing from freezing.
•Avoid installing in direct sunlight.
•Use PTFE thread seal tape on all connections. Use of pipe sealants will void
warranty.
•Do not overtighten. Too much tape or over tightening may cause heads to split.
•Do not use with water that is microbiologically unsafe or with water of unknown
quality without adequate disinfection.
•This product must be installed in accordance with local plumbing regulations by a
Qualified Technician.
Installation Note: A water filter system/tap, like any product, has a limited life and may
eventually fail. Also, sometimes failure happens early due to unforeseen circumstances.
To avoid possible property damage, this product should be regularly examined for
leakage and/or deterioration and replaced when necessary. A drain pan, plumbed to an
appropriate drain or outfitted with a leak detector, should be used in those applications
where any leakage could cause property damage, and/or the water supply should be
turned off if no one is home/present.

4
The CW-A1000 Series System
Complying with the latest Residential RO Technology, the CW-A1000 Series Reverse
Osmosis Systems are designed for a life-long use for all Residences. This System hides
away under your sink with a separate Tap for the Purified water (3-way Flick Mixer are
available for purchase separately).
As no chemicals or electricity is required to produce Purified water, the CW-A1000 Series
Systems are capable of removing over 95% of Totally Dissolved Solids (TDS), >99% of all
organic compounds, >99% of all Bacteria and reduces up to 99% of Chlorine. It also
improves both taste and quality of the water, as well as objectionable odours and
sediments. The CW-A1000 Series systems not only eliminate the harmful materials such as
Lead, Copper, Barium, Chromium, Mercury, Sodium, Cadmium, Fluoride, Nitrite, Nitrate, and
Selenium that may be present in your water, but they also bring Health, pure-tasting water
at the turn of a tap.

5
Specifications
•Production: 50 GPD / 189LPD
•100% Factory Tested and Quality Controlled. Ready for Installation
•Operating Pressure: 45-100 PSI
•3.2 Gallon NSF Standard Pressurised Storage Tank
•FDA Approved Polypropylene made Flat Cap Housings
•Automatic Shut-Off Valve
•Flush Valve and Flow Restrictor
•Pressure Limiting and Check valve
•Chrome Plated Brass Faucet
•Mains Water Diverter
•Leak Detector and Filter Monitor
•¼” Tube Drain Clamp
•Completely Assembled
•Dimensions:
oSystem:
435 (L) x 160 (W) x 490 (H) mm
oTank:
280 (L) x 280 (W) x 370 (H) mm
•Weight:
oSystem: 5.8 Kg
oTank: 4 Kg

6
Frequently Asked Questions
•How will the CW-A1000 Series Systems water affect mixed Beverages?
Because reverse osmosis removes invisible contaminants that mask flavour, it allows the
natural taste of your beverages to come through. You will be able to use less coffee and still
get the full flavour. Concentrated beverages like orange juice will taste tangier. You will
probably be drinking a lot more water as well, since many people drink soda, Fruit Drink
Concentrates, concentrated juices, and beer as an alternative to bad-tasting tap water. Also,
the systems eliminate most of the lime build up on drip coffee makers, preventing the need
for frequent cleaning. No longer will you find the white scum on the inside of pans after
boiling water.
•How much water does the system produce?
Under ideal conditions, the 1812-70 TFC membrane is rated at 50 gallons of production per
day (50gpd at 60psi, 65gpd at 100psi). Under the average conditions, the consumer can
expect 50-95 gallons of product water per day. But that's still a lot of water for the average
household's drinking and cooking requirements.
•Don’t we need to keep the minerals in the water?
Most of the minerals that we receive are from the foods we eat. Only a very small
percentage comes from the water we drink. In the end, it is up to the Consumer if they
choose to have a remineraliser added or not.
•What is the Maintenance Schedule for the System?
The two pre-filter cartridges should be changed every 12 months. The sediment cartridge
filter is the first one and the second is a carbon block cartridge filter Failure to change the
cartridge every 12 months may cause chlorine to destroy the membrane.
Every 3 to 5 years, the Polishing Filter (and Remineraliser if fitted) should be changed.
Failure to change these may result in fouling of the taste coming from the system.
•What Factors affect the quality and quantity of the water production?
There are 4 Major Variables to consider:
1. Pressure: The greater the water pressure, the better water quantity and quality it
produced. Water pressure of 60 PSI is ideal.
2. Temperature: 24° C is the ideal water temperature for R.O. 5°C water will cause the
production of R.O. water to fall to half of that at 24°F. The maximum water
temperature recommended is 30°C.
3. TDS: The higher the amount of dissolved contaminants in the water, the lower the
quantity of water produced. A high level of TOTAL DISSOLVED SOLIDS can be
overcome with additional water pressure.
4. Membrane: Different membranes have different characteristics. Some produce more
water than others; some have better contaminant rejection capabilities; some have
greater resistance to chemical abrasion for longer life. Crystal Water system
includes 1812-70 The Thin Film Composite (TFC) membranes. They combine the
best of these characteristics and are considered the finest membrane in the world.

7
5. Can the System be connected to an extra Faucet?
It only takes a ¼” Tee and Tubing to run the water to a refrigerator or an extra
Faucet.
6. What does the CW-A1000 Series Drinking Water Taste Like?
The taste of the water depends on the amount of contaminants in the tap water
originally. If 95% of dissolved minerals and chemicals are removed, the R.O. water
may taste like distilled water (no minerals), bottled water (low mineral), or natural
spring water (moderate mineral content).

8
What is Reverse Osmosis?
Reverse osmosis was originally designed to make sea water drinkable for the navy. It is
ideal for anyone on a low sodium diet. An R.O. membrane has a pore size much smaller
than Bacteria, Viruses, or the Cryptosporidium and E-Coli parasites. When functioning
properly it will remove all micro-organisms from tap water and produce sterile water.
Reverse osmosis is the reversal of the natural flow of osmosis. In a water purification
system, the goal is not to dilute the salt solution, but to separate the pure water from the
salt and other contaminants. When the natural osmotic flow is reversed, water from the
salt solution is forced to pass through the membrane in the opposite direction by
application of pressure-thus the term REVERSE OSMOSIS. Through this process, we are
able to produce pure water by screening out the salts and other contaminants.

9
Installation Procedure
Preparation
Check the following list of components to ensure that all parts are packed with your
system:
1 x Storage Tank
1 x RO System
1 x RO Water Faucet
1 x Installation Kit
1 x Length of ¼” Tube
Determine the location for the installation of the RO system. Avoid locations where the
system might come in contact with hot water pipes or other hazards, taking into
consideration ease of maintenance.
Determine the location for the faucet. Check to see that drilling the faucet hole will not
damage pipes or wires running underneath the sink.
Determine the location for the storage tank. A maximum distance from tank to faucet of 4
metres (12 feet) is possible. The system will produce a faster flow at the faucet with the
shortest tubing run from tank to faucet.
Fittings and Tubing
Hose Quick Fit Connect fittings are used
throughout the system. To ensure an
optimal seal, tubing should be cut with the
end square. An angled cut or distortion of
the tubing may not provide an efficient seal
and could cause leaks.
To install, push tubing into Quick Fit
Connector until it bottoms out (approx.
5mm). Pull tube back 2 mm and the collet
will slide out with the tube, then push firmly
a second time until tube stops.
NOTE: To disconnect, push collet against
body of Quick Fit Connector, then slide
tube out of fitting.
Fig 1
Important: Use Cold Water Only!

10
1. Installing Your Filter
Find a convenient location for the filter under the bench. Take into consideration ease of
maintenance [e.g. cartridge replacement & best use of cupboard space]. Attach the filter to
the cupboard wall, allowing height for changing cartridges. The system will operate without
problems laying on its back.
2. Shut off the Water
Locate the water shut-off valve for the cold-water feed line you have selected for your water
supply. Accidentally hooking up the system to the hot water supply line will permanently
damage the membrane. To assure you are using the cold-water line, turn on both the hot
and cold-water faucets. After the water is warm to the touch, feel the pipes under the sink.
It will be easy to identify the hot and cold pipes.
Close the cold water shut off valve. Turn on the cold-water tap only to assure that the line
is completely shut off and drained. If there is no cold water shut off valve located under the
sink, then turn off the main water supply at the entry to the house.
3. Attach Plumbing Kit Assembly
The mains connection best suited to your installation will have been selected at the time of
ordering,
4. Installing the Drain Outlet Clamp Assembly
Select a location for the drain clamp Position the drain outlet clamp on the drain pipe.
Allow adequate space for drilling. Tighten Clamp with “Tightening Screw”
Using the opening in the drain outlet clamp, drill a ¼” hole in the drain pipe. Clean debris
from the clamp. Reattach tube Connector.
NOTE: Locate the drain connection away from the garbage disposal to prevent potential
contamination and system fouling.
5. RO Water Faucet
The RO water faucet may be installed on any flat surface at up to 50 mm [2”] in diameter.
Check the underside of the location for interference.
Faucet Installation
Determine desired location for the faucet on your sink surface.
A. Place a piece of masking tape or duct tape on location where the hole is to be
drilled. Mark the centre of the hole on the tape.
B. Using a variable speed drill on the slowest speed, drill a 1/8” (3 mm) pilot hole at the
centre of the desired location. Use lubricating oil or liquid soap to keep the drill bit
cool while drilling.
C. Enlarge the hole to ¼” (6 mm). Keep the drill speed on the slowest speed and use
lubricating oil or liquid soap to keep the drill bit cool.
D. Enlarge the hole to 7/16th to ½” (11 to 13 mm) Keep the drill speed on the slowest
speed and use lubricating oil or liquid soap to keep the drill bit cool.
E. Pass the Escutcheon plate (chrome washer) and large black washer over the
threaded mounting tube at the base of the faucet.

11
F. From top of sink, slide the threaded mounting tube through the hole drilled in the
sink. Align the faucet body.
G. From under the sink, slide the smaller rubber washer on the threaded part of the
faucet first, then the plastic washer, locking washer and then the thin threaded nut,
Tighten with a spanner.
Holding the tube from the filter system, place the brass cup nut on first, then the nylon olive
and then insert the nylon thimble into the end of the tube as far as it will go. Insert the tube
into the base of the threaded part of the faucet, push it in firmly (about ¼”) and slide nut up
to thread and tighten firmly, do not over tighten.
6. Storage Tank
Place storage tank in a convenient position. Tank can be placed on its stand, either upright
or on its side.
7. Activating the System for the First Time
Slowly turn Feed Water Valve counter clockwise until fully open. Check plumbing kit
assembly for leakage. Make sure all water supply/drain lines are secure and free from
leakage. Turn storage tank valve one quarter turn counter clockwise to open the valve [the
handle should be in line with the tubing as it enters the connection]. Open the RO water
faucet and let the water flow until all the air has been expelled from the system. Water will
be slightly discoloured [non-toxic carbon fines] and have some aeration. This will take
about 15 – 30 minutes. Close the RO water faucet. In 15 minutes, check the connections
for leaks and correct if necessary.
Do Not Use the First Two Reservoirs of Water
Allow the reservoir to fill for 1 to 2 hours. Dispense this water to sink. This process removes
the factory installed sanitising solution from the entire system and sends it to the drain.
Repeat this process one more time. Allow the tank to fill for 1 to 2 hours and dispense this
water to the drain.

12
Troubleshooting
PROBLEM
POSSIBLE REASON
REMEDY
Water has Taste and/or
Odour
•Carbon Post-Filter
is depleted
•Sediment/Pre-
Carbon filters are
depleted
•Drain storage tank
and replace Post-
Filter
•Replace filters
Water has an Offensive
Taste and/or Odour
•
Membrane depleted
or fouled
•Drain storage tank,
replace Membrane
& Post-Filter
Not Enough Product Water
Pressure
•
Storage tank air
pressure charge is
low
•Empty storage tank
and set pressure to
5 – 7 PSI
Not Enough water
•Storage tank tap
switched off
•Low Water
Pressure
•Water Supply is
Blocked
•Storage Tank is
Depleted
•Clogged Cartridges
•Switch storage tank
tap on [handle
should be in line
with tubing as it
enters the
connection]
•If line pressure is
below 4- PSI, ad
booster pump
•Clear restriction,
rotate valve on feed
water valve
•Consider an
increase in tank size
or membrane
capacity
•Replace Pre-Filters
and Drain Tank
No Drain Water
•Clogged Flow
Restrictor
•Replace Flow
Restrictor
No Water
•Water Supply is
Turned off
•Filter Monitor has
Activated
•Turn Water on
•Arrange Service
Inspection with
Crystal Water
Undersink is wet
•
Leak from RO
System or Plumbing
Fittings
•
Dry everything with
towels to isolate
leak, identify and
call Crystal Water
If Problems Persist, Call Crystal Water on +61 8 6244 1300

13
Maintenance
IMPERATIVE TO FOLLOW THE SEQUENCE AS OUTLINED
1) Open RO water faucet and let the water run until empty.
2) Turn Feed Water Valve Off.
3) Turn off Storage Tank Tap. [on top of tank]
4) Remove the Sediment cartridge. Simply turn the Sediment cartridge housing tub
clockwise and remove the filter from within.
5) Remove the Pre-Carbon cartridge. Simply turn the Pre-Carbon cartridge housing
clockwise and remove the filter from within.
6) THIS STAGE ONLY TO BE DONE EACH 3 – 5 YEARS. DISREGARD AT OTHER SERVICE
INTERVALS.
The membrane is contained within the horizontal tube clipped to the mounting bracket with
3 tubes attached. Remove the tube from the end with the single tube and undo the large
cap nut from the end. Prise membrane out without damaging the membrane housing,
insert new membrane and re-assemble, be sure to push the membrane firmly into its
housing.
7) Remove the Post-Carbon cartridge. remove the John Guest fittings and install these into
the new cartridge with a small amount of plumber’s thread tape.
8) Install the sediment pre-filter by installing the cartridge into the housing tub and
threading the housing tub back onto its housing head the by turning anti-clockwise, do not
over tighten.
9) Install the carbon (chemical) pre-filter by installing the cartridge into the housing tub and
threading the housing tub back onto its housing head the by turning anti-clockwise, do not
over tighten.
10) Turn Feed Water Valve ON with the faucet open, run system for 15 minutes, water will
run very slowly. Water will be slightly discoloured [non-toxic carbon fines] and have some
aeration.
11) Close RO water faucet and open Storage Tank Tap.
12) Flush 1 litre of water through prior to using system.
When away for extended periods, turn water off
This unit is fitted with a membrane-flushing valve and is normally closed. About once a
month turn the small Black stop valve at the front of the unit to the open position and leave
it on for about 10 minutes to clear any possible build-up of particles, failure to do this will
shorten membrane life. This flush valve needs to be operated when the tank is filling, if you
open the valve and nothing happens the system is in shut down mode, release some water
from the faucet to start the unit filling again and open the flushing valve again. Drain the
tank as part of the membrane flushing process.

14
Commissioning Checklist
Fittings are Secured to the Filtration System.
Inlet & Outlet are correctly connected.
Drain Clamp is installed correctly.
Tubes are installed to the correct locations.
Faucet installed correctly.
Leak Detector and Filter Monitor Installed and confirmed working.
Air Purged from the Filtration System
If any difficulties arise contact Crystal Water: Phone +61 8 6244 1300.
For information on our Filtration and Service Contracts please contact Crystal Water
Customer Service on +61 8 6244 1300 or service@crystalwaterperth.com.au.

15
Warnings
For continued safety of this appliance it must be installed, operated and maintained in accordance with the
manufacturer’s instructions. For correct operation of this appliance, it is essential to observe the instructions
as outlined in this booklet.
— Your unit should be installed by a suitably qualified tradesperson.
— For correct operation of this unit it is essential to observe the instructions as outlined in this booklet.
— Do not use this unit with water that is microbiologically unsafe or with water of unknown quality without
adequate disinfection before or after the system. Systems certified for cyst reduction may be used on
disinfected water that may contain filterable cysts.
— Use this unit only as directed in these instructions and relevant Crystal Water User Guides and only for its
designed purpose.
— Do not install unit if power cord is damaged.
— This unit is not intended for use by persons (including children) with reduced physical, sensory or mental
capabilities, or lack of experience and knowledge, unless they have been given supervision or instruction
concerning use of the appliance by a person responsible for their safety. Children should be supervised to
ensure that they do not play with the unit.
—This unit must not be exposed to direct sunlight and excessive heat or cold.
—Do not store solvents or corrosive chemicals or other flammable items on or around this Unit.
— Any service or unit repairs must be performed by a trained and suitably qualified Technician.
—Packaging material including plastic bags must be kept out of reach of children and disposed of according to
local regulations.

16
Notes & Warranty Information
Notes
Crystal Water products are developed, refined and meet and exceed specifications for the worldwide market.
Important: Sales of products are subject to our Terms and Conditions which are available upon request. All
specifications, information and photos are a guide only and are subject to change without notice. Please ring to
confirm details. Warning: For correct operation of this appliance it is essential to observe manufacturer’s
instructions.
Warranty
All systems come with a 12 Month Parts & Labour Warranty from the Date of Purchase. Excludes Cartridges.

17
Crystal Water
7 Ivanhoe Street, Golden Bay
Western Australia 6174, Australia
Telephone: +61 8 6244 1300
Email: [email protected]
Crystalwaterperth.com.au
As Crystal Water has a policy of
continual improvement, all details
are subject to change without notice.
All goods are sold subject to out
published terms and conditions.
This manual suits for next models
1
Table of contents
Other Crystal Water Water Filtration System manuals
