manuals.online logo
Brands
  1. Home
  2. •
  3. Brands
  4. •
  5. Current
  6. •
  7. Lighting Equipment
  8. •
  9. Current HCX Series User manual

Current HCX Series User manual

HCX Series
Combination Emergency Unit/LED Exit Sign/Combinación de unidad de emergenciay letrero de salida tipo LED
Installation Instructions/Instrucciones de instalación
IMPORTANT SAFEGUARDS
When using electrical equipment, basic safety precautions should always be followed including the following:
READ AND FOLLOW ALL SAFETY INSTRUCTIONS
1. Do not use outdoors.
2.
Do not let power supply cords touch hot surfaces.
3. Do not mount near gas or electric heaters.
4. Use caution when servicing batteries.
5. Equipment should be mounted in locations and at heights where it will not readily be subjected to
tampering by unauthorized personnel.
6. The use of accessory equipment not recommended by the manufacturer may cause an unsafe condition.
7. Caution:
Halogen cycle lamp(s) are used in this equipment. To avoid shattering: Do not operate lamp in
excess of rated voltage,
protect lamp against abrasion and scratches and against liquids when lamp is operating,
dispose of lamp with care.
8. Halogen cycle lamps operate at high temperatures. Do not store or place ammable materials near lamp.
9. Do not use this equipment for other than its intended use.
SAVE THESE INSTRUCTIONS
ALL SERVICING SHOULD BE PERFORMED BY QUALIFIED PERSONNEL
ILL. # 93008450
END MOUNT/MONTAJE LATERAL
IMPORTANTES MEDIDAS
DE SEGURIDAD
Siempre que utilice equipos eléctricos, observe las precauciones
básicas de seguridad incluyendo las siguientes:
LEA Y SIGA TODAS LAS
INSTRUCCIONES DE SEGURIDAD
1. No lo utilice en exteriores.
2. No permita que los cables de alimentación
eléctrica toquen supercies calientes.
3. No lo instale cerca de calentadores de gas
o eléctricos.
4. Tenga cuidado al dar mantenimiento a las
baterías.
5. El equipo debe instalarse en lugares y a
alturas en donde no quede expuesto
fácilmente a alteraciones perpetradas por
personas sin autorización.
6. El uso de equipos accesorios no
recomendados por el fabricante puede dar
origen a una condición riesgosa.
7. Precaución: Este equipo utiliza lámpara(s)
de halógeno. Para evitar que se fragmente:
no haga funcionar la lámpara a voltajes
que excedan su capacidad nominal;
protéjala de abrasiones y rayones, y del
contacto con líquidos cuando esté
funcionando; deséchela con cuidado.
8. Las lámparas de halógeno funcionan a
temperaturas altas. No almacene ni coloque
materiales inamables cerca de las lámparas.
9. No utilice este equipo para un n diferente a
aquel para el que fue fabricado.
CONSERVE ESTAS INSTRUCCIONES
TODO MANTENIMIENTO DEBE SER EFECHIADO
POR UNA PERSONA CALIFICADA
CEILING/BACK MOUNT/
MONTAJE LATERAL
Canopy for End
Mount/Cubierta
para montaje
lateral
Canopy Mounting
Plate/Placa de
montaje de la
cubierta
Plug/Tapón
Battery/Batería
Chevron/Cheurón
Exit Stencil/
Plantilla con
letrero de salida
Transformer/Transformador
Charger Board/Targeta del cargador
Canopy
Screws/
Tornillos
de la
cubierta
Lamphead/Cabeza
de lámpara
Wire Connection
Area/Área de
conexión de
cables Wire Connection
Area/Área de
conexión de
cables
Canopy
Plug/
Conector
para
dosel
Backplate/
Placa base
Second Exit
Stencil/Segunda
plantilla con letrero
de salida
Lamp Adjustment
Screw/Tornillo para
ajustar la lámpara
Marco de
letrero de salida
LED Board/
Tarjeta de
la LED
Remote Capacity Battery (if supplied)/
Batería con capacidad remota (si se incluye)
Optional Plug/
Conector opcional
Canopy Mounting
Plate/Placa de
montaje de la
cubierta
Canopy for Ceiling
Mount/Cubierta
para montaje
en techo
Canopy
Screws/
Tornillos
de la
cubierta
Second Exit Stencil/
Segunda plantilla con
letrero de salida
Wire Connection
Area/Área de
conexión de
cables
Backplate/
Placa base
Wire Connection
Area/Área de
conexión de
cables
Canopy
Plug/
Conector
para dosel Battery/Batería
Optional Plug/
Conector opcional
Chevron/
Cheurón Plug/Tapón
LED Board/
Tarjeta de la
LED
Optional Plug/
Conector opcional
Lamphead/
Cabeza de lámpara
Transformer/Transformador
Exit Stencil/
Plantilla con
letrero de salida
Remote Capacity Battery (if supplied)/
Batería con capacidad remota (si se incluye)
Charger Board/Targeta del cargador
Exit Frame/
Marco de
letrero de salida
Exit Frame/
WARNING – This product contains chemicals known to the
State of California to cause cancer, birth defects and/or other
reproductive harm. Thoroughly wash hands after installing,
handling, cleaning, or otherwise touching this product.
Remove faceplate by pressing in the snaps at
the top or bottom of housing.
Retire la placa frontal presionando los sujetado-
res a presión en la parte superior e inferior de la
caja de alohamiento.
Remove cover located at top or end of housing.
Retire la tapa que está sobre o en el extremo
de la caja de alojamiento. Presione para inser-
tar la caja de alojamiento del letrero de salida
sobre la cubierta.
Fasten mounting plate (provided) to outlet box.
Fije la placa de montaje (incluida) en la caja
de distribución.
Feed wires through canopy and fasten canopy to
the mounting plate.
Pase los cables a través de la cubierta y fije la
cubiereta en la placa de montaje.
Snap exit housing onto canopy.
Presione para insertar la caja de alojamiento del
letrero de salida sobre la cubierta.
Remove back plate by releasing two large snaps
located inside the housing.
Retire la placa base aflojando los dos
sujetadores a presión grandes ubicados dentro
de la caja de alojamiento.
12
67
Route and connect leads at upper corner
of housing.
Coloque y conecte los cables en la esquina
superior derecha de la caja de alojamiento.
Connect batteries observing polarity.
Conecte la batería con la polaridad correcta.
Insert directional chevrons as required.
Insert los cheurones de direcci
ó
n según
se necesite.
Press faceplate onto housing. To install second faceplate (if
required) remove backplate by pressing in the snaps
at the top or bottom of housing. Then release the two large
snaps located inside the housing.
Install faceplate.
Presione la placa frontal sobre la caja de alojamiento. Para
instalar la segunda placa frontal (si es necesario), retire la
placa base presionando los sujetadores a
presión en la parte superior o inferior de la caja de
alojamiento. Enseguida libere los dos sujetadores a presión
grandes que están dentro de la caja de
alojamiento. Instale la placa frontal.
9
12 13
Remove appropriate knockouts from backplate and
attach to outlet box (mounting plate not required).
Destape los troqueles correspondientes de la
placa base y fije ésta en la caja de distribución
(no se requiere placa de montaje).
8
Loosen lamphead adjustment screws. Posi-
tion lampheads as required. Retighten.
Afloje los tornillos de ajuste para las cabezas
de la lámpara. Dirjia las cabezas según sea
necesario. Apriete.
Connect 18” jumper leads (provided) to AC
wiring in the outlet box.
Conecte los cables de puente de 18” (incluidos)
con el cableado de alimentación de corriente
alterna en la caja de distribución.
3
2
4 5
FOR BACK MOUNT ONLY - SÓLO PARA LA OPCION DE MONTAJE POSTERIOR
INSTALLATION
INSTRUCTIONS/
INSTRUCCIONES
DE INSTALACIÓN
HCX SERIES/
SERIES HCX
3
Reconnect lamp leads to the printed circuit board
(refer to wiring diagram).
Conecte nuevamente los cables de la lámpara
a la placa de circuitos impresos (consulte el
diagrama del cableado).
Press fit hole plug into old lamphead
hole location.
Presione el tapaagujeros en el lugar que
quedó libre después de retirar la cabeza
de lámpara.
Route lamp leads through new hole location and
press fit lamphead into new location.
Canalice el cable de la lámpara por el nuevo
agujero y presione la cabeza de lámpara en el
nuevo lugar.
CHANGING LAMPHEAD LOCATIONS OR REMOVING LAMPHEADS - END MOUNT /
CÓMO CAMBIAR DE LUGAR O ELIMINAR LAS CABEZAS DE LÁMPARA - MONTAJE EN EXTREMOS
Remove lamphead hole plug in new location.
Retire el tapaagujeros en el nuevo lugar
donde se instalará la cabeza de lámpara.
Disconnect lamp leads at the printed
circuit board.
Desconecte las cabezas de lámpara en la placa
de circuitos impresos.
Remove lamphead from housing by squeezing
press fit tabs from inside of housing.
Retire la cabeza de lámpara de la caja presion-
ando las pestañas desde el interior de la caja.
Wiring Diagram/Diagrama de cableado
LED Board/
Tarjeta de la LED
Ribbon Cable/
Cable plano
Battery/
Batería
Lamphead/
Cabeza de lámpara
Lamphead/
Cabeza de lámpara
Charger Board/
Tarjeta del cargador
Transformer/
Transformador
AC Input 120 or 277VAC/
Entrada de corriente
alterna de 120 Ó 277V
Red/Rojo
Yellow/Amarillo
Red/Rojo
Yellow/
Amarillo
Red/Rojo 277V
Black/Negro 120V
White/Blanco COM
Green/Verde GROUND/TIERRA
Leads for Remote
Connections (if supplied)/
Cargas para conexiones
remotas (si
se incluye)
Blue/Azul
Yellow/Amarillo
Troubleshooting/Solución de problemas
Unit does not light
• Check wiring connections.
Emergency circuit does not work
• Batteries are shipped uncharged and disconnected. Connect battery leads and charge before testing.
• Make sure charger board is properly seated.
• Check wiring connections.
La unidad no se ilumina
• Revise las conexiones del cableado.
El circuito de emergencia no funciona
• La batería se envía descargada y desconectada. Conecte los cables de la batería y cárguela antes de probar.
• Asegúrese de que la tarjeta de carga esté bien colocada.
• Revise las conexiones del cableado.
Maintenance/Mantenimiento
Signs should be tested and maintained in accordance with National Electrical Code and NFPA 101 Life Safety Code
requirements. It is recommended that emergency exit signs be tested for 30 seconds once a month and for 90
minutes once a year.
Los letreros deben probarse y recibir mantenimiento de acuerdo con los requerimientos del National Electrical Code y
del NFPA 101 Life Safety Code. Se recomienda probar los letreros de salida de emergencia durante 30 segundos una
vez al mes y durante 90 minutos una vez al año.
Recycling Information/Información de reciclaje
All thermoplastic parts are recyclable. All cartons contain recycled materials. Please recycle responsibly.
NOTICE: Emergency model exit signs contain rechargeable sealed lead-acid batteries which
must be recycled or disposed of properly.
Todas las partes termoplásticas son reciclables. Todo el cartón contiene materiales reciclados. Recicle en
forma responsable.
AVISO: Los letreros de salida del modelo de emergencia contienen baterías de plomo- ácido
selladas que deben reciclarse o desecharse adecuadamente.
currentlighting.com/dual-lite
© 2022 HLI Solutions, Inc. All rights reserved. Information and specifications subject to change
without notice. All values are design or typical values when measured under laboratory conditions.
Page 4 of 4
Rev 05/31/22
hcx-ucx_instructions_93005933_R01

Other Current Lighting Equipment manuals

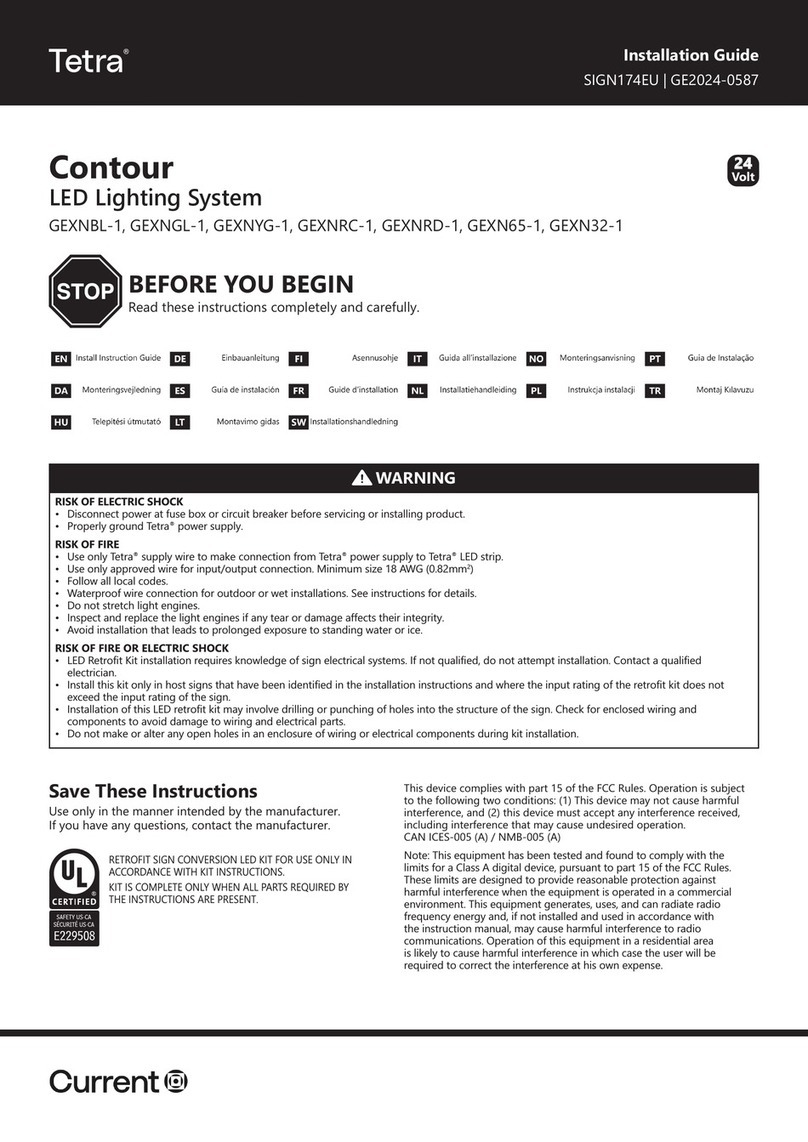
Current Tetra GEXNBL-1 User manual

Current

Current Tetra GEXNBL-1 User manual

Current Arize Factor User manual

Current

Current Arize Factor User manual

Current DUAL LITE EVHC Series User manual

Current

Current DUAL LITE EVHC Series User manual

Current GTX TRAF324 User manual

Current

Current GTX TRAF324 User manual

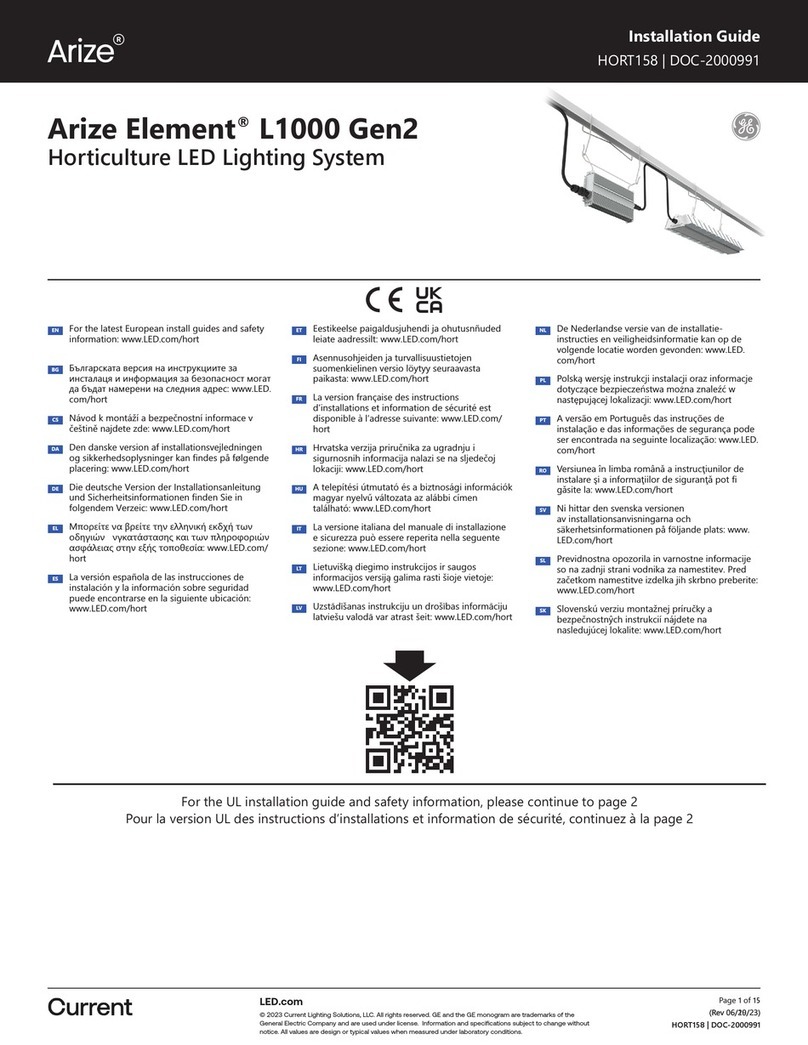
Current Arize Element L1000 Gen2 User manual

Current

Current Arize Element L1000 Gen2 User manual

Current Dual-Lite PLD9-2H Manual

Current

Current Dual-Lite PLD9-2H Manual

Current Evolve GEH6083 User manual

Current

Current Evolve GEH6083 User manual

Current Dual-Lite PLD10 Manual

Current

Current Dual-Lite PLD10 Manual

Current Single TrueLumen PRO User manual

Current

Current Single TrueLumen PRO User manual

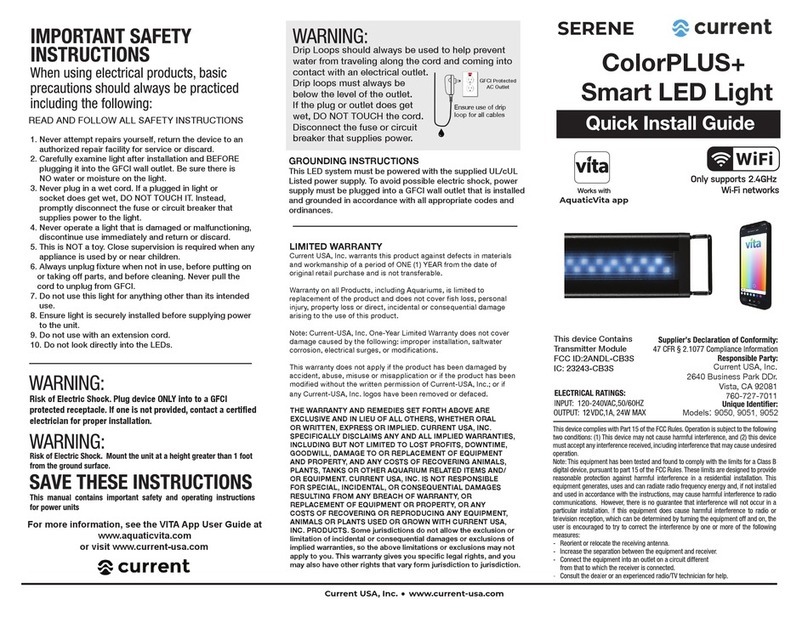
Current ColorPLUS+ 9050 User manual

Current

Current ColorPLUS+ 9050 User manual

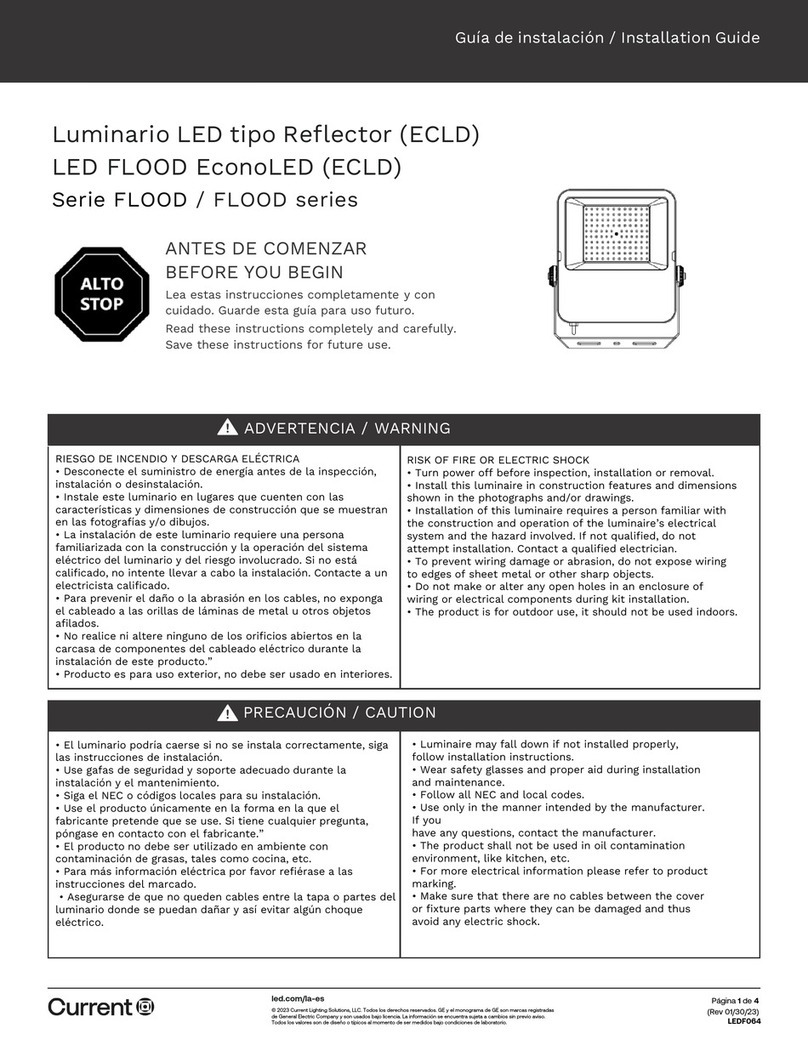
Current FLOOD Series User manual

Current

Current FLOOD Series User manual

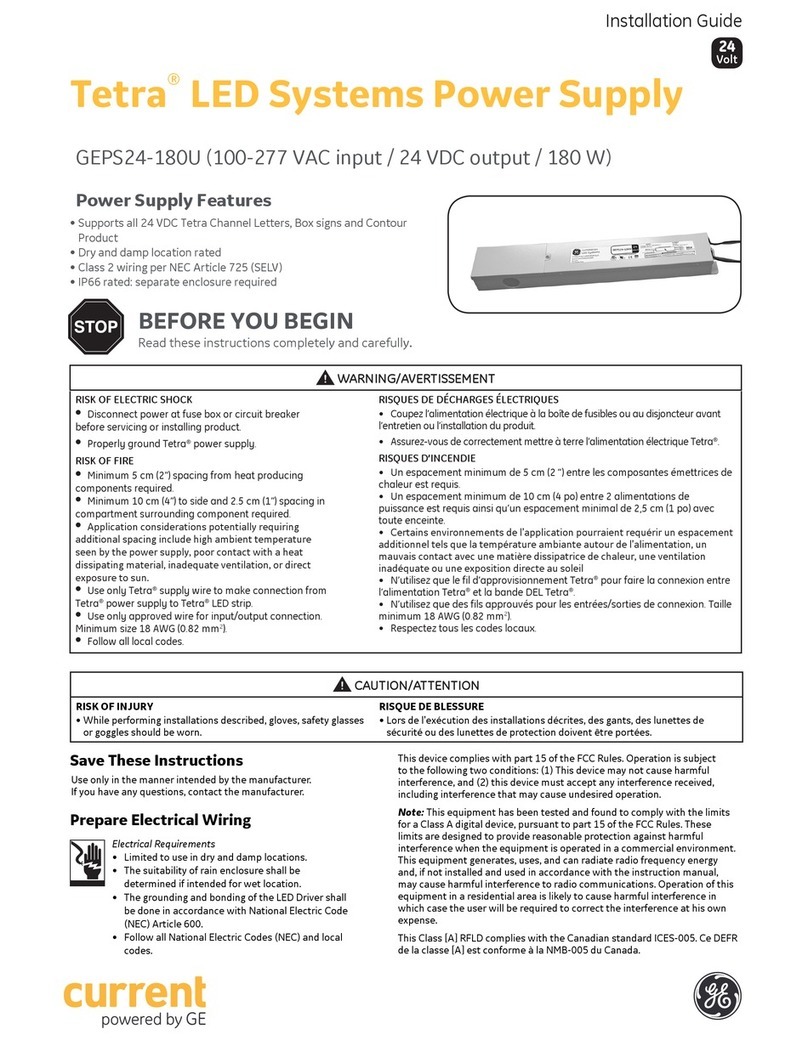
Current GEPS24-180U User manual

Current

Current GEPS24-180U User manual

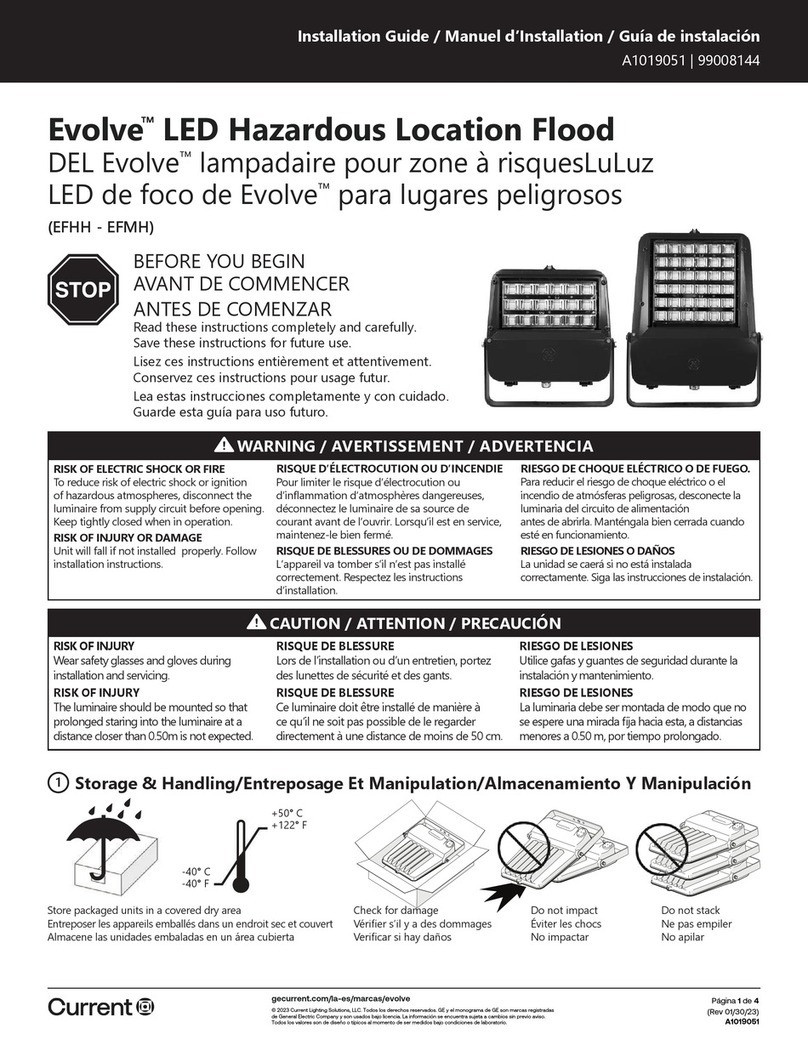
Current Evolve EFHH Series User manual

Current

Current Evolve EFHH Series User manual

Current GTX PS7-CFF1-46A-J User manual

Current

Current GTX PS7-CFF1-46A-J User manual

Current Orbit Marine IC PRO LED Installation instructions

Current

Current Orbit Marine IC PRO LED Installation instructions

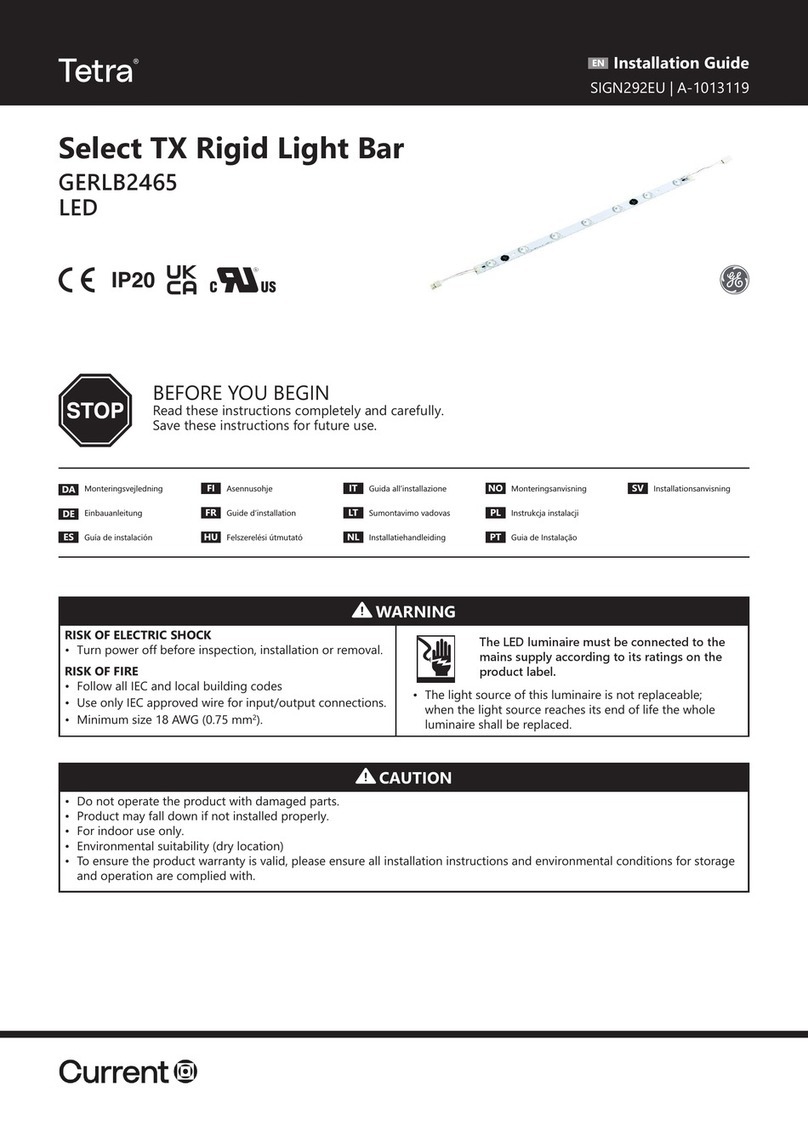
Current Tetra GERLB2465 User manual

Current

Current Tetra GERLB2465 User manual

Current Dual-Lite PLD7 Manual

Current

Current Dual-Lite PLD7 Manual

Current REEF R24 User manual

Current

Current REEF R24 User manual

Current 95W REEF LED Mini LOOP User manual

Current

Current 95W REEF LED Mini LOOP User manual

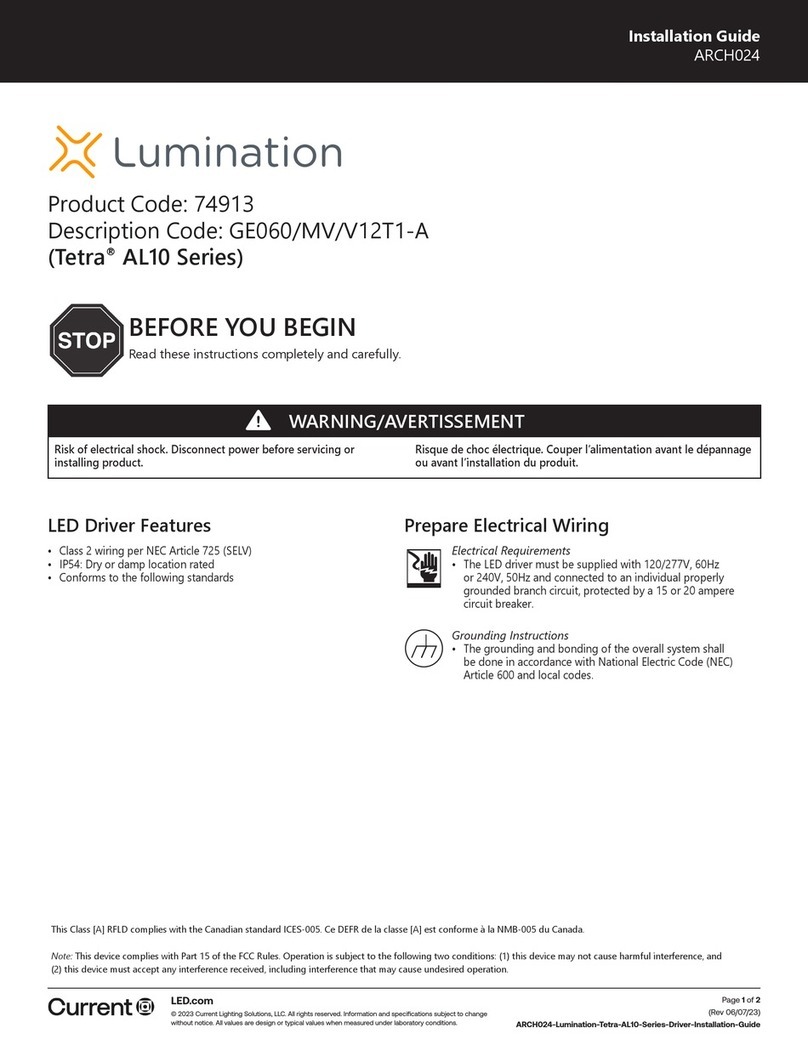
Current Lumination Tetra AL10 Series User manual

Current

Current Lumination Tetra AL10 Series User manual

Current EVOLVE EAL Series User manual

Current

Current EVOLVE EAL Series User manual

Current DualLite DYNHL Series Manual

Current

Current DualLite DYNHL Series Manual

Popular Lighting Equipment manuals by other brands

Show Tec Club Barrel manual

Show Tec

Show Tec Club Barrel manual

pro one WLAFL1500LMR instruction manual

pro one

pro one WLAFL1500LMR instruction manual

IKEA PS 2014 instruction manual

IKEA

IKEA PS 2014 instruction manual

Elation Flower 5/90 brochure

Elation

Elation Flower 5/90 brochure

Chauvet Intimidator COLOR LED Features & specification

Chauvet

Chauvet Intimidator COLOR LED Features & specification

KaVo 9010 Instructions for use

KaVo

KaVo 9010 Instructions for use

Videotec GEKO IRH instruction manual

Videotec

Videotec GEKO IRH instruction manual

Jands Stage CL user guide

Jands

Jands Stage CL user guide

Planet Lighting HLS SNAP Wiring Installation Guide

Planet Lighting

Planet Lighting HLS SNAP Wiring Installation Guide

Perel EWL515 user manual

Perel

Perel EWL515 user manual

Seto ALDEBARAN HERO Instructions for use

Seto

Seto ALDEBARAN HERO Instructions for use

Sealey LED035 instructions

Sealey

Sealey LED035 instructions

Becen BC-M230B user manual

Becen

Becen BC-M230B user manual

One Lux OS/5.8/C user guide

One Lux

One Lux OS/5.8/C user guide

Martin MAC 500 Service manual

Martin

Martin MAC 500 Service manual

Jupiter 130617 Assembly instructions

Jupiter

Jupiter 130617 Assembly instructions

Martin EFX500 user manual

Martin

Martin EFX500 user manual

McLED LEDtec G2 100 installation manual

McLED

McLED LEDtec G2 100 installation manual

manuals.online logo
manuals.online logoBrands
  • About & Mission
  • Contact us
  • Privacy Policy
  • Terms and Conditions

Copyright 2025 Manuals.Online. All Rights Reserved.