manuals.online logo
Brands
  1. Home
  2. •
  3. Brands
  4. •
  5. Curt Group
  6. •
  7. Automobile Accessories
  8. •
  9. Curt Group Retrac 206820 User manual

Curt Group Retrac 206820 User manual

RETRACMIRRORS.COM •PRODUCT SUPPORT: 877.287.8634 •206820-INS-RB •09/17/2020 •ECN7465 •PAGE 1
INSTALLATION MANUAL 206820
Parts List
1Grille guard
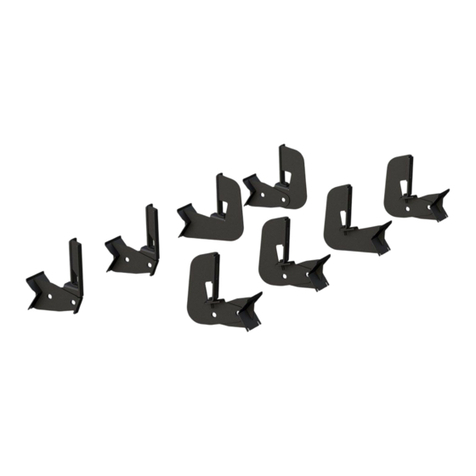
1Driver / left mounting bracket
1Passenger / right mounting bracket
1Driver / left adjustable
mounting bracket
1Passenger / right
adjustable mounting bracket
2Tow hook mounting bracket
2Spacer, mounting bracket
2Hex bolt, 3/4"-10 x 2"
6Hex bolt, 5/8"-11 x 1-3/4"
2Shoulder bolt, 5/8" x 7/8" x 1/2"-13
2Lock washer, 3/4"
2Flat washer, 5/8"
4Flat washer, 9/16"
4Belleville washer,
.63" x 1.25" x .04" x .042"
4Flange nut, 5/8"-11
2Nylock nut, 5/8"-11
2Nylock nut, 1/2"-13
*Grille guard sold separately
Tools Required
Ratchet Socket, 15/16"
Torque wrench Socket, 1 1/8"
Wrench, 15/16" Socket, 3/4"
Allen wrench, 5/16" --
Product Photo
Tuff Guard®(sold separately)
Torque Specifications
1/2" bolt 65 ft-lbs.
5/8" bolt 128 ft-lbs.
3/4" bolt 228 ft-lbs.
Use above torque setting unless otherwise noted
Product Registration and Warranty
CURT Group stands behind our products
with industry-leading warranties. Provide
feedback and help us to improve our
products by registering your purchase at:
warranty.curtgroup.com/surveys
Level of Difficulty
Easy
Maintenance
To protect the product, wax after installing. Regular waxing is recommended
to add a protective layer over the finish. Do not use any type of polish or wax
that may contain abrasives that could damage the finish.
For polished, gloss and other smooth finishes,
polish may be used to clear small scratches and scuffs on the finish.
Mild automotive detergent may be used to clean the product. Do not use dish detergent, abrasive
cleaners, abrasive pads, wire brushes or other similar products that may damage the finish.
CAUTION
Strong magnets may produce pinch hazards and may be
harmful to pacemakers and other sensitive electronics.
NOTICE
Before you begin installation, read all instructions thoroughly.
Proper tools will improve the quality of installation and reduce the time required.
To help prevent damage to the product or vehicle, refer to the specified
torque specifications when securing hardware during the installation process.
Passenger / right
mounting bracket
Driver / left
mounting bracket
RETRACMIRRORS.COM •PRODUCT SUPPORT: 877.287.8634 •206820-INS-RB •09/17/2020 •ECN7465 •PAGE 2
Step 1
Remove factory tow hook pins if installed.
Insert the mounting bar into
the tow hook opening and install
the factory tow hook pin.
Step 4
Use a 5/16" allen wrench and 3/4" socket to
secure the guard to the mounting brackets
with a 5/8" x 7/8" shoulder bolt, two .63" x
1.25" x .040" x .082" belleville washers (large
diameter to the guard bracket face) and a
1/2"–13 nylock nut. Use the bottom holes of
the mounting brackets.
Step 2
Starting on the passenger side,
slide a mounting bracket over the
tow hook mounting bracket and secure
with a 3/4" – 10 x 2" bolt and 3/4" lock
washer. Keep the bracket square on the
truck and tighten with the 1-1/8" socket.
Note: Some trucks have a larger tow hook
opening. If the mounting bracket does
not securely rest against the vehicle
frame on all four sides of the square
tube, use the included spacers between
the frame and mounting bracket.
Step 3
Using the 5/8" – 11 x 1-3/4" bolts,
9/16" flat washers and 5/8"-11 flange
nuts, secure the adjustable mounting
bracket to the mounting bracket.
Repeat steps 2 through 3 on the driver side.
Snug the hardware,
but do not fully tighten.
RETRACMIRRORS.COM •PRODUCT SUPPORT: 877.287.8634 •206820-INS-RB •09/17/2020 •ECN7465 •PAGE 3
Step 5
Use a 15/16" socket and wrench to secure the
magnet bracket assemblies to the mounting
brackets of the grille guard with a 5/8"–11
x 1-3/4" bolt, 5/8" flat washer and 5/8"–11
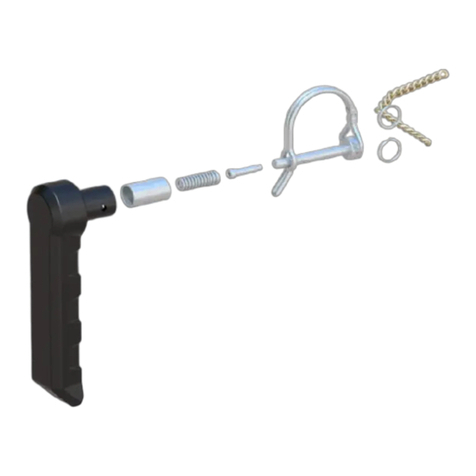
nylock nut. The safety pin bracket must
be on the passenger side.
Adjust the adjustable mounting brackets as
needed to align the guard on the truck. Tighten
the 5/8”-11 x 1-3/4” bolts to the recommended
torque specifications listed on page one.
NOTICE
Magnets and brackets are pre-assembled,
some adjustment may be necessary after the
grille guard is installed on the truck.
Step 6
Close the guard and check to make sure the
magnets line up correctly. Adjust if needed.
With the grill guard installed, periodic inspections should be
performed to ensure all mounting hardware remains tight.
To protect your investment, see the
'Notes and Maintenance' section on page one.
Congratulations on the installation
of your new RETRAC Tuff Guard®grille guard.

Other Curt Group Automobile Accessories manuals

Curt Group Aries AL235045 User manual

Curt Group

Curt Group Aries AL235045 User manual

Curt Group 58975 User manual

Curt Group

Curt Group 58975 User manual

Curt Group ARIES AL234046 User manual

Curt Group

Curt Group ARIES AL234046 User manual

Curt Group 3025101 User manual

Curt Group

Curt Group 3025101 User manual

Curt Group Q16 User manual

Curt Group

Curt Group Q16 User manual

Curt Group 45144 User manual

Curt Group

Curt Group 45144 User manual

Curt Group 45143 User manual

Curt Group

Curt Group 45143 User manual

Curt Group Retrac 207700 User manual

Curt Group

Curt Group Retrac 207700 User manual

Curt Group Aries 2055115 User manual

Curt Group

Curt Group Aries 2055115 User manual

Curt Group 3025121 User manual

Curt Group

Curt Group 3025121 User manual

Curt Group 48411 User manual

Curt Group

Curt Group 48411 User manual

Curt Group 40247 User manual

Curt Group

Curt Group 40247 User manual

Curt Group ARIES S224046 User manual

Curt Group

Curt Group ARIES S224046 User manual

Curt Group UWS TBV-49 User manual

Curt Group

Curt Group UWS TBV-49 User manual

Curt Group 70105 User manual

Curt Group

Curt Group 70105 User manual

Curt Group 18118 User manual

Curt Group

Curt Group 18118 User manual

Curt Group 13458 User manual

Curt Group

Curt Group 13458 User manual

Curt Group Betterweigh User manual

Curt Group

Curt Group Betterweigh User manual

Curt Group ARIES S225045 User manual

Curt Group

Curt Group ARIES S225045 User manual

Curt Group 19750 User manual

Curt Group

Curt Group 19750 User manual

Curt Group TruTrack 17500 User manual

Curt Group

Curt Group TruTrack 17500 User manual

Curt Group 18113 User manual

Curt Group

Curt Group 18113 User manual

Curt Group 13387 User manual

Curt Group

Curt Group 13387 User manual

Curt Group Aries TrailCrusher 2156002 User manual

Curt Group

Curt Group Aries TrailCrusher 2156002 User manual

Popular Automobile Accessories manuals by other brands

Hayman Reese 03404RW installation instructions

Hayman Reese

Hayman Reese 03404RW installation instructions

ESX VN1050-MA-4G owner's manual

ESX

ESX VN1050-MA-4G owner's manual

iBeam TE-TATGCHD Removal and Installation Instructions

iBeam

iBeam TE-TATGCHD Removal and Installation Instructions

Fiamma 98655Z034 installation instructions

Fiamma

Fiamma 98655Z034 installation instructions

Hook BTZ 28-10B manual

Hook

Hook BTZ 28-10B manual

Metra Electronics 99-7400 installation instructions

Metra Electronics

Metra Electronics 99-7400 installation instructions

Cruz 922-430 Assembly instructions

Cruz

Cruz 922-430 Assembly instructions

Rear view safety RVS-155W-01 instruction manual

Rear view safety

Rear view safety RVS-155W-01 instruction manual

Radio Shack 17-919 owner's manual

Radio Shack

Radio Shack 17-919 owner's manual

Goobay HOLDER-UNI user manual

Goobay

Goobay HOLDER-UNI user manual

Defender 222 manual

Defender

Defender 222 manual

DVB CCGX-01 installation manual

DVB

DVB CCGX-01 installation manual

GYS GYSPACK OBD manual

GYS

GYS GYSPACK OBD manual

Dakota Digital LED Tail Lights LAT-NR150 installation instructions

Dakota Digital

Dakota Digital LED Tail Lights LAT-NR150 installation instructions

Seizmik 05007 installation manual

Seizmik

Seizmik 05007 installation manual

Road Ranger ET 200022 Installation instruction

Road Ranger

Road Ranger ET 200022 Installation instruction

AMP Research BedXTender HD MAX 74842-01A Assembly Installation Guide

AMP Research

AMP Research BedXTender HD MAX 74842-01A Assembly Installation Guide

Yakima K719 instructions

Yakima

Yakima K719 instructions

manuals.online logo
manuals.online logoBrands
  • About & Mission
  • Contact us
  • Privacy Policy
  • Terms and Conditions

Copyright 2025 Manuals.Online. All Rights Reserved.