Cycle Torch SHARK 300 User manual

User Manual
Shark 300

1. Safety Precaution 3
2. How to Install 4
3. How to Charge 5
4. Switching Lighting Modes
Shark 300 Headlight 6
MicroBot Tail Light 7
5. Model Specications 8
6. Warranty, Support, and Customer Service 9
Thank you for purchasing
one of our products!
We are truly honored to be able to serve you and provide you with the best Experience possible.
If you’ve enjoyed our product, we would sincerely appreciate your honest feedback.
To ensure maximum experience and safety, familiarize yourself with ALL aspects of your new lights
and battery systems:
If for any reason you are not sased, please contact us as soon
as possible at hello@cycletorch.com , so that we can help you
to solve any issues!

SHARK 300 USER MANUAL 3
Safety Precaution
1
1Never look directly into bike light;
2Avoid directing the light beam
into the eyes of another person;
3Do not place it within children’s reach;
4Before your trip, please make sure that the
lights are rmly mounted to the handlebar,
and seatpost, they light up, and the lights
are not blocked by baggage;
5This product is water-resistant under
normal daily use and can be used in
the rain. However, do not intentionally
submerge it in water.
A lighting system can make riding safer and
more visible, but the lights are no substitute
for common sense. Ride within your capability
with consideration for the riding environment.
This product contains components that must be
recycled per EU Directive 2002/96/EC and may
not be disposed of as unsorted municipal waste!
Failure to follow these cauons may expose you to risks,
can cause damage to the light system and will void the warranty!

SHARK 300 USER MANUAL 4
How to Install
2
SHARK 300 HEADLIGHT
BOLT TAIL LIGHT
1 2 3
1 2 3
1 2 3
1 2 3
Attach the rubber strap to one
end of the light bracket;
Hold the light with one hand
and with another hand secure
it with the rubber strap across
the handlebar;
For further details, click the
link and watch the video:
cycletorch.com/pages/videos
Attach the rubber strap to one
end of the light bracket;
Hold the light with one hand
and with another hand secure
it with the rubber strap across
the seatpost;
For further details, click the
link and watch the video:
cycletorch.com/pages/videos

SHARK 300 USER MANUAL 5
1 2 3
1 2 3
How to Charge
SHARK 300 HEADLIGHT
Remove the rubber cap
at the bottom of light;
Connect the light to your PC,
or a 5V max 2A USB battery
charger with the USB cable.
The power button lights up, and
charging starts;
When the power button turns
blue, charging is complete.
Remove the USB cable.
The cable (or other accessories) supplied with the Cycle Torch bike light MUST be
used only to charge the Cycle Torch bike lights. The Manufacture or/and the Seller
are not responsible for any damage caused by using the supplied accessories with
the devices other than Cycle Torch bike lights.
WARNING
TIPS AND TRICKS:
• When your PC is in a sleep state, the light cannot be charged;
• Flashing light of the power button shows that a charging error has occurred. Remove and reinsert
the USB cable, then begin the recharge process again;
• The battery charges to about 80% after approximately 4 hours for a headlight and 1,5 hours for a tail light;
• Charging and lighting times are approximate values, and will vary by environmental and user conditions.
3
MICROBOT TAIL LIGHT
1 2 3
1 2 3
Remove the rubber cap
at the bottom of MicroBot ;
Connect the MicroBot to your
PC or a 5V max 2A USB battery
charger with the USB cable.
The
Power Button
lights up
red
when the charging starts;
When the Power Button lights
up blue, charging is complete.
Remove the USB cable.

SHARK 300 USER MANUAL 6
Switching lighting modes
OPERATION MODES
The initial short press of the power button will
turn the light on High mode. Each additional short
press of the power button switches the light from
one mode to the next in the following order:
1High
2Medium
3Low
4Flash
TURNING OFF SHARK 300
Press and hold the button for one
to three seconds.
CHECKING BATTERY LEVEL
When the light is turned o, press the button
for 3 seconds and release. The light will ash
from 1 to 10 times indicating the remaining
battery level (10 ashes indicate - 100% charge,
9 ashes - 90%, 8 ashes – 80% …).
LOW BATTERY LEVEL
The power button light will glow red when the
battery level is low and the light will automati-
cally turn o when the battery level is too low.
This system protects the battery from damage,
but since it draws a small amount of current,
it can drain the battery beyond the minimum
voltage of the battery. That is why the light
must be turned o when the button glows red
or within 5 minutes of it glowing red.
Do not wait unl the light goes completely out as this will greatly reduce the number
of charge cycles that the baery can be used and can render the baery unusable.
Charge your bike light every 2-3 months when stored or not in use to prevent
baery degradaon.
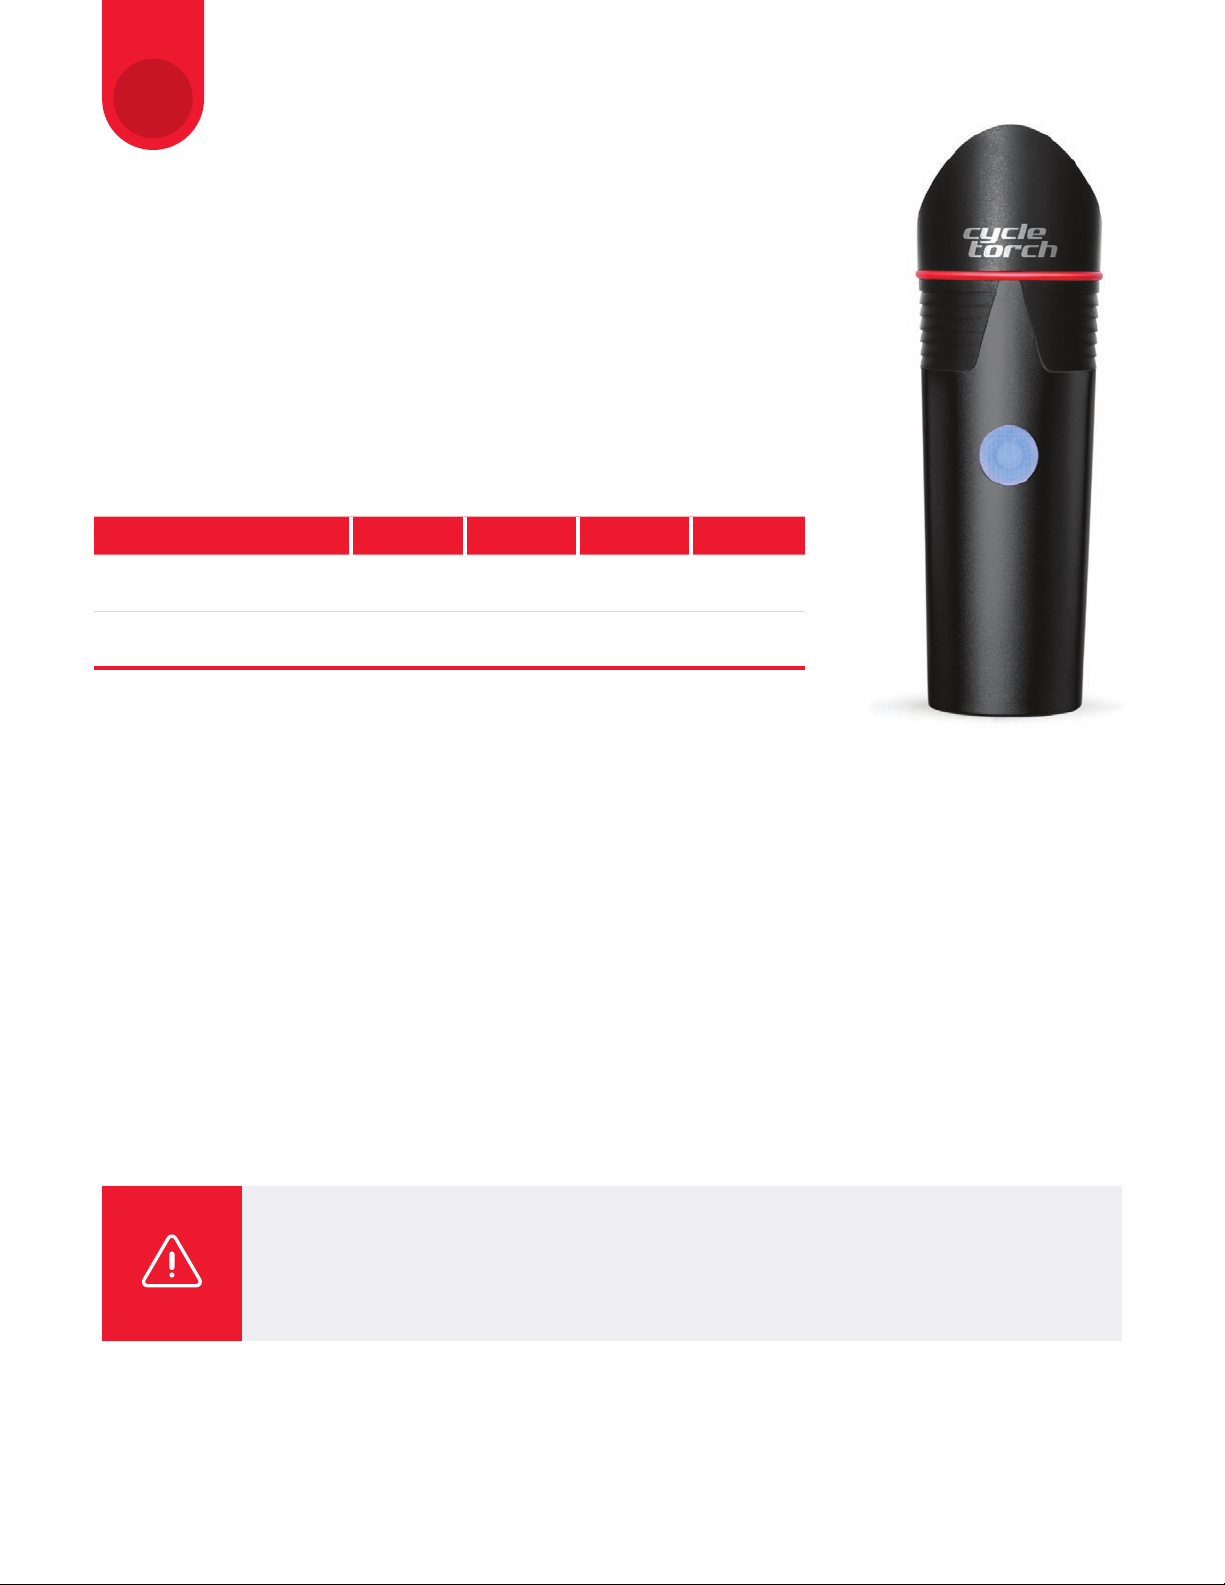
Operating modes: High Medium Low Flash
Run time (in hours) 2,5 525 50
Power (in lumens) 300 150 30 300
SHARK 300 HEADLIGHT
4

SHARK 300 USER MANUAL 7
5
Switching lighting modes
OPERATION MODES
A short press of the power button will switch
through cycles & shut down the MicroBot. The
initial short press of the power button will turn
on the light on High mode. Each additional short
press of the power button switches the light
from one mode to the next, in the following order:
1Quick ash
2Slow ash
3Circular ash quick
4Circular ash slow
5Steady
6O
TURNING OFF
Press & Hold of the power button will
shut down the MicroBot .
RUNNING TIME:
1,5 – 14 hours, depending on the use mode.
LOW BATTERY LEVEL
The MicroBot will automatically turn o when
the battery level is too low. This system protects
the battery from damage, but since it draws a
small amount of current, it can drain the battery
beyond the minimum voltage of the battery.
That is why the light must be turned o when
the button glows red or within 5 minutes of it
glowing red.
Do not wait unl the MicroBot goes completely out as this will greatly reduce
the number of charge cycles that the baery can be used and can render the
baery unusable. It is highly recommended to recharge periodically the MicroBot .
Charge your bike light every 2-3 months when stored or not in use to prevent baery
degradaon.
Operating modes: Quick
ash
Slow
ash
C.F.
quick
C.F.
slow Steady
Run time (in hours) 6 9 10 14 1,5
Power (in lumens) 25 25 10 10 25
MICROBOT TAIL LIGHT
Operation/
Power button

SHARK 300 USER MANUAL 8
6
Model Specications
SHARK 300 HEADLIGHT
• Model range: SHARK 300 USB light
• Brightness: 300 LM
• Water-resistant grade: IP65
• Light source: CREE XML T6 ultra bright LED
• LED lifespan: 50,000 hours
• Low power consumption
• Battery: 1 x SAMSUNG 18650, 3.7V,
2400 mAh Li-ion
• Charge time: 4 ~ 10 hours
• Low power warning: red light warning
(blue uorescent ring changes to red)
• Battery running time:
- 150 minutes in High mode
- 300 minutes in Medium mode
- 1800 minutes in Low mode
- 3000 minutes in Flash mode
• Material: high-quality nylon plastic (ABS)
• Fluorescent waterproof indicator ring
for greater night visibility
• Finish: dierent colors available
• Weight: 100 g
MICROBOT TAIL LIGHT
• Model range: MicroBot
• Brightness: 25 LM
• Water-resistant grade: IP65
• Light source: 3 x 3535 ultra-bright LED
• LED lifespan: 50,000 hours
• Low power consumption
• Battery: lithium-polymer rechargeable
• Charge time: 1 hour 30 minutes
• Material: top-class nylon plastic (ABS)
• Finish: black
• Included accessories:
- Silicone strap which ts all standard seat posts;
- Micro USB charging cable.
• Weight: 16 g

SHARK 300 USER MANUAL 9
7
Warranty, Support,
and Customer Service
To register your product please go to
https://cycletorch.com and follow the steps.
Our product quality is controlled strictly in ac-
cordance within the standards of Cycle Torch
quality certication program.
To ensure that all users enjoy the product, we
oer one year warranty within one year from
purchase date, under normal use, the consumer
will be provided free warranty service for any
quality-related problems!
WARRANTY SERVICE EXCLUSIONS:
1Any damages that are caused by other than
normal use, including, but not limited to
physical damages.
2Any user modication, repairs, or disassembly
of the product without factory authorization.
3Missing warranty Registration.
When requesng warranty service, customer should present
Amazon Order ID or numbers provided by online retailers.
For further informaon concerning
warranty condions or for any
addional issues, please e-mail us at:
hello@cycletorch.com
Other manuals for SHARK 300
1
Table of contents
Other Cycle Torch Bicycle Accessories manuals

Cycle Torch
Cycle Torch GT 3000 User manual

Cycle Torch
Cycle Torch Front Bolt User manual

Cycle Torch
Cycle Torch MicroBot User manual

Cycle Torch
Cycle Torch GT 800 User manual

Cycle Torch
Cycle Torch SHARK 300 User manual

Cycle Torch
Cycle Torch Fire stick User manual

Cycle Torch
Cycle Torch Tail Bolt User manual

Cycle Torch
Cycle Torch Night Owl 200 User manual

Cycle Torch
Cycle Torch Shark 550R User manual

Cycle Torch
Cycle Torch SHARK 500 User manual