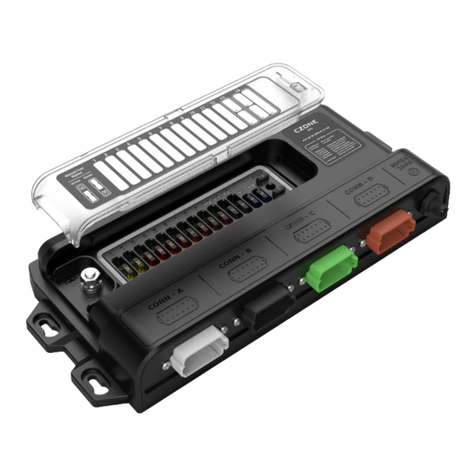
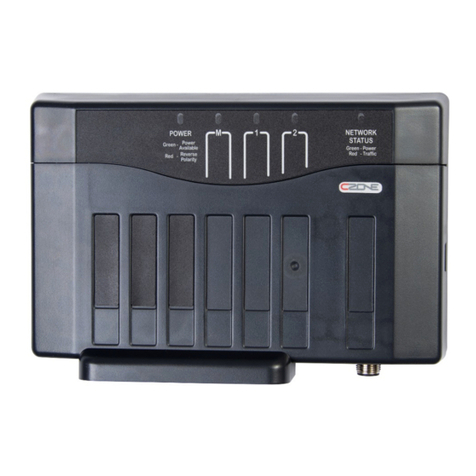
CZone 80-911-0005-00 Guide

Meter Interface (MI)
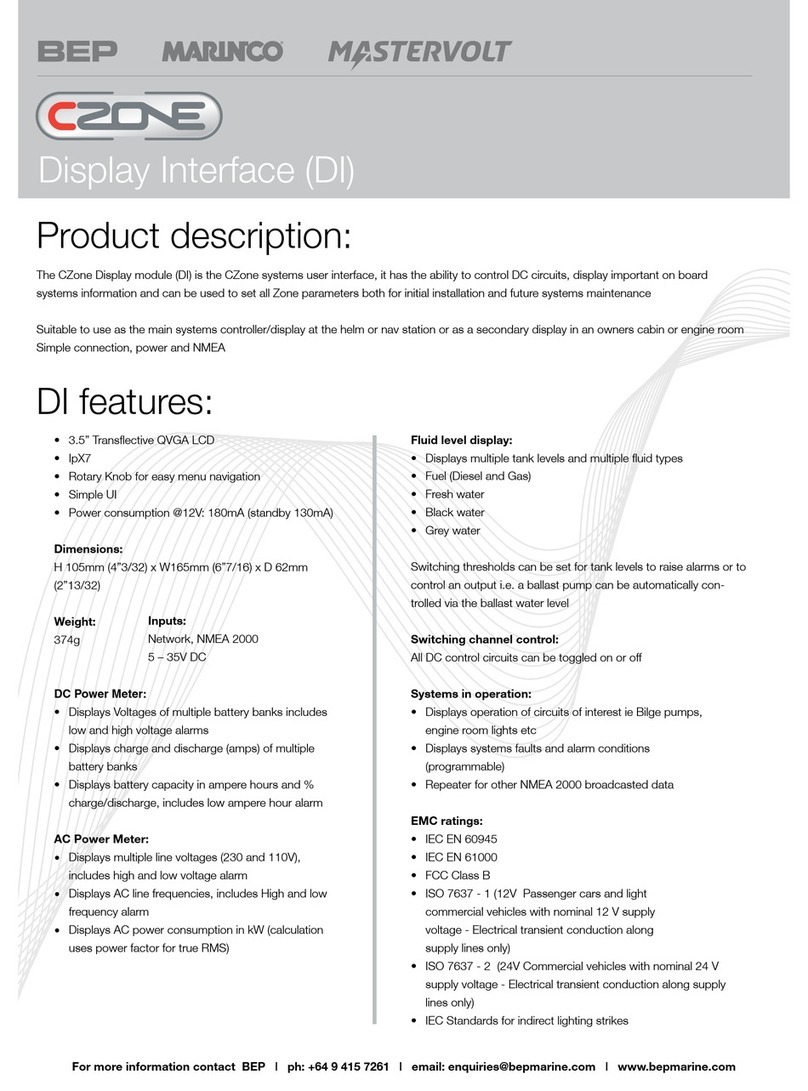
User & Installation Manual
V2.0

EN / CZone® Meter Interface (MI) User & Installation Manual
2
1 Contents
2GENERAL INFORMATION 3
Use Of This Manual 3
Guarantee Specifications 3
Quality 3
Validity Of This Manual 3
Liability 3
Changes To The Meter Interface (MI) 3
3SAFETY AND INSTALLATION PRECAUTIONS 4
Warnings And Symbols 4
Use For Intended Purpose 4
Organizational Measures 4
Maintenance And Repair 4
General Safety and Installation Precautions 4
4OVERVIEW 5
Description 5
Features 5
Component Overview 5
5INSTALLATION 6
Guidelines 6
DC Connections 6
AC Connections 7
Dipswitch 8
Initial Power Up 8
6LED FLASH CODES 9
7LABELLING 10
Connections/LED Flash Code Label 10
Module Identification And Dipswitch label 10
8AC WIRING EXAMPLE 11
9DC WIRING EXAMPLE 12
10 DIMENSIONS 13
11 ORDERING INFORMATION 14
Module 14
Acessories and spares 14
12 EMC RATINGS 14
13 DECLARATION OF CONFORMITY 15

3
EN / CZone® Meter Interface (MI) User & Installation Manual
2 GENERAL INFORMATION
USE OF THIS MANUAL
Copyright © 2019 BEP Marine. All rights reserved.Reproduction, transfer, distribution, or storage of part or all of the
contents in this document in any form without the prior written permission of BEP Marine is prohibited.This manual
serves as a guideline for the safe and effective operation, maintenance and possible correction of minor malfunctions
of the Meter Interface Module (MI).
This manual is valid for the following:
Description
Part number
CZONE METER INTERFACE c/w SEAL & PLUG
80-911-0005-00
CZONE METER INTERFACE NO SEAL & PLUG
80-911-0006-00
It is obligatory that every person who works on or with the Meter Interface is completely familiar with the contents of this
manual, and that he/she carefully follows the instructions contained herein.
Installation of, and work on the Meter Interface, may be carried out only by qualified, authorized, and trained personnel,
consistent with the locally applicable standards and taking into consideration the safety guidelines and measures. Please
keep this manual in a secure place!
GUARANTEE SPECIFICATIONS
BEP Marine guarantees that this unit has been built according to the legally applicable standards and specifications.
Should work take place which is not in accordance with the guidelines, instructions and specifications contained in this
Installation manual, then damage may occur and/or the unit may not fulfil its specifications. All these matters may mean
that the guarantee becomes invalid.
QUALITY
During their production and prior to their delivery, all our units are extensively tested and inspected. The standard
guarantee period is two years.
VALIDITY OF THIS MANUAL
All the specifications, provisions and instructions contained in this manual apply solely to standard versions of the Meter
Interface (MI) delivered by BEP Marine.
LIABILITY
BEP can accept no liability for:
•Consequential damage due to use of the Meter Interface. Possible errors in the manuals and the results thereof.
CAREFUL! Never remove the identification label
Important technical information required for service and maintenance can be derived from the type number plate.
CHANGES TO THE METER INTERFACE (MI)
Changes to the Meter Interface may be carried out only after obtaining the written permission of BEP.
EN / CZone® Meter Interface (MI) User & Installation Manual
4
3 SAFETY AND INSTALLATION PRECAUTIONS
WARNINGS AND SYMBOLS
Safety instructions and warnings are marked in this manual by the following pictograms:
CAUTION
Special data, restrictions and rules with regard to preventing damage.
WARNING
A WARNING refers to possible injury to the user or significant material damage to the Meter Interface
if the user does not (carefully) follow the procedures.
A procedure, circumstance, etc, which deserves extra attention.
USE FOR INTENDED PURPOSE
1. The Meter Interface is constructed as per the applicable safety-technical guidelines.
2. Use the Meter Interface only:
•In technically correct conditions
•In a closed space, protected against rain, moisture, dust and condensation
•Observing the instructions in the installation manual
WARNING Never use the Meter Interface in locations where there is danger of gas or dust explosion or
potentially flammable products!
3. Use of the Meter Interface other than mentioned in point 2 is not considered to be consistent with the intended
purpose. BEP Marine is not liable for any damage resulting from the above.
ORGANIZATIONAL MEASURES
The user must always:
•Have access to the user's manual and be familiar with the contents of this manual
MAINTENANCE AND REPAIR
•Switch off supply to the system
•Be sure that third parties cannot reverse the measures taken
•If maintenance and repairs are required, only use original spare parts
GENERAL SAFETY AND INSTALLATION PRECAUTIONS
•Connection and protection must be done in accordance with local standards
•Do not work on the Meter Interface or system if it is still connected to a power source. Only allow changes
in your electrical system tobe carried out by qualified electricians
•Check the wiring at least once a year. Defects such as loose connections, burned cables, etc. must be
corrected immediately

5
EN / CZone® Meter Interface (MI) User & Installation Manual
4 OVERVIEW
DESCRIPTION
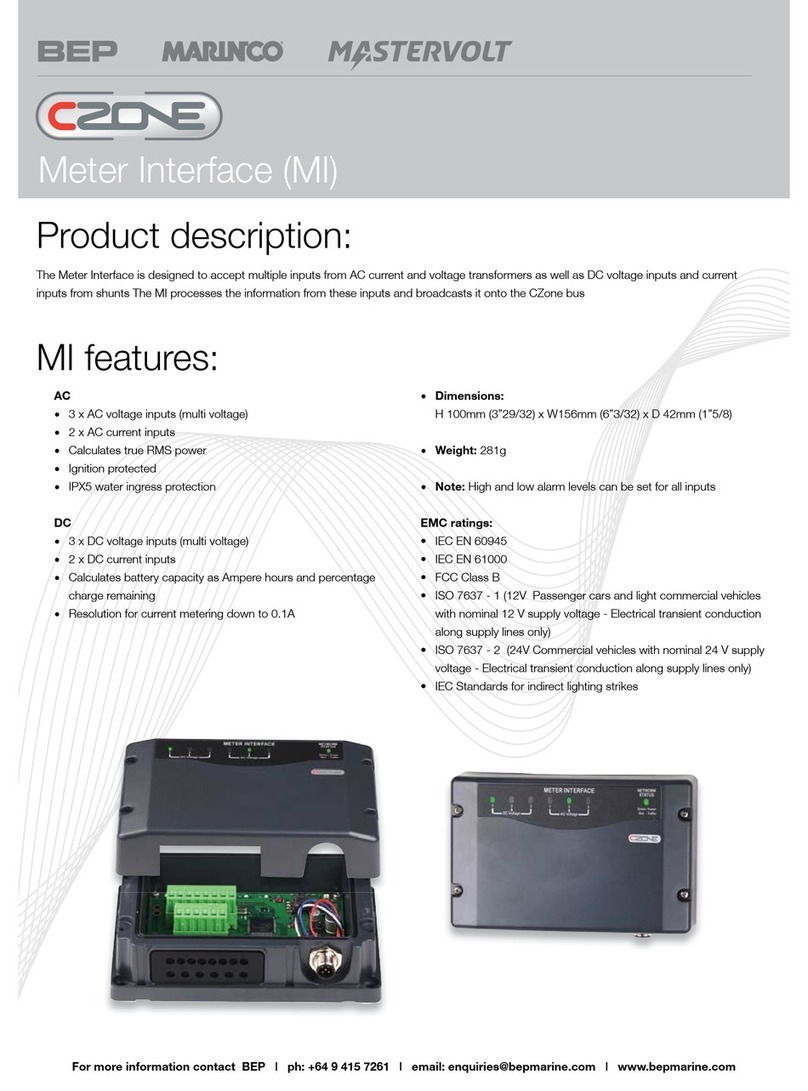
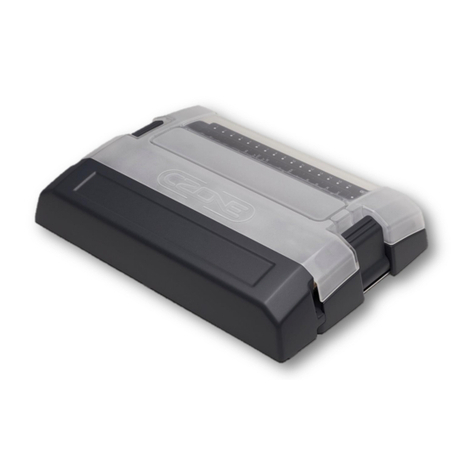
The Meter Interface (MI) accepts inputs from external AC and DC power metering sensors such as: AC and DC voltage
and amps, AC kWatts, and DC battery capacity in amp hours and percent remaining. All with user definable high and
low alarms. The MI processes the information from these inputs and broadcasts it onto the CZone bus.
FEATURES
AC
•3 x AC voltage inputs (multi voltage)
•2 x AC current inputs
•Calculates true RMS power
DC
•3 x DC voltage inputs (multi voltage)
•2 x DC current inputs
•Calculates battery capacity as Ampere hours and percentage charge remaining
•Resolution for current metering down to 0.1A
Other
•IPX5 water ingress protection
•Outputs standard NMEA2000 power monitoring sentences
•Dimensions: H 100mm (3”29/32) x W156mm (6”3/32) x D 42mm (1”5/8) Weight: 281g
COMPONENT OVERVIEW
Component
1.
Circuit Status LED’s
2.
Network Status LED
3.
NMEA 2000 Plug
4.
Cable Gland
5.
Cover Retaining Screws
6.
Module Cover
3
4
1
2
6
5
Figure 1. Overview

EN / CZone® Meter Interface (MI) User & Installation Manual
6
5 Installation
GUIDELINES
•Ensure the modules are installed vertically with the cables exiting downwards, this ensures IPX5 rating is
retained.
•All seals and cable glands must be fitted including blanking plugs inserted in any unused positions.
•Ensure all labels are fitted and correct
DC CONNECTIONS
All DC Connections are made on the 8Way connector.
•Connect each of the voltage inputs to the MI from battery banks. Ensure each input is fused at supply with a
1A fuse.
•Voltage Input 3 is a voltage meter only.
•Connect the current input from each shunt. Ensure care is taken when wiring shunt into heavy DC system to
make sure no negatives are left on the battery side of shunt.
•Connect DC negative to MI input 8. Used as a reference to ground.
•Connect an NMEA2000 drop cable from the MI to the NMEA2000 backbone.
•Ensure NMEA2000 network is properly terminated and connected to 12V power source.
Mount Vertically
Cable Exit
Figure 2. Mounting
Note: Current Input 1 is matched to Voltage Input 1, and Current Input 2 is matched to
Voltage Input 2. For correct metering these must be matched to same DC supply.

7
EN / CZone® Meter Interface (MI) User & Installation Manual
AC CONNECTIONS
AC connection and protection must be done in accordance with local standards. Do not work on the Meter
Interface or system if it is still connected to a power source. Only allow changes in your electrical system
tobe carried out by qualified electricians. All AC connections are made on the 6Way connector.
•Connect voltage inputs from AC voltage transformer to MI, inputs 2, 4 and 5.
•Connect current inputs from each current transformer to MI, inputs 1 and 3.
•Connect transformer common to input 6 from the Voltage Transformer.
•Ensure the potted end of the current transformer is facing the line direction. Part # CT-10-3
Figure 4. AC Connections
Transformer common
AC Voltage input 3 (from transformer)
AC Voltage input 2 (from transformer)
AC Current input 2 (from transformer)
AC Voltage input 1 (from transformer)
AC Current input 1 (from transformer)
Note: these are paired inputs
for correct metering these must be
matched to the same supply source
for correct metering these must be
Note: these are paired inputs
NMEA2000 Micro C
DC voltage positive input 2
DC voltage positive input 1
DC current 2 Shunt input 2 (LOAD)
DC current 2 Shunt input 1 (BATT)
DC current 1 Shunt input 2 (LOAD)
DC current 1 Shunt input 1 (BATT)
8 Way, DC
DC Negative
DC voltage positive input 3
matched to the same supply source
for correct metering these must be
Note: these are paired inputs
for correct metering these must be
matched to the same supply source
Figure 3. DC Connections
Ensure voltage inputs are wired from the voltage transformer
and not directly from the AC power source. Part # AC-VSEN-4
Note: Current Input 1 and Voltage Input 1 are paired inputs, as are Current Input 2 and
Voltage Input 2. For correct metering these must be matched to same supply source.
AC Load
AC Line
Meter Interface

EN / CZone® Meter Interface (MI) User & Installation Manual
8
DIPSWITCH
•Using a small screwdriver, carefully set the dipswitch to required setting.
•The dipswitch number must be unique for all modules on the CZone network and must match the dipswitch
setting in the configuration to function correctly.
INITIAL POWER UP
1. Check all plugs are securely seated and connections are tight.
2. Power up the NMEA2000 network.
3. Check that the NMEA2000 Network LED lights up. It may also be flashing if other devices are present and
transmitting data.
4. Check that the Power indicator LED is green.
5. Check the circuit’s status LEDs for each individual circuit. Refer to LED codes to diagnose any faults which
need to be rectified.
6. Check the software version on the Meter Interface with the CZone Configuration Tool and update if
necessary.
7. Refer to the CZone Configuration Tool Instructions for details on how to configure and calibrate the Meter
Interface inputs.
8. Write configuration file to the Meter Interface and the rest of the CZone modules on the system.
9. Test all inputs for configured functionality.
Figure 3. Dipswitch Setting
The example shows a dipswitch number of 10000000 where 0 = Off and 1 = On.

9
EN / CZone® Meter Interface (MI) User & Installation Manual
6 LED Flash Codes
1. Circuit Status LED’s
Colour
Description
Green Solid ON
Valid Signal Input
1x Red Flash
Channel Not Configured
2x Red Flash
Configuration Conflict
3x Red Flash
Dip Switch Conflict
4x Red Flash
Memory Comms Failure
5x Red Flash
No Modules Detected
8x Red Flash
Invalid Input Signal
2. Network Status LED
Colour
Description
Extinguished
Network Power Disconnected
Green
Network Power Connected
Red Flash
Network traffic
Figure 4. LED Flash Codes
1
2

EN / CZone® Meter Interface (MI) User & Installation Manual
10
7 Labelling
CONNECTIONS/LED FLASH CODE LABEL
This label is located on the inside of the front lid of the unit, it shows the LED codes and electrical connections to the
unit:
MODULE IDENTIFICATION AND DIPSWITCH LABEL
These labels allow easy identification of each module whilst recording the dipswitch setting. These labels are to be
fitted to the cover and to the module (this prevents covers being swapped). To record the module type and dipswitch
settings use a permanent marker and strike through the applicable boxes (a strike through on a dipswitch box indicates
that switch is on).
Figure 6. Module Identification
8642
1357
DC V 3 +
DC -
Shunt 1 (B)
Shunt 1 (L)
Shunt 2 (B)
Shunt 2 (L)
DC V 1 +
DC V 2 +
AC I 1 (TXFM)
AC V 1 (TXFM)
AC I 2 (TXFM)
AC V 2 (TXFM)
AC V 3 (TXFM)
TXFM common
I/P 6
I/P 5
I/P 4
I/P 3
I/P 2
I/P 1
DC -
NC
Figure 5. Module Labeling
XX
OI SI MI
SCIMOI DI
1 2DIP 3 4 5 6 7 8

11
EN / CZone® Meter Interface (MI) User & Installation Manual
8 AC Wiring Example
BEP PART # AC-VSEN-Z
V1
NEUTRAL
SHORE
PHASE
V2
V3
C
P
N
N
P
N
P
AC1
AC2
AC3
1A FUSE
1A FUSE
1A FUSE
GENERATOR
NEUTRAL
PHASE
AC LOAD
GROUP
POWER TRANSFER
SWITCH
NMEA 2000
NETWORK
Transformer common
AC Voltage input 3 (from transformer)
AC Voltage input 2 (from transformer)
AC Current input 2 (from transformer)
AC Voltage input 1 (from transformer)
AC Current input 1 (from transformer)
Note: these are paired inputs
for correct metering these must be
matched to the same supply source
for correct metering these must be
Note: these are paired inputs
Figure 7. AC Wiring Diagram

EN / CZone® Meter Interface (MI) User & Installation Manual
12
9 DC Wiring Example
BATTERY
-
+
ONE
STARTER
DC voltage positive input 2
DC voltage positive input 1
DC current 2 Shunt input 2 (LOAD)
DC current 2 Shunt input 1 (BATT)
DC current 1 Shunt input 2 (LOAD)
DC current 1 Shunt input 1 (BATT)
BATTERY
SWITCH
SWITCH
BATTERY
1AMP FUSE
1AMP FUSE
450A 50mV
SHUNT
PUMP
BILGE
HORN
WIPER
BUS
BAR
BUS BAR
NEGATIVE
TWISTED PAIR
OUTPUT
INTERFACE
TWO
+
BATTERY
-
ENGINE
ALT 1
ALT 2
8 Way, DC
DC Negative
DC voltage positive input 3
(BATT) (LOAD)
NMEA 2000
NETWORK
BREAKER
CIRCUIT
CIRCUIT
BREAKER
matched to the same supply source
for correct metering these must be
Note: these are paired inputs
for correct metering these must be
matched to the same supply source
Figure 8. DC Wiring Diagram

13
EN / CZone® Meter Interface (MI) User & Installation Manual
10 Dimensions
Figure 9. Dimensions

EN / CZone® Meter Interface (MI) User & Installation Manual
14
11 Ordering Information
MODULE
Description
Part number
CZONE METER INTERFACE c/w SEAL & PLUG
80-911-0005-00
CZONE METER INTERFACE NO SEAL & PLUG
80-911-0006-00
ACESSORIES AND SPARES
Description
Part number
SEAL CABLE GLAND for CZONE MI BK SILICON
80-911-0033-00
TERM BLOCK SI/MI 6 WAY PLUG 5mm PITCH
80-911-0042-00
TERM BLOCK MI 8 WAY PLUG 5mm PITCH
80-911-0043-00
DC CURRENT SHUNT 450A
LB-450-50
CURRENT TRANSFORMER AC DIGITAL METER
CT-10-3
AC VOLT TRANSDUCER FOR DIG & CZONE MC12
AC-VSEN-4
12 EMC ratings
•IEC EN 60945
•IEC EN 61000
•FCC Class B
•ISO 7637 - 1 (12V Passenger cars and light commercial vehicles with nominal 12 V supply voltage -
Electrical transient conduction along supply lines only)
•ISO 7637 - 2 (24V Commercial vehicles with nominal 24 V supply voltage - Electrical transient
conduction along supply lines only)
•IEC Standards for indirect lighting strikes

15
EN / CZone® Meter Interface (MI) User & Installation Manual
13 Declaration Of Conformity
This manual suits for next models
1
Table of contents
Other CZone Recording Equipment manuals

CZone
CZone Meter Interface Installation guide

CZone
CZone Network Bridge Interface Installation guide

CZone
CZone DDS Guide

CZone
CZone Display Interface Installation guide

CZone
CZone COI Operating manual

CZone
CZone Switch Control Interface Installation guide

CZone
CZone Signal Interface Guide

CZone
CZone Control 1 Operating manual

CZone
CZone Motor Output Interface Guide

CZone
CZone 80-911-0009-00 Guide