CZone 80-911-0009-00 Guide

Output Interface (OI)
User & Installation Manual
V2.0

EN / CZone® Output Interface (OI) User & Installation Manual
2
Copyright
This document is copyright 2018 under the Creative Commons agreement. Rights are granted to research and
reproduce elements of this document for non-commercial purposes on the condition that BEP Marine is credited as the
source. Electronic re-distribution of the document in any format is restricted, to maintain quality and version control.
Important
BEP Marine strives to ensure all information is correct at the time of printing. However, the company reserves the right
to change without notice any features and specifications of either its products or associated documentation.
Translations: In the event that there is a difference between a translation of this manual and the English version, the
English version should be considered the official version.
It is the owner’s sole responsibility to install and operate the device in a manner that will not cause accidents, personal
injury or property damage.
Use of This Manual
Copyright © 2018 BEP Marine LTD. All rights reserved.Reproduction, transfer, distribution or storage of part or all of
the contents in this document in any form without the prior written permission of BEP Marine is prohibited.This manual
serves as a guideline for the safe and effective operation, maintenance and possible correction of minor malfunctions
of the Output Interface Module.

3
EN / CZone® Output Interface (OI) User & Installation Manual
TABLE OF CONTENTS
1GENERAL INFORMATION 4
Use of this manual 4
Guarantee Specifications 4
Quality 4
Validity Of This Manual 4
Liability 4
Changes To The Output Interface 4
2SAFETY AND INSTALLATION PRECAUTIONS 5
Warnings And Symbols 5
Use For Intended Purpose 5
Organizational Measures 5
Maintenance And Repair 5
General Safety and Installation Precautions 5
3OVERVIEW 6
Description 6
Features 6
OI Hardware Overview 7
Led indicators 8
4DESIGN 9
5INSTALLATION 9
Things You Need 9
Environment 9
Mounting 10
Connections 11
Inserting Fuses 12
Mechanical Bypass 12
Network Configuration 13
Circuit Identification Labels 13
Module Identification Label 14
Fit the Cover 14
Initial Power Up 14
System Diagram Examples 15
6ORDERING INFORMATION 16
7SPECIFICATIONS 16
Technical Specifications 16
EMC ratings 17
Dimensions 17
8DECLARATION OF CONFORMITY 18

EN / CZone® Output Interface (OI) User & Installation Manual
4
1 GENERAL INFORMATION
USE OF THIS MANUAL
Copyright © 2016 BEP Marine. All rights reserved.Reproduction, transfer, distribution or storage of part or all of the
contents in this document in any form without the prior written permission of BEP Marine is prohibited.This manual
serves as a guideline for the safe and effective operation, maintenance and possible correction of minor malfunctions
of the Output Interface, called OI further in this manual.
This manual is valid for the following models:
Description
Part number
CZONE OI C/W CONNECTORS
80-911-0009-00
CZONE OI NO CONNECTORS
80-911-0010-00
It is obligatory that every person who works on or with the OI is completely familiar with the contents of this manual, and
that he/she carefully follows the instructions contained herein.
Installation of, and work on the OI, may be carried out only by qualified, authorized and trained personnel, consistent
with the locally applicable standards and taking into consideration the safety guidelines and measures (chapter 2 of this
manual). Please keep this manual in a secure place!
GUARANTEE SPECIFICATIONS
BEP Marine guarantees that this unit has been built according to the legally applicable standards and specifications.
Should work take place which is not in accordance with the guidelines, instructions and specifications contained in this
Installation manual, then damage may occur and/or the unit may not fulfil its specifications. All of these matters may
mean that the guarantee becomes invalid.
QUALITY
During their production and prior to their delivery, all of our units are extensively tested and inspected. The standard
guarantee period is two years.
VALIDITY OF THIS MANUAL
All of the specifications, provisions and instructions contained in this manual apply solely to standard versions of the
Combined Output Interface delivered by BEP Marine.
LIABILITY
BEP can accept no liability for:
•Consequential damage due to use of the OI. Possible errors in the manuals and the results thereof
CAREFUL! Never remove the identification label
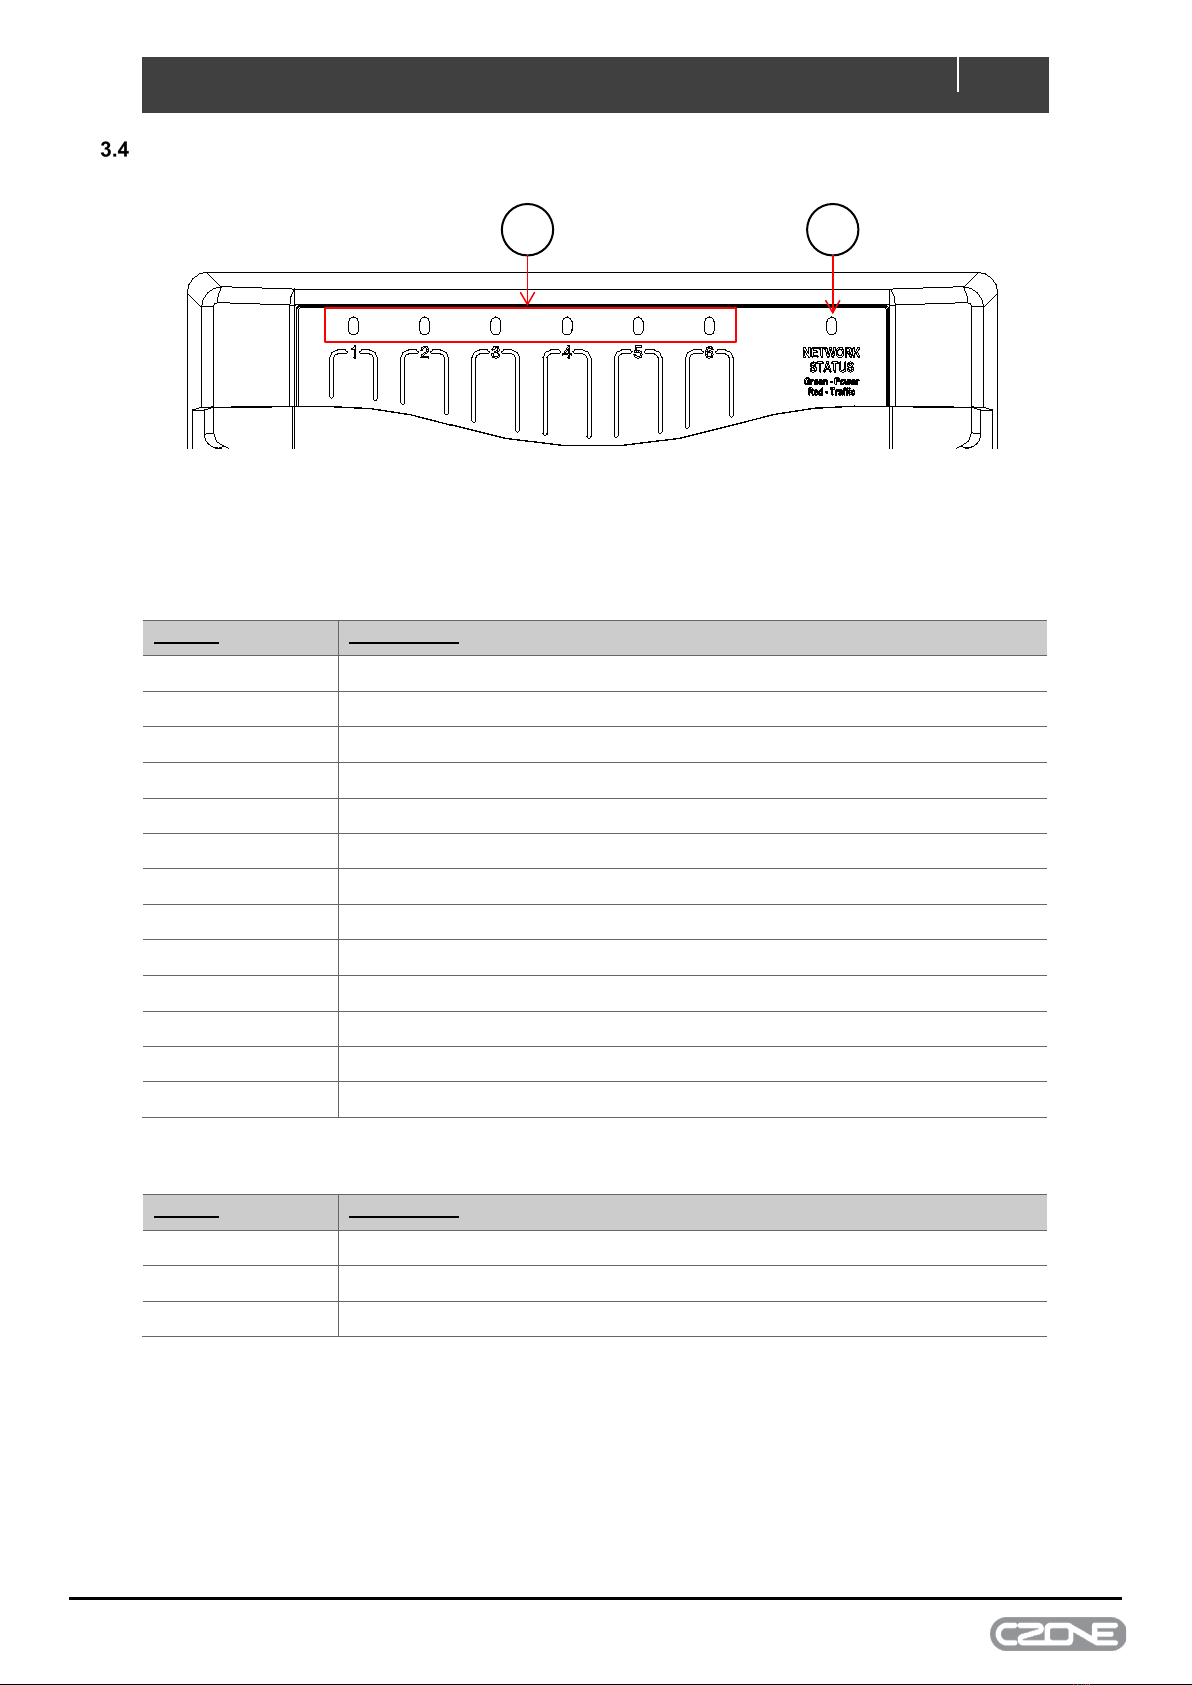
Important technical information required for service and maintenance can be derived from the type number plate.
CHANGES TO THE OUTPUT INTERFACE
Changes to the OI may be carried out only after obtaining the written permission of BEP.

5
EN / CZone® Output Interface (OI) User & Installation Manual
2 SAFETY AND INSTALLATION PRECAUTIONS
WARNINGS AND SYMBOLS
Safety instructions and warnings are marked in this manual by the following pictograms:
CAUTION
Special data, restrictions and rules with regard to preventing damage.
WARNING
A WARNING refers to possible injury to the user or significant material damage to the OI if the user
does not (carefully) follow the procedures.
A procedure, circumstance, etc, which deserves extra attention.
USE FOR INTENDED PURPOSE
1. The OI is constructed as per the applicable safety-technical guidelines.
2. Use the OI only:
•In technically correct conditions
•In a closed space, protected against rain, moisture, dust and condensation
•Observing the instructions in the installation manual
WARNING Never use the OI in locations where there is danger of gas or dust explosion or potentially
flammable products!
3. Use of the OI other than mentioned in point 2 is not considered to be consistent with the intended purpose.
BEP Marine is not liable for any damage resulting from the above.
ORGANIZATIONAL MEASURES
The user must always:
•Have access to the user's manual and be familiar with the contents of this manual
MAINTENANCE AND REPAIR
•Switch off supply to the system
•Be sure that third parties cannot reverse the measures taken
•If maintenance and repairs are required, only use original spare parts
GENERAL SAFETY AND INSTALLATION PRECAUTIONS
•Connection and protection must be done in accordance with local standards
•Do not work on the OI or system if it is still connected to a power source. Only allow changes in your
electrical system tobe carried out by qualified electricians
•Check the wiring at least once a year. Defects such as loose connections, burned cables, etc. must be
corrected immediately

EN / CZone® Output Interface (OI) User & Installation Manual
6
3 OVERVIEW
DESCRIPTION
The Output Interface (OI) provides an intelligent replacement for traditional circuit breaker and fuse panels. It has 6x
high power, robust output channels which provide the power supply, control and fusing for a circuit as well as integrating
many other built in features such as timers and dimmers. Connection to the unit is simple: a large 6 way plug allows
connections to cables of up to 16 mm2 (6AWG) in size, or multiple smaller conductors. No need for specialized crimp
terminals and expensive crimp tools to be carried for terminations to CZone, just a blade screwdriver. A protective
flexible boot offers protection to the connections from harsh environment conditions.
FEATURES
•4 levels of backup fusing including manual override (as required by ABYC)
•Multiple channels can be bridged together to offer higher current switching
•Power consumption 12 V: 85 mA (standby 60 mA)
•Dimensions, WxHxD: 7-29/32"x5"x1-3/4" 200x128x45 mm
•Small, non metallic, easy to install case
•6 x 20 amps circuits
•IPX5 water ingress protection
•Programmable software fuse sizes

7
EN / CZone® Output Interface (OI) User & Installation Manual
7. Output Fuse Label
8. DC Positive Stud
9. DC Output Connector
10. Circuit Fuses
11. Dipswitch
12. NMEA 2000 Connector
1. Circuit Status Indicators
2. Waterproof Cover
3. Circuit ID Labels
4. Protective Boot
5. Network Status Indicator
6. Module ID Label
OI HARDWARE OVERVIEW
OI With Cover
OI No Cover
5
6
1
3
2
4
10
11
8
9
12
7

EN / CZone® Output Interface (OI) User & Installation Manual
8
LED INDICATORS
1. Channel Status LED Indicators
Colour
Description
Extinguished
Channel Off
Green Solid On
Channel On
1 Red Flash
Module Not Configured
2 Red Flash
Configuration Conflict
3 Red Flash
DIP Switch Conflict
4 Red Flash
Memory Failure
5 Red Flash
No Modules Detected
6 Red Flash
Low Run Current
7 Red Flash
Over Current
8 Red Flash
Short Circuit
9 Red Flash
Missing Commander
10 Red Flash
Reverse Current
11 Red Flash
Current Calibration
2. Network Status LED Indicator
Colour
Description
Extinguished
Network Power Disconnected
Green
Network Power Connected
Red Flash
Network Traffic
1
2
OI LED Indicators

9
EN / CZone® Output Interface (OI) User & Installation Manual
4 DESIGN
•Make a list of all outputs to be wired to the OI and assign each of them to one of the 6 channels.
•Ensure all cables are appropriately rated for each assigned load.
•Output connector accepts cable gauges 24AWG – 8AWG (0.5 - 6mm).
•Ensure power supply cable to the OI is appropriately rated for the maximum continuous current of all loads
and is fused appropriately to protect the cable.
•Ensure continuous current draw of each connected load does not exceed maximum channel rating of 20A.
•Ensure the maximum continuous current of all loads does not exceed the 100A total module current.
•Install the appropriately rated fuses for each channel.
•Loads exceeding 20A will require paralleling 2 channels together.
5 INSTALLATION
THINGS YOU NEED
•Electrical tools
•Wiring and fuses
•Output Interface Module
•4 x 8G or 10G (4mm or 5mm) self-tapping screws or bolts for mounting the OI
ENVIRONMENT
Obey the following stipulations during installation:
•Ensure the OI is located in an easily accessible location and indicator LED’s are visible.
•Ensure there is enough clearance above the OI to allow the cover to be removed.
•Ensure there is at least 10mm clearance around the sides and top of the OI.
•Ensure the OI is mounted on a vertical flat surface.
•Ensure there is sufficient space for the wires to exit the product.

EN / CZone® Output Interface (OI) User & Installation Manual
10
MOUNTING
OI Mounting
1. Mount the OI on a vertical surface with the cables exiting downwards.
2. Allow enough space below cable grommet for wiring bend radius.
oNote - Cable radius determined by wiring manufacturer.
3. Fasten the OI by using 4 x 8G or 10G (4mm or 5mm) self-tapping screws or bolts (not supplied).
IMPORTANT - The OI must be mounted within 30 degrees from the vertical position to ensure water
correctly runs away from the product if mounted in a location where water can contact the product.

11
EN / CZone® Output Interface (OI) User & Installation Manual
CONNECTIONS
The OI has a convenient output connector that requires no crimping tools and accepts cables from 24AWG to 8AWG
(0.5 - 6mm). The unit has no power key and will turn on when power is applied to the network. The module will continue
to draw power even when it is not in operation. It is recommended that a battery isolator switch is installed for when the
system is not in use.
1. Feed output wires through cable grommet
2. Strip and insert each wire into the connector ensuring the correctly rated wire is used for each load and tighten
screws to 4.43 in/lbs (0.5NM).
3. Insert plug firmly into module and tighten 2x retaining screws.
4. Connect a NMEA2000 drop cable from the NMEA2000 backbone (do not power up network yet).
5. Connect the appropriate size power supply cable to the M6 positive stud and tighten to 35 in/lbs (4NM), ensuring
washers are installed as per diagram.
IMPORTANT - The positive cable must be sufficient size to carry the maximum current of all loads connected
to the OI. It is recommended to have a fuse/circuit breaker rated to protect the cable.
1
4
3
2
5
OI Connections
Positive DC Output 4
Positive DC Output 3
Positive DC Output 2
Positive DC Output 1
Positive DC Output 6
Positive DC Output 5

EN / CZone® Output Interface (OI) User & Installation Manual
12
INSERTING FUSES
The OI provides ignition protected circuit protection for each individual channel via standard ATC fuses (not supplied).
Appropriately rated fuses should be selected and installed for each channel to protect the load and the wiring for each
circuit.
Fuses In Normal Operation
1. Select the appropriate fuse rating for each individual circuit.
2. Insert the correctly rated fuses into the NORMAL (bottom) position of all circuits.
3. The ATC fuse should be rated to protect the connected load and the wiring from the OI to the load and also
the ground wire.
MECHANICAL BYPASS
The OI includes a mechanical bypass feature for redundancy purposes. Moving any fuse to the BYPASS (top) position
will supply constant battery power to that output. See below diagram showing circuit #3 in the BYPASS position.
Fuse in Bypass Position
WARNING – Ensure area is free of explosive gasses before removing/replacing fuses or placing fuses in the
bypass position as sparks may occur.

13
EN / CZone® Output Interface (OI) User & Installation Manual
NETWORK CONFIGURATION
CZone modules communicate with each other over a NMEA2000 CAN BUS network. Each module needs a unique
address, this is achieved by carefully setting the dipswitch on each module with a small screwdriver. The dipswitch on
each module must match the setting in the CZone configuration. Refer to CZone Configuration Tool Manual on
instructions on creating and editing a CZone configuration.
•To install the OI with other networked CZone modules, or to achieve advanced functionality such as
timers, load shedding or one touch Modes of operation, a custom configuration needs to be installed.
•Set the dipswitch on the OI to match the configuration file.
•All other CZone modules must have the dipswitch set to same as the configuration file.
The example below shows a dipswitch setting of 01101100 where 0 = OFF and 1 = ON
Setting Dipswitch
IMPORTANT - Each CZone device must have a unique dipswitch number and the dipswitch of the device
must match the dipswitch set in the configuration file.
CIRCUIT IDENTIFICATION LABELS
Standard BEP circuit breaker panel labels are used to indicate the circuit name for each output
LABEL
LABEL
LABEL
LABEL
LABEL
LABEL 1
2
3
4
5
6
876543DIP 21
DIMOI SCI
MISIOI XX
OI Labels

EN / CZone® Output Interface (OI) User & Installation Manual
14
MODULE IDENTIFICATION LABEL
These labels allow easy identification of each module whilst recording the dipswitch setting. These labels are to be
fitted to the cover and to the module (this prevents covers being swapped). To record the module type and dipswitch
settings use a permanent marker and strike through the applicable boxes (a strike through on a dipswitch box indicates
that switch is on).
FIT THE COVER
1. Slide the cable gland up the output wires ensuring it is correctly seated.
2. Firmly push the top cover on to the OI until you hear it click into pace on each side.
3. Ensure the cable gland is still correctly in place.
4. Install circuit labels if you have purchased a label sheet.
WARNING!The OI is only ignition protected with the cover correctly installed.
INITIAL POWER UP
1. Power up the NMEA2000 Network, system will flash all outputs for a short time while booting.
2. Check that the Network Status LED lights up. It may also be flashing if other devices are on the network and
transmitting data.
3. Turn the switch/circuit breaker on supplying power to the input stud (if fitted).
4. Check the software version on the OI with the CZone Configuration Tool and update if necessary.
5. Write the configuration file to the network (Refer to the CZone Configuration Tool Instructions for details on how
to write a CZone configuration file).
6. Test all outputs for correctly configured functionality.
7. Check the circuit status LED’s for each individual circuit. Refer to LED codes to diagnose any faults which need
to be rectified.
XX
OI SI MI
SCIMOI DI
1 2DIP 3 4 5 6 7 8
Fit The Cover

15
EN / CZone® Output Interface (OI) User & Installation Manual
SYSTEM DIAGRAM EXAMPLES
HORN
WIPER
BUS BAR
NEGATIVE
BREAKER
CIRCUIT
BATTERY
SWITCH
BILGE PUMP
WASTE
TREATMENT
SPOT LIGHT 2
SPOT LIGHT 1
CIRCUIT
BREAKER
SWITCH PANEL
SWITCH PANEL
OUTPUTS (Optional)
PARALLELED
Positive DC Output 4
Positive DC Output 3
Positive DC Output 2
Positive DC Output 1
Positive DC Output 6
Positive DC Output 5
NMEA 2000
NETWORK
BATTERY
-
+
System Diagram

EN / CZone® Output Interface (OI) User & Installation Manual
16
6 ORDERING INFORMATION
Part Numbers and Accessories
Part Number
Description
80-911-0009-00
CZONE OUTPUT INTERFACE C/W CONN & BOOT
80-911-0010-00
CZONE OUTPUT INTERFACE NO CONN & BOOT
80-911-0041-00 TERM BLOCK OI 6W PLUG 10 16 PITCH
80-911-0034-00 SEAL BOOT for CZONE OI 6W CONN BK SILICON
7 SPECIFICATIONS
TECHNICAL SPECIFICATIONS
Technical Specifications
Circuit protection
ATC Fuse with Blown Fuse Alarms
NMEA2000 connectivity
1 x CAN Micro-C port
Output wire range
0.5 - 6mm (24AWG – 8AWG)
Output channels
6 x 20A 12/24V
Maximum current
100A Total Module Current
Dimming
All channels, PWM @100Hz
Power supply
M6 (1/4") Positive Terminal (9-32V)
Network Supply voltage
9-16V via NMEA2000
Circuit bypass
Mechanical Fuse Bypass on all Channels
Ingress protection
IPx5 (mounted vertical on bulkhead and flat)
Compliance
CE, ABYC, NMEA, ISO8846/SAEJ1171 Ignition Protected
Power consumption max
85mA @12V
Power consumption standby
60mA @12V
Warranty period
2 years
Operating temperature range
-15C to +55C (-5F to +131F)
Storage temperature range
-40C to +85C (-40F to +185F)
Dimensions W x H x D
202.5 x 128.5 x 45mm (7.97 x 5.06 x 1.77”)
Weight
659g

17
EN / CZone® Output Interface (OI) User & Installation Manual
EMC RATINGS
•IEC EN 60945
•IEC EN 61000
•FCC Class B
•ISO 7637 - 1 (12V Passenger cars and light commercial vehicles with nominal 12 V supply voltage -
Electrical transient conduction along supply lines only)
•ISO 7637 - 2 (24V Commercial vehicles with nominal 24 V supply voltage - Electrical transient
conduction along supply lines only)
•IEC Standards for indirect lighting strikes
DIMENSIONS
Oi Dimensions

EN / CZone® Output Interface (OI) User & Installation Manual
18
8 Declaration of Conformity
This manual suits for next models
1
Table of contents
Other CZone Recording Equipment manuals

CZone
CZone 80-911-0005-00 Guide

CZone
CZone Switch Control Interface Installation guide

CZone
CZone Display Interface Installation guide

CZone
CZone Signal Interface Guide

CZone
CZone Network Bridge Interface Installation guide

CZone
CZone COI Operating manual

CZone
CZone Meter Interface Installation guide

CZone
CZone Control 1 Operating manual

CZone
CZone DDS Guide

CZone
CZone Motor Output Interface Guide