manuals.online logo
Brands
  1. Home
  2. •
  3. Brands
  4. •
  5. D-Link
  6. •
  7. Modem
  8. •
  9. D-Link DSL-2890AL User manual

D-Link DSL-2890AL User manual

ENGLISH
DSL-2890AL
If any of the above items are missing, please contact your reseller/retailer.
Dual Band Wireless AC1750 Gigabit Cloud ADSL2+ Modem Router
(DSL-2890AL)
Power Adapter
Ethernet Cable
ADSL2+ Microlter/Splitter
Quick Install Guide
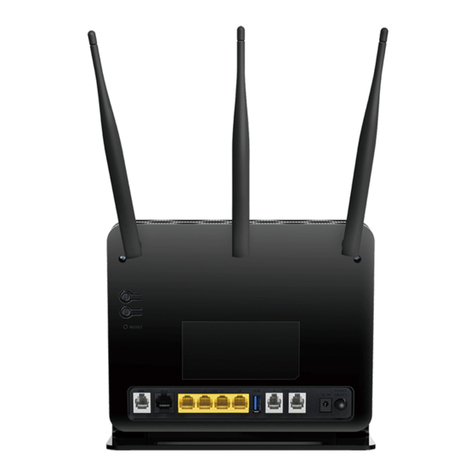
1WPS Button & LED The light will blink during the WPS process.
2Internet LED A solid green light indicates a proper connection to your
broadband service.
3ADSL LED A solid green light indicates a proper connection to the
ADSL enabled telephone line.
4USB 3.0 & 2.0 LEDs A solid green light indicates a connection to a USB device.
52.4G Wireless LED A solid green light indicates that the wireless segment is
ready.The light will blink during data transmission.
65G Wireless LED A solid green light indicates that the wireless segment is
ready.The light will blink during data transmission.
7LAN (1~4) LEDs
A solid amber light indicates a connection to a Gigabit Ethernet
device while a green light indicates a connection to a 10/100
device. The LED will blink during data transmission.
8Power LED A solid green light indicates a proper connection to the
power supply.
9ADSL Port Connect to an ADSL enabled telephone line and the
supplied microlter/splitter.
10 USB 3.0 & 2.0 Ports Connect USB devices such as printers, scanners or storage.
11 LAN (1~4) Ports Connect Ethernet devices such as computers, switches, and
game consoles.
12 WiFi Button Press for three seconds to enable/disable wireless networks.
13 Power Button Press to turn on or o the device.
14 Power Port Connect the supplied power adapter.
110
8
9
1Connect your existing Phone cable from the telephone outlet to the LINE
port on the Microlter and your telephone handset into the PHONE port.
2Connect the Phone cable from the DSL port on the Microlter to the ADSL
port of the modem router.
3Connect the Ethernet cable from the LAN port of the modem router to the
Ethernet port on your computer.
4Plug the power adapter into your modem router and connect to an available
power outlet.
5
6
After the modem router has powered up, verify that the Power and ADSL
LEDs are both lit.
Continue with the Conguration section on the other side of this document.
Microlter
Telephone Outlet
Package Contents
QUICK INSTALLATION GUIDE Hardware Overview Minimum Requirements Connect your Modem Router
•Internet Provider Account Details - If you are using an Australian or New
Zeleand ADSL connection, you will need your user name and password. If you do
not have this information, contact your Internet provider.
Do not proceed until you have this information.
Before you Start
Internet Requirements:
• An activated ADSL telephone line and account with an Internet provider
Web-based Conguration Requirements:
Device with the following:
• An installed Ethernet adapter or wireless adapter
Supported Browsers:
• Internet Explorer 7 or higher
• Safari 4 or higher
• Chrome
• Firefox
mydlink™ Requirements (optional):
• iPhone/iPad/iPod Touch (iOS 3.0 or higher)
• Android device (1.6 or higher)
• Web Browser Requirements:
• Internet Explorer 7 or higher
• Safari 5 or higher
• Chrome
• Firefox
Note:
To learn more about mydlink, visit www.mydlink.com.au or www.mydlink.co.nz.
If you experienceissues registering this Modem Routerwith your mydlink account,
try performing a hard reset by using an unfolded paperclip to press and hold the
reset button for 10 seconds while the Modem Router is powered on.
Dual Band
Wireless AC1750
ADSL2+ Modem Router
LINE
PHONE
3
12
14
5
7
2
11
13
4
6
Power Adapter
DSL-2890AL
Computer
Phone Cable
DSL-2890AL
Microlter
Ethernet Cable DSL-2890AL
Computer
ENGLISH
Version 1.2 | May 5, 2016
Conguration
Web Browser Setup
Open a web browser (e.g., Internet Explorer, Chrome, Firefox, or Safari)
and enter the IP address of the router (http://192.168.1.1). The default
username and pasword will be admin and admin respectively.
1
Note: If you want to congure your modem router from a wirelesscomputer or
mobile device, connect to the router wirelessly by going to your wireless utility
on your device. The default Wi-Fi Networks are D-Link DSL-2890AL and D-Link
DSL-2890AL_5Ghz. Select one and then continue to step 2.
When the Welcome screen appears, click Next to start the wizard.
2
Enter your User Name and Password as provided by your Internet Provider,
click Next to continue.
Select your Time Zone from the list, clickNext to continue.
If you want to register the router with the mydlink service, please refer
to step below. If you do not wish to register your modem router with
the mydlink service click Skip.
Select Yes, I have a mydlink account then click Next to complete the
registration of your device to your mydlink account. Otherwise if you
are a new user, then please select No, I want to register and login
with a new mydlink account to complete the registration process.
3
7
8
8
Copyright ©2013 D-Link Corporation/D-Link Australia Pty Ltd. All rights reserved. D-Link and the D-Link logo are registered trademarks
of D-Link Corporation or its subsidiaries in Australia and other countries. iPhone,iPad, and iPod touch are registered trademarks of Apple
Inc. Android is a trademark of Google, Inc. Other trademarks are the property of their respective owners. Maximum wireless signal rate
derived from IEEE Standard802.11g and 802.11n specications. Actual data throughput will vary. Network conditions and environmental
factors, including volume of network trac, building materials and construction, and network overhead, lower actual data throughput
rate. Environmental factors will adversely aect wireless signal range. Product specications, size and shape are subject to change
without notice, and actual product appearance may dierfrom that depicted on the pack aging.Visit www.dlink.com.au for more details.
Having trouble installing your new product? D-Link’s website contains the latest
user documentation and software updates for D-Link products. Australian and New
Zealand customers can contact D-Link Technical Support through our website.
Australia
Internet: http://support.dlink.com.au
New Zealand
Internet: http://support.dlink.co.nz
How do I connect my wireless devices to the DSL-2890AL modem router?
1. Open your wireless network utility that displays available wireless networks.
2. Select the Wi-Fi Network name you assigned in the wizard and connect.
Note: If you did not run the setup wizard or you reset the router to its default
settings, refer to the label on the router for the default Wi-Fi Network Name and Wi-
Fi Password.
You can also connect using WPS:
1. Press the WPS button on the DSL-2890AL for three seconds.
2. Within one minute press the WPS button on your wireless device.
3. Allow up to two minutes to connect.
Note: Some devices may require you to log in to a utility to start the WPS process.
Refer to the user manual of the device you want to connect to the router if you do
not know how to start the WPS process.
How do I change the wireless settings on the DSL-2890AL modem router?
1. Open a web browser (e.g. Internet Explorer, Chrome, Firefox, or Safari) and
enter the IP address of the router (http://192.168.1.1).
2. At the login screen, type in admin for the user name and enter the router
password you created in the wizard (admin by default).
3. Go to Setup > Wireless Settings > Manual Wireless Network Setup to
create a new Wi-Fi network name (SSID) and Wi-Fi password.
Documentation available at http://www.dlink.com.au/DSL-2890AL
Troubleshooting
Technical Support
mydlink™ Lite App
Scan the code below or search“mydlink lite”(App Store or Google Play) to
download the mydlink™ Lite app to your iPhone, iPad, or Android device.
Once you have successfully logged in to you account you will be able to
see all of the mydlink enabled devices that have been registered to your
account.
Select the device you wish to access and then congure options as required.
1
2
3
4
Enter a new Wi-Fi Network Name (SSID) as well as a Wi-Fi Password (also
known as a passphrase) for both the 2.4Ghz and 5Ghz networks available in
this modem router, click Next to continue.
Enter a new Password and Verify Password to secure your modem router,
click Next to continue.
4
5
Note: Setting up “mydlink” is optional and not required for the modem router to function.
Congratulations!You have completed the modem router installation.
Congratulations!You can now manage the modem router remotely.
iOS Android mydlink™ Lite App
Once your app is installed, you may now log in to your mydlink account
that was registered in the Setup Wizard.
6
Click Sign up to complete the registration and the Setup Wizard.
Other manuals for DSL-2890AL

1

Other D-Link Modem manuals

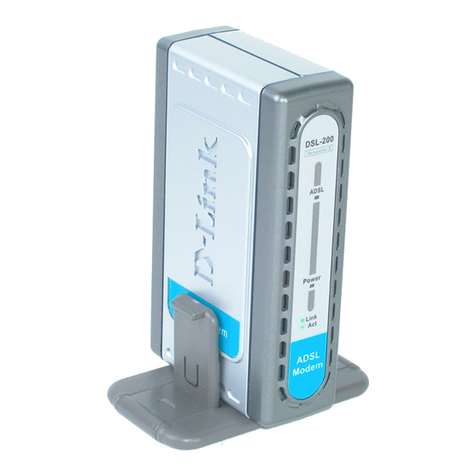
D-Link DSL-200 - 8 Mbps DSL Modem User manual

D-Link

D-Link DSL-200 - 8 Mbps DSL Modem User manual

D-Link DSL-300G User manual

D-Link

D-Link DSL-300G User manual

D-Link DSL-300G User manual

D-Link

D-Link DSL-300G User manual

D-Link Verizon DSL-2750B User manual

D-Link

D-Link Verizon DSL-2750B User manual

D-Link DSL-2320B - 24 Mbps DSL Modem User manual

D-Link

D-Link DSL-2320B - 24 Mbps DSL Modem User manual

D-Link DCM-200 User manual

D-Link

D-Link DCM-200 User manual

D-Link DSL-320B User manual

D-Link

D-Link DSL-320B User manual

D-Link Ultra Performace Series User manual

D-Link

D-Link Ultra Performace Series User manual

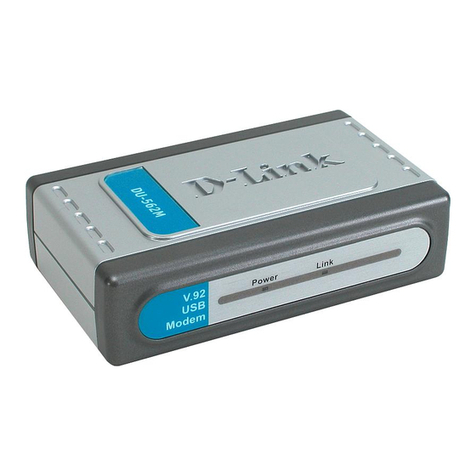
D-Link DU-562M User manual

D-Link

D-Link DU-562M User manual

D-Link DFM-562E - 56 Kbps Fax User manual

D-Link

D-Link DFM-562E - 56 Kbps Fax User manual

D-Link DSL-504T User manual

D-Link

D-Link DSL-504T User manual

D-Link DWM-152 User manual

D-Link

D-Link DWM-152 User manual

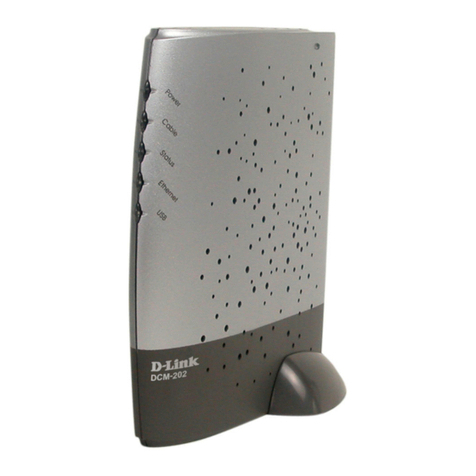
D-Link DCM202 - Express Ethernetwork DOCSIS 2.0 Cable... Quick guide

D-Link

D-Link DCM202 - Express Ethernetwork DOCSIS 2.0 Cable... Quick guide

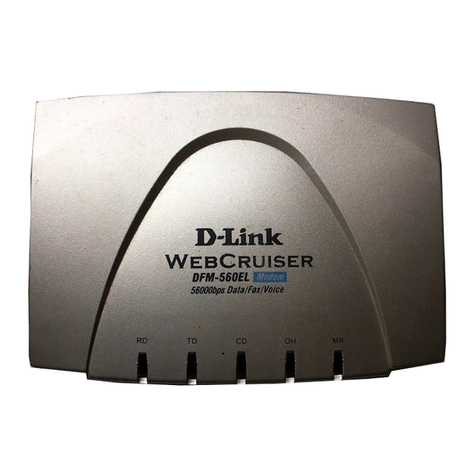
D-Link WebCruiser DFM-560EL User manual

D-Link

D-Link WebCruiser DFM-560EL User manual

D-Link DVA-2800 Setup guide

D-Link

D-Link DVA-2800 Setup guide

D-Link DSL-2740B User manual

D-Link

D-Link DSL-2740B User manual

D-Link DSL-320B User manual

D-Link

D-Link DSL-320B User manual

D-Link DSL-300T User manual

D-Link

D-Link DSL-300T User manual

D-Link DSL-300T User manual

D-Link

D-Link DSL-300T User manual

D-Link DWA-123 User manual

D-Link

D-Link DWA-123 User manual

D-Link DU-562M - 56 Kbps Fax User manual

D-Link

D-Link DU-562M - 56 Kbps Fax User manual

D-Link DSL-302G User manual

D-Link

D-Link DSL-302G User manual

D-Link WebCruiser DFM-560EL User manual

D-Link

D-Link WebCruiser DFM-560EL User manual

D-Link DSL-3782 User manual

D-Link

D-Link DSL-3782 User manual

Popular Modem manuals by other brands

Motorola MG8725 quick start guide

Motorola

Motorola MG8725 quick start guide

DPL Hercules Quick install guide

DPL

DPL Hercules Quick install guide

Genie Porsche 911 manual

Genie

Genie Porsche 911 manual

Global Telecom Corp SWC-9200 user manual

Global Telecom Corp

Global Telecom Corp SWC-9200 user manual

TP-Link TC7650 Quick installation guide

TP-Link

TP-Link TC7650 Quick installation guide

Fritz! Fritzbox 6660 Cable quick guide

Fritz!

Fritz! Fritzbox 6660 Cable quick guide

BaudTec AS560USB Quick installation guide

BaudTec

BaudTec AS560USB Quick installation guide

Alcatel ONE TOUCH X600 quick start guide

Alcatel

Alcatel ONE TOUCH X600 quick start guide

Osaka MTX-63I Integrator's manual

Osaka

Osaka MTX-63I Integrator's manual

Hitron CHITA quick start guide

Hitron

Hitron CHITA quick start guide

Zoom 3095 Firmware update

Zoom

Zoom 3095 Firmware update

Teltonika GM6225 user manual

Teltonika

Teltonika GM6225 user manual

Enfora Enabler IIIE Integration guide

Enfora

Enfora Enabler IIIE Integration guide

axing CMO 1-01 Operation instructions

axing

axing CMO 1-01 Operation instructions

GDI COMMUNICATIONS SM336 manual

GDI COMMUNICATIONS

GDI COMMUNICATIONS SM336 manual

Technicolor TG588v v2 Setup and user guide

Technicolor

Technicolor TG588v v2 Setup and user guide

Comtech EF Data CDM-600 operating instructions

Comtech EF Data

Comtech EF Data CDM-600 operating instructions

Huawei E226 quick start guide

Huawei

Huawei E226 quick start guide

manuals.online logo
manuals.online logoBrands
  • About & Mission
  • Contact us
  • Privacy Policy
  • Terms and Conditions

Copyright 2025 Manuals.Online. All Rights Reserved.