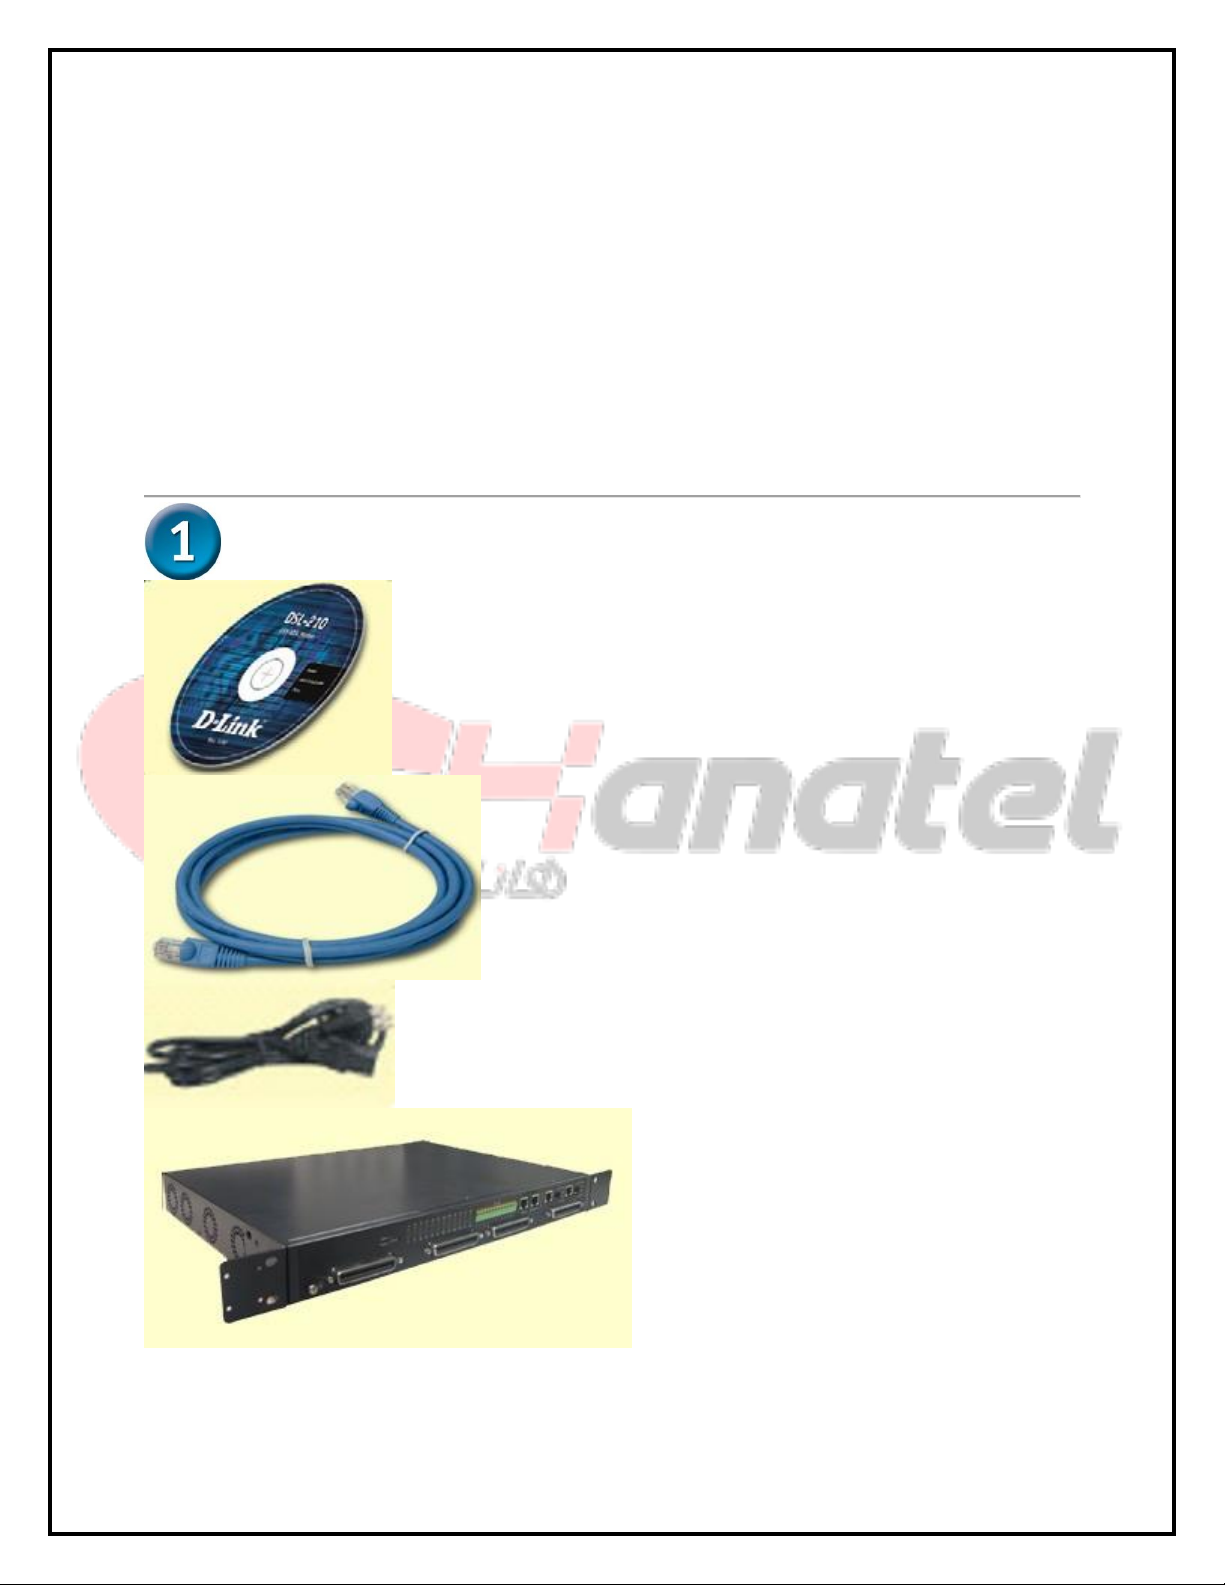
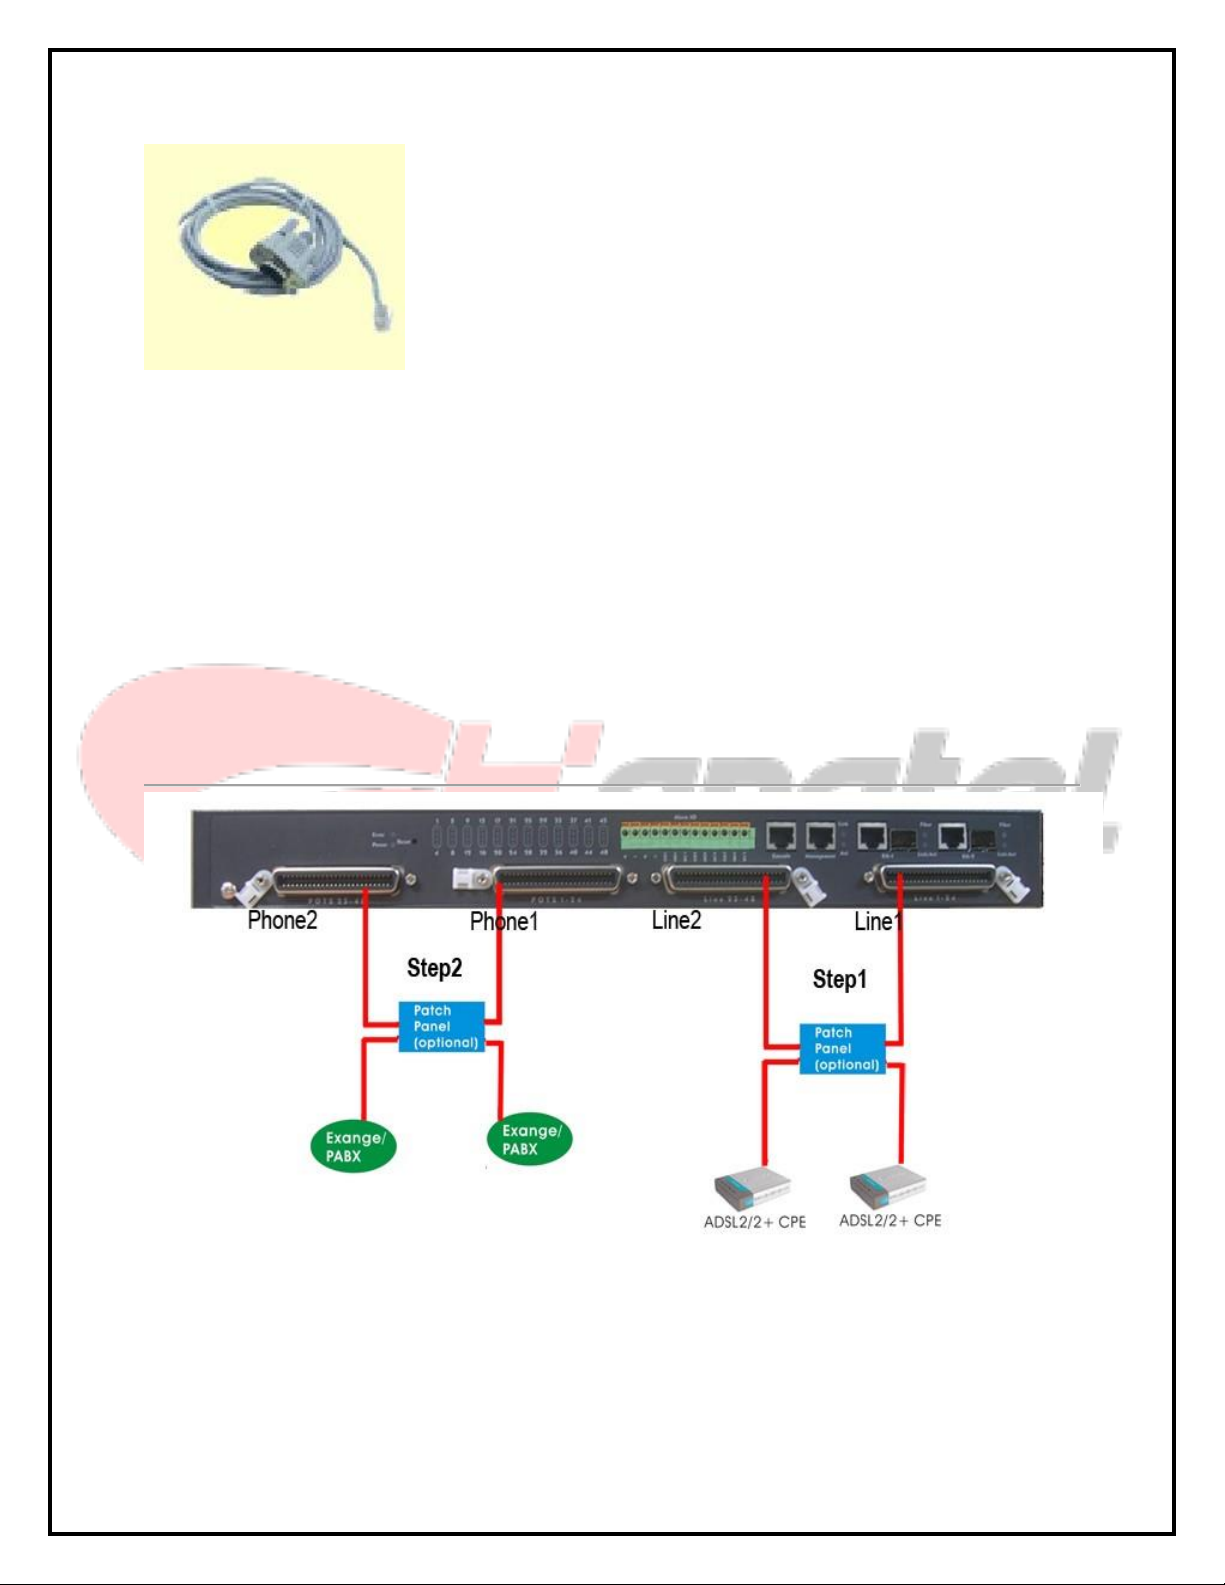
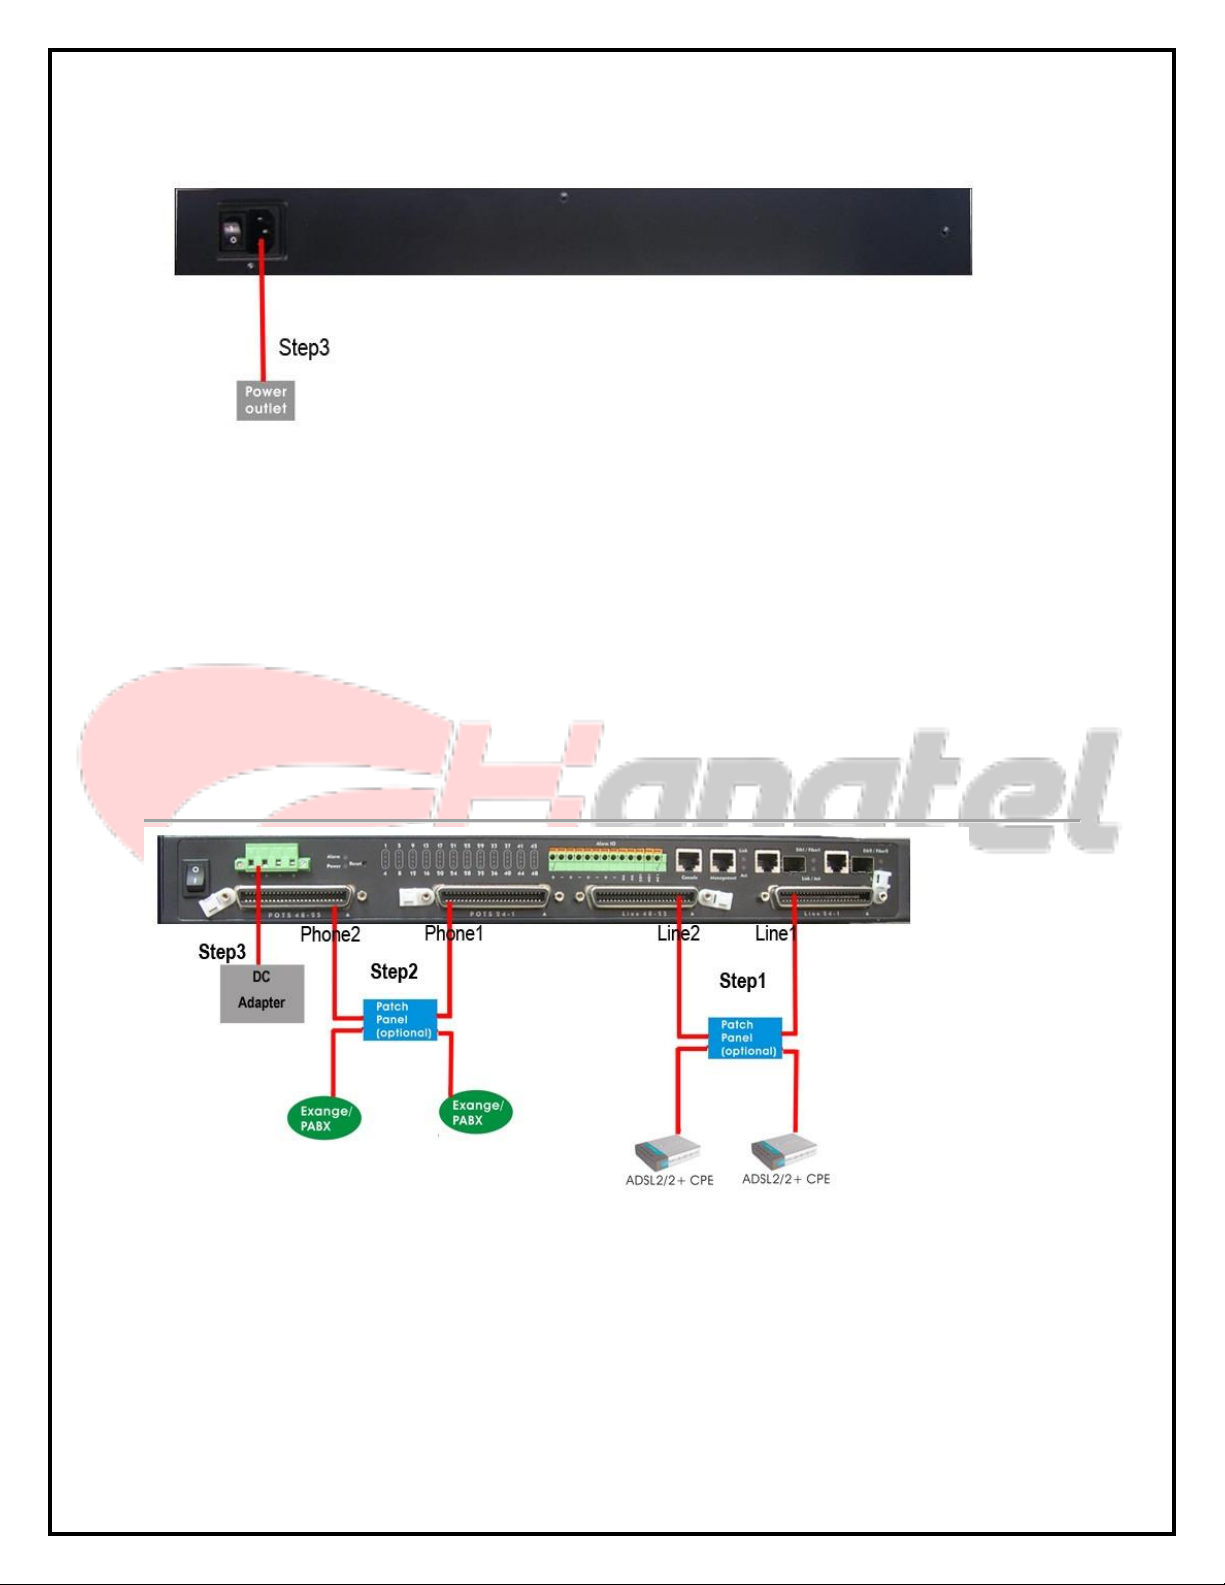
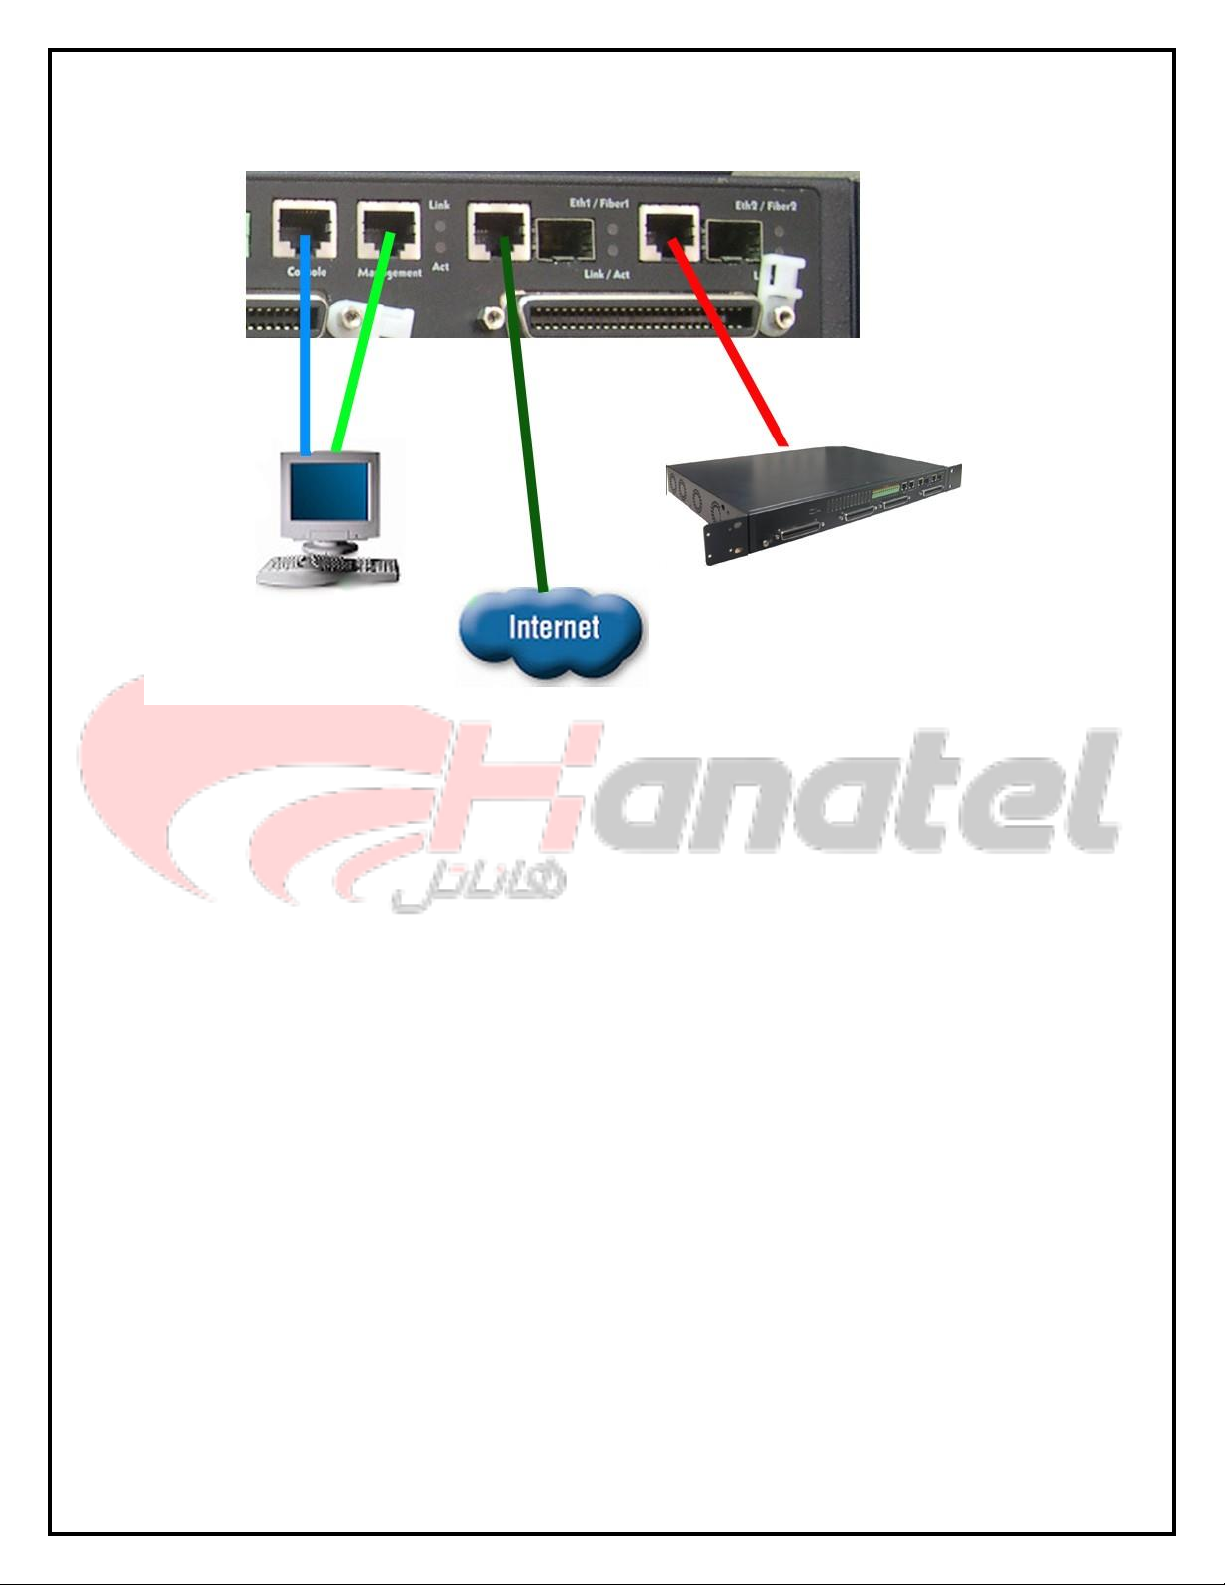
D-Link DAS-3 Series User manual
Other D-Link Network Hardware manuals

D-Link
D-Link ShareCenter DNS-340L User manual

D-Link
D-Link ShareCenter Pro 1200 User manual

D-Link
D-Link ShareCenter Quattro DNS-345 User manual

D-Link
D-Link DFM 562I User manual

D-Link
D-Link ShareCenter Shadow DNS-325 User manual

D-Link
D-Link Xtreme N Duo DAP-1555 User manual

D-Link
D-Link DHP-343 User manual

D-Link
D-Link ShareCenter Pro DNS-1550-04 User manual

D-Link
D-Link DIR-505 User manual

D-Link
D-Link AirPro DI-764 User manual

D-Link
D-Link ShareCenter Quattro DNS-345 User manual

D-Link
D-Link Express EtherNetwork DI-604 User manual

D-Link
D-Link DNR-2020-04P User manual

D-Link
D-Link xtreme n duo dap-1522 User manual

D-Link
D-Link DNR-F4432-16P User manual

D-Link
D-Link DWC-2000 User manual

D-Link
D-Link ShareCenter DNS-320L User manual

D-Link
D-Link DNS-33 User manual

D-Link
D-Link xStack Storage DSN-4000 Series User manual

D-Link
D-Link xStack Storage DSN-4000 Series Operating and maintenance manual


Popular Network Hardware manuals by other brands

Matrix Switch Corporation
Matrix Switch Corporation MSC-HD161DEL product manual

B&B Electronics
B&B Electronics ZXT9-IO-222R2 product manual

Yudor
Yudor YDS-16 user manual

Samsung
Samsung ES1642dc Hardware user manual

Honeywell Home
Honeywell Home LTEM-PV Installation and setup guide

evertz
evertz 7700 Series manual